2022 Update… Mold and mildew were becoming a real concern with our upstairs bathroom.
The humidity build-up after showering was clearly damaging the bathroom wallpaper and ceiling; it was starting to look pretty nasty up there. It was clearly time to install a new bathroom ventilation fan.
Long-Term Bathroom Water Problems
The water issues in our bathroom had been ongoing for a long time – some due to ventilation (the focus of this summary) and others due to problems with the shower doors and tub. Two shots below show some of the ventilation-related damage.
In the first, you can see clear signs of the wallpaper peeling from the walls:
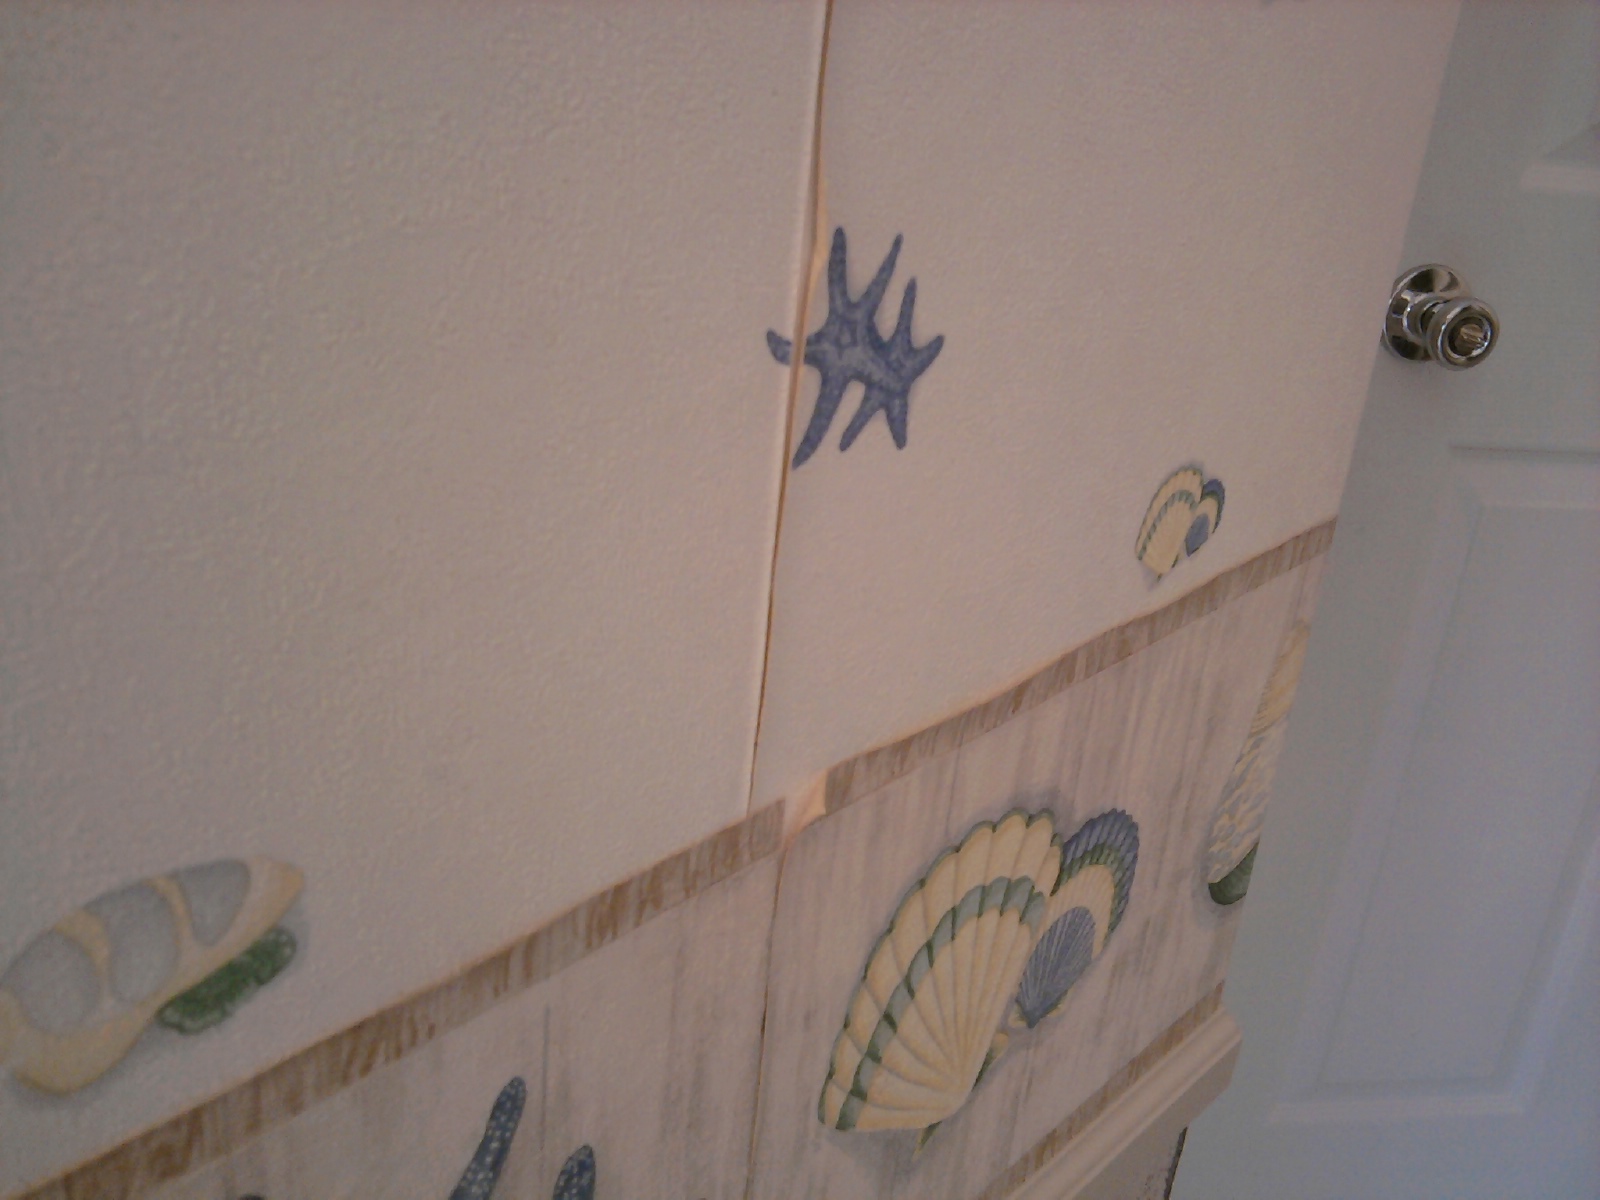
But beyond this, mold and mildew build-up were also becoming an ongoing concern with both the wallpaper and even the ceiling.
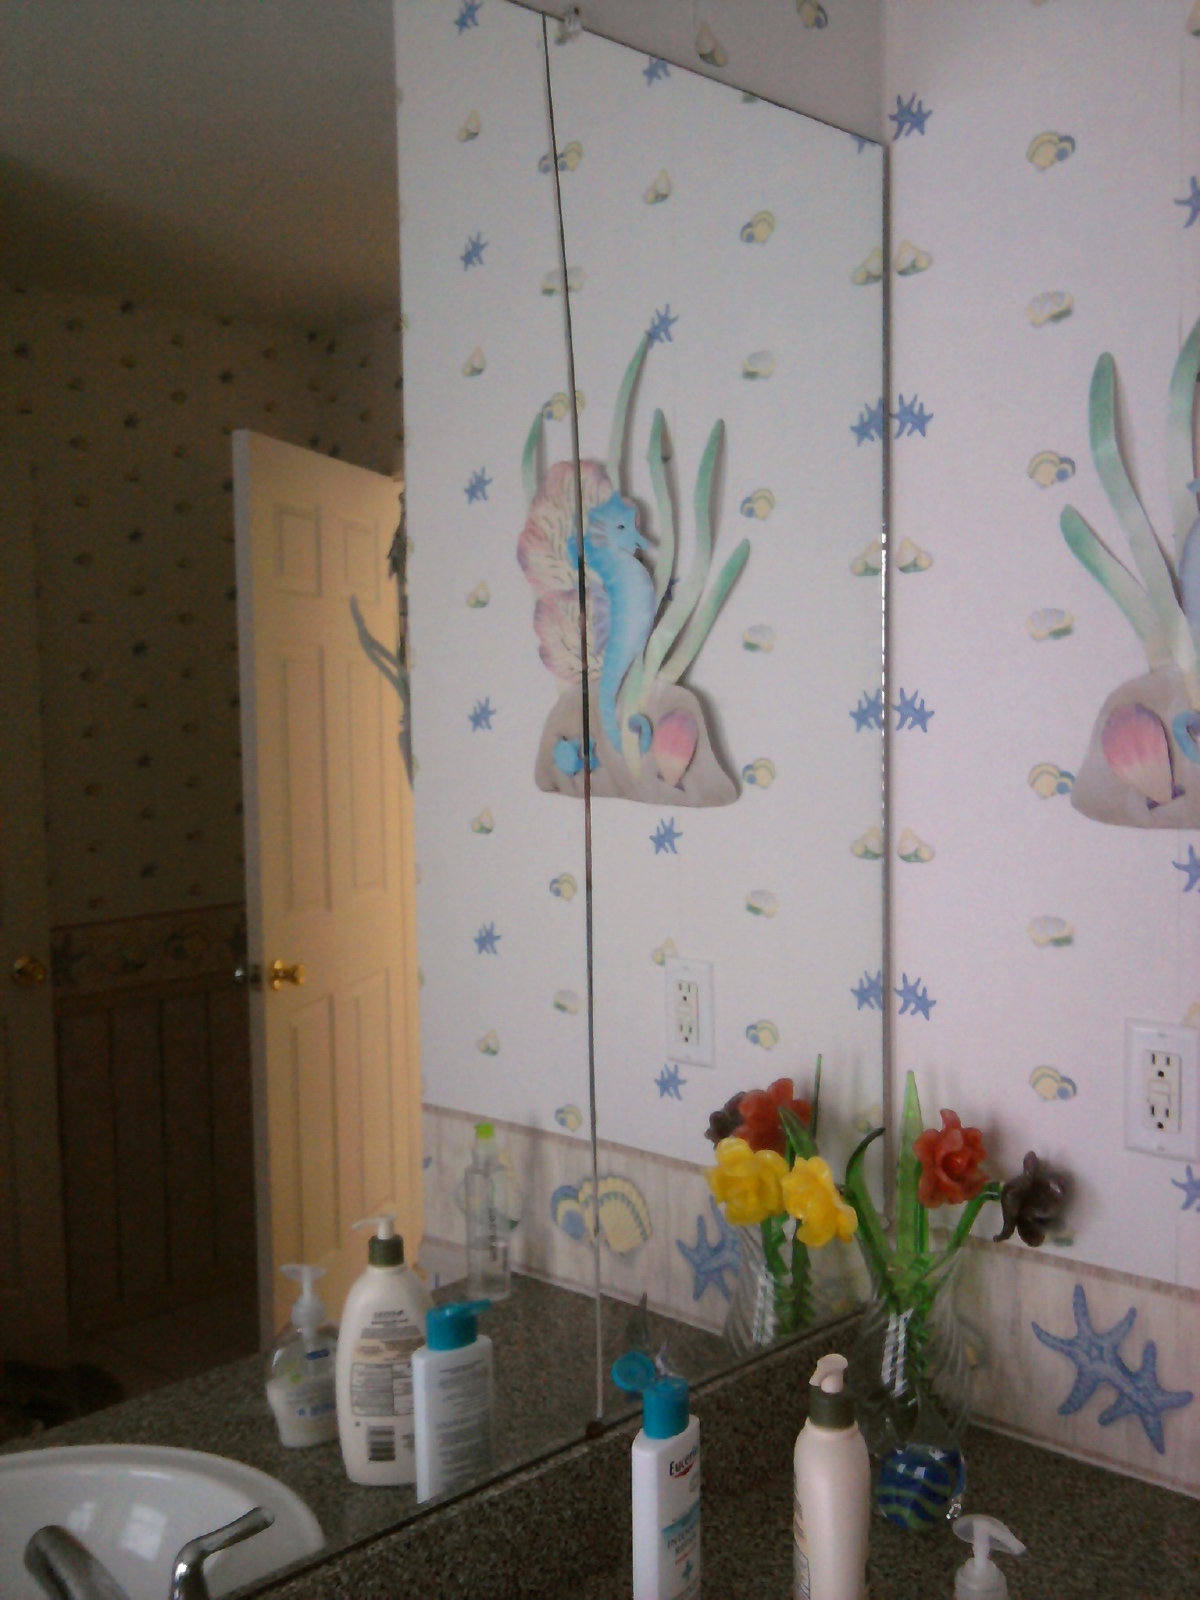
Furthermore, many of the metal items in the bathroom were actually starting to rust: parts of the light fixture, the motor on the existing ventilation fan and the supports underneath the vanity mirror. When the mirror actually cracked at the point of a rusted support bracket (as you can see below), I knew the entire bathroom was in need of a rehab…
Looking back now, I can say that installing a new exhaust fan (I actually installed two as you’ll see) made a very significant impact. My bathroom humidity issue has been virtually eliminated since this was completed about 3 weeks ago. This definitely turned out to be a bit more of a project than I expected, though.
Hopefully, you’ll find the following summary useful if you’re getting ready to undertake something similar or planning to hire a local professional to help…
Ventilation Fan Installation Preparation
Sizing the Exhaust Fan Capacity
When it comes to bathroom exhaust fans – the amount of humid air that can be removed from a room is measured in “CFM” which stands for Cubic Feet per Minute.
So, the first order of business was to determine how big of a ventilation fan (what CFM capacity) would be required for my room.
My bathroom has an 8-foot ceiling and is roughly 7 feet by 13 feet – giving a total volume of 728 cubic feet (height x length x width). The rule-of-thumb put forth by the Home Ventilating Institute is to replace the air for the entire room once every 7.5 minutes (8 times each hour)… so, dividing my bathroom’s volume by 7.5 gives me my minimum CFM requirement:
728/7.5 = 97 CFM
Well now… since the existing bathroom ventilation fan was rated at 50 CFM, this was part of the problem already. The original exhaust fan was far too small!
Buying the Bathroom Ventilation Fans
A nice list of bathroom and kitchen ventilation fans can be found right here on Amazon.
I like using Amazon for several reasons – the buyer ratings, the written user reviews, the detailed product specifications and the product photos as well. Take a look at several of the fans at the above link and compare the CFM specifications. A few other key items to consider when you make your selection:
- How “loud” will the fan be? There’s a specification in something called “Sones” for the exhaust fans. The lower the number of Sones, the quieter the unit.
- Will the fan mount within a 2×4″ attic infrastructure like mine, or do you have something different? Be sure the fans you purchase can be installed in your ceiling!
- Note the dimensions of the hole you’ll need to cut for the fan housing. Strive to get something as close as possible to what you may currently have for ease of installation.
I’m going with 2 fans giving 140 CFM overall in order to accommodate my attic infrastructure…
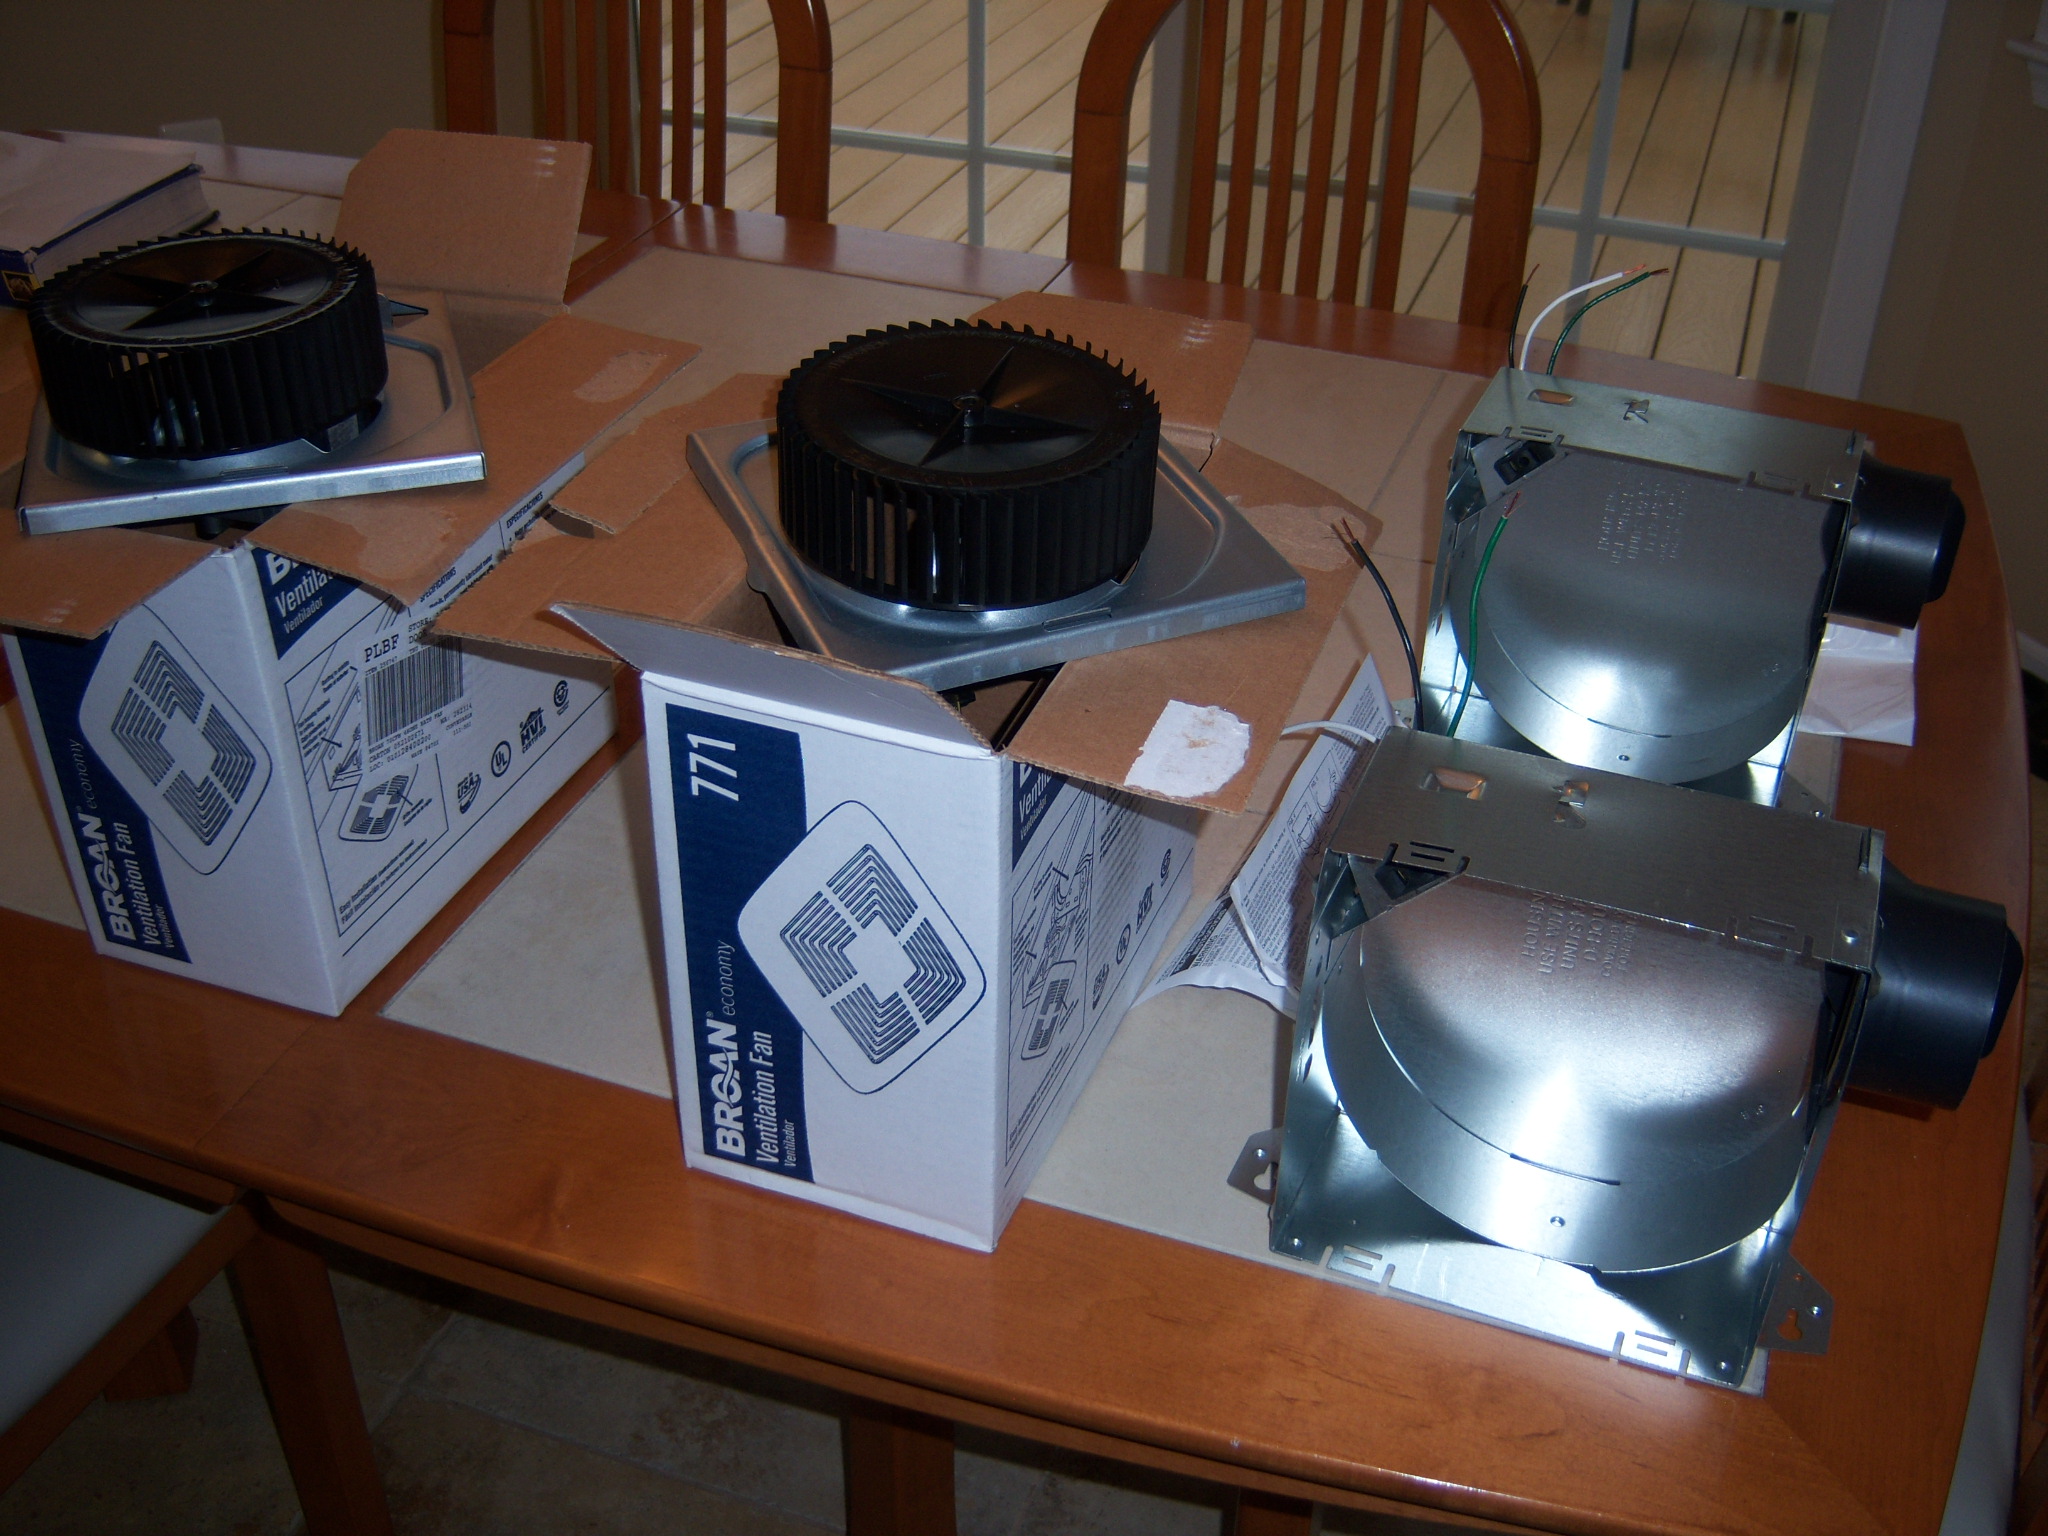
A shot of my fans is depicted above, disassembled on my kitchen table getting ready for the installation. 70 CFM each, 2×4″ mount-capable, 4.0 Sones (which is on the “louder” side) and almost the same-size housing as the one fan I’ll be replacing. The second fan will be a brand new installation for me.
Additional Installation Materials
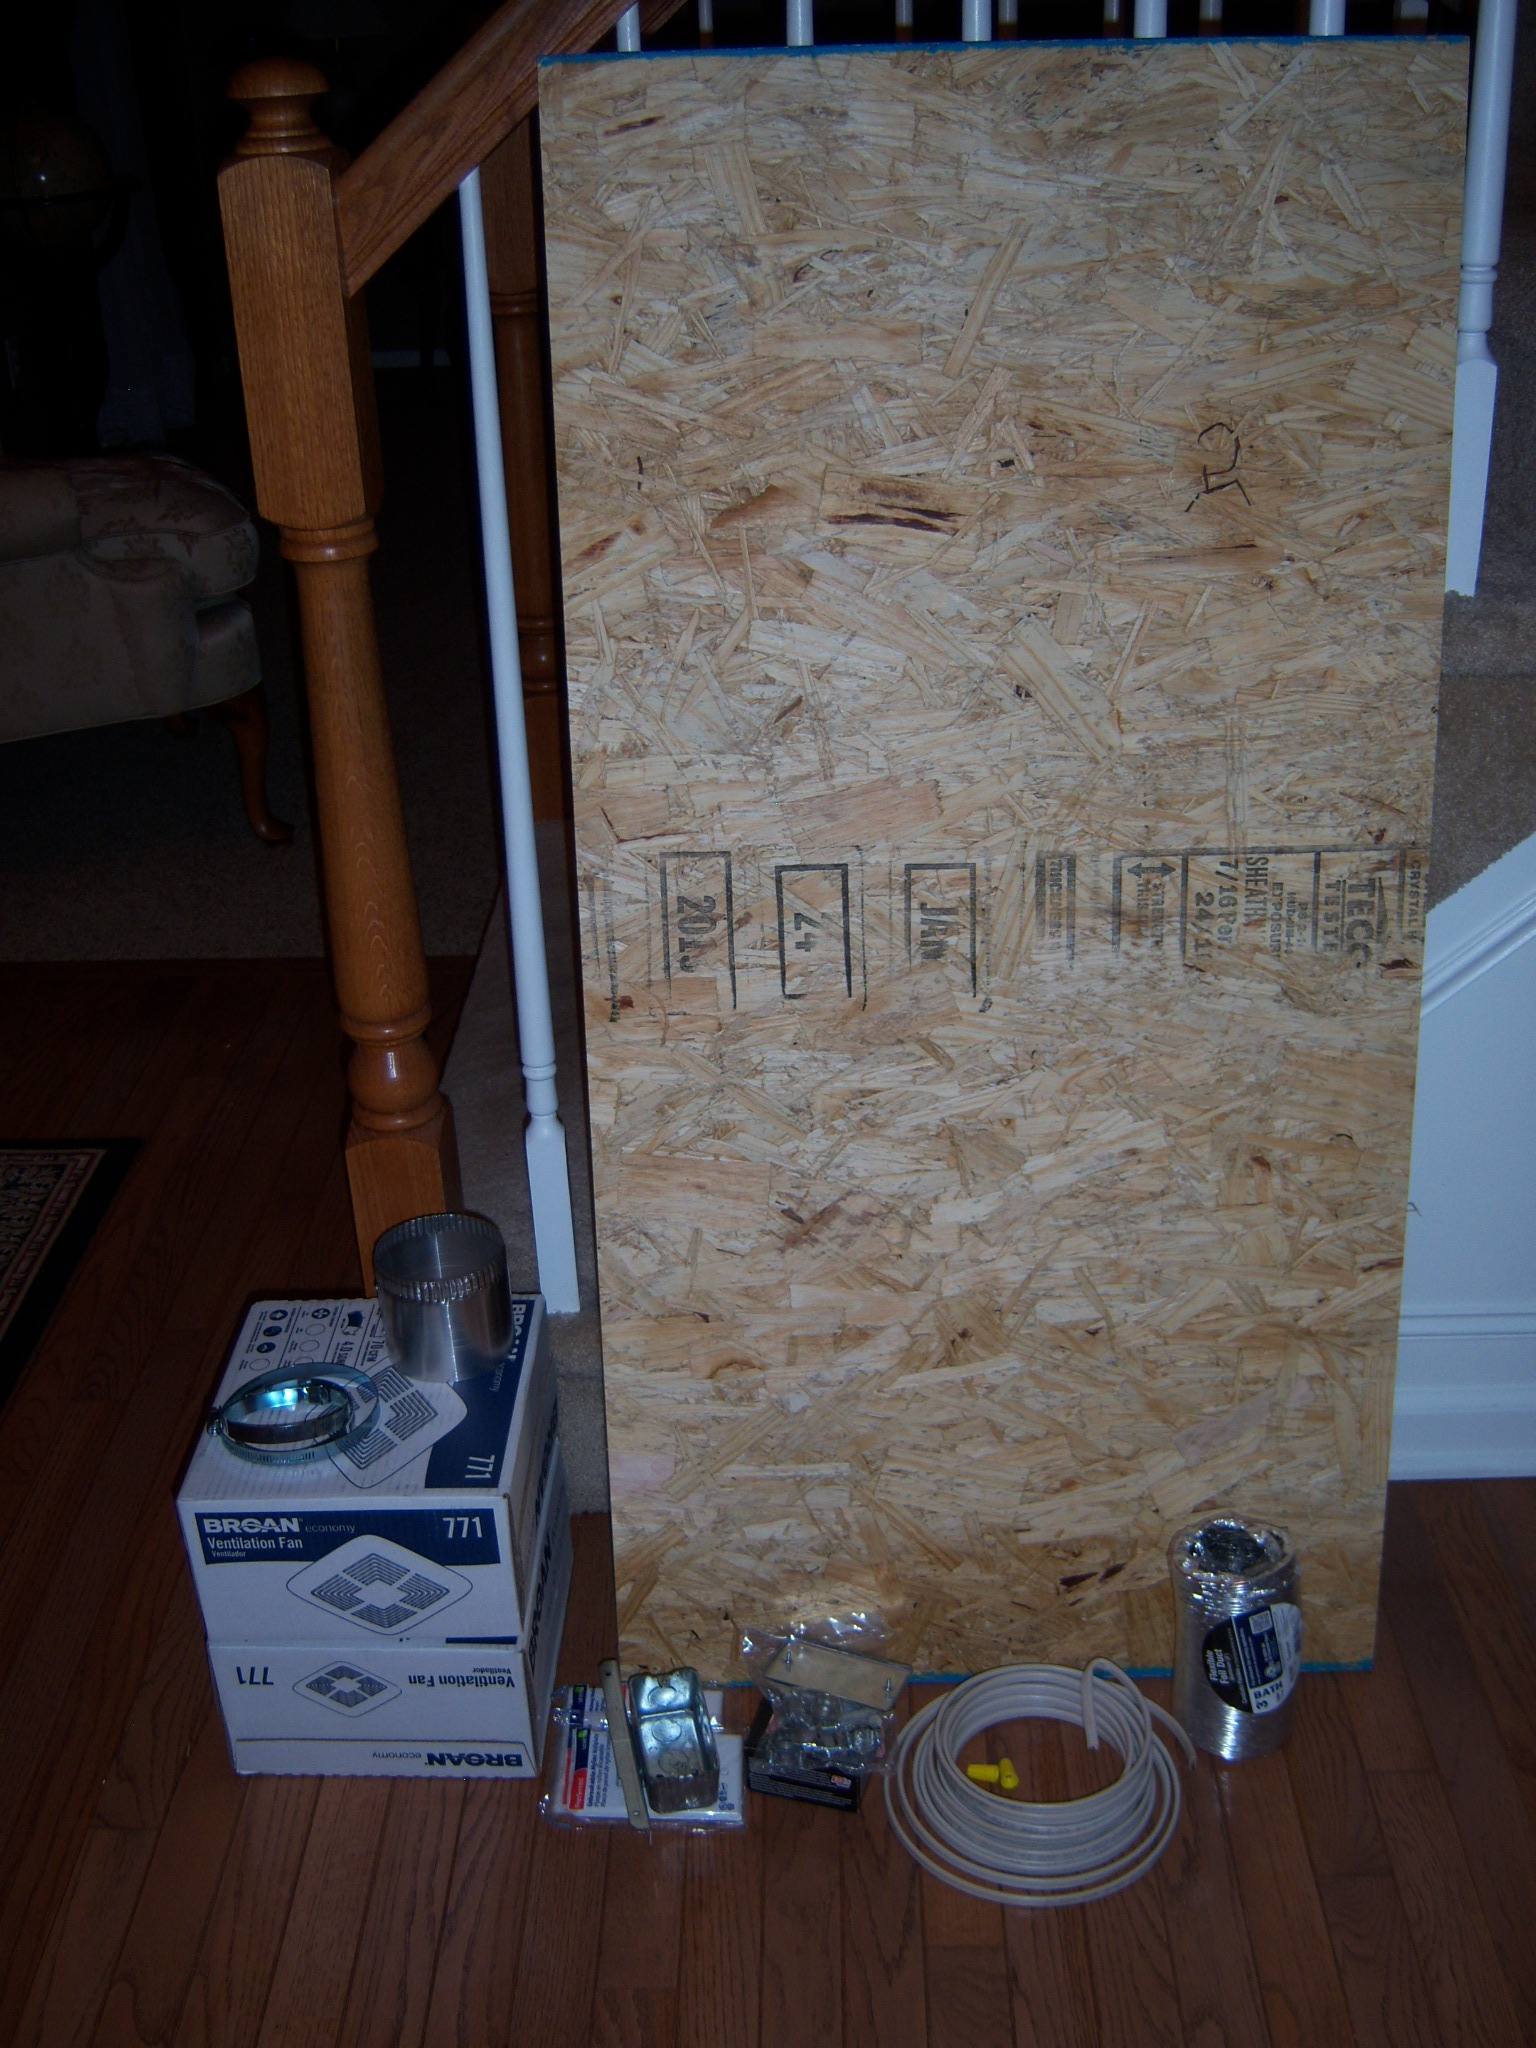
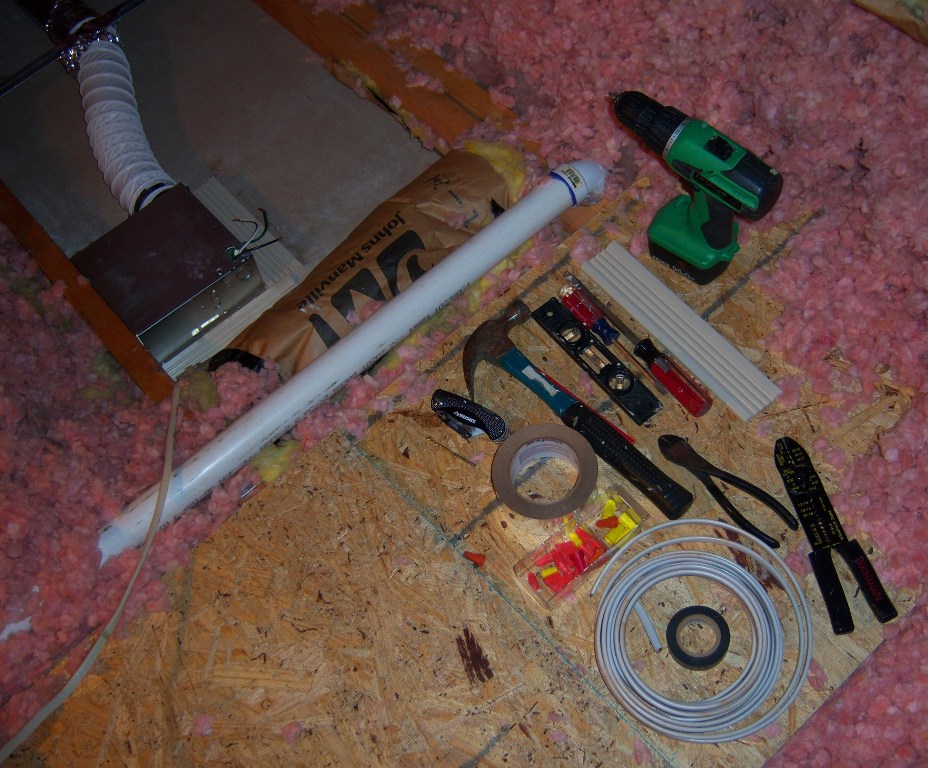
In essence, this job (if done from scratch) requires the fan installation, venting to the outside and some electrical work – much of which may have to be done from a dark and “floorless” attic. The items in the shot below convey all the materials I used for my project, excluding the lamp I brought into the attic with me for temporary lighting.
The plywood you see would eventually become my [very important] temporary attic flooring.
My Ventilation Fan Installation – In Pictures
As always, everyone’s project is different. So, what you’ll see in the following shots may apply to you a lot or perhaps only a little. But one thing for sure, this is a pretty comprehensive project; there are lots of interesting parts to it…
A licensed local electrician or carpenter can surely be of help, and you can always get free quotes from the Find a Local Contractor page of this site if you desire.
Ventilation Fan Location Selection
The studs in my attic are spaced at roughly 24-inch centers. I know this as I went up there to do an initial visual inspection before starting this project; I wanted to get the rough lay-of-the-land before doing anything at all.
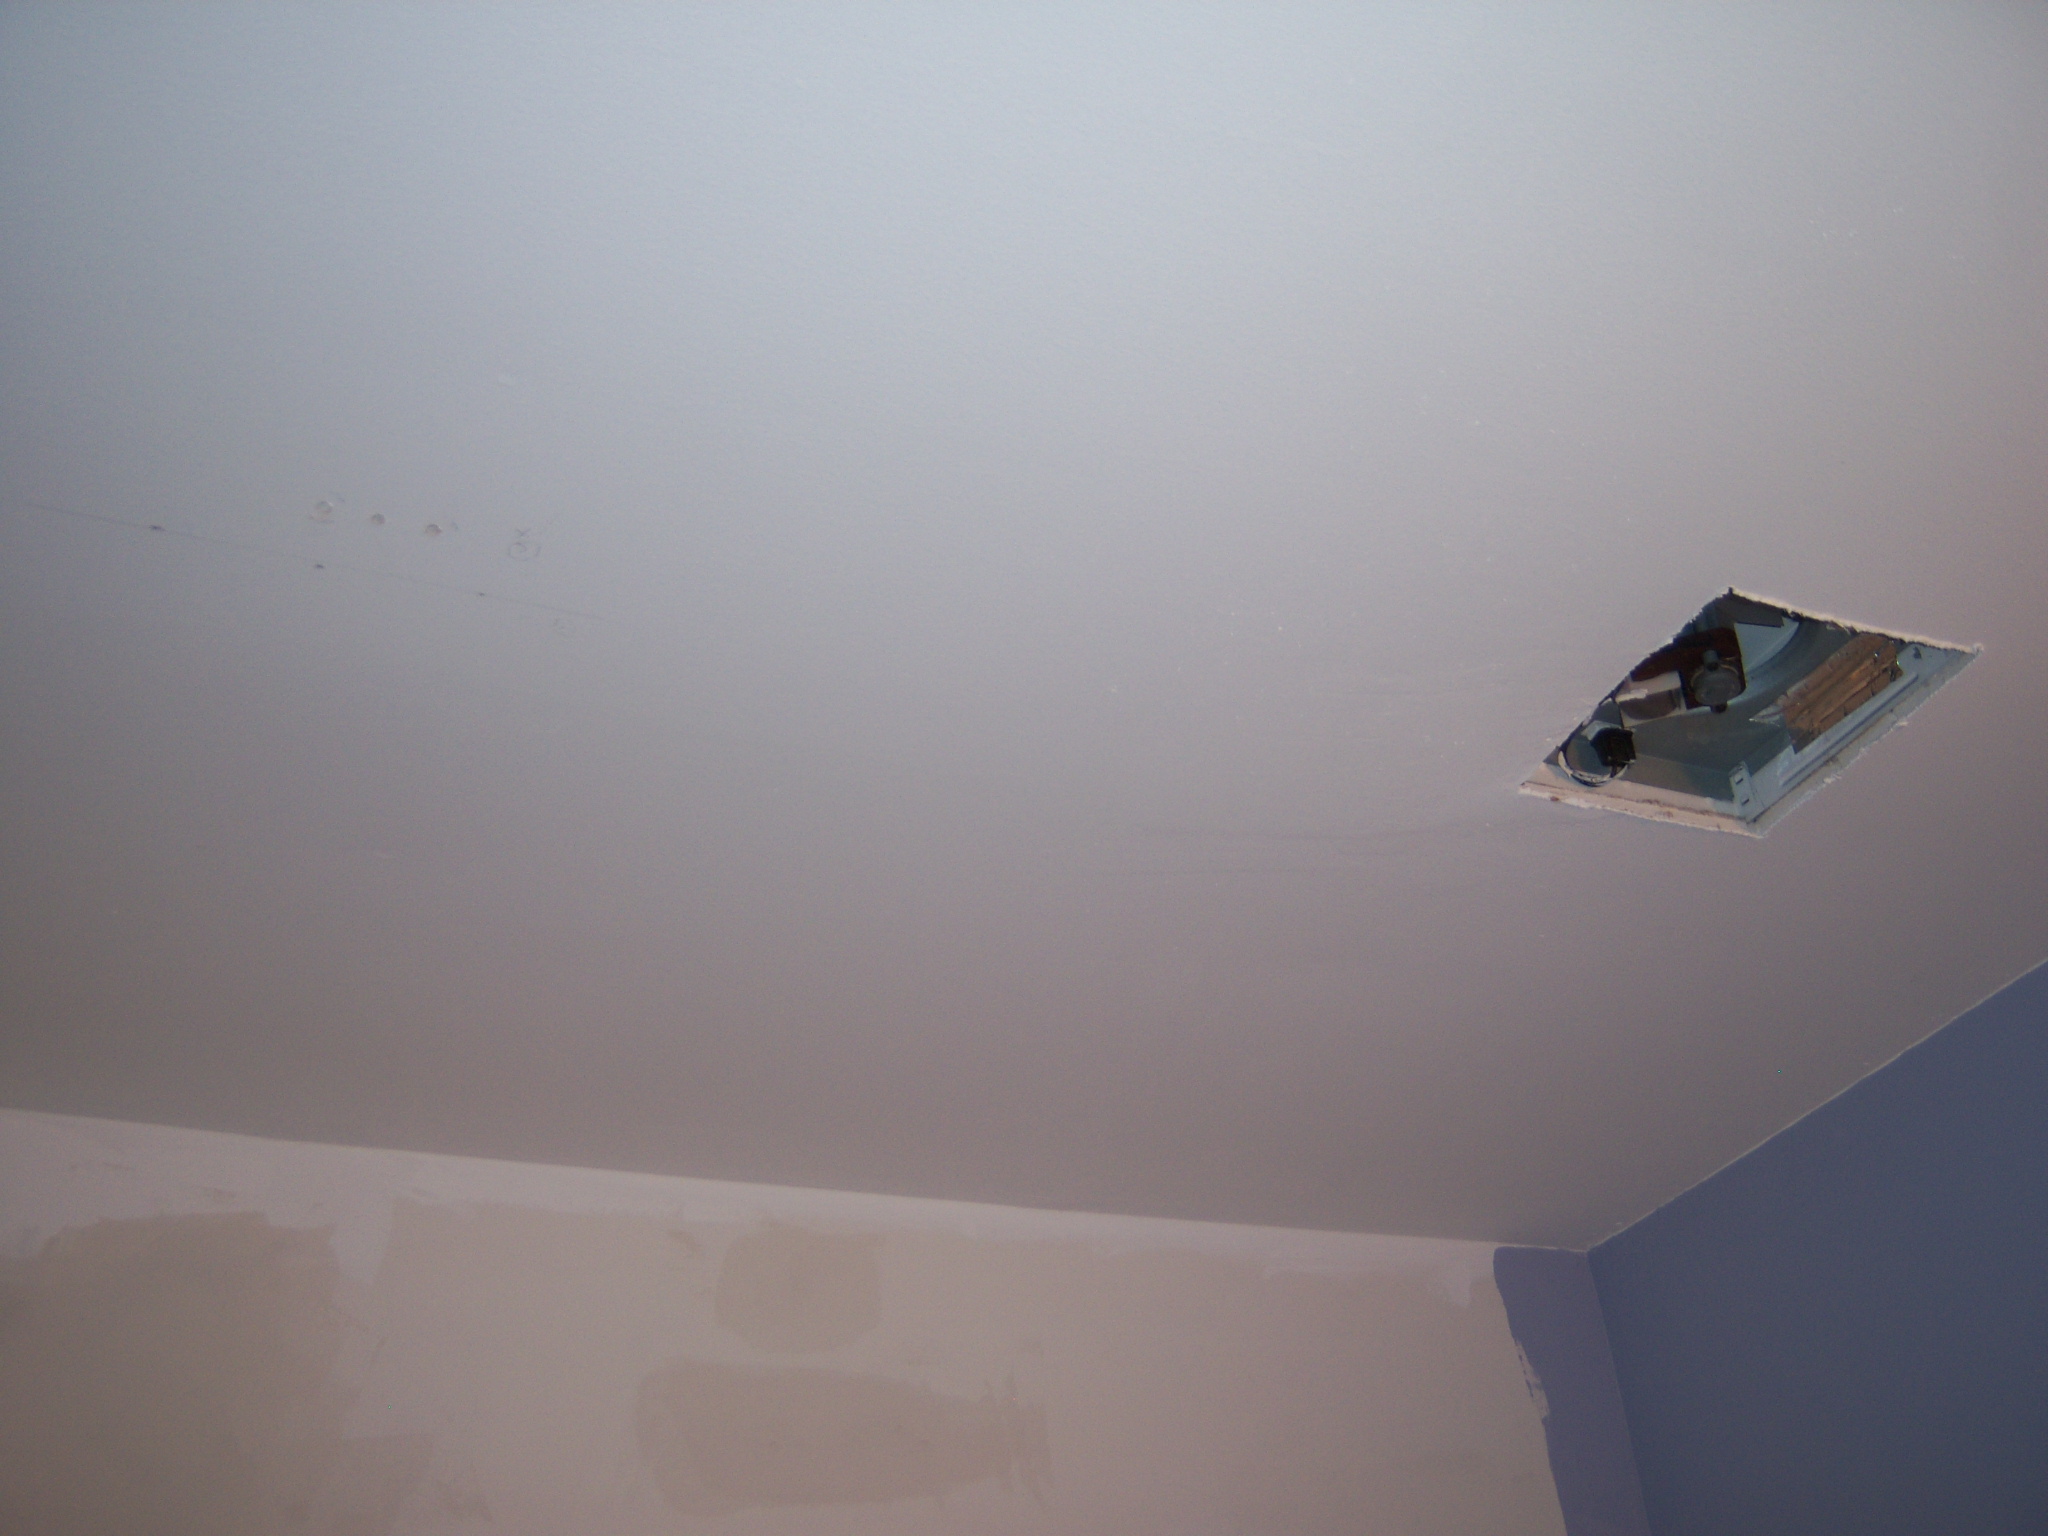
In the shot below, you can see the original 50 CFM ventilation fan.
My plan was to install another to the left – as well as replacing the one that you see, of course.
I find that cheap lawn flags are really useful for marking ceiling fan and exhaust fan locations in attics. The flag you see below, I literally pulled out of my lawn 10 minutes before taking the photo – where it was one of many marking-out a buried gas line.
You can buy lawn flags anywhere if you don’t happen to have your lawn marked-out on the day of your project. ;-)
I frankly try to keep some on hand.
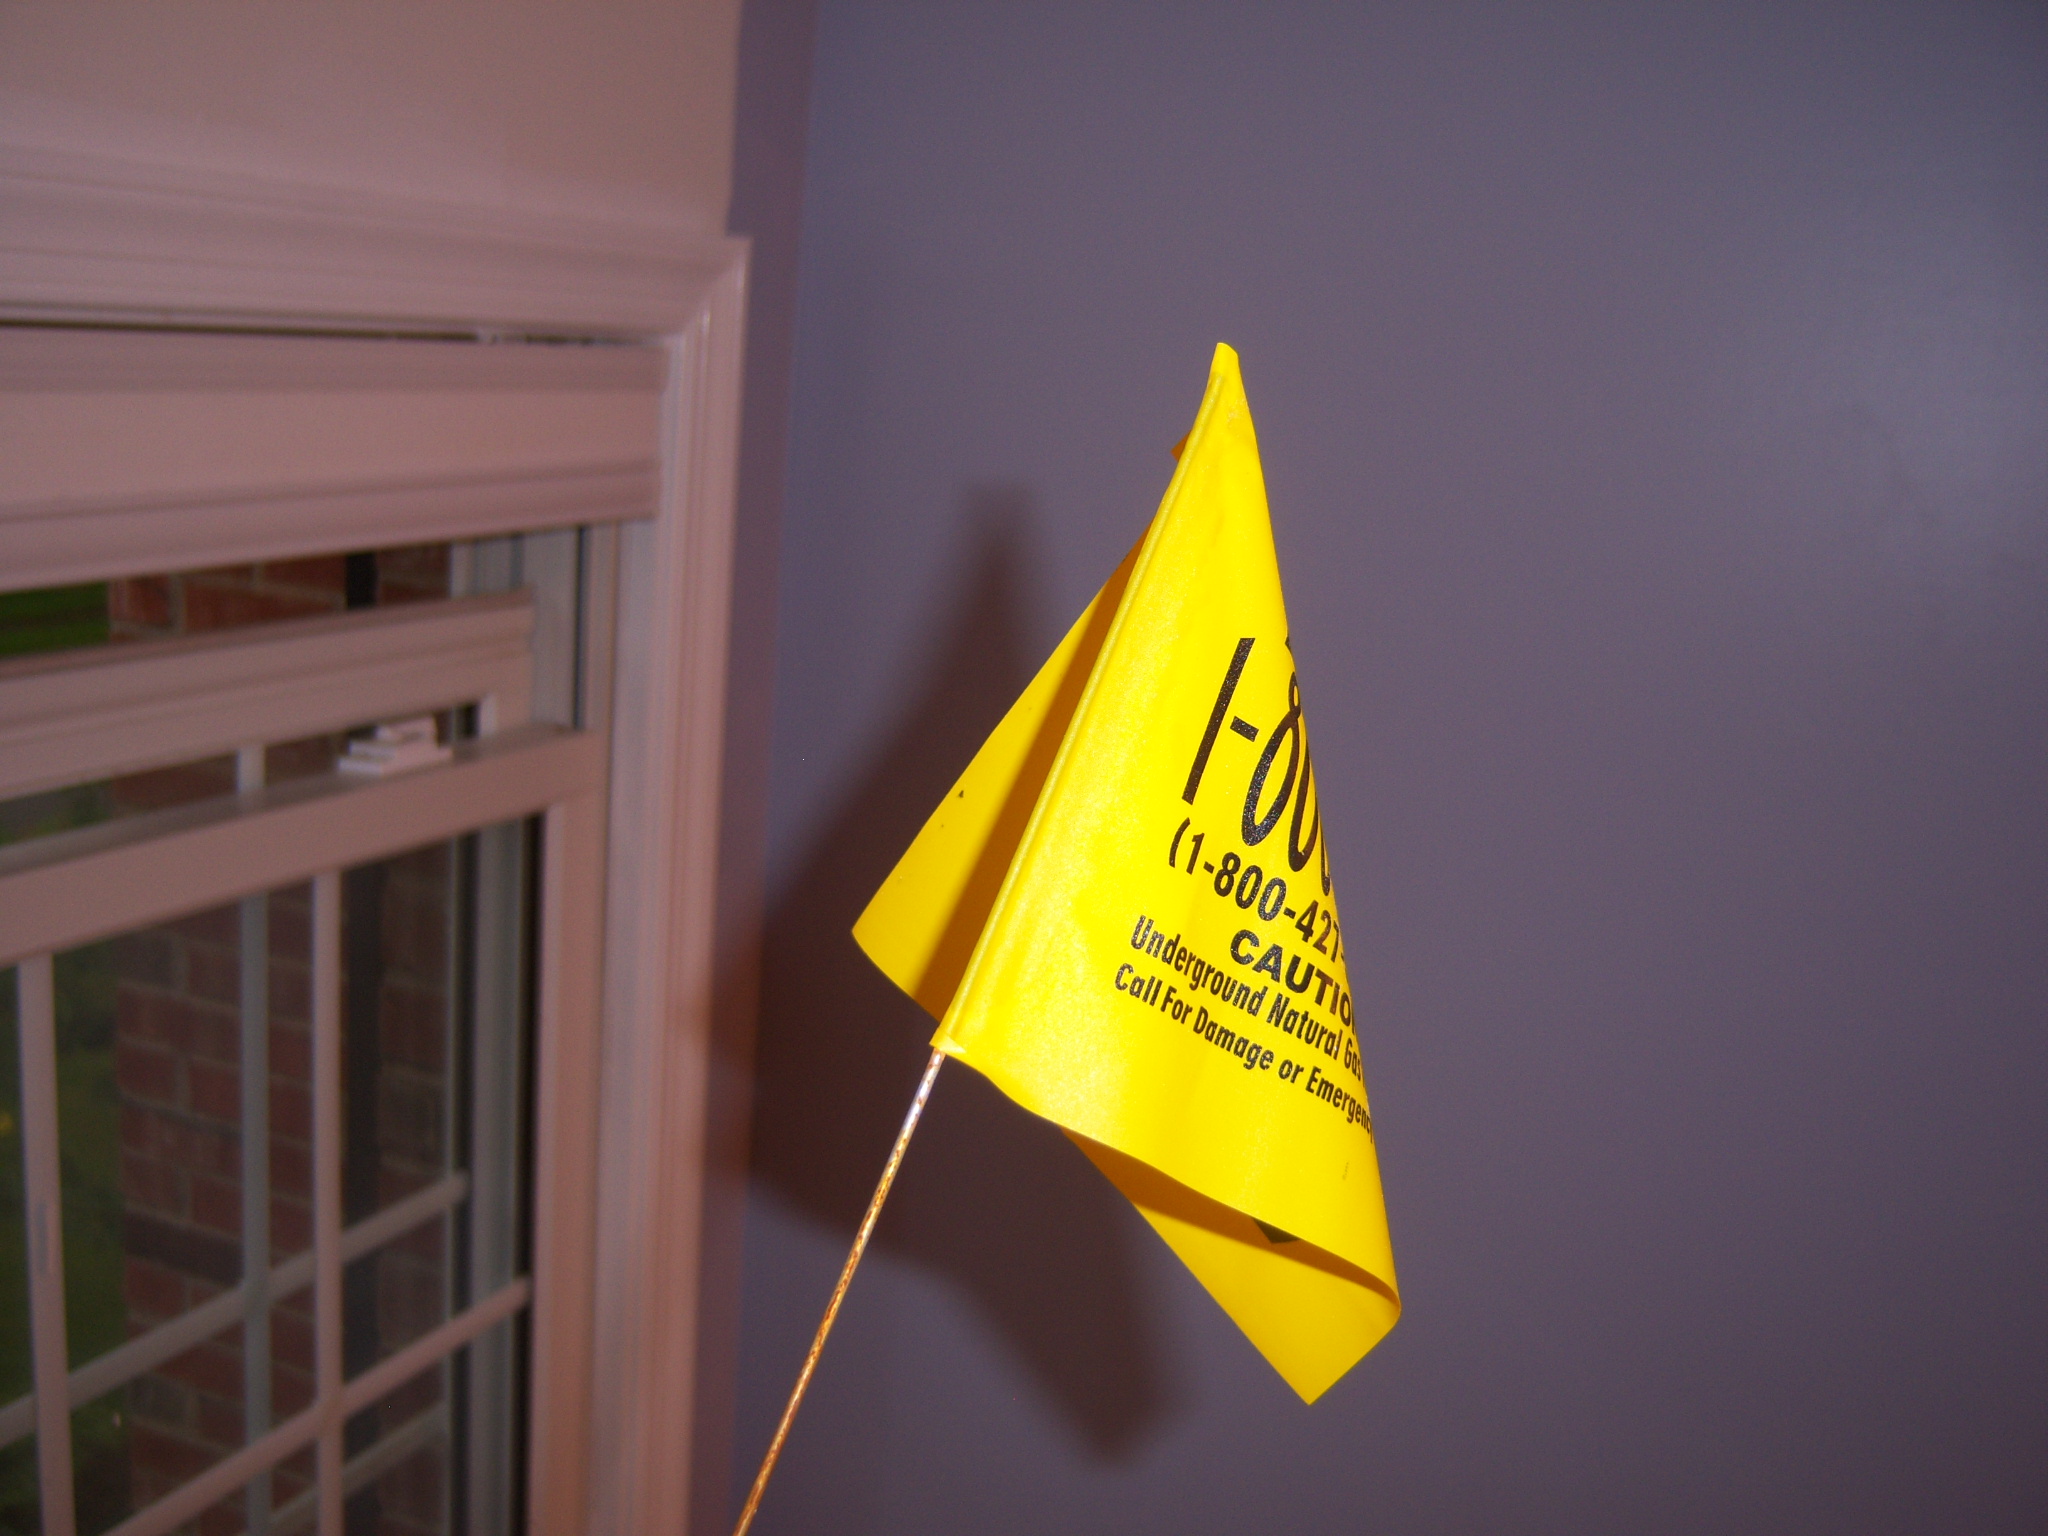
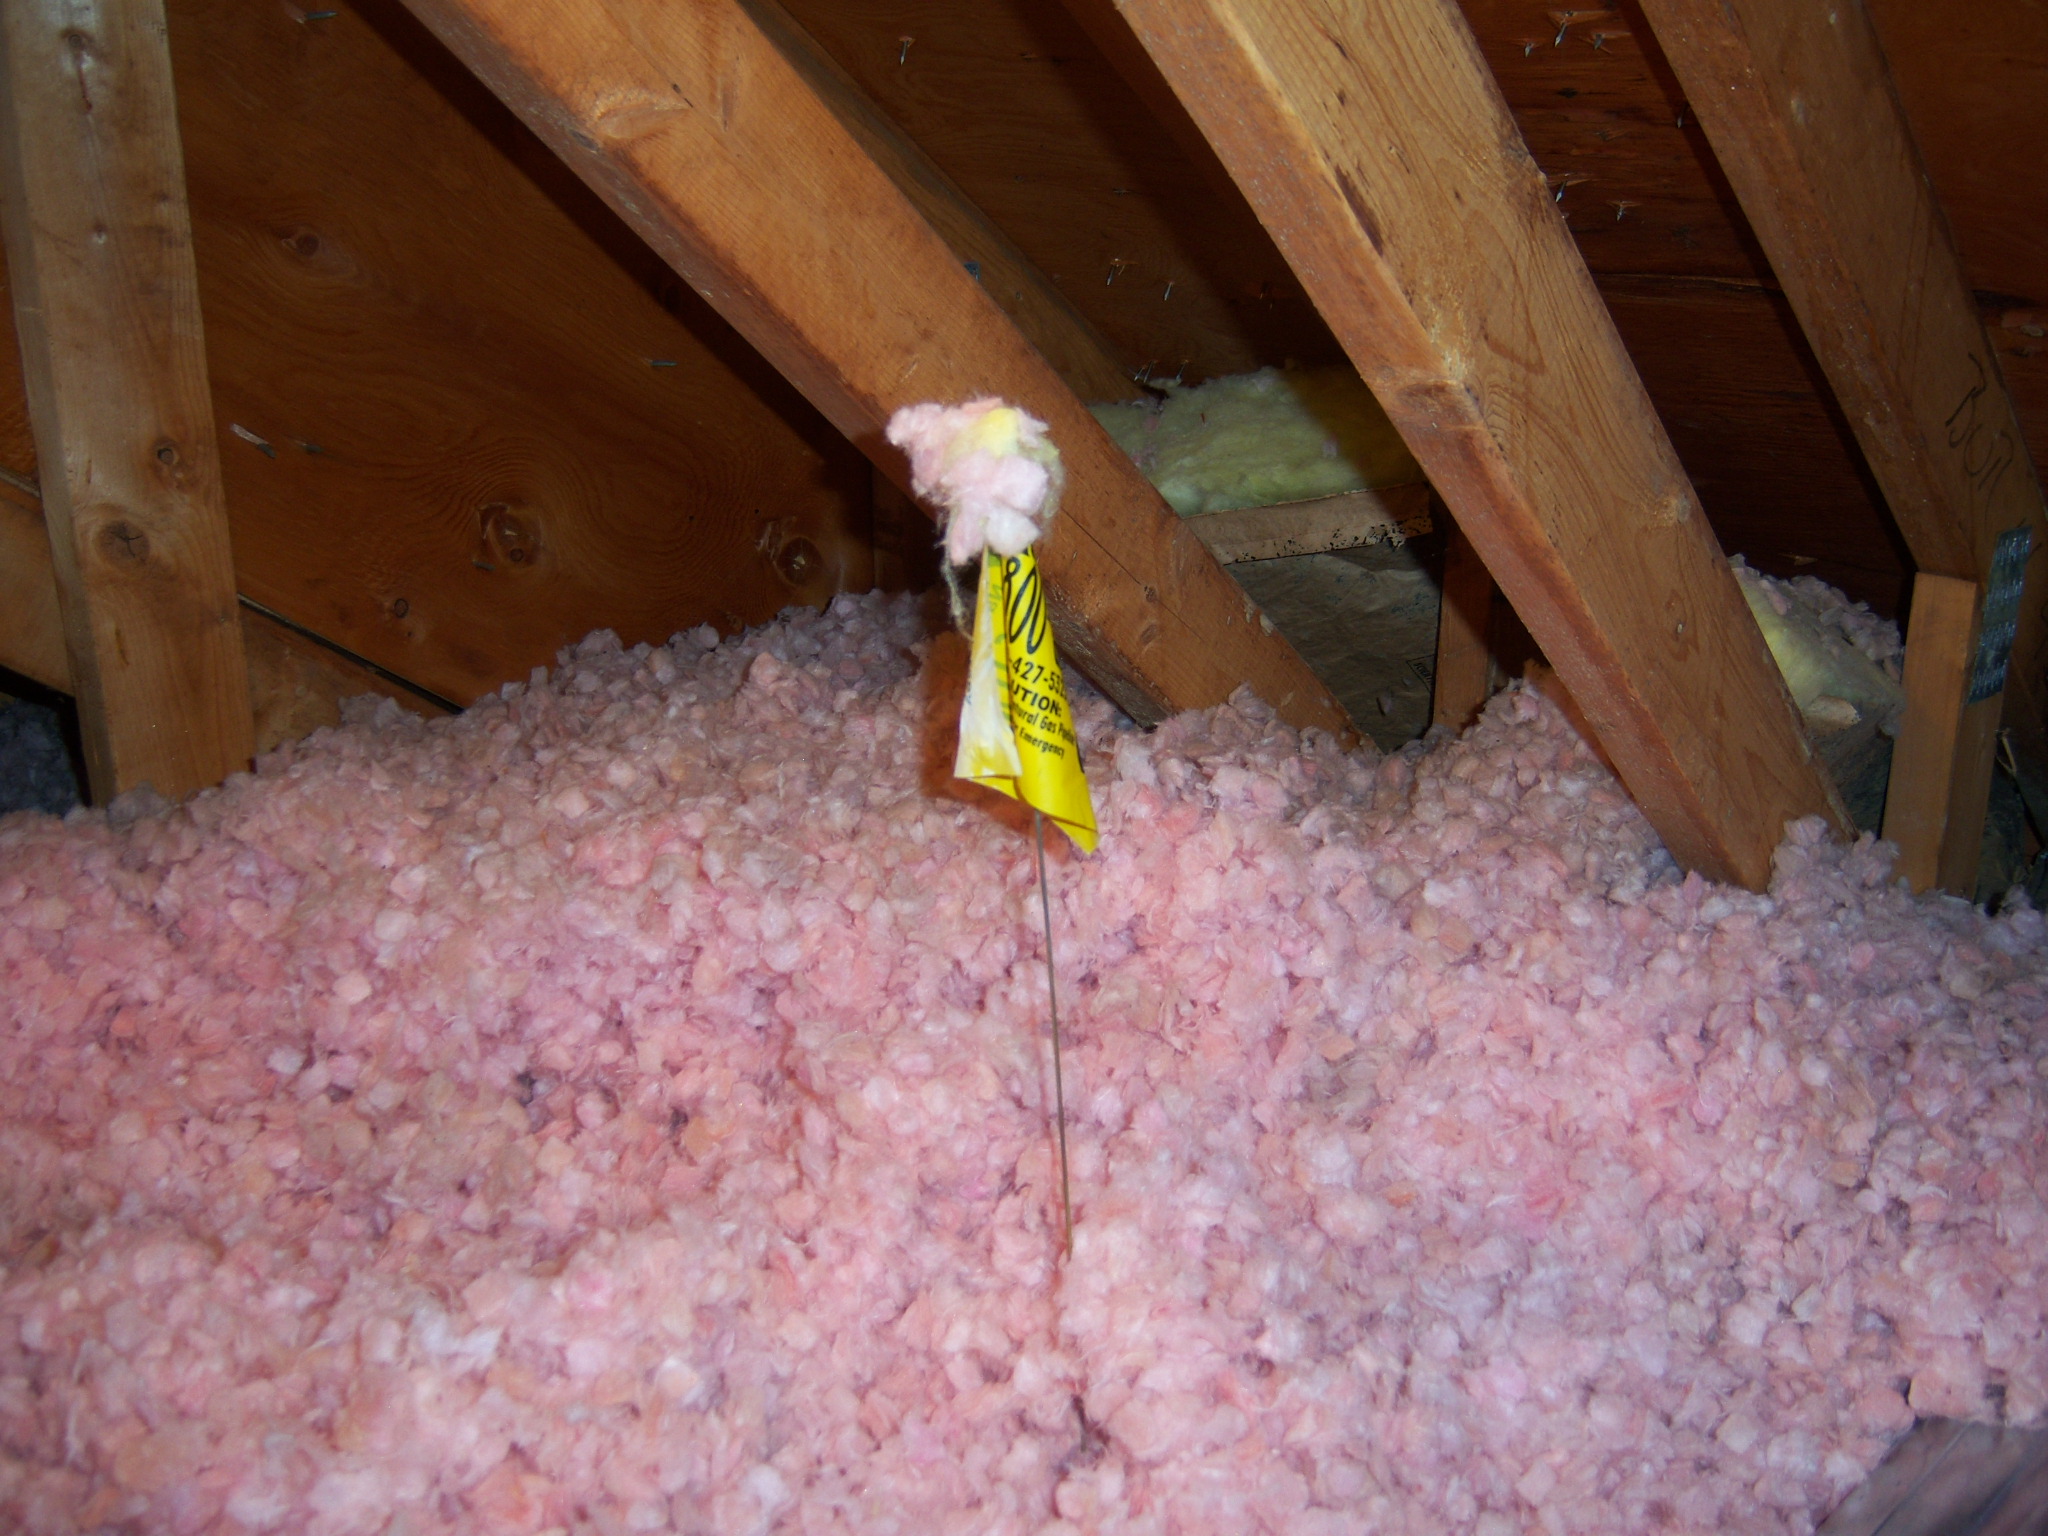
After measuring a little bit more than 24-inches to the left of my existing ventilation fan, I poke the flag through and then go up into my attic and look for it.
It’s pretty easy to find…
Now comes the “excavation.” I carefully remove the insulation where I’ll be installing the new fan (and replacing the existing fan), and this is all done after carefully laying my temporary attic plywood flooring and setting up bright lighting as well.
It’s imperative to have a safe and stable work area. Don’t rush this. Be careful.
With the relevant areas now cleared of insulation, I can quite easily see the stud that’s 24-inches to the left of the existing fan, but I’m pleasantly surprised to see another to the left of that one – much closer. This second stud (the left-lost in the picture below) is at an even better location for the bathroom ceiling aesthetics below – and that’s the one I’m going to use to mount the new exhaust fan.
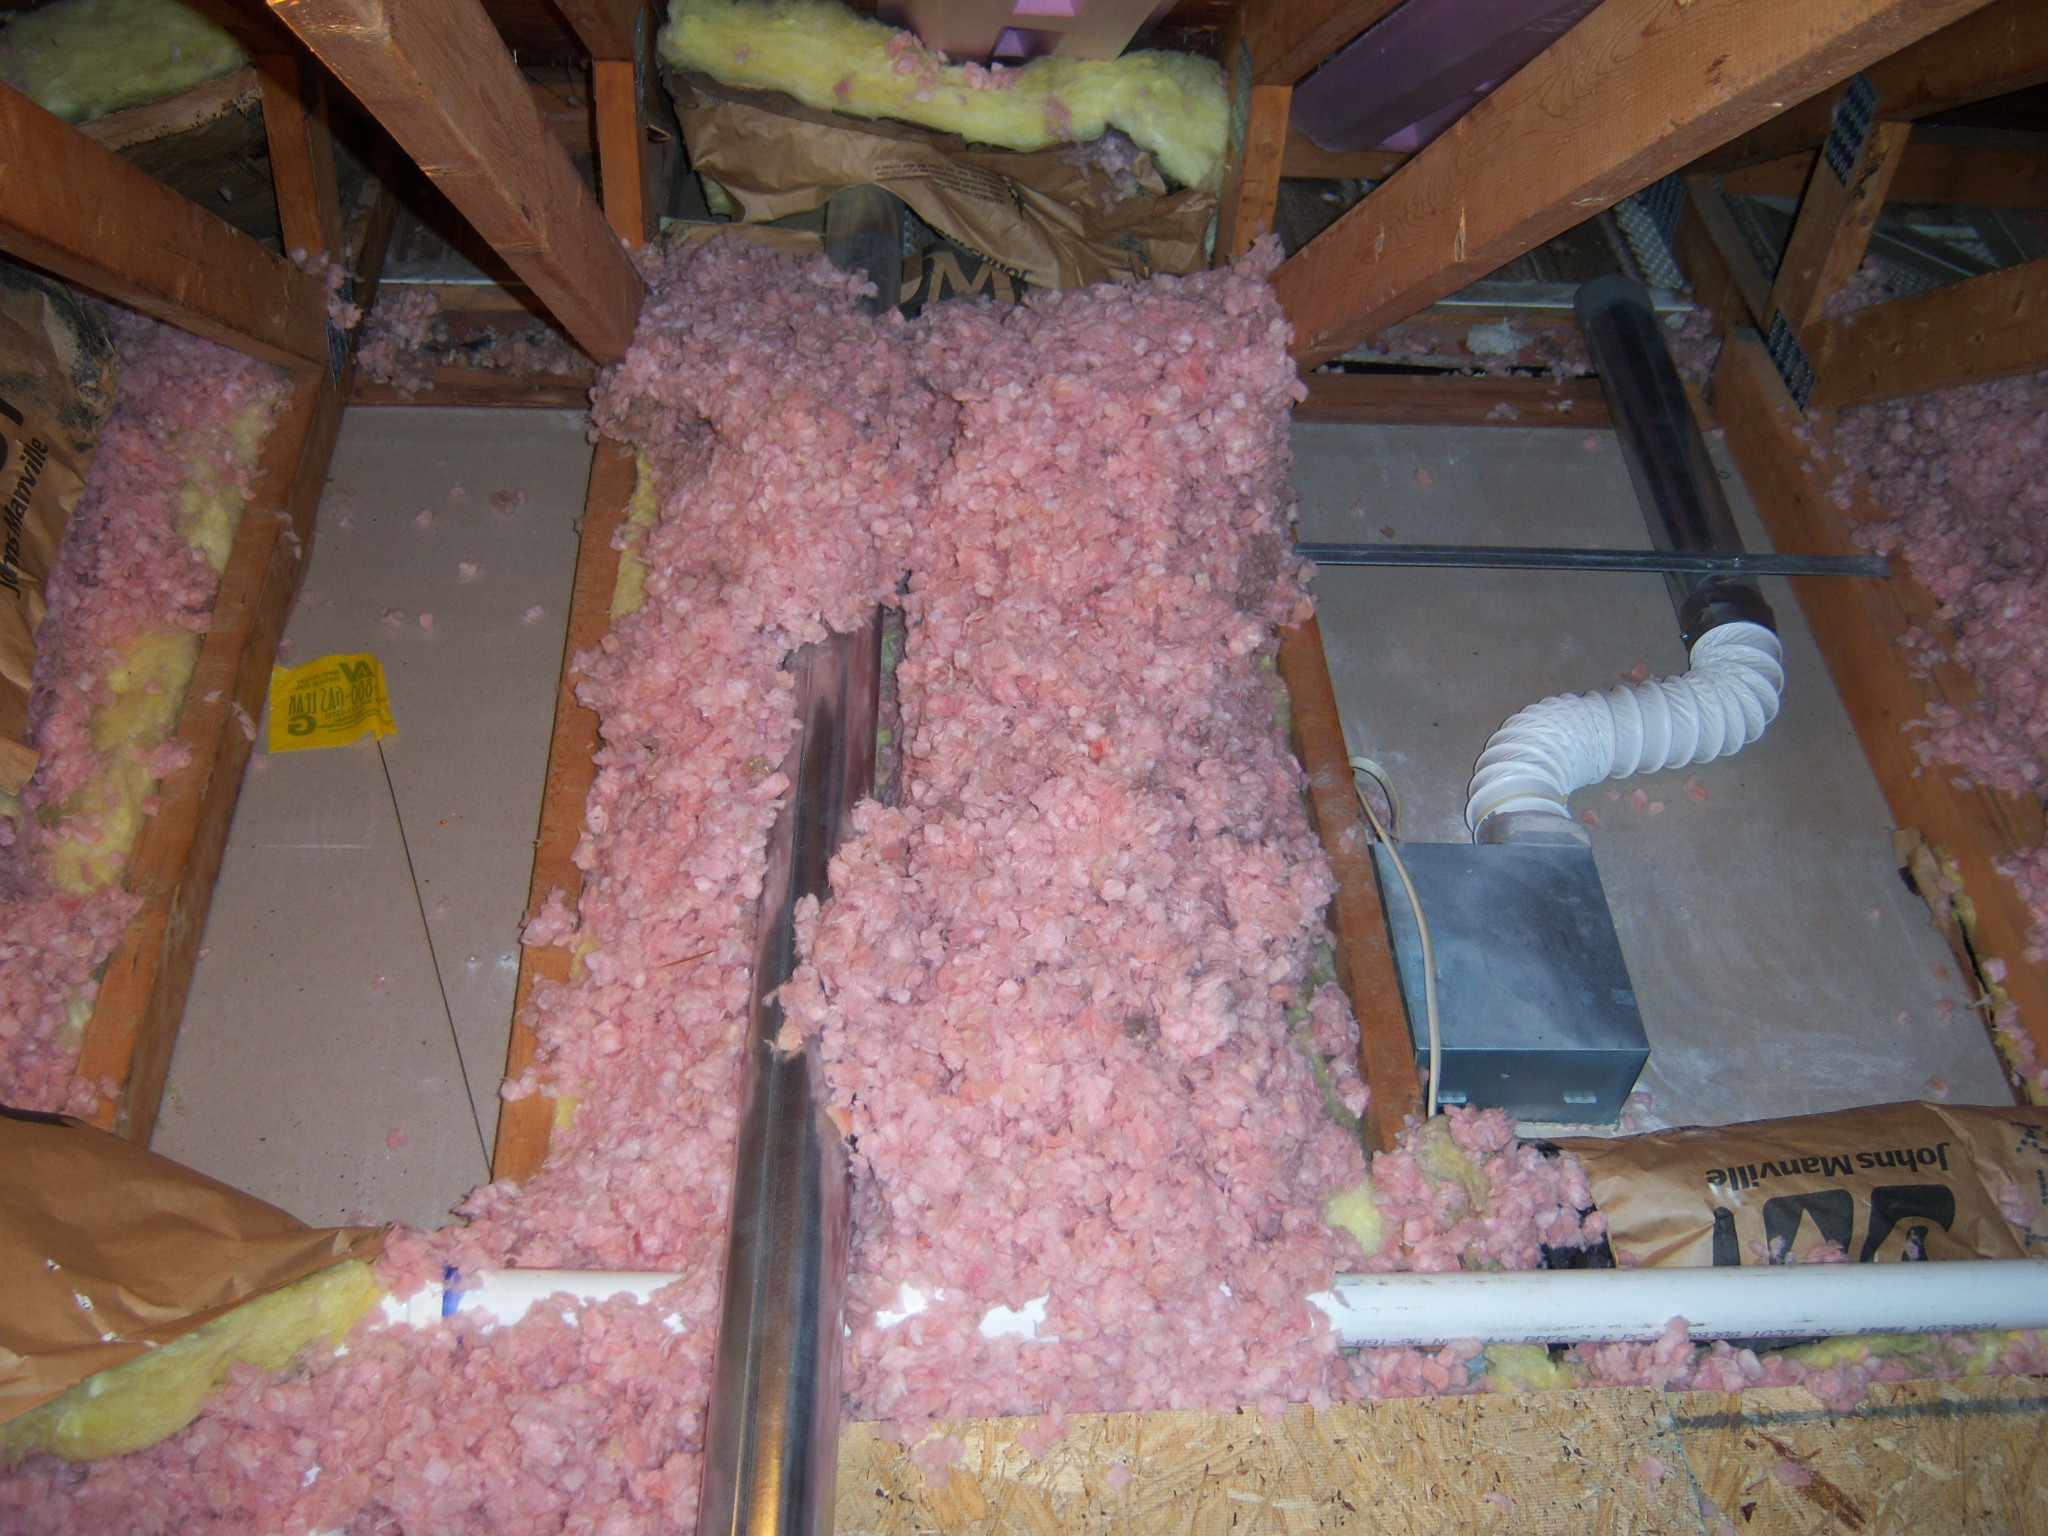
Naturally, the replacement fan (for the existing older unit) will go in the same location. But with the insulation now all cleared – take a look at the next photo.
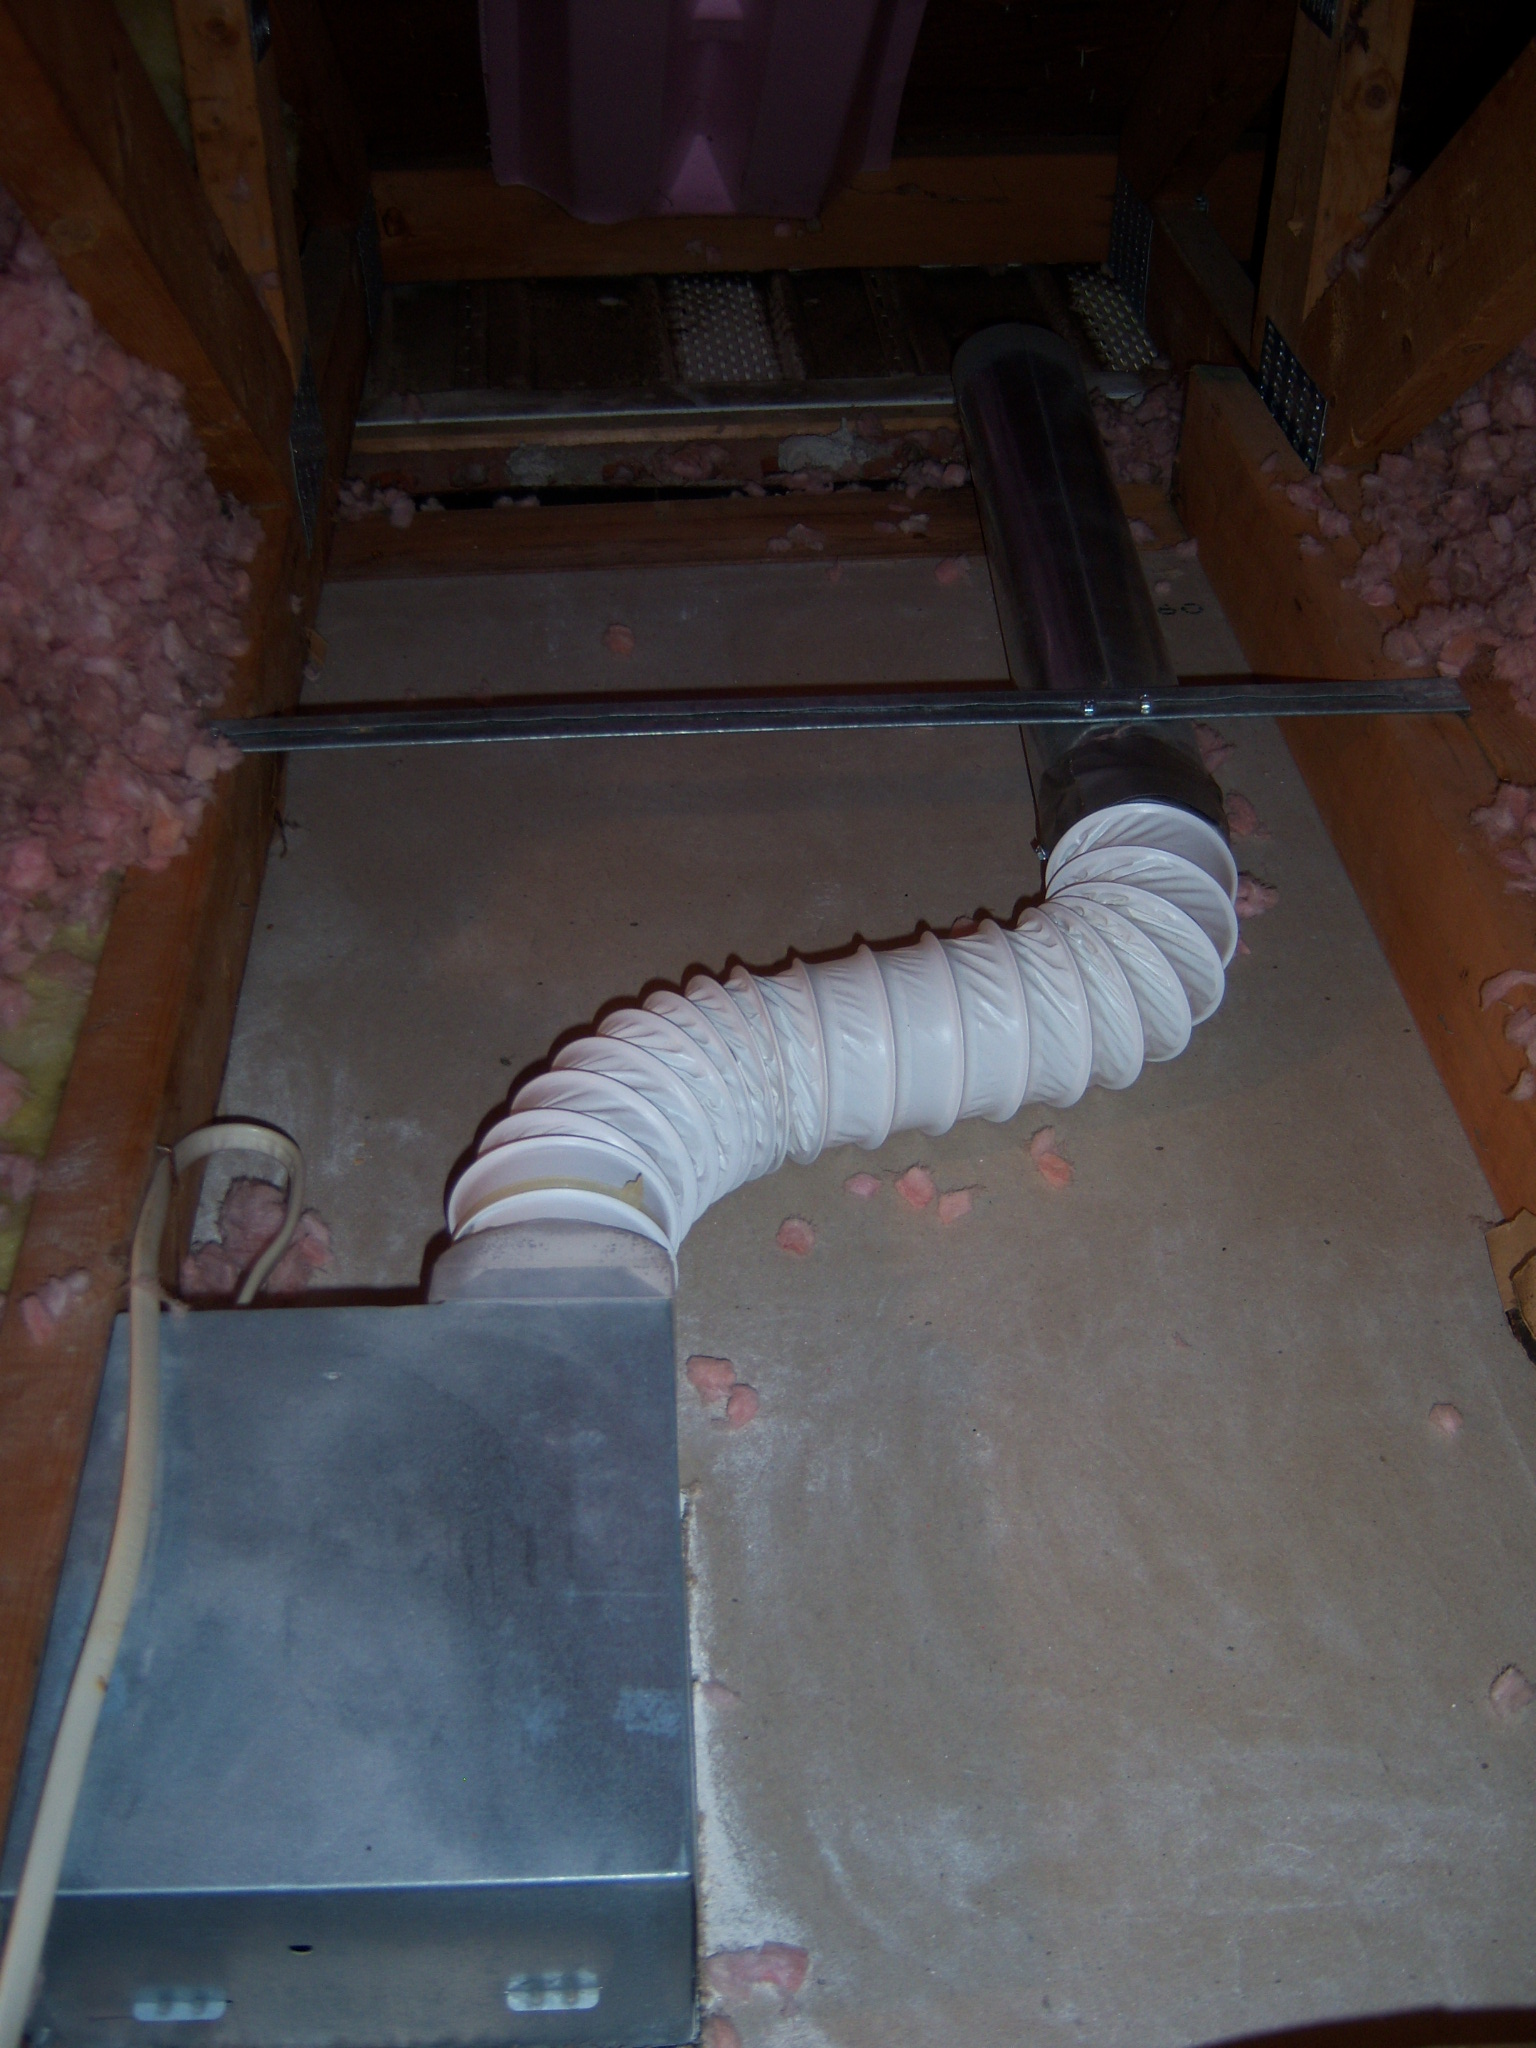
Note how the white flexible duct hose (the flexible venting pipe) bends first to the right and then gets straightened out. These two near-ninety-degree turns add resistance and impact the fan’s efficacy. We’ll straighten that out a bit with the new unit.
Also notice how the end of the venting pipe out in the eaves isn’t over an area that’s particularly open to the outside, when such an area is available about 8-9 inches to the left. We can do a little better there. But…
VERY IMPORTANT NOTE: My house, it turns out, was built with venting (for all of the upstairs fans) out to the eaves as you can see. This is not optimal at all – and when I saw this, I immediately groaned a little bit. Venting to the roof would almost surely be far more effective. Since this wasn’t something I was going to take-on by myself, you won’t see this done in the shots that follow. Moving forward, I’ll use a professional contractor to handle this. But for this day-in-my-attic – I simply did the best I could with the eaves to get things rolling.
Installing the Exhaust Fan Housing
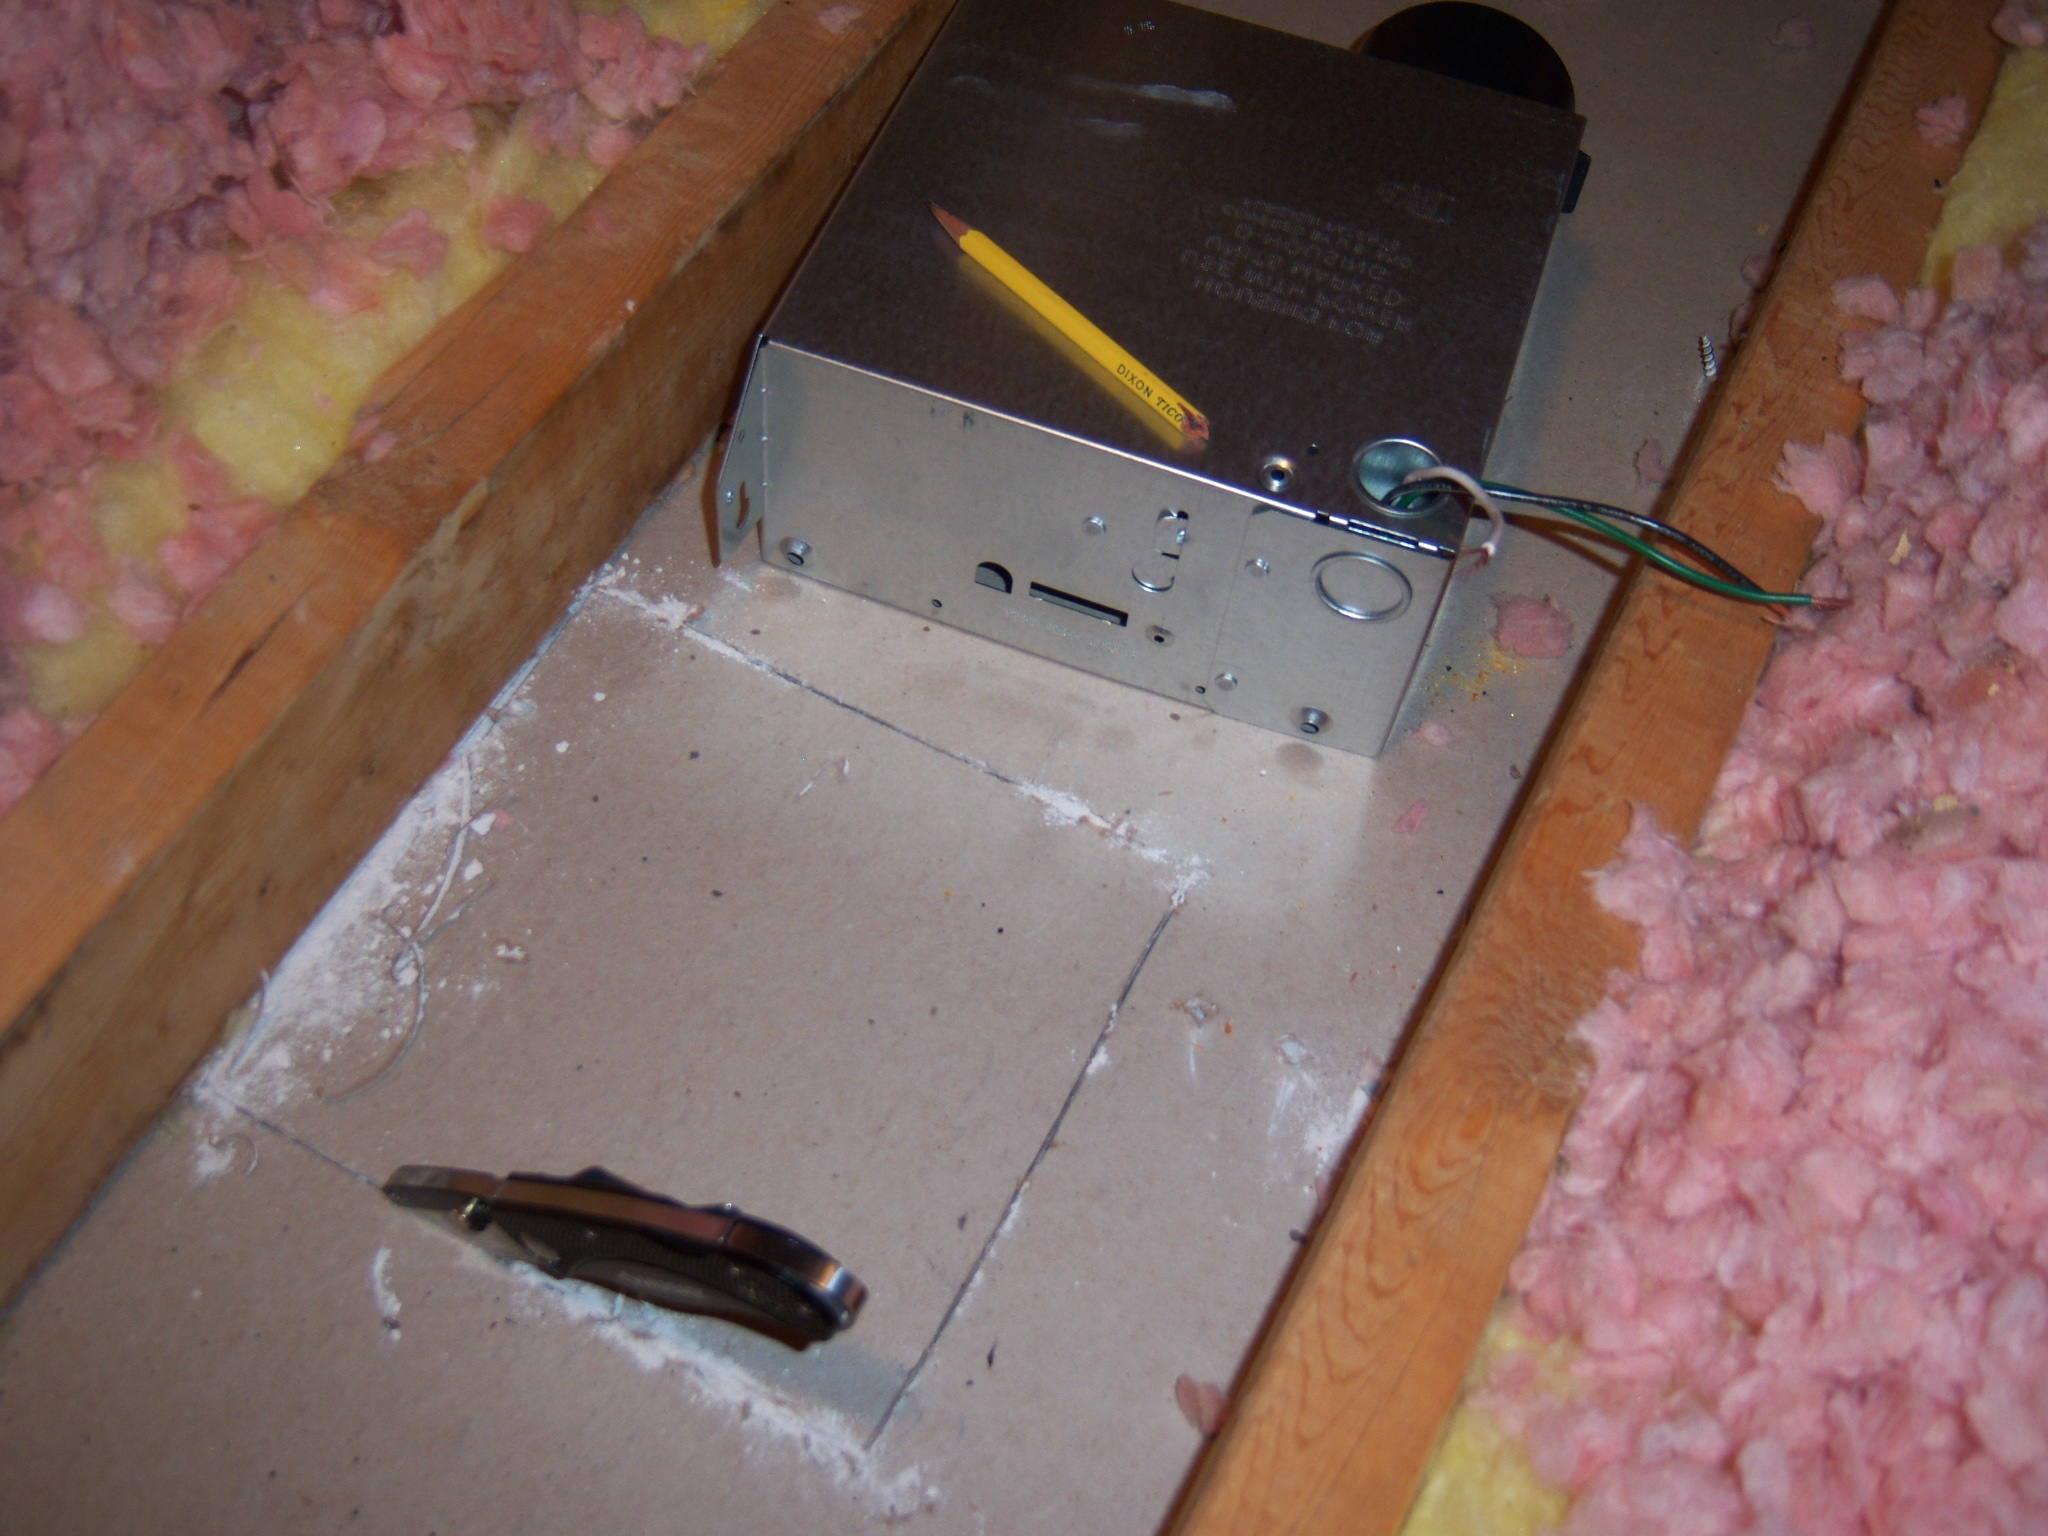
Using a pencil to outline the housing and a sharp razor knife to cut the ceiling drywall from above, the fan housing can then be mounted to the stud. This is low-tech, but once again – consider the work area. This will be easy to do with a stable work space and good lighting.
(I know I’m repeating this point, but it’s really critical!)
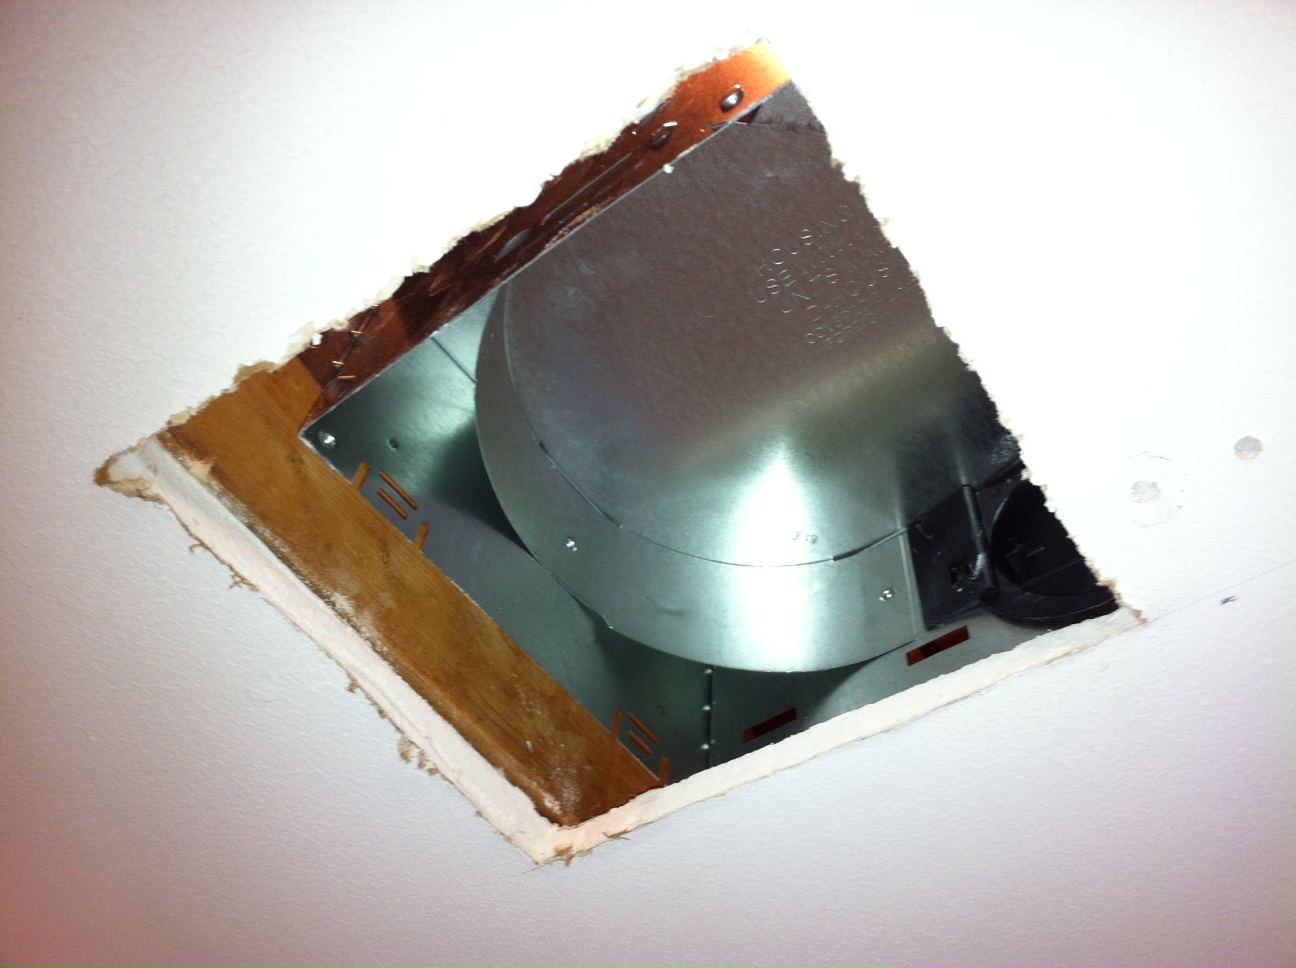
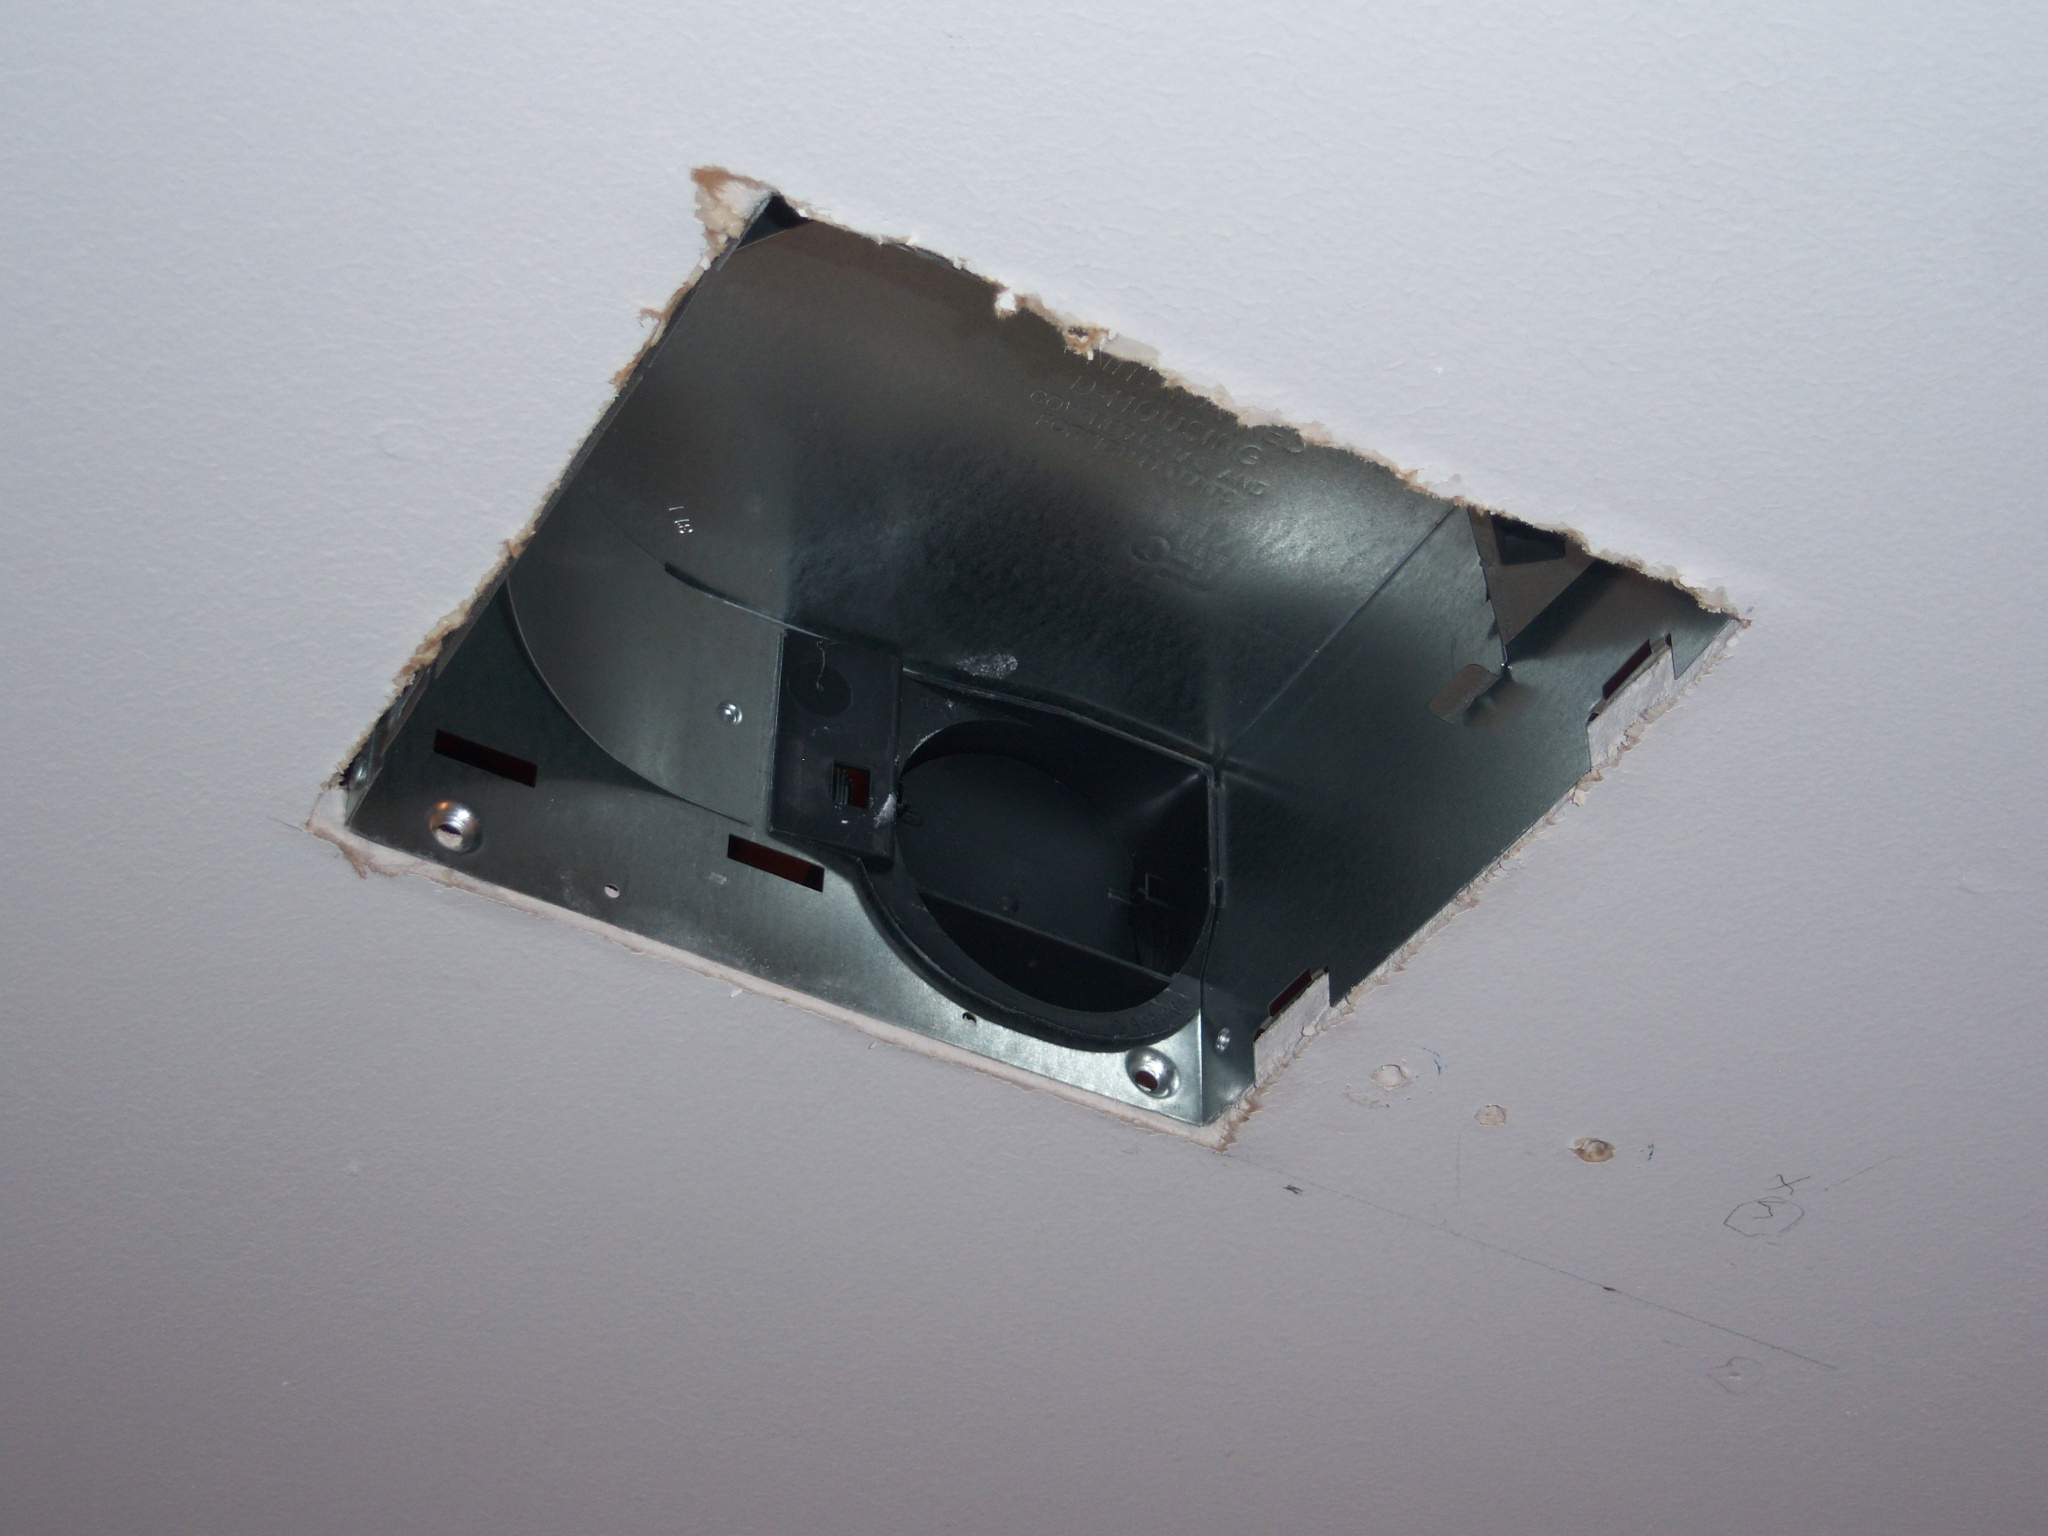
When the fan housing is in final position, the goal is to have it nice and tight and flush to the finished ceiling. If there’s a significant gap, the fan will be less efficient as it will suck air from both the bathroom below as well as the attic above. Ideally, you want it to suck air only from the bathroom – so precision in the ceiling hole-cutting is important.
Venting via Flexible Duct Hose
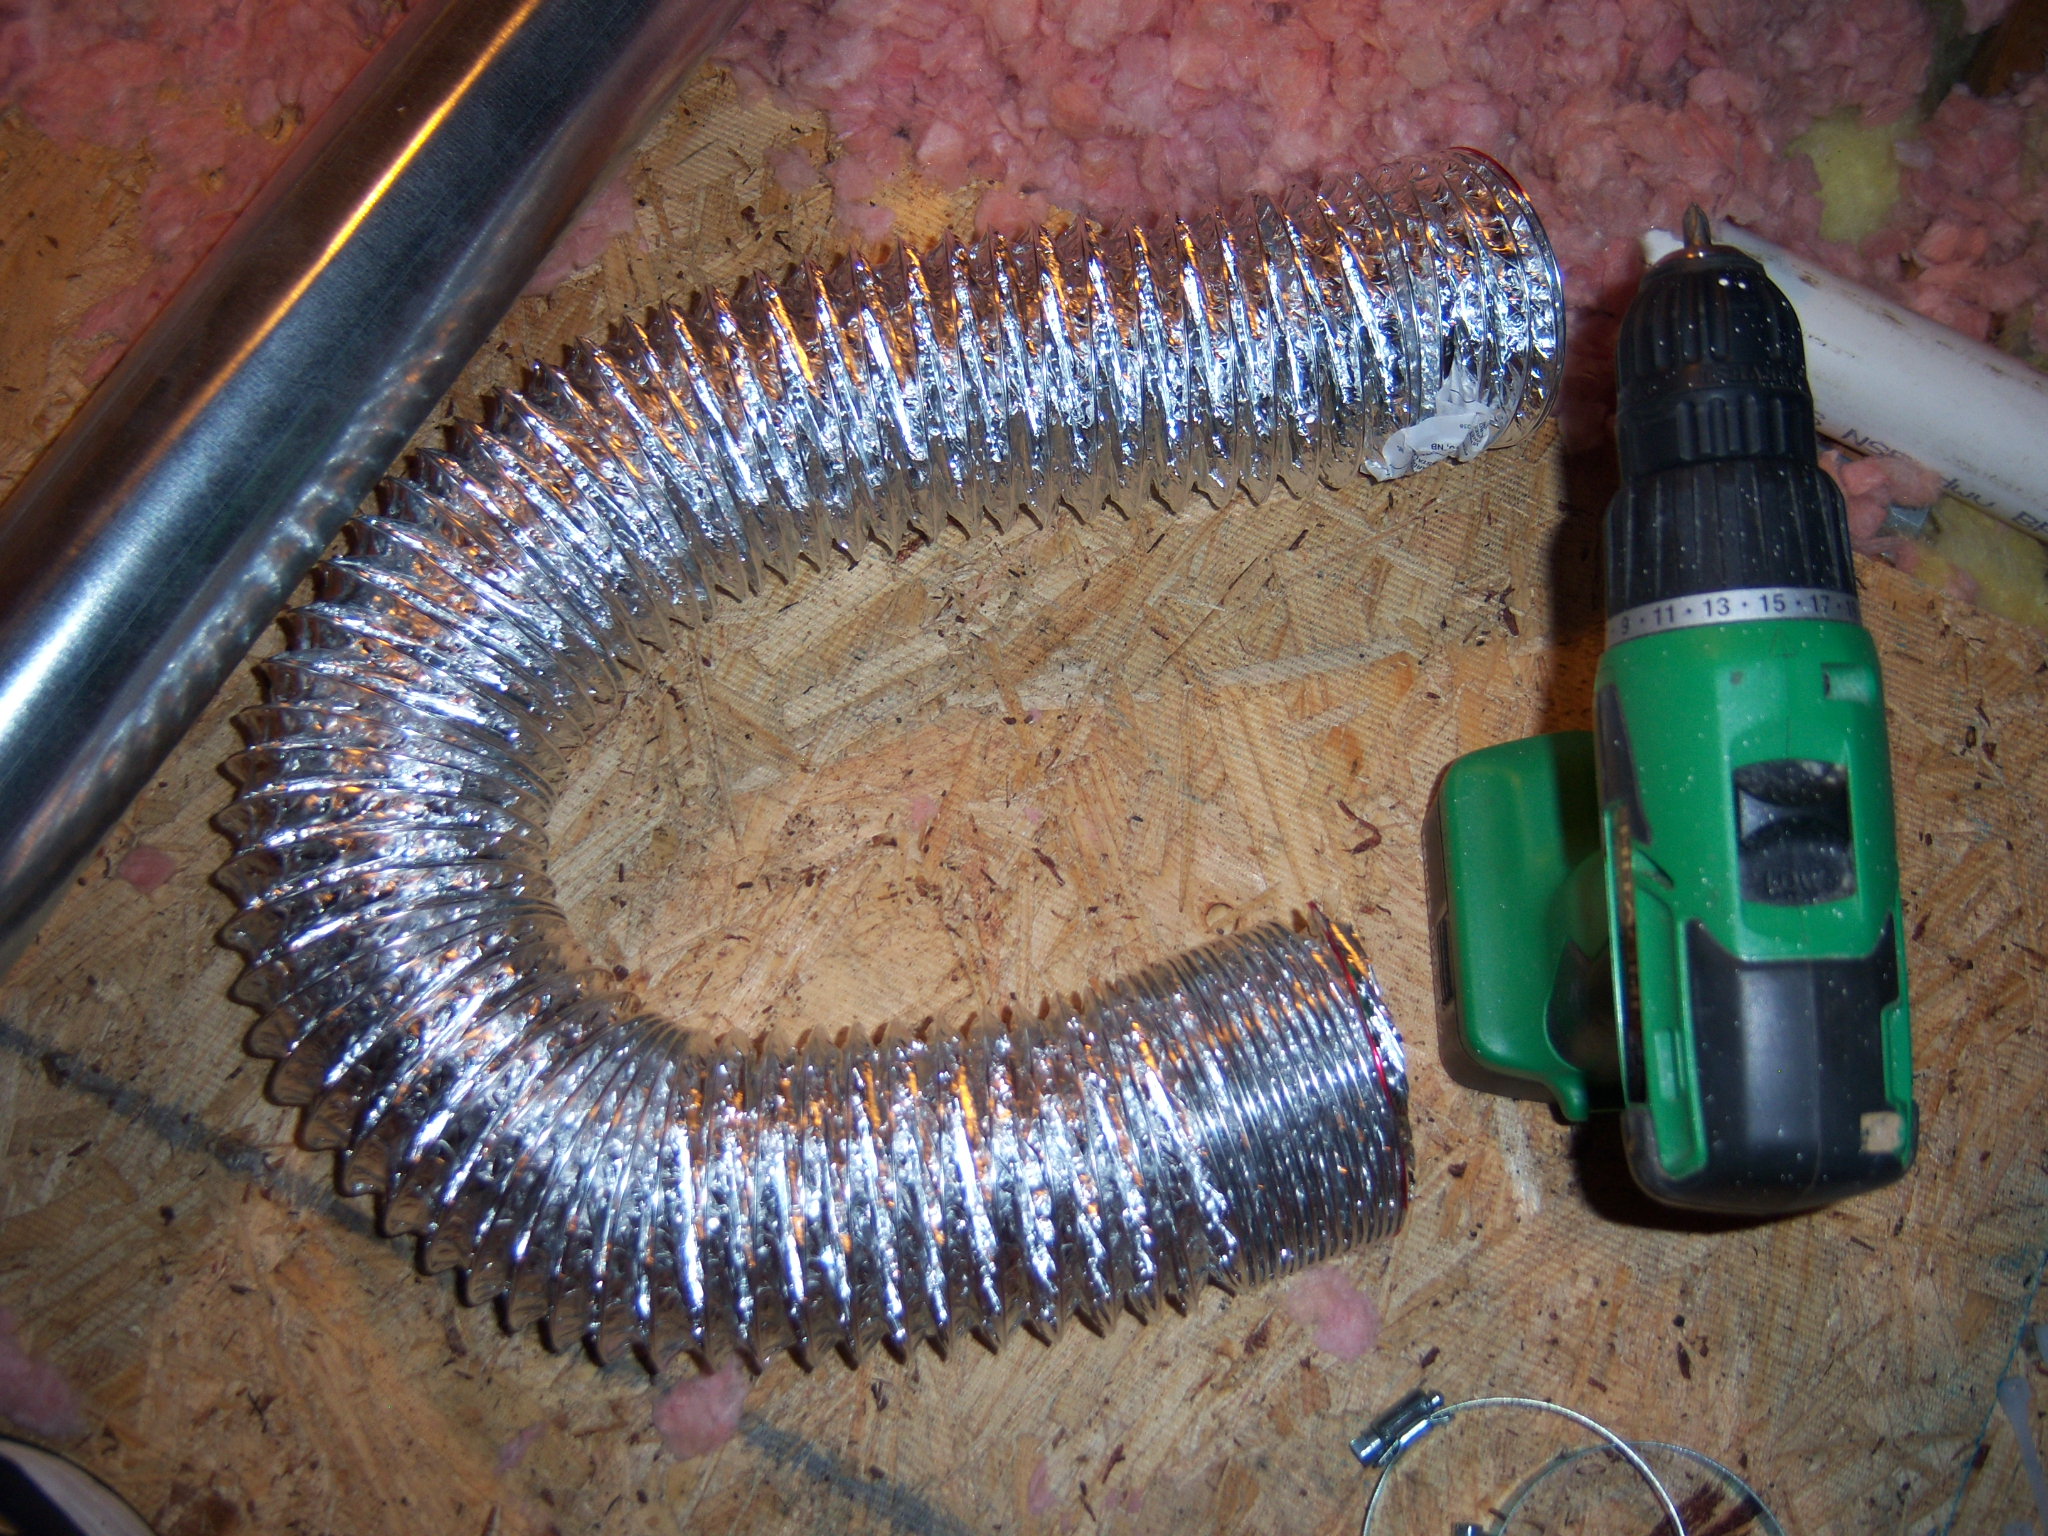
For my fans, I needed a flexible duct hose which I connected to the fan housing with a worm hose duct clamp. Please note that the links I provided in the previous sentence are for reference and illustration; be sure you have the correct sizes for your particular ventilation fan.
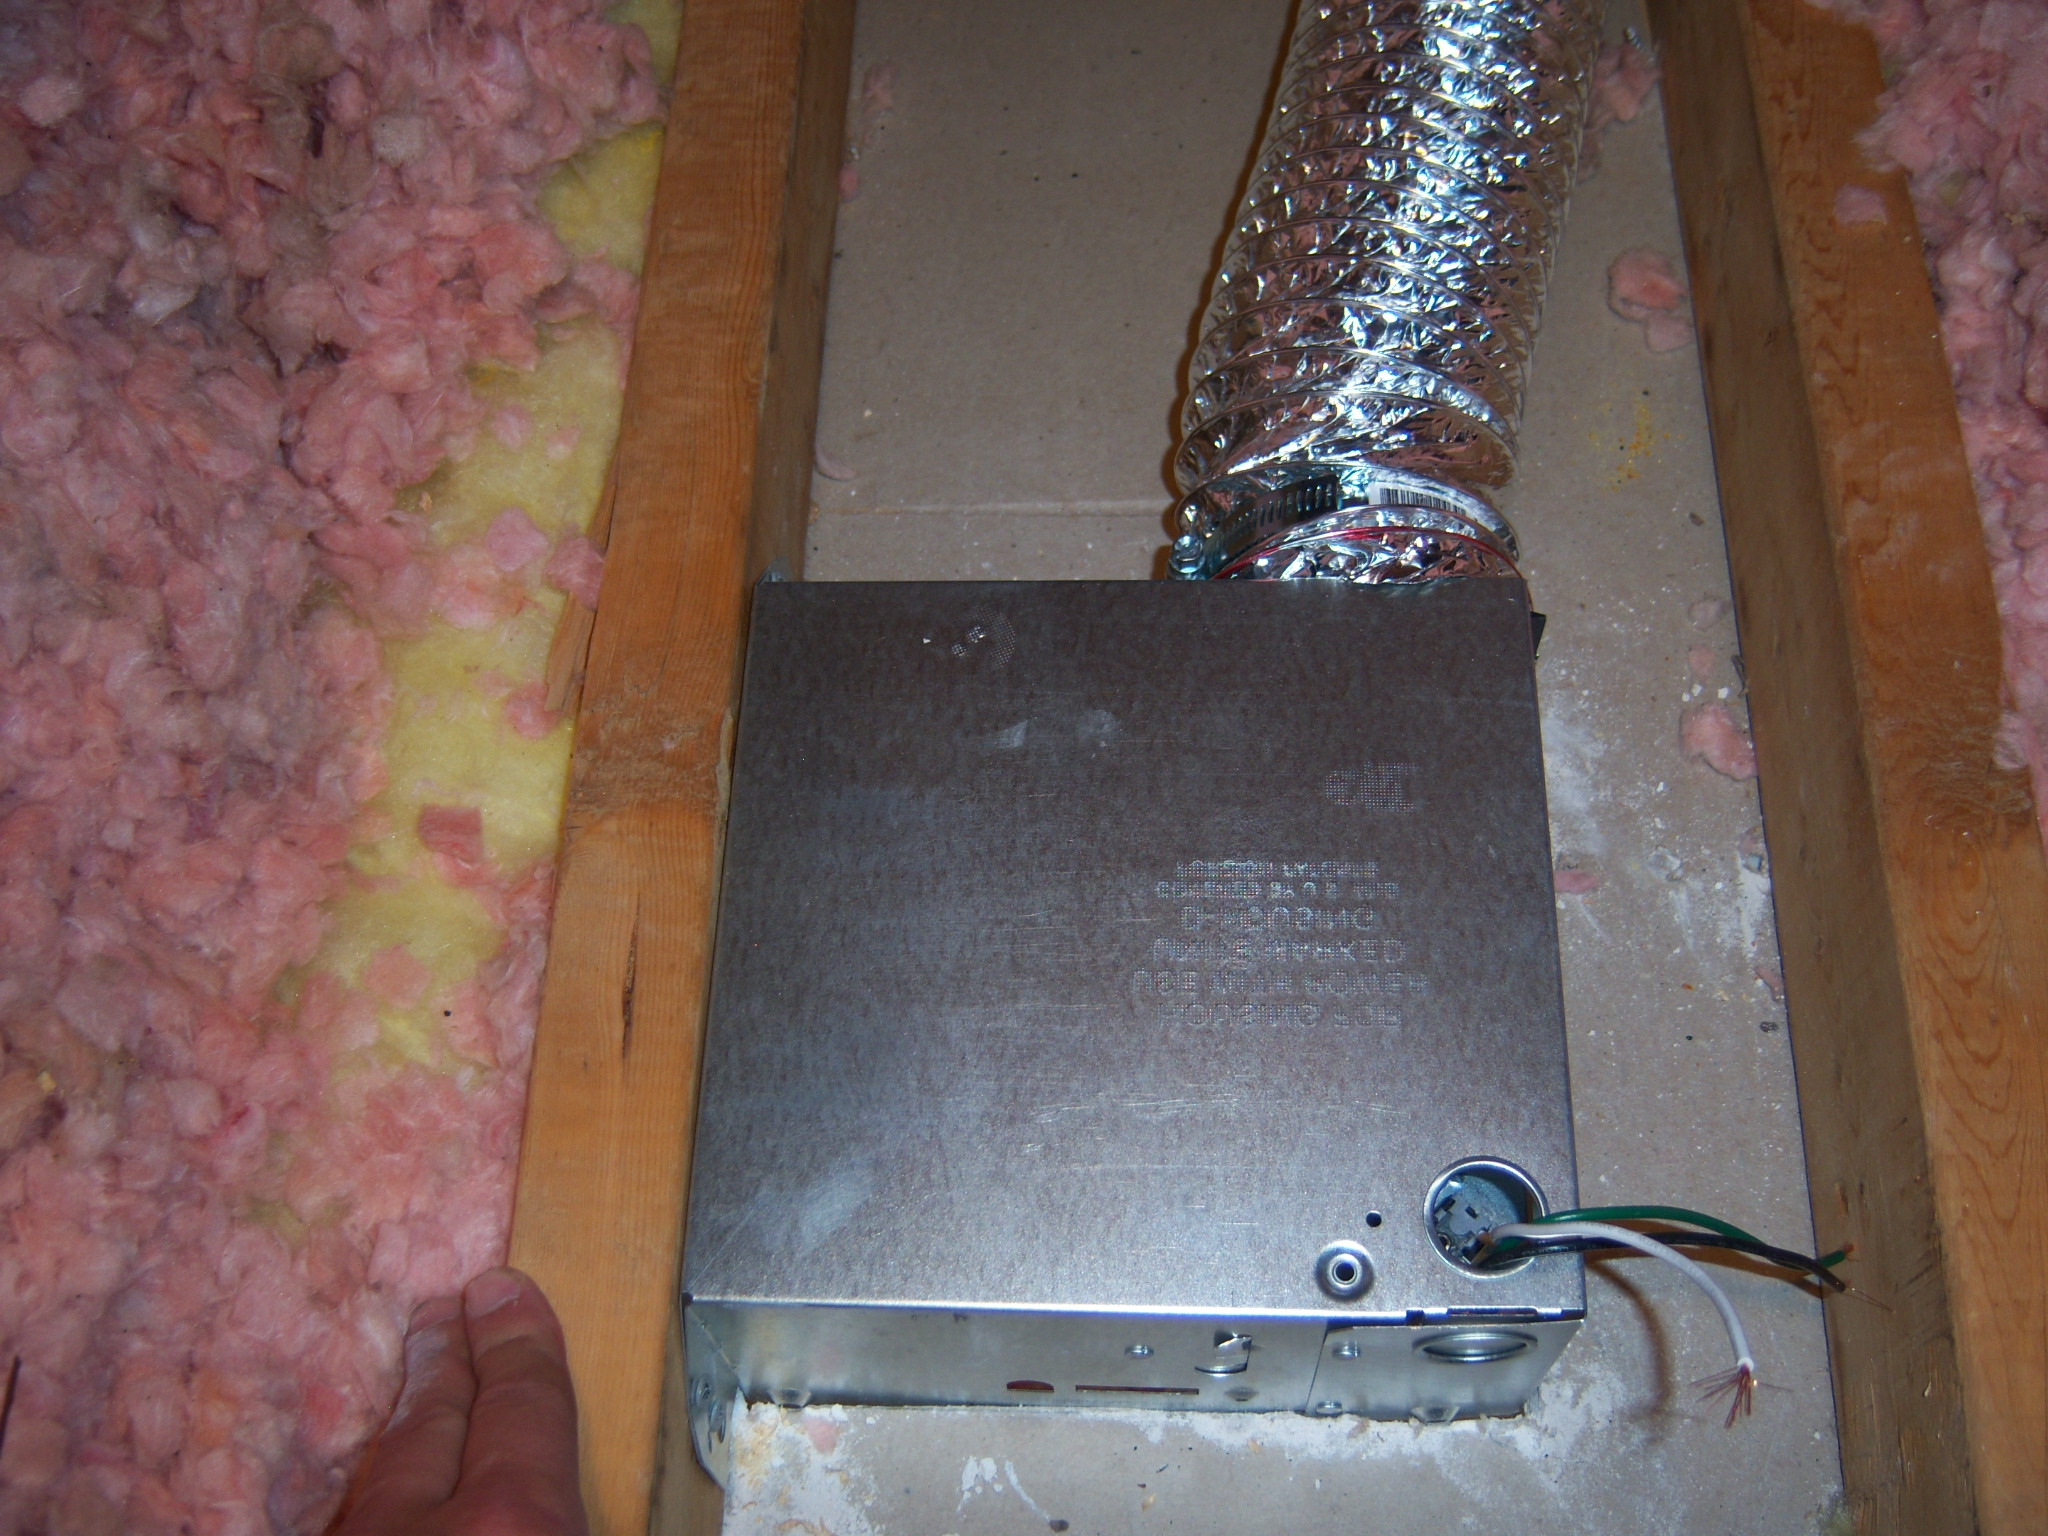
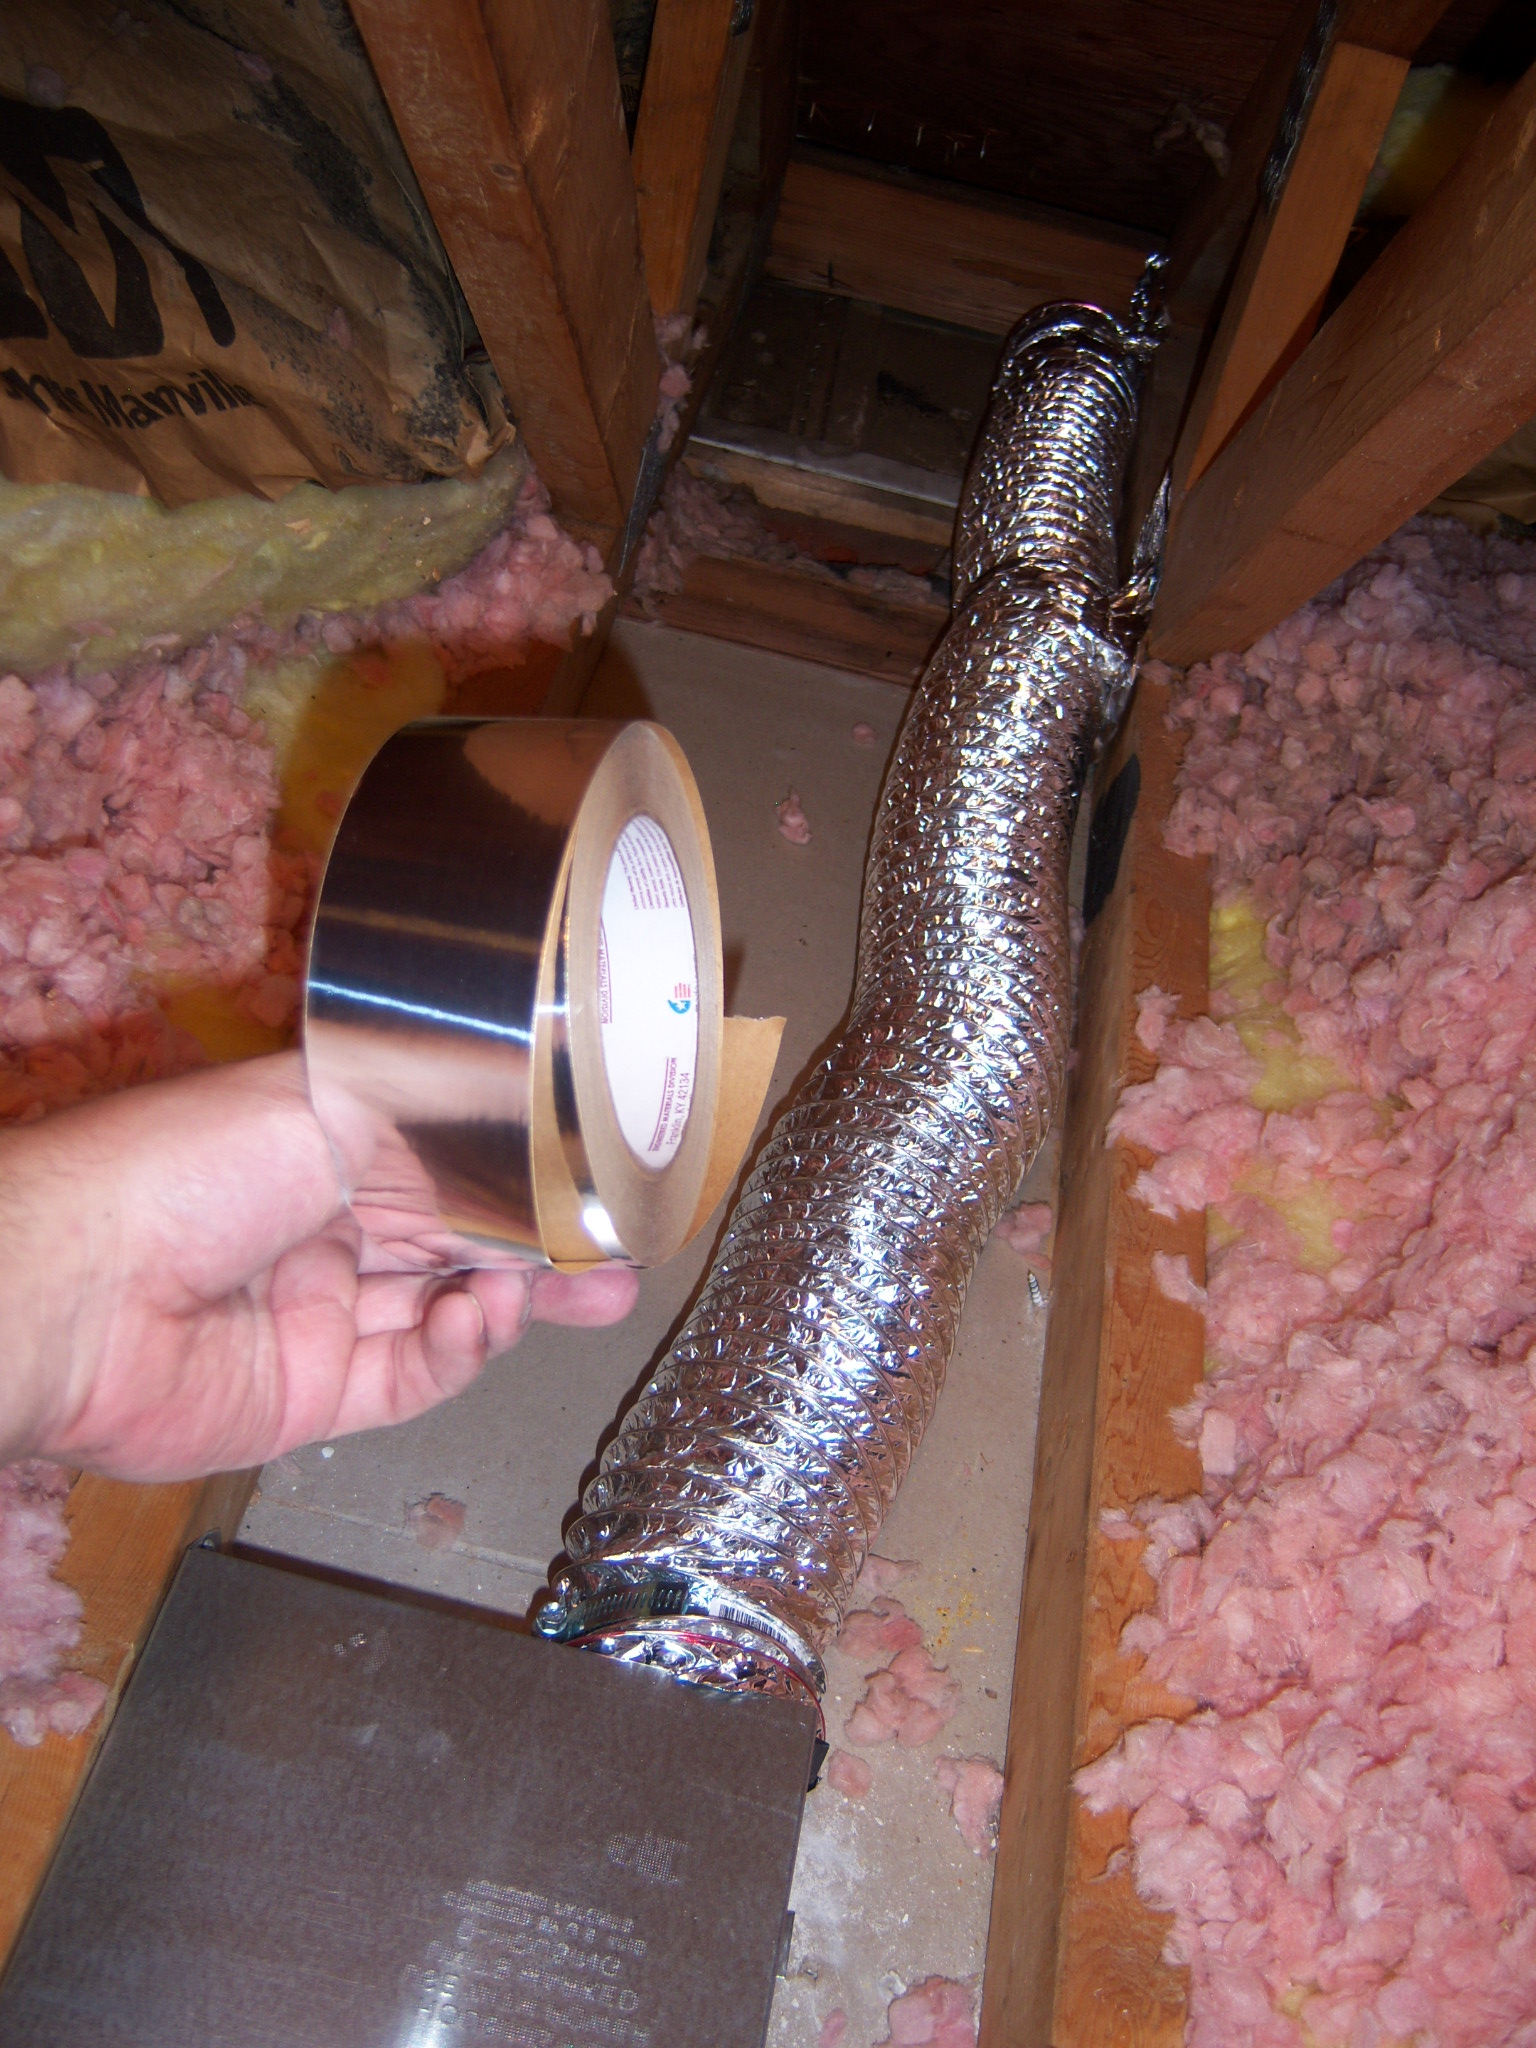
The duct hose is run into the eaves (but again – please see that VERY IMPORTANT NOTE about roof venting consideration above) – over an area that’s open to the outside, and I secure it with foil tape where I can get a good bite to hold it in place.
Electrical Work – Junction Box for Both Fans
A junction box is installed to be used to power both fans from the switch in the bathroom below – they will be wired in parallel so the failure of one fan unit will not impede the second fan from functioning. This is another area where a licensed electrical contractor can potentially be a great help.
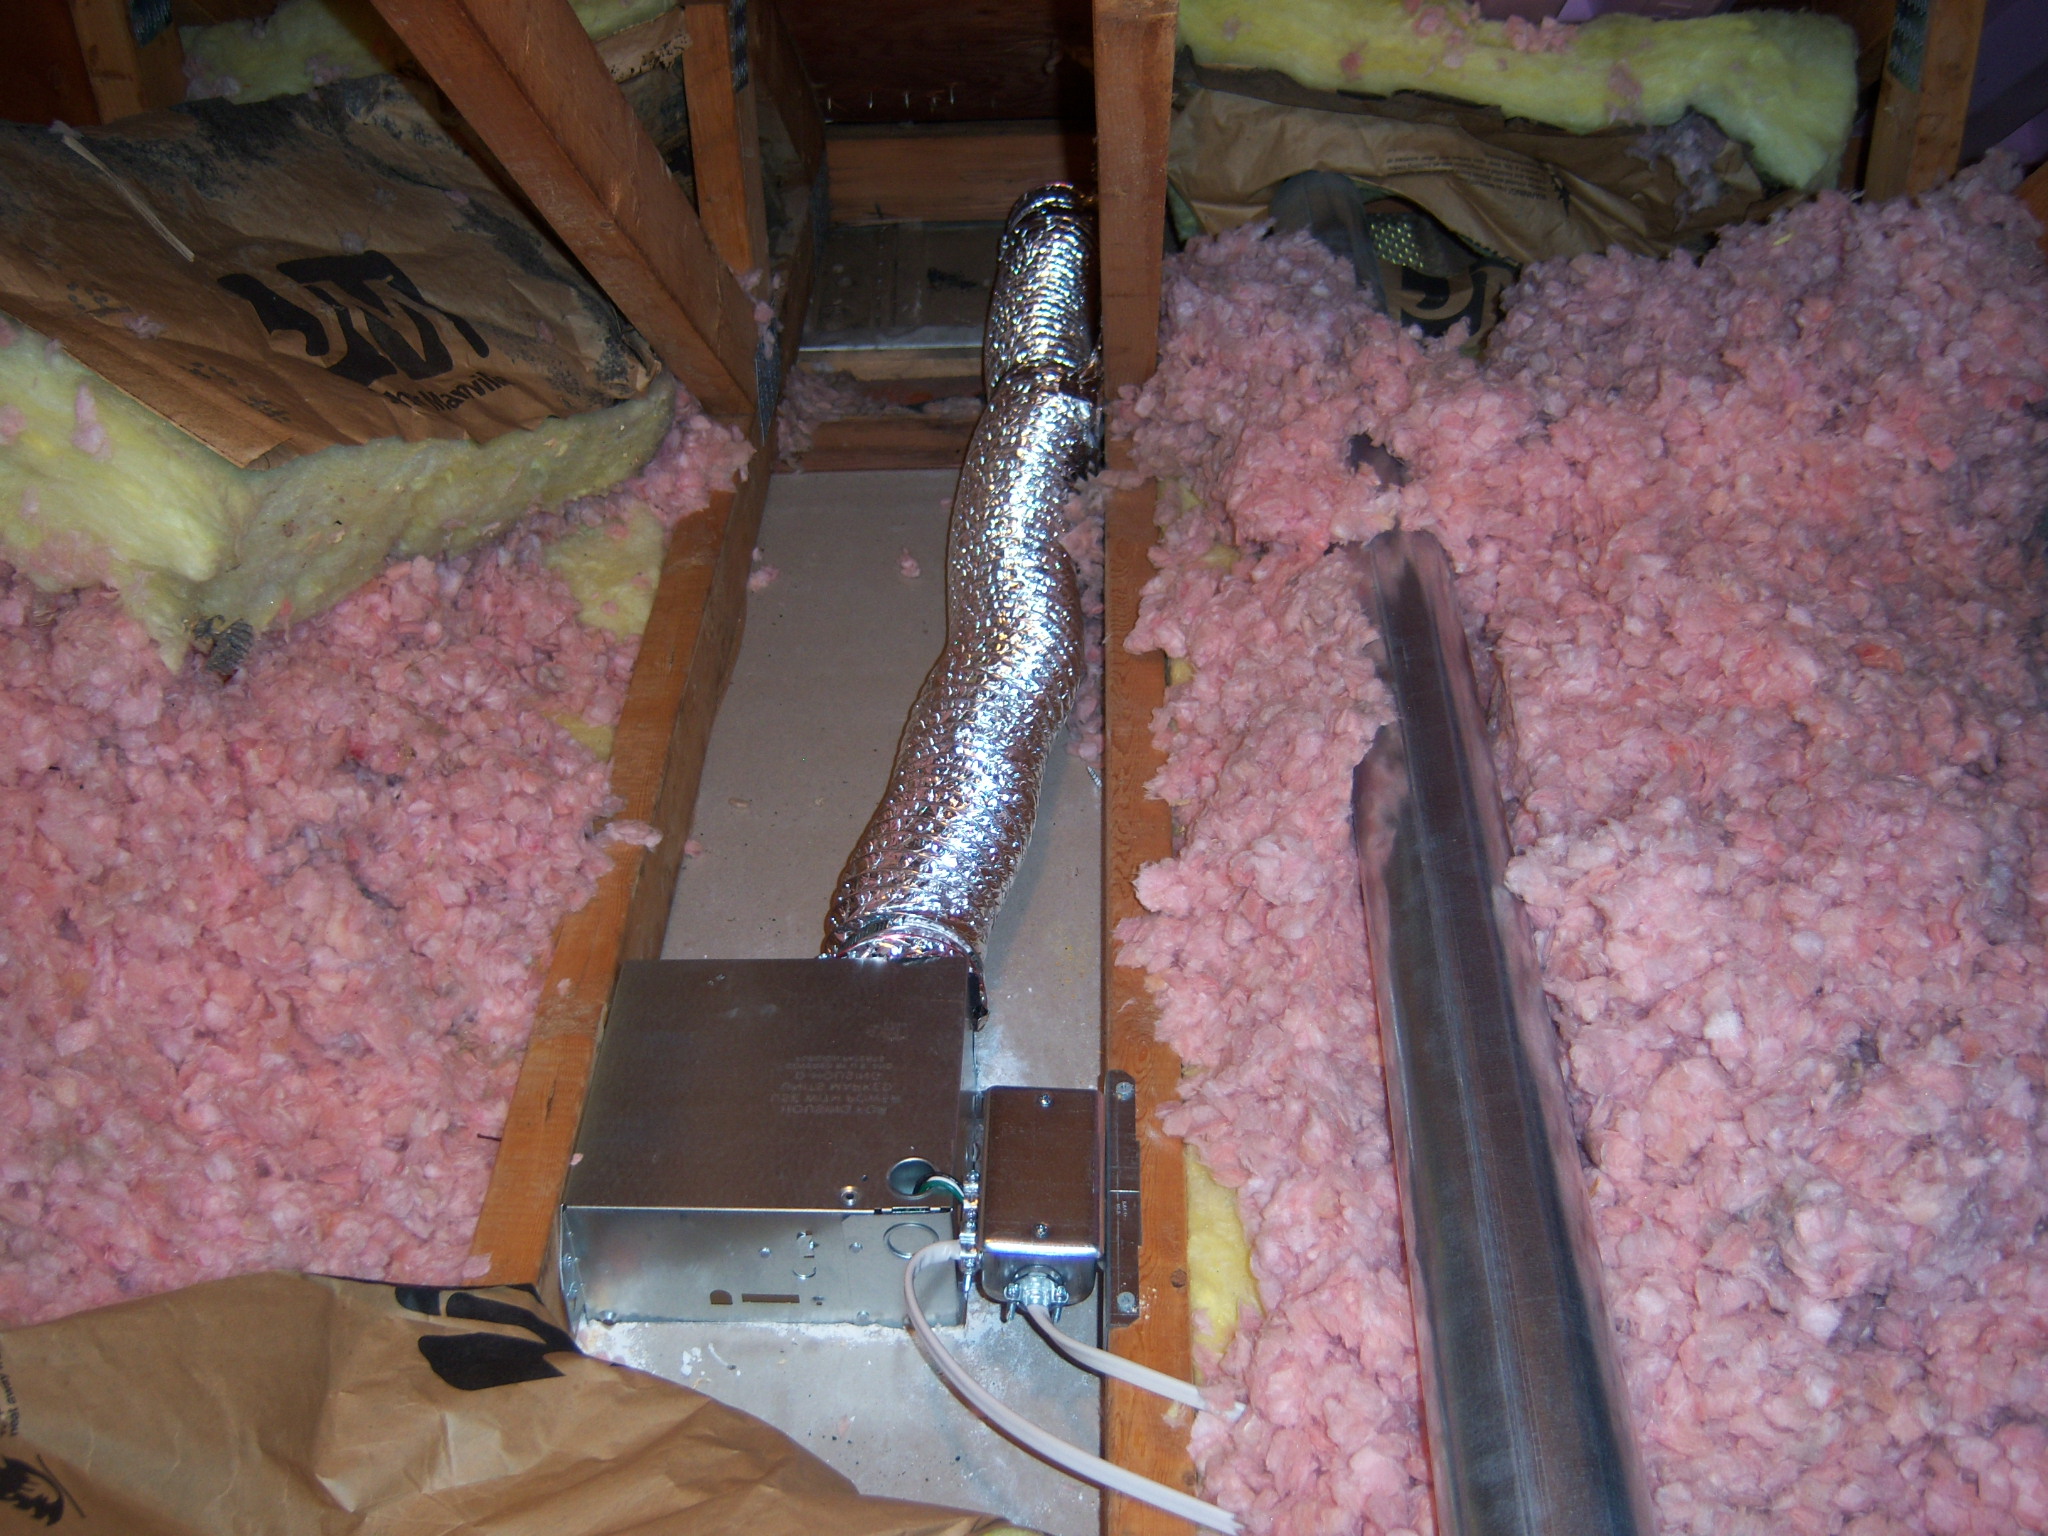
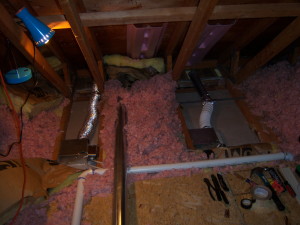
In the shots that follow, there are a few things to point out:
- Both ventilation fans are now installed
- Both are vented to the eaves over an open area, secured and have nice straight runs
- Note also the flooring, lighting and tools as well…
Exhaust Fan Finish Work in the Bathroom
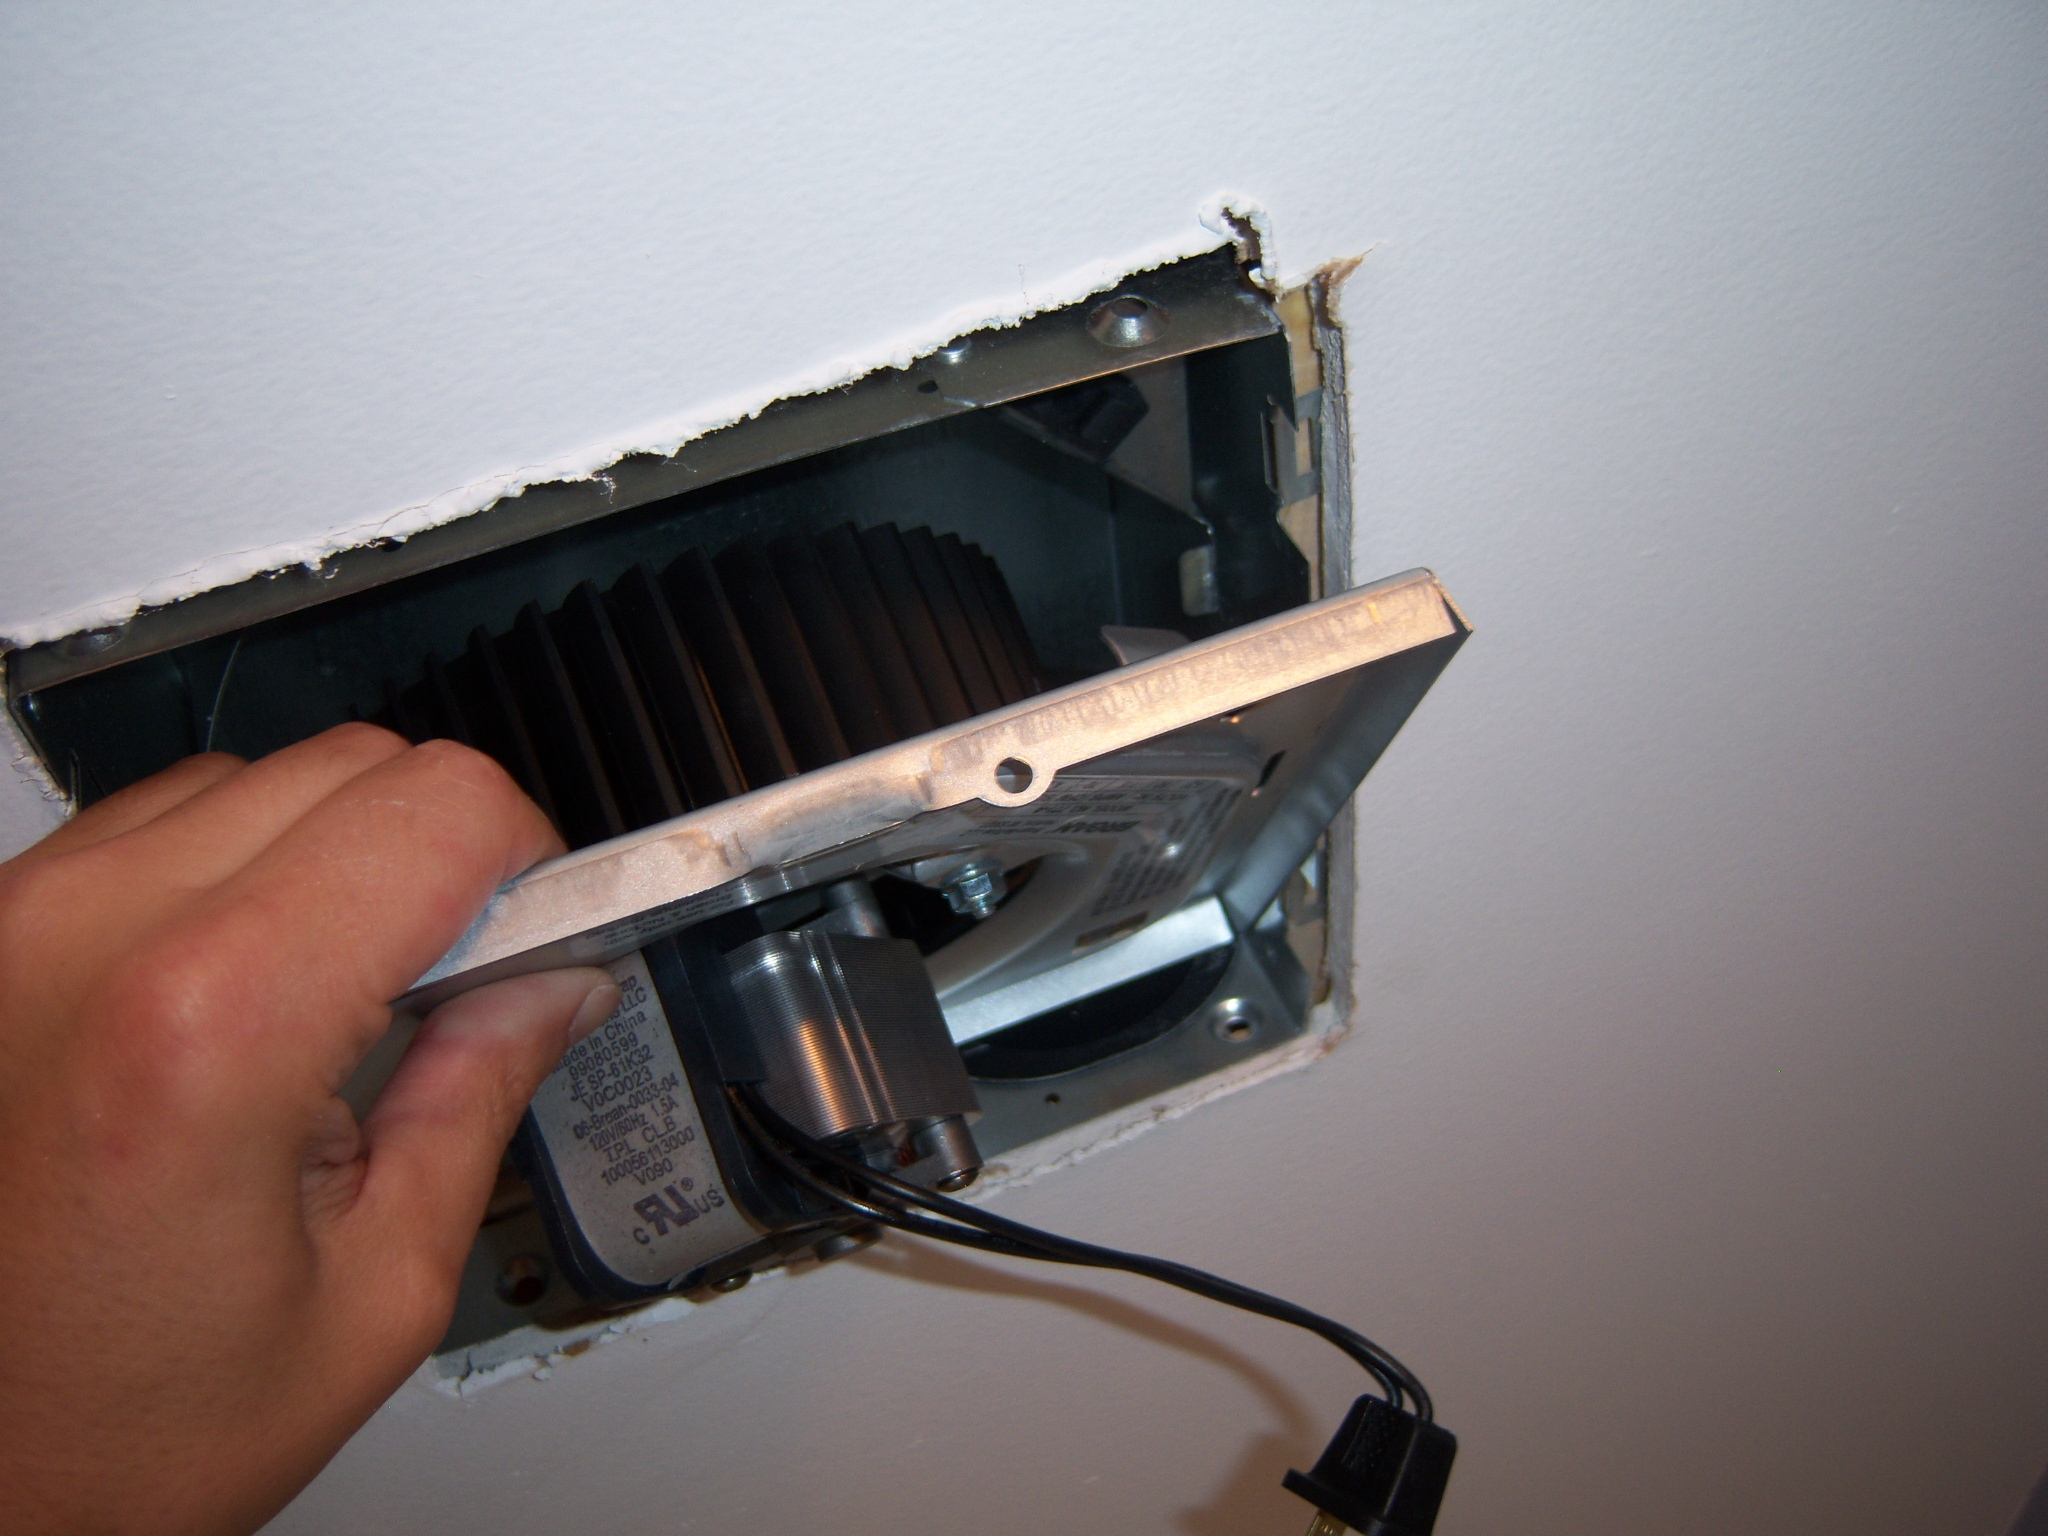
With the attic work now complete, the fans each snap easily into their housings. A plug is provided with each that connects to a mating housing outlet.
And with the covers installed, this all looks rather… well, boring now. Right?
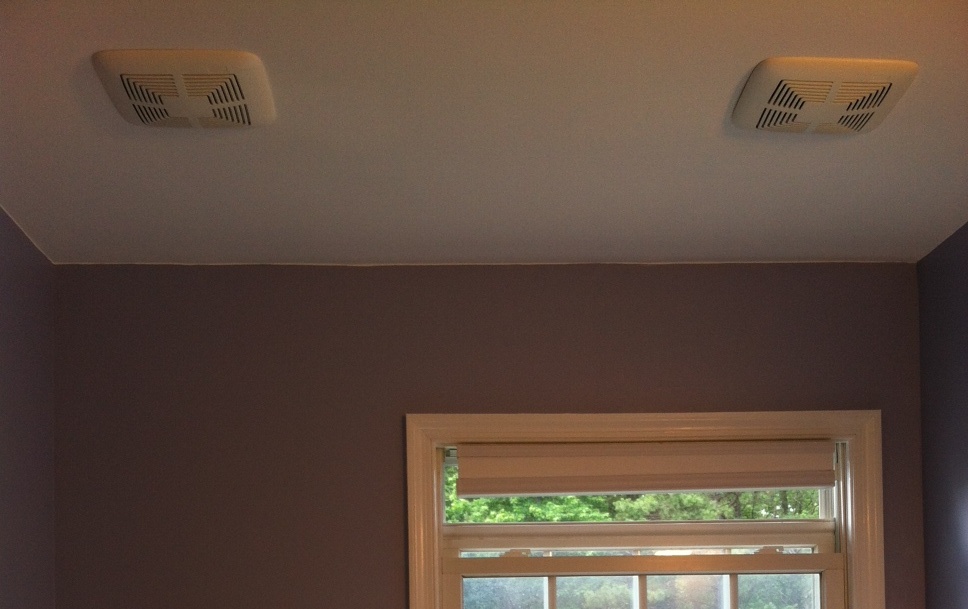
With all that interesting stuff that was going on in the attic above, and while this is all nice and neat in the bathroom (and both fans work too, by the way) – this now looks just like any other to-be-ignored bathroom ventilation fan installation.
Anticlimactic at some level, perhaps, in the end – but these fans are very important for the bathroom!
Because now we’re much more prepared for those LONG [teenager] showers…

Hey Rory –
I’ve never done the first and third items you mention in your comment below; perhaps you can provide a little more detail if you can? It may be helpful for all, including me!
Just installed a Panasonic Whisper bathroom ventilation fan – and OMG, that unit is amazing. It’s SO quiet, and has a much higher CFM than the fans I’ve used in the past. I’ll definitely be installing another soon; I have a full bathroom ‘demo and rehab’ on deck for 2023. The Panasonic bathroom ventilation fans are more expensive than the builder-grade ventilation fans, but doing everything I can to minimize the risk of mold is of paramount importance to me, even for a few extra dollars.
Thanks for your comment!
Air Sealing around the bath fan, Insulating around the bath fan housing. Using an insulated hose. These are what I see missing here.