So I’m finally ready to begin a long-overdue dining room architectural trim work design, and I want it to include all the classics: fluted casings, crown molding, shadow boxes. Maybe some textured faux finish or wallpaper accents? Possibly a hardwood floor as well??
A project like this can be a very significant undertaking.
But before thinking too much about the construction (where I’ll get to use my nail gun and compressor once more), I’ve found there’s an entire process that centers strictly about the design. Because if the initial design and construction strategy aren’t right, all of the “fun with power tools” can still lead to a disappointing final outcome.
The heart of the challenge is that you need to know exactly what you’re striving for and precisely how it will look in your room – before making a single cut.
How the heck can you do this??
Architectural Trim Work Design: 3 Steps
Personally, I think architectural trim work adds massive appeal and warmth to any house, and I’ve done projects in numerous areas of the homes I’ve owned over the years. We all do things our own way – but for me, pretty much every such design effort comes with three basic steps and there’s a video just below that I made mid-construction and with specific focus on my dining room design.
Check this out – and then in the rest of this article, I’ll provide just a bit more insight and some key resources that you may find helpful.
Dining Room Design Steps & Trim Work Resources
The three topics covered in the above video included a) how to get ideas for your end vision, b) how to lay out the project time-wise and c) how to visualize your design in your house – before beginning construction.
Let’s take a closer look at some of these in the sections that follow, with a focus on further tips and resources that I’ve used – and that you may find helpful…
Resources for Trim Work Decorating Ideas
As I mentioned in the video, I really need glossy photos from books, magazines or web sites, and I look for something to strike me. I know it when I see it – but it really can take quite a bit of looking-around. Sometimes it’s naturally at a house that I’m visiting as well. But once you start actively looking, the inspiration can come from just about anywhere.
For example – aside from the book in the photo below, the second item is a pamphlet I found at a hardware store. I just liked the cover and some of the shots inside for ideas, and I’ve had it for 5-6 years now. The company could be out of business for all I know!
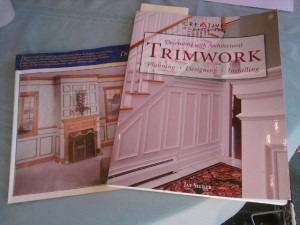
Regardless of your inspiration, though, it’s well-worth investing in a few high-end/glossy books for sure. They’re not terribly expensive and can give some truly terrific insights regarding details of both design and construction techniques.
I’ve used three of the following myself:
- Trimwork: Ideas & How-To (Better Homes & Gardens)
- Architectural Trim: Ideas, Inspiration & Practical Advice
- 1001 Ideas for Trimwork
- Decorating with Architectural Trimwork
Interior Design Software Visualization Tools
I’ve been using Punch deck and landscaping design software for the past several years. This is a software tool that has absolutely *nothing* to do with architectural trim work, but the company makes numerous other products are specifically oriented toward interior design.
What I can say for sure is that I love Punch visualization software, and if this is of potential interest, check out the landing page at the link above or, even better – the article How to Visualize Deck and Landscape Design Ideas where you can see a demo of how this software can be used.
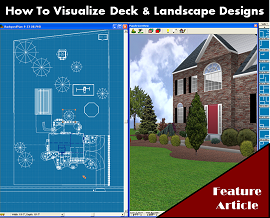
If you purchase (or currently use) one of these products for architectural trim work design – I would ask that you please comment below with any experiences you can share. This could surely benefit everyone reading.
Shadow Box Stairway Design & Trim Work Construction Tools
Even though the dining room design I’m now working is the most comprehensive effort I’ve even undertaken in a single area, it’s not the most complex. Adding an ornate porch and stairway railing to a home several years ago with true compound miter cuts was much more complex – and even recently, adding wall frames (shadow boxes) to two separate stairway areas in my current house were particularly challenging.
I really thought stairs would rise at exactly 45-degrees. I was wrong. ;-)
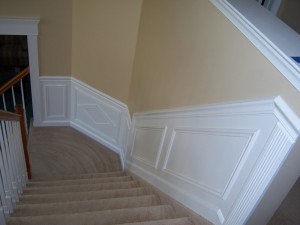
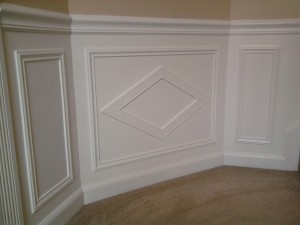
The reason I make these points is that in the article, Hall and Stairway Trim Work – Low Maintenance Shadow Boxes, not only will you find more design nuances (which are more complex, dealing with some odd-angle issues), but there are many references to the construction tools being used as well.
For example, the finish nailer, caulk and wood filler products that I use are all linked explicitly in there. And beyond those items, you can also find and research lots of miter saws, compressors and tools of all kinds in our Amazon Tool Store as well.
Additional Dining Room Wall Frame & Molding Photos
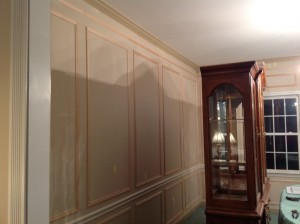
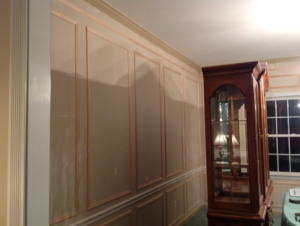
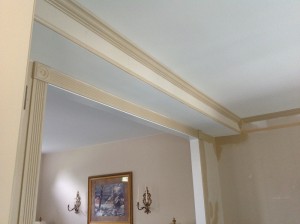
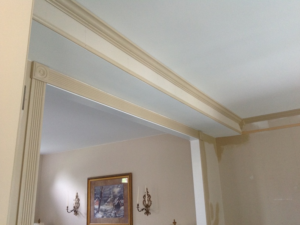
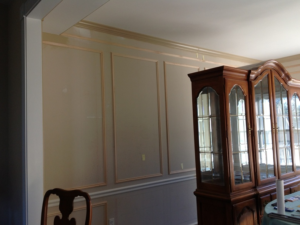
Well, as I mentioned (and as you saw in the video above), my dining room trim work design is partially constructed so far. Below are just a few more shots you might find useful for ideas or for closer study. This is all a “work in progress” at the moment, of course.
As I write this article, it’s approaching late September.
My wife said to me two days ago, “Do you think this will be finished by Christmas? We really want to put up the decorations and the house is a big mess.” I said, “Sure – that should be no problem.”
That being said, I’ll just close with these two final comments – and the photos that follow…
1) My wife and daughter really do some amazing Christmas and Halloween decorating.
2) I REALLY hope I have this entire dining room trim work project completed by then!
Okay – one MORE final comment. For some reason, some of the pictures that follow have rendered (on some mobile devices) upside down. So, here we are fighting with technology as well! So, I’m going to include the photos below in doubles. Perhaps some will appear upside down to you. Perhaps not. The things we do, huh?
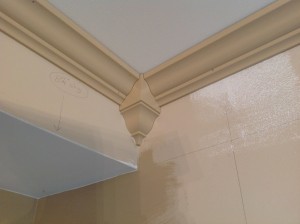
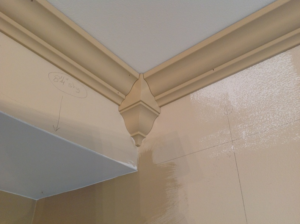
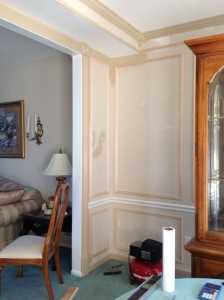
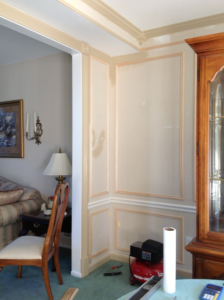

I have recently installed chair railing in our dining room and entryway and a hallway. I plan on adding shadow boxes but I can’t for the life of me figure out how far to space them out from one another. Some walls are long (20+ ft) and some are not. Help
Hi Brandon – The design is always tricky, and it takes a lot of time. Plus you have a lot of areas you’re considering… Break it into pieces – deal with one area at a time to start. In fact, deal with one wall within each area at a time. You won’t be adding any trim work until the design feels “just right” to you overall, and there’s no risk in the design and visualization.
On each wall, measure a distance you like above the base molding and below the chair rail. Mark it. Do the same from the corners of the walls. Then lay out your boxes within this smaller framework, allowing for switch plates and the like. Mark this all out with pencil or use masking tape so you can actually *see* it. Only when it all looks right should you even consider the shadow boxes. Again – this will take time and iterations.
Would also help if you get some of the books I mention in the article above for ideas and reference. And you can also check out another article I wrote on how to install shadow boxes on a stairway right here as well – this has even more detail. (And you’ll even see a shot where I use masking tape for the visualization in there.) Best of luck to you!
Another great article Mark, the trim work really adds something to a room. One day I hope to be able to redecorate our house and this would something to think about for us to “lift” the look of the walls.
Thanks Jan – This type of work, while very time consuming, can really change the whole look of your home – and it’s relatively low cost as well. Hope you get a chance to give it a try!