2020 Update – Originally Published April, 2013
Now that the dining room hardwood flooring preparation efforts are completed, it’s time to get this floor in – and really bring the room, overall, to a whole new aesthetic plateau.
For those of you who read the article or who watched some of the videos in the Part 1 portion of this hardwood flooring effort, you know that this is my “project journal” – a summary of my experience in adding prefinished Oak hardwood flooring to my dining room.
My goals between both parts of this project summary have been: 1) To explain everything that I did – the thoughts, tools, preparation and tips — and 2) to provide lots of photos and videos that will show step-by-step progress, striving to make everything as clear as possible.
Everyone’s project will be somewhat different of course, but if you’ve never undertaken a flooring project like this before, you’ll surely get a very good idea of what’s involved so you can decide it you want to try it yourself or if you want to hire (or consult with) a local flooring contractor to help
I’d also solicit any and all additional inputs (via comments at the bottom of the article) from anyone who has any additional experiences, tip and bits of wisdom to share – professional contractors and DIY-folks alike!
The more perspectives and insights, the better for everyone reading…
Flooring Preparation – A Video Recap
Below is a one of the videos that I made and used in the previous article which I’ve linked to above – the Preparing to Install Hardwood Flooring article from a few weeks ago. This is a good video to watch to start off if you haven’t seen that full article which addresses carpet removal, basic tool and material insights, and tips for designing your work area.
The remainder of this article (and the videos too) will pick up from here…
Installing the Bulk of the Hardwood Floor
In the next video below, the bulk of the hardwood floor is installed making significant use of the blind nailer (flooring nailer) that I rented…
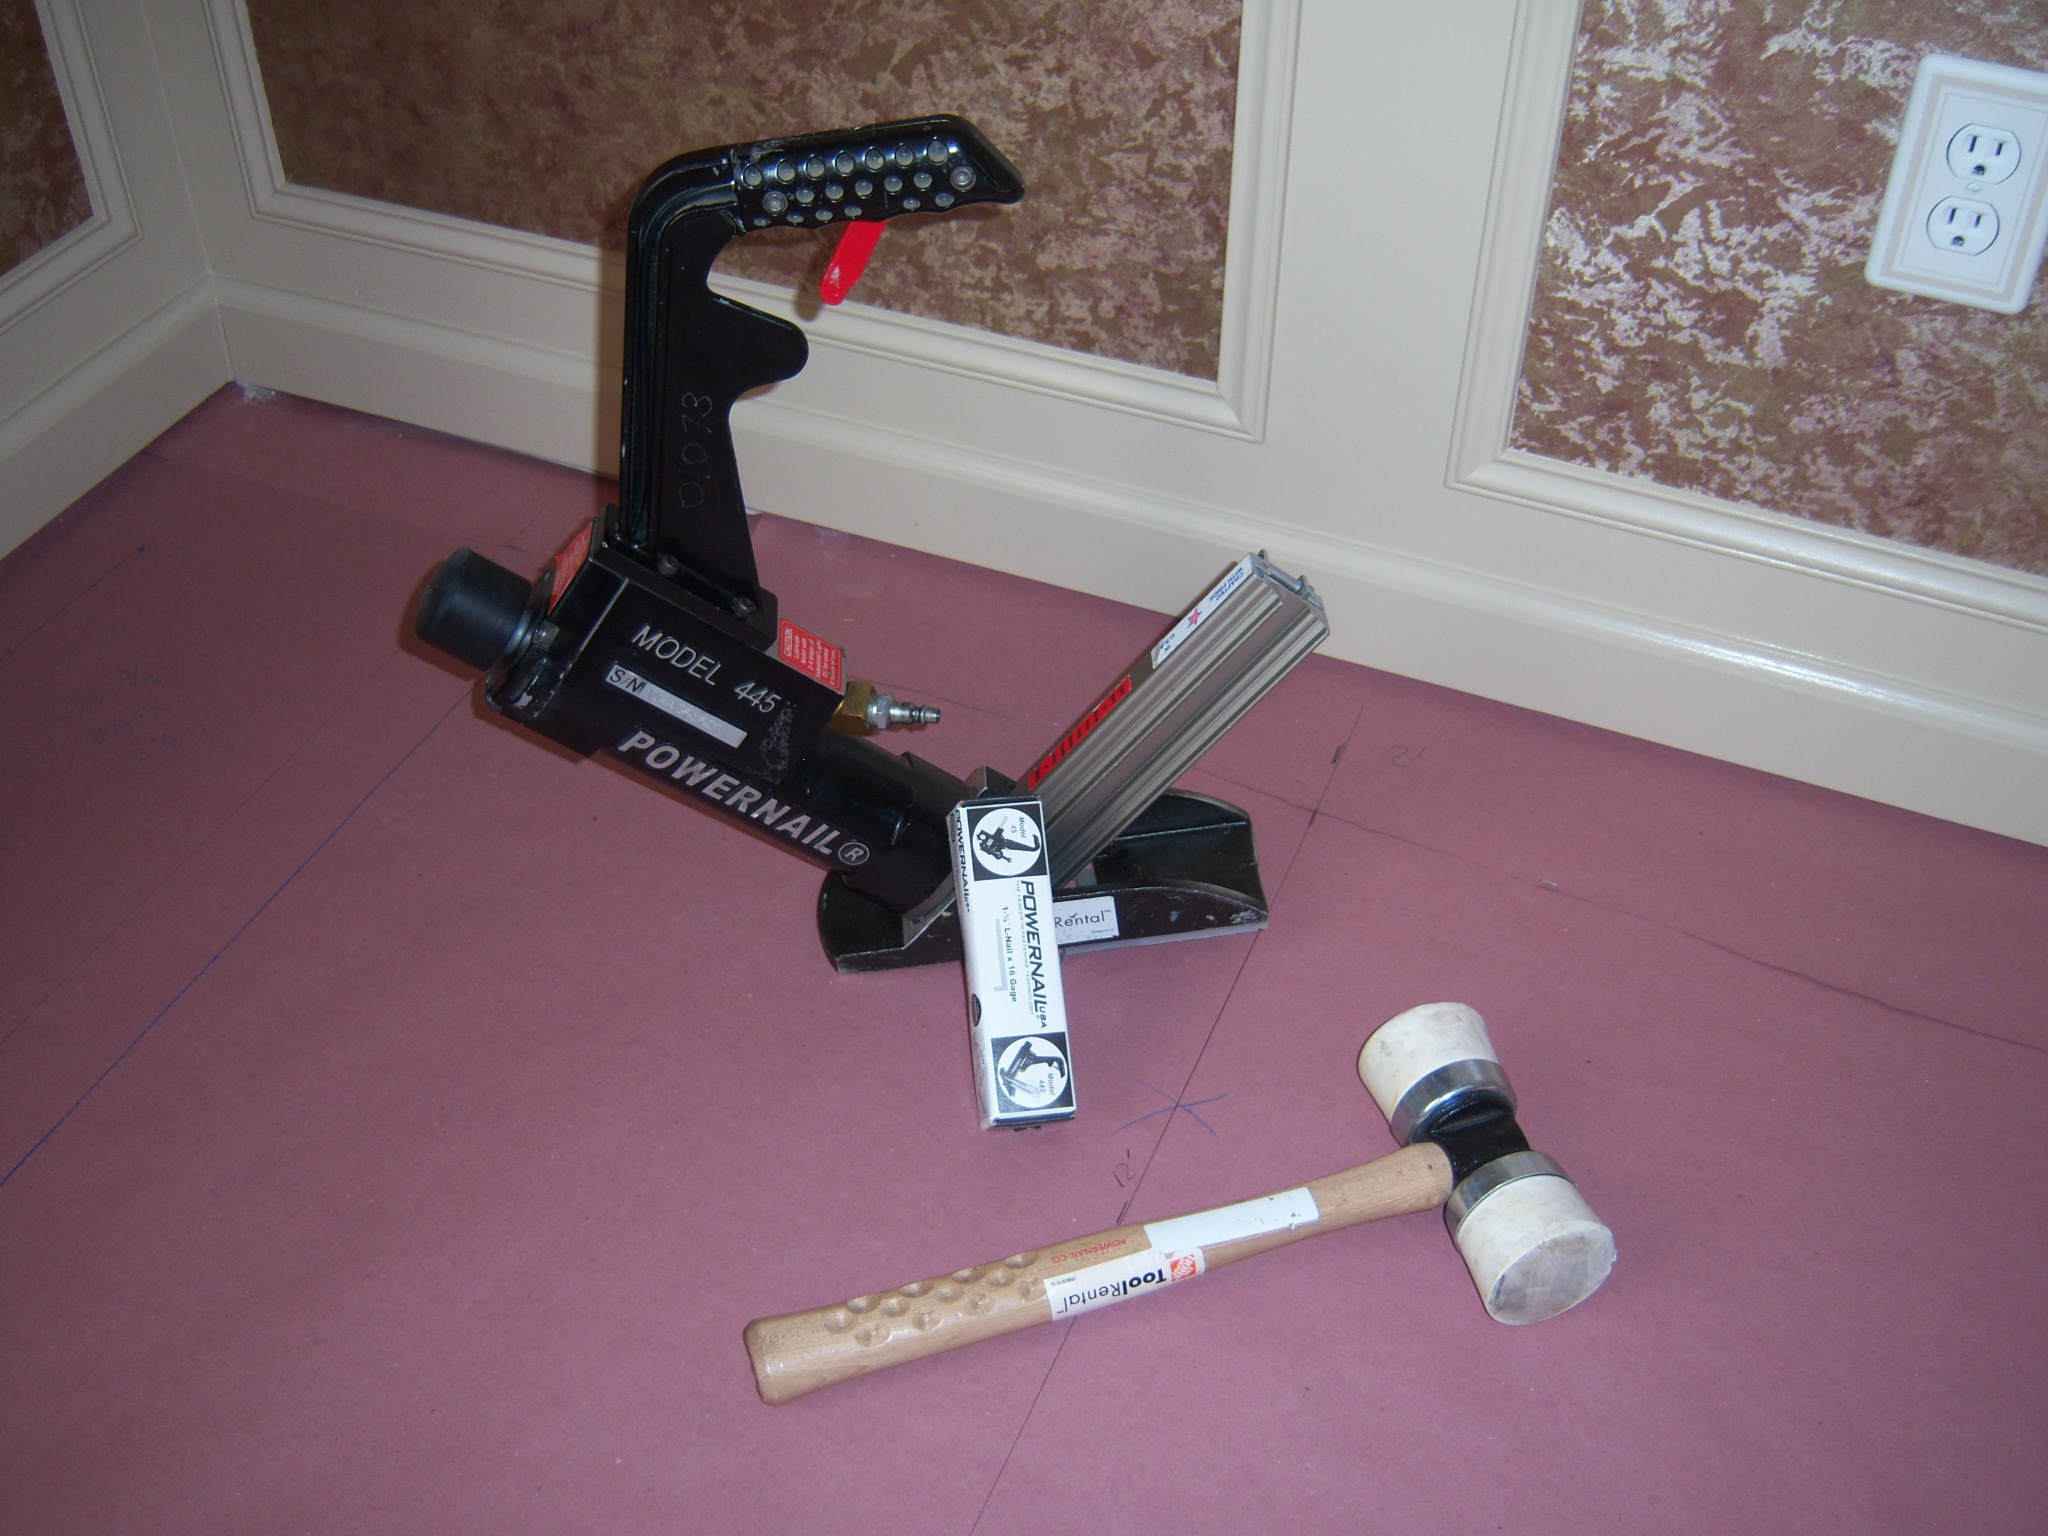
This tool is an absolute must for this job.
I don’t have my own flooring nailer – it’s the only tool you see me use throughout this project that I rented.
Why don’t I have my own? Two reasons…
First, I don’t install hardwood floors frequently-enough to warrant the purchase. Maybe one-day I’ll buy my own, but for now – I rent, and the rental location provides the mallet you see above and they also stock all the nails (for purchase) as well. And secondly, I want a high-end blind-nailer/flooring-nailer because it’s just SO critical for this job. At a good tool rental location, I’m going to get a high-end unit – one that might retail for several hundred dollars.
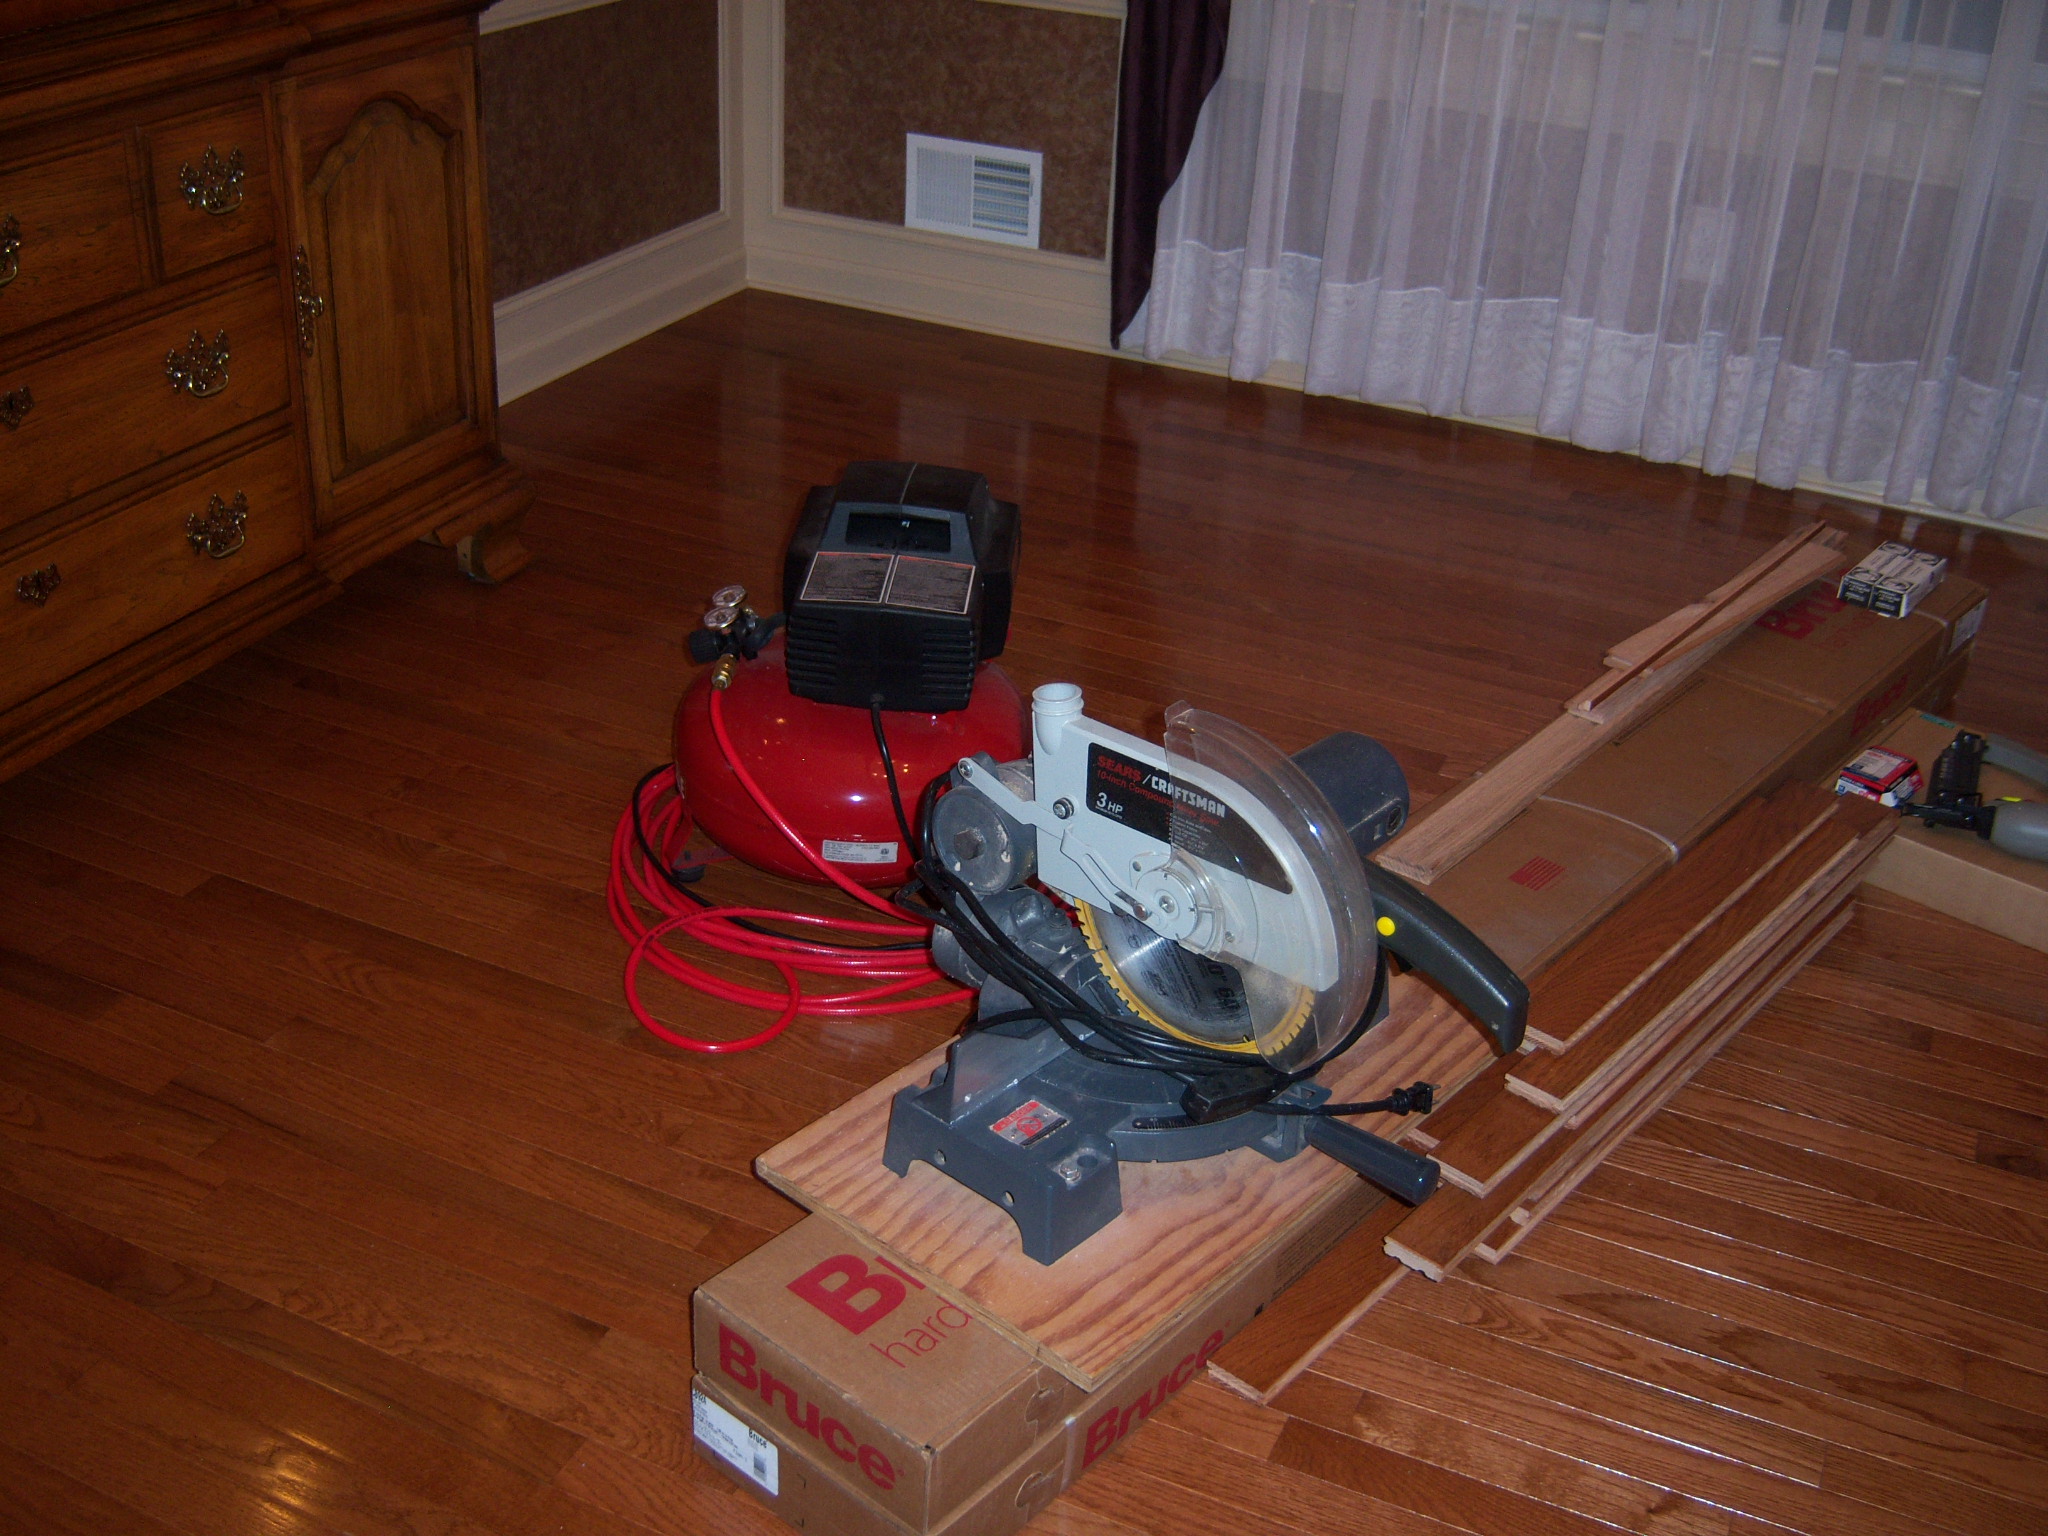
Regarding power tools overall, you’ll also need a finish nailer and a compressor. Furthermore, a band saw and/or a table saw will be quite useful for some of the finish cuts you’ll see coming up soon.
And a quality miter saw is essential too – for all the edge cuts…
But for now – let’s install the bulk of the flooring. Watch here:
The Hardwood Floor Finish Trim Work
As you’ve seen in the video just above – most of the flooring is now in place. Hours of work.
And while it may seem like the project completion is now merely minutes away – this is, unfortunately, not true at all. The finish work takes quite a bit of time and should not be underestimated. So, it’s time to get another cup of coffee. Or brew a fresh pot. ;)
This particular video, I think, conveys quite a bit regarding some of the nuances of the finish trim work. Watch this now, and then I’ll call out some additional details (with focus photos) in the sections that follow…
The Tile to Hardwood Transition & Nearby Plinth Blocks
As you saw in the video, the transition to the tile floor in the kitchen was a special accommodation, but what made this even trickier was the plinth blocks on both sides, plus the base moldings as well.
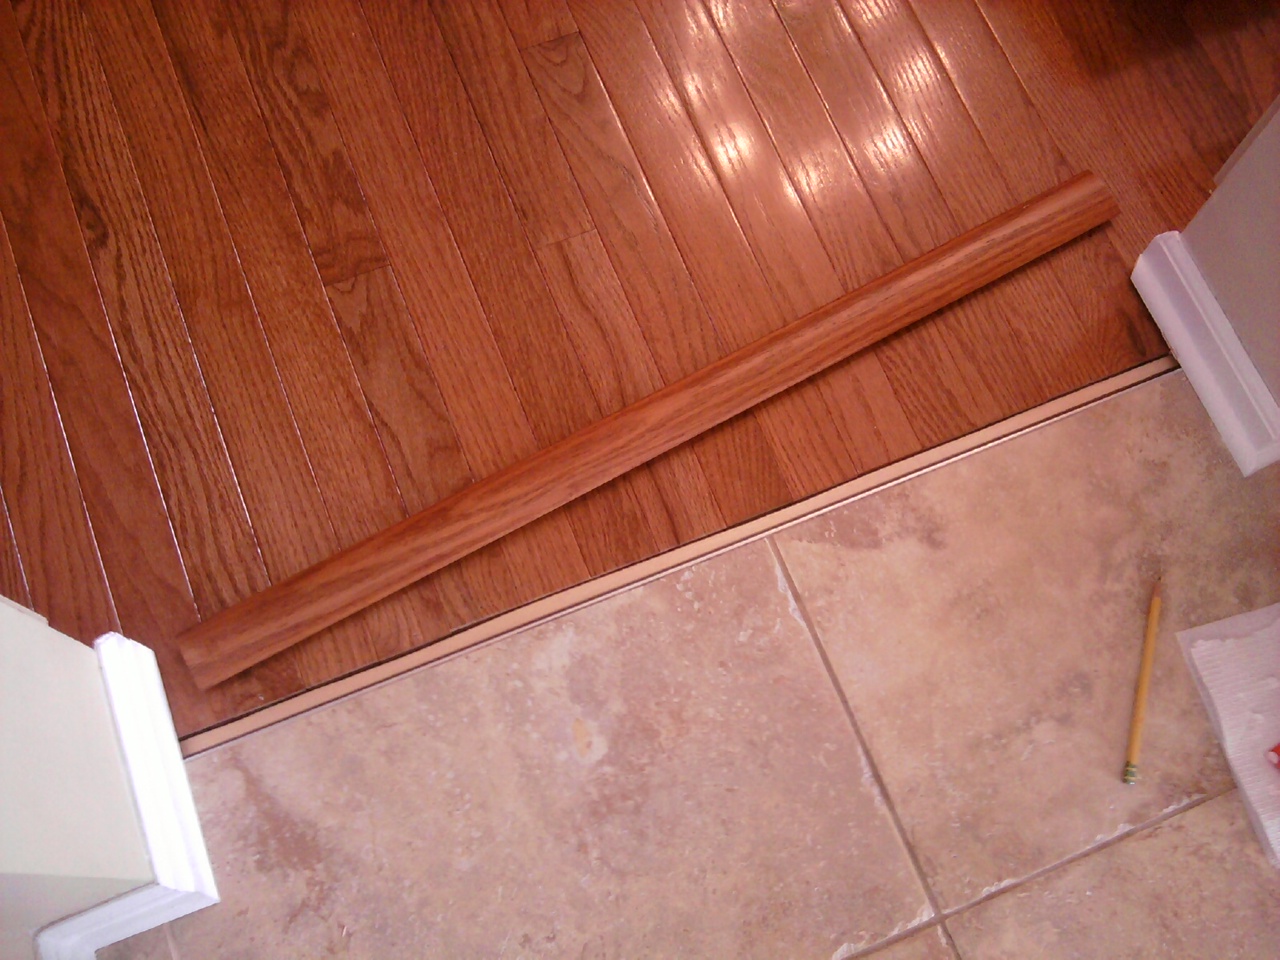
Breaking this down a bit – you can see in the photo just below that I took a “sliver” of the transition and used it for spacing as I was installing the bulk of the hardwood flooring. Also note, though it’s somewhat more subtle that where the plinth blocks were removed, I brought the hardwood in much tighter: this is because there would be no cap molding (quarter round) in front of the plinth blocks.
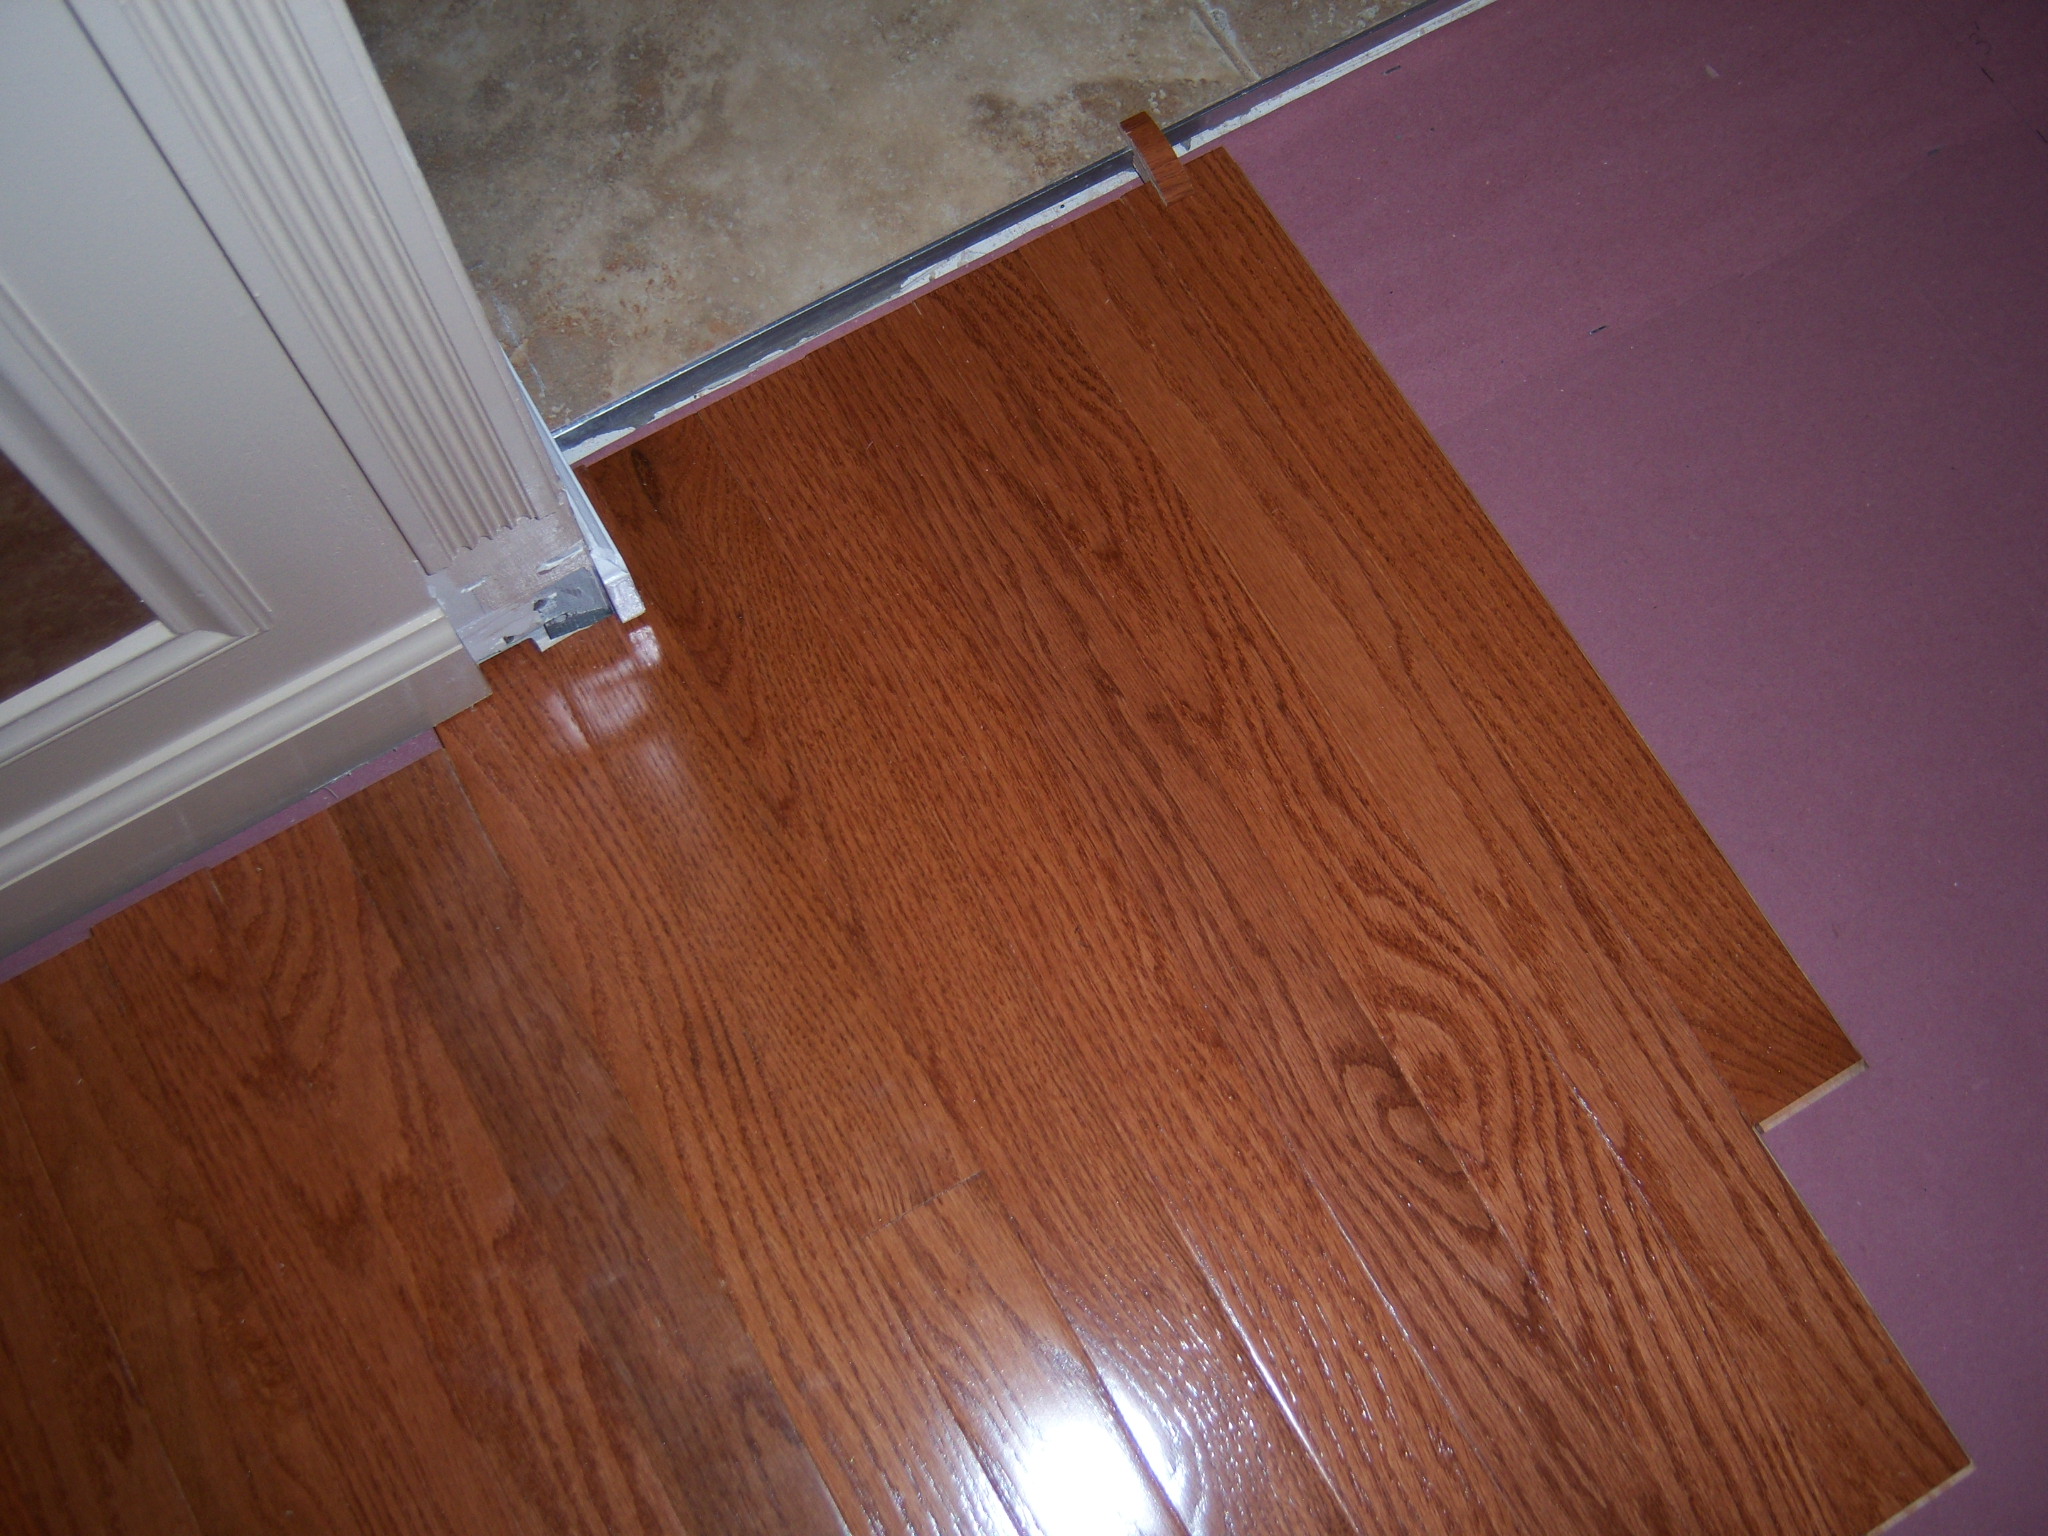
This must all be thought out carefully before nailing — just remember; there’s no rush with this project. Go slowly; take your time!
In the next shot, note the transition, now ready to be installed. Note the scrap wood that I’ve inserted into the channel below. While this surely isn’t necessarily imperative, it seems another nice way to maximize stability. This transition will get a LOT of foot traffic.
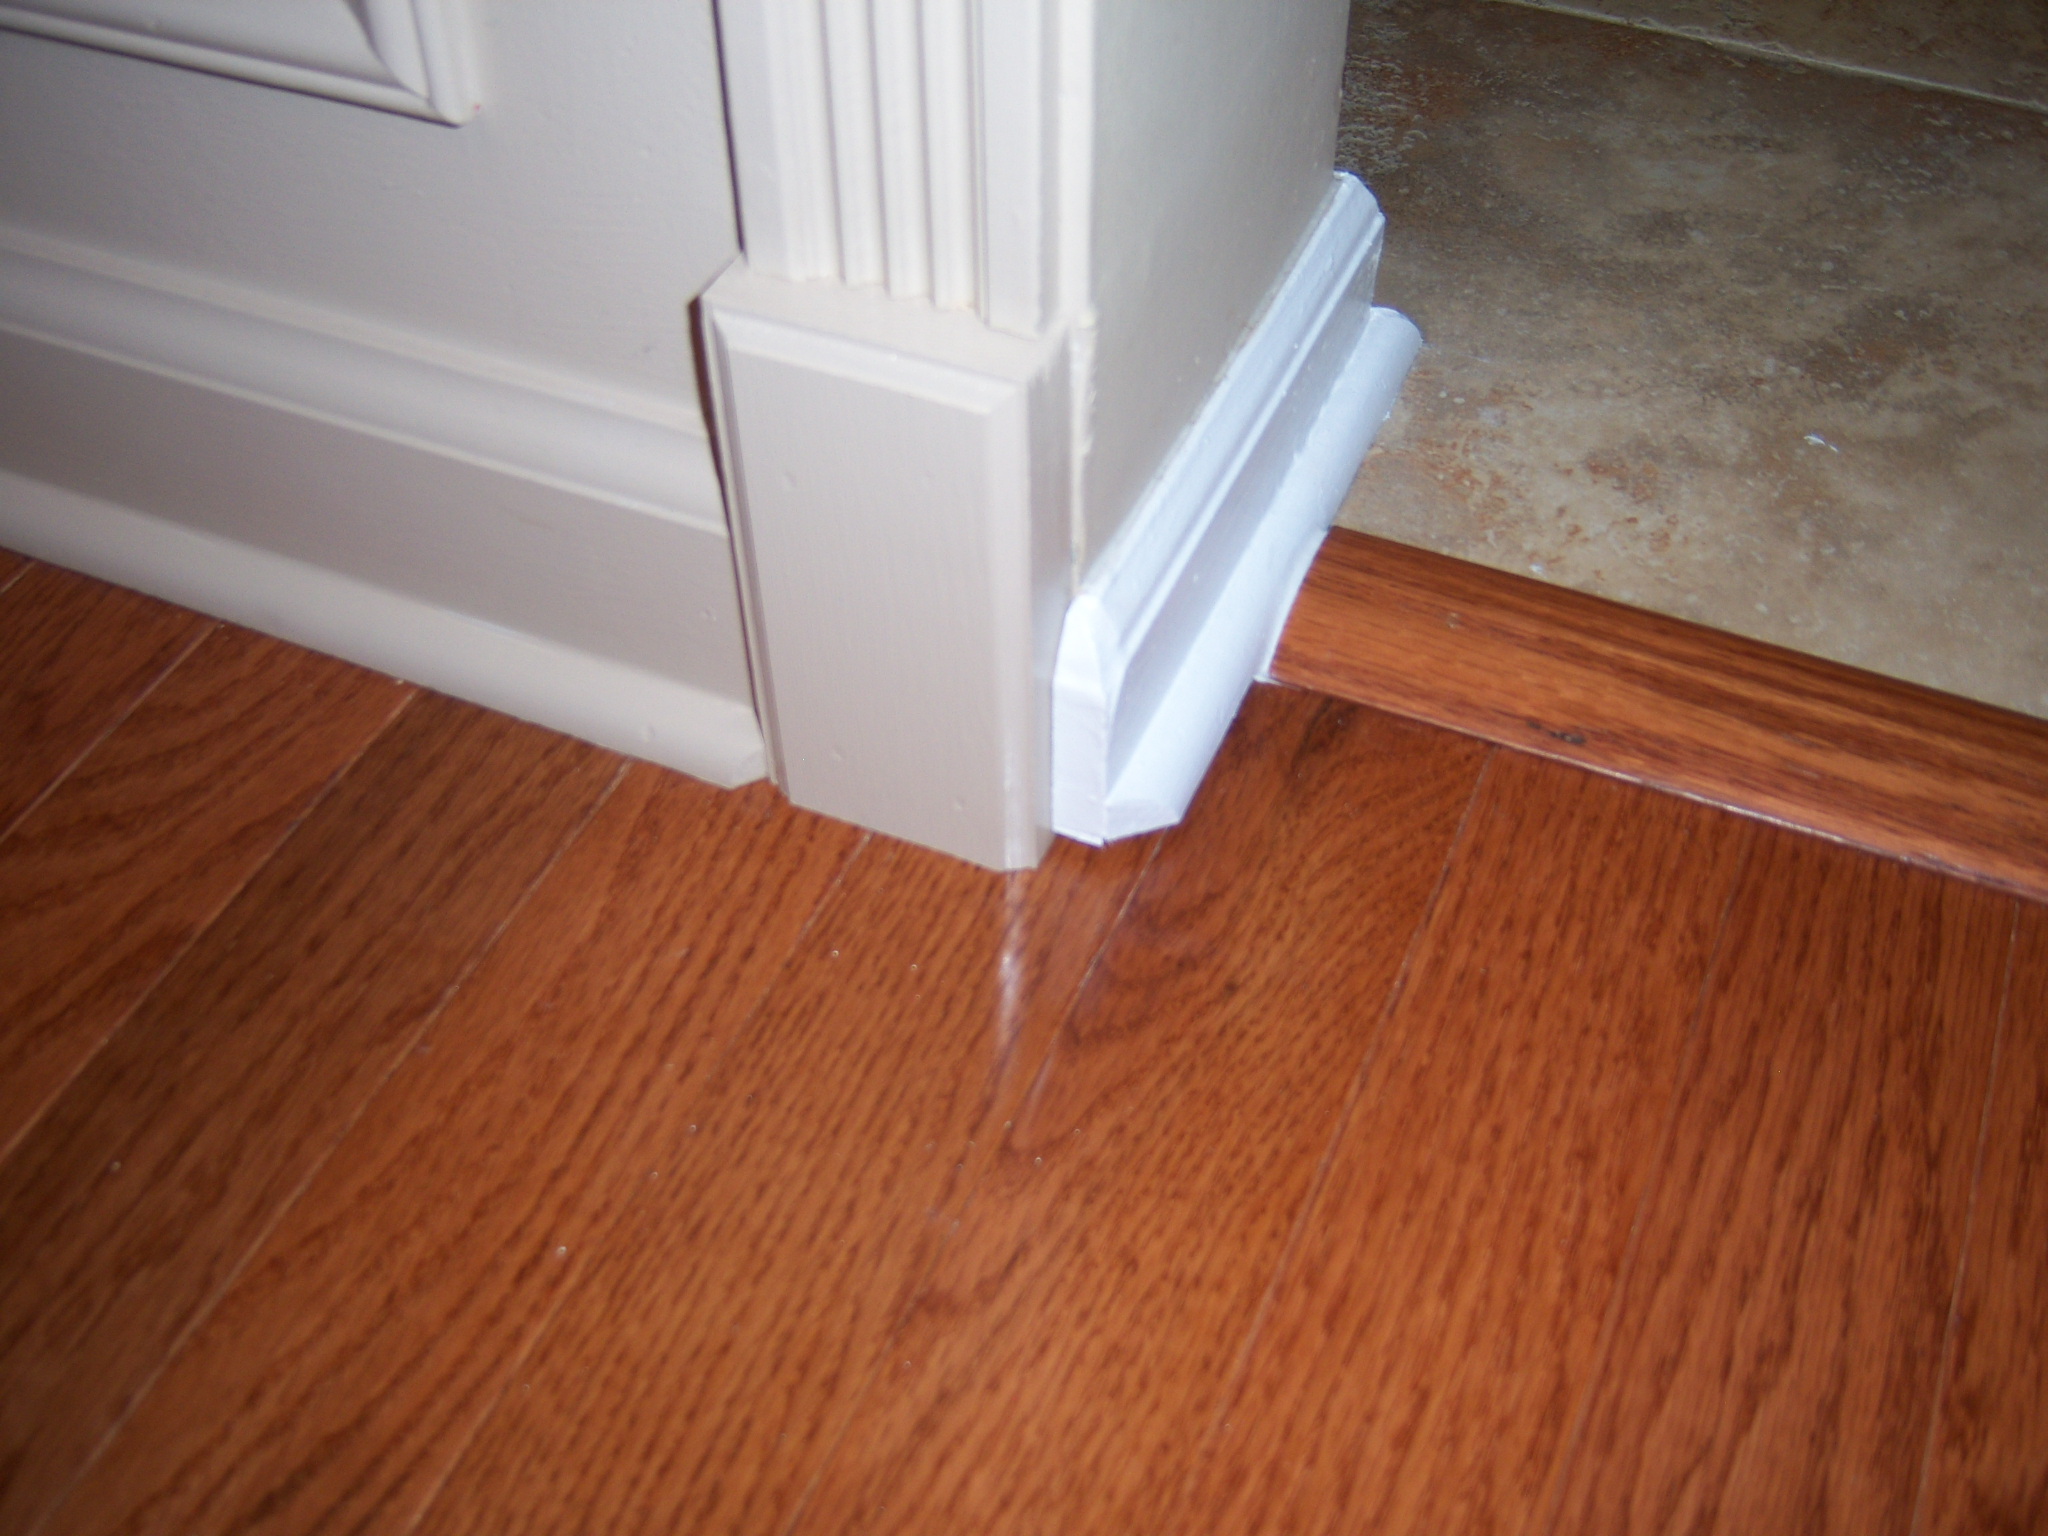
And here’s a final shot of the hardwood side. Note the chamfering (45-degree miter cuts) of the cap moldings on both sides of the plinth blocks; I did this to maximize the aesthetics. Also note the caulk between the white cap molding and the “T-Transition” between the kitchen and the hardwood flooring; here again – striving for the best look possible.
This stuff all takes a lot of time. It just… does.
Using a Band Saw for Tricky Hardwood Cuts
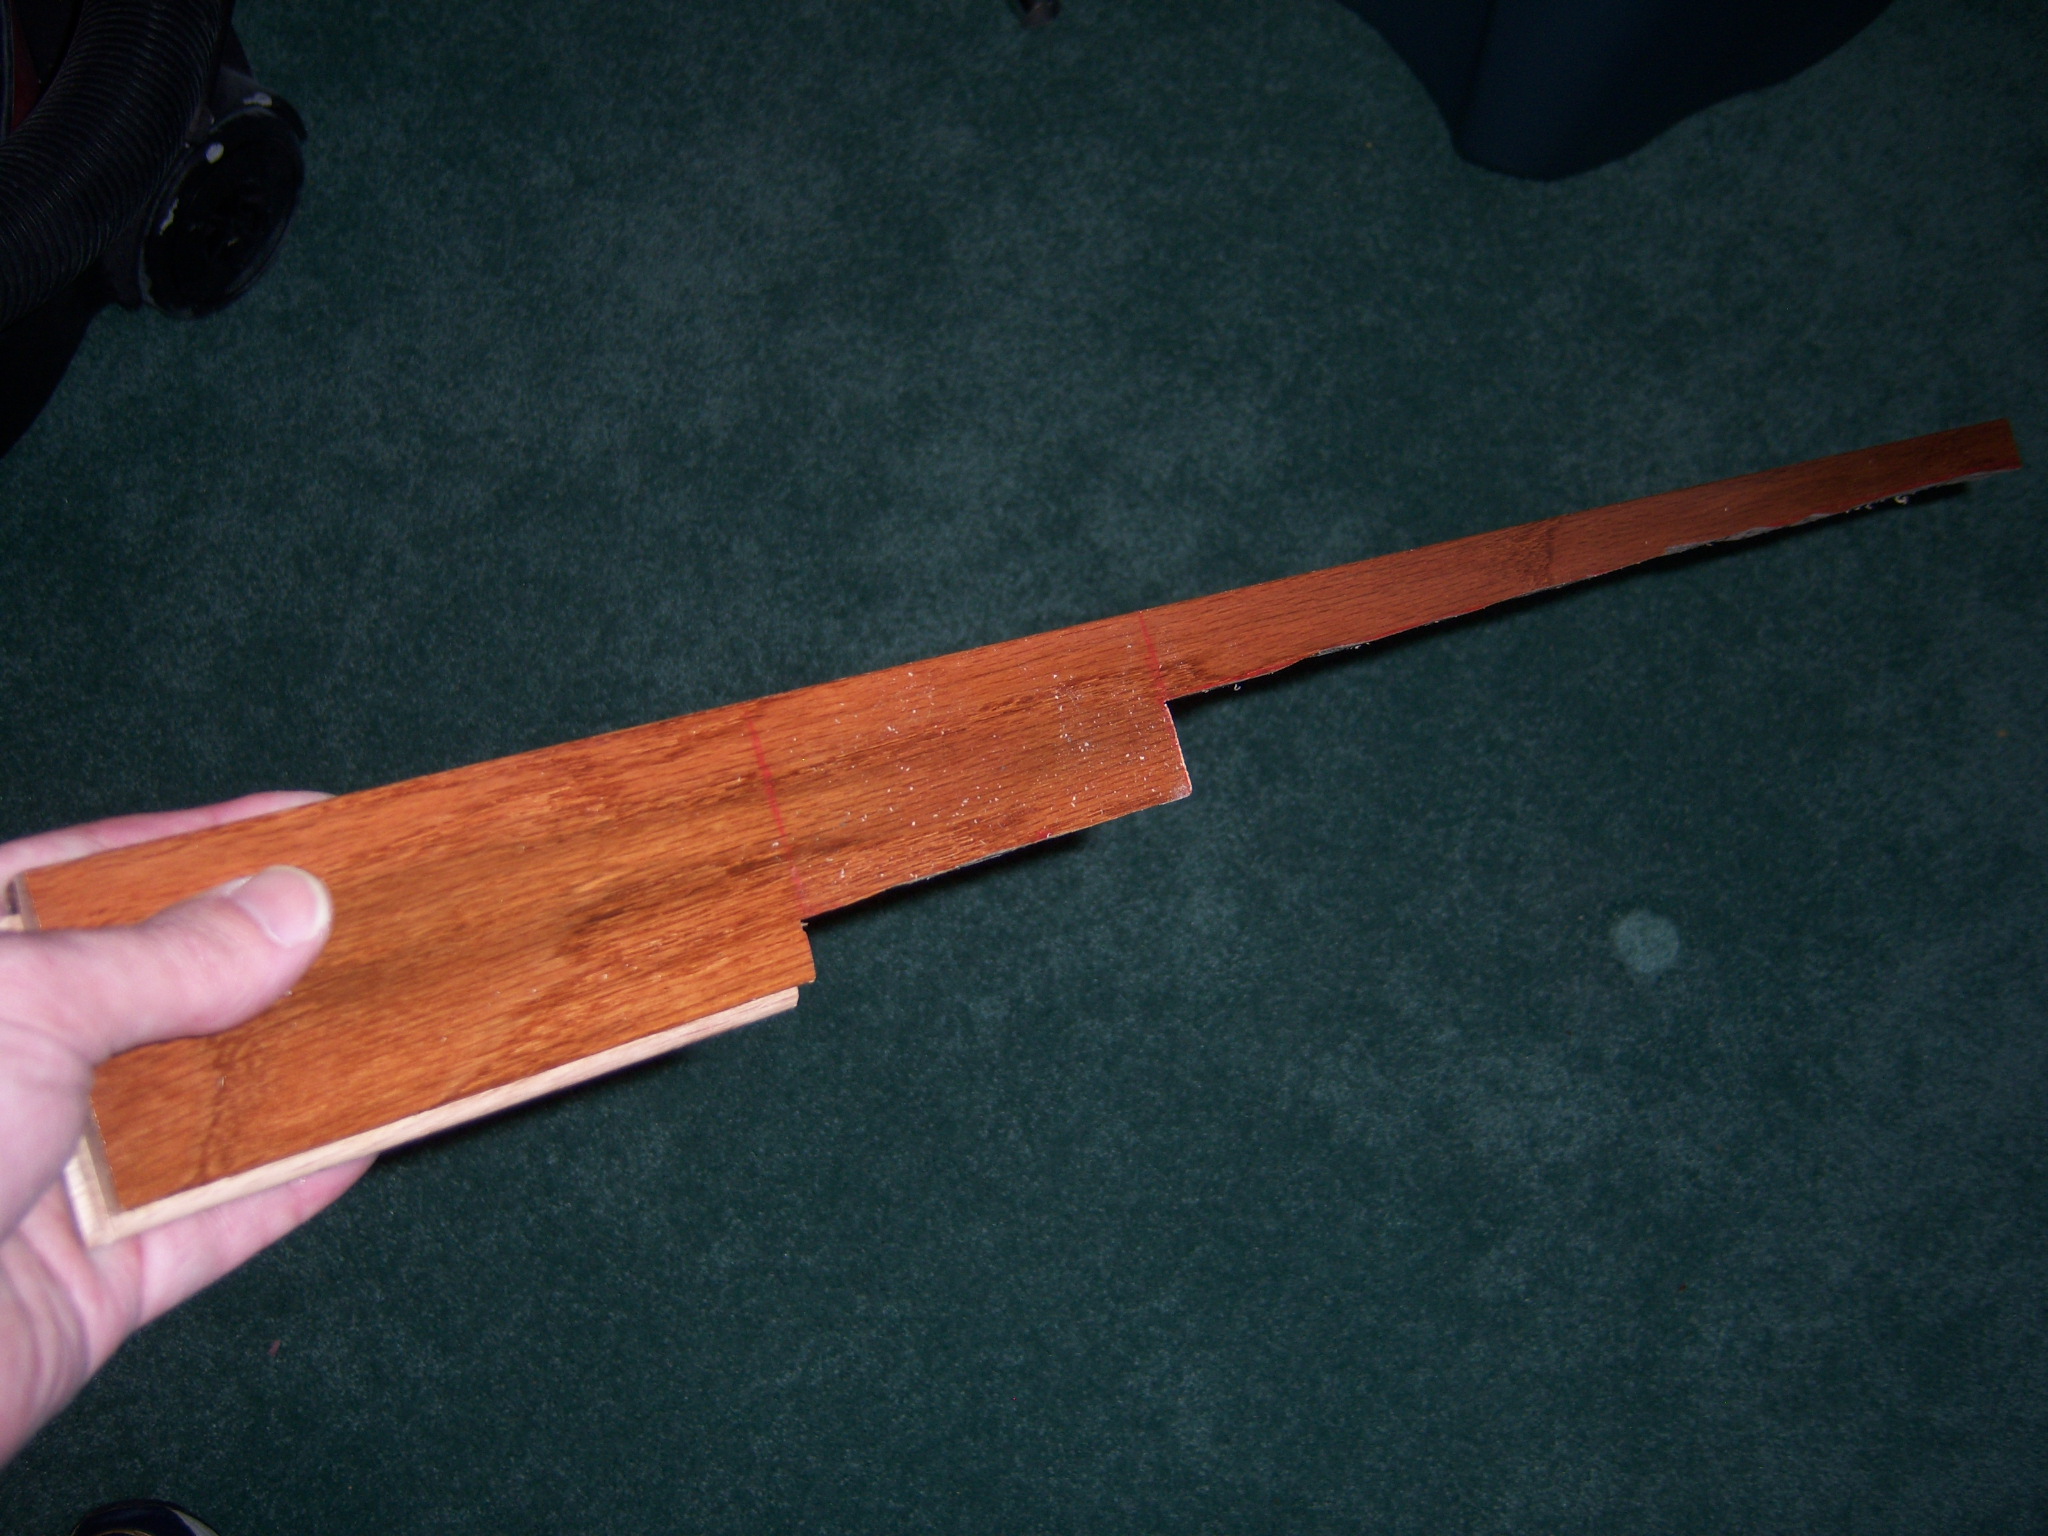
I’ve had my band saw for over 15 years now, and I use it all the time. In the shots below, you can see two uses for this hardwood flooring project. In the first shot, I’m making cuts for the one of the final hardwood plans at the end of the room. The edges that will be under the cap molding don’t need to be perfectly straight – and they’re not.
Nevertheless, this is a cut that truly makes good use of a band saw…
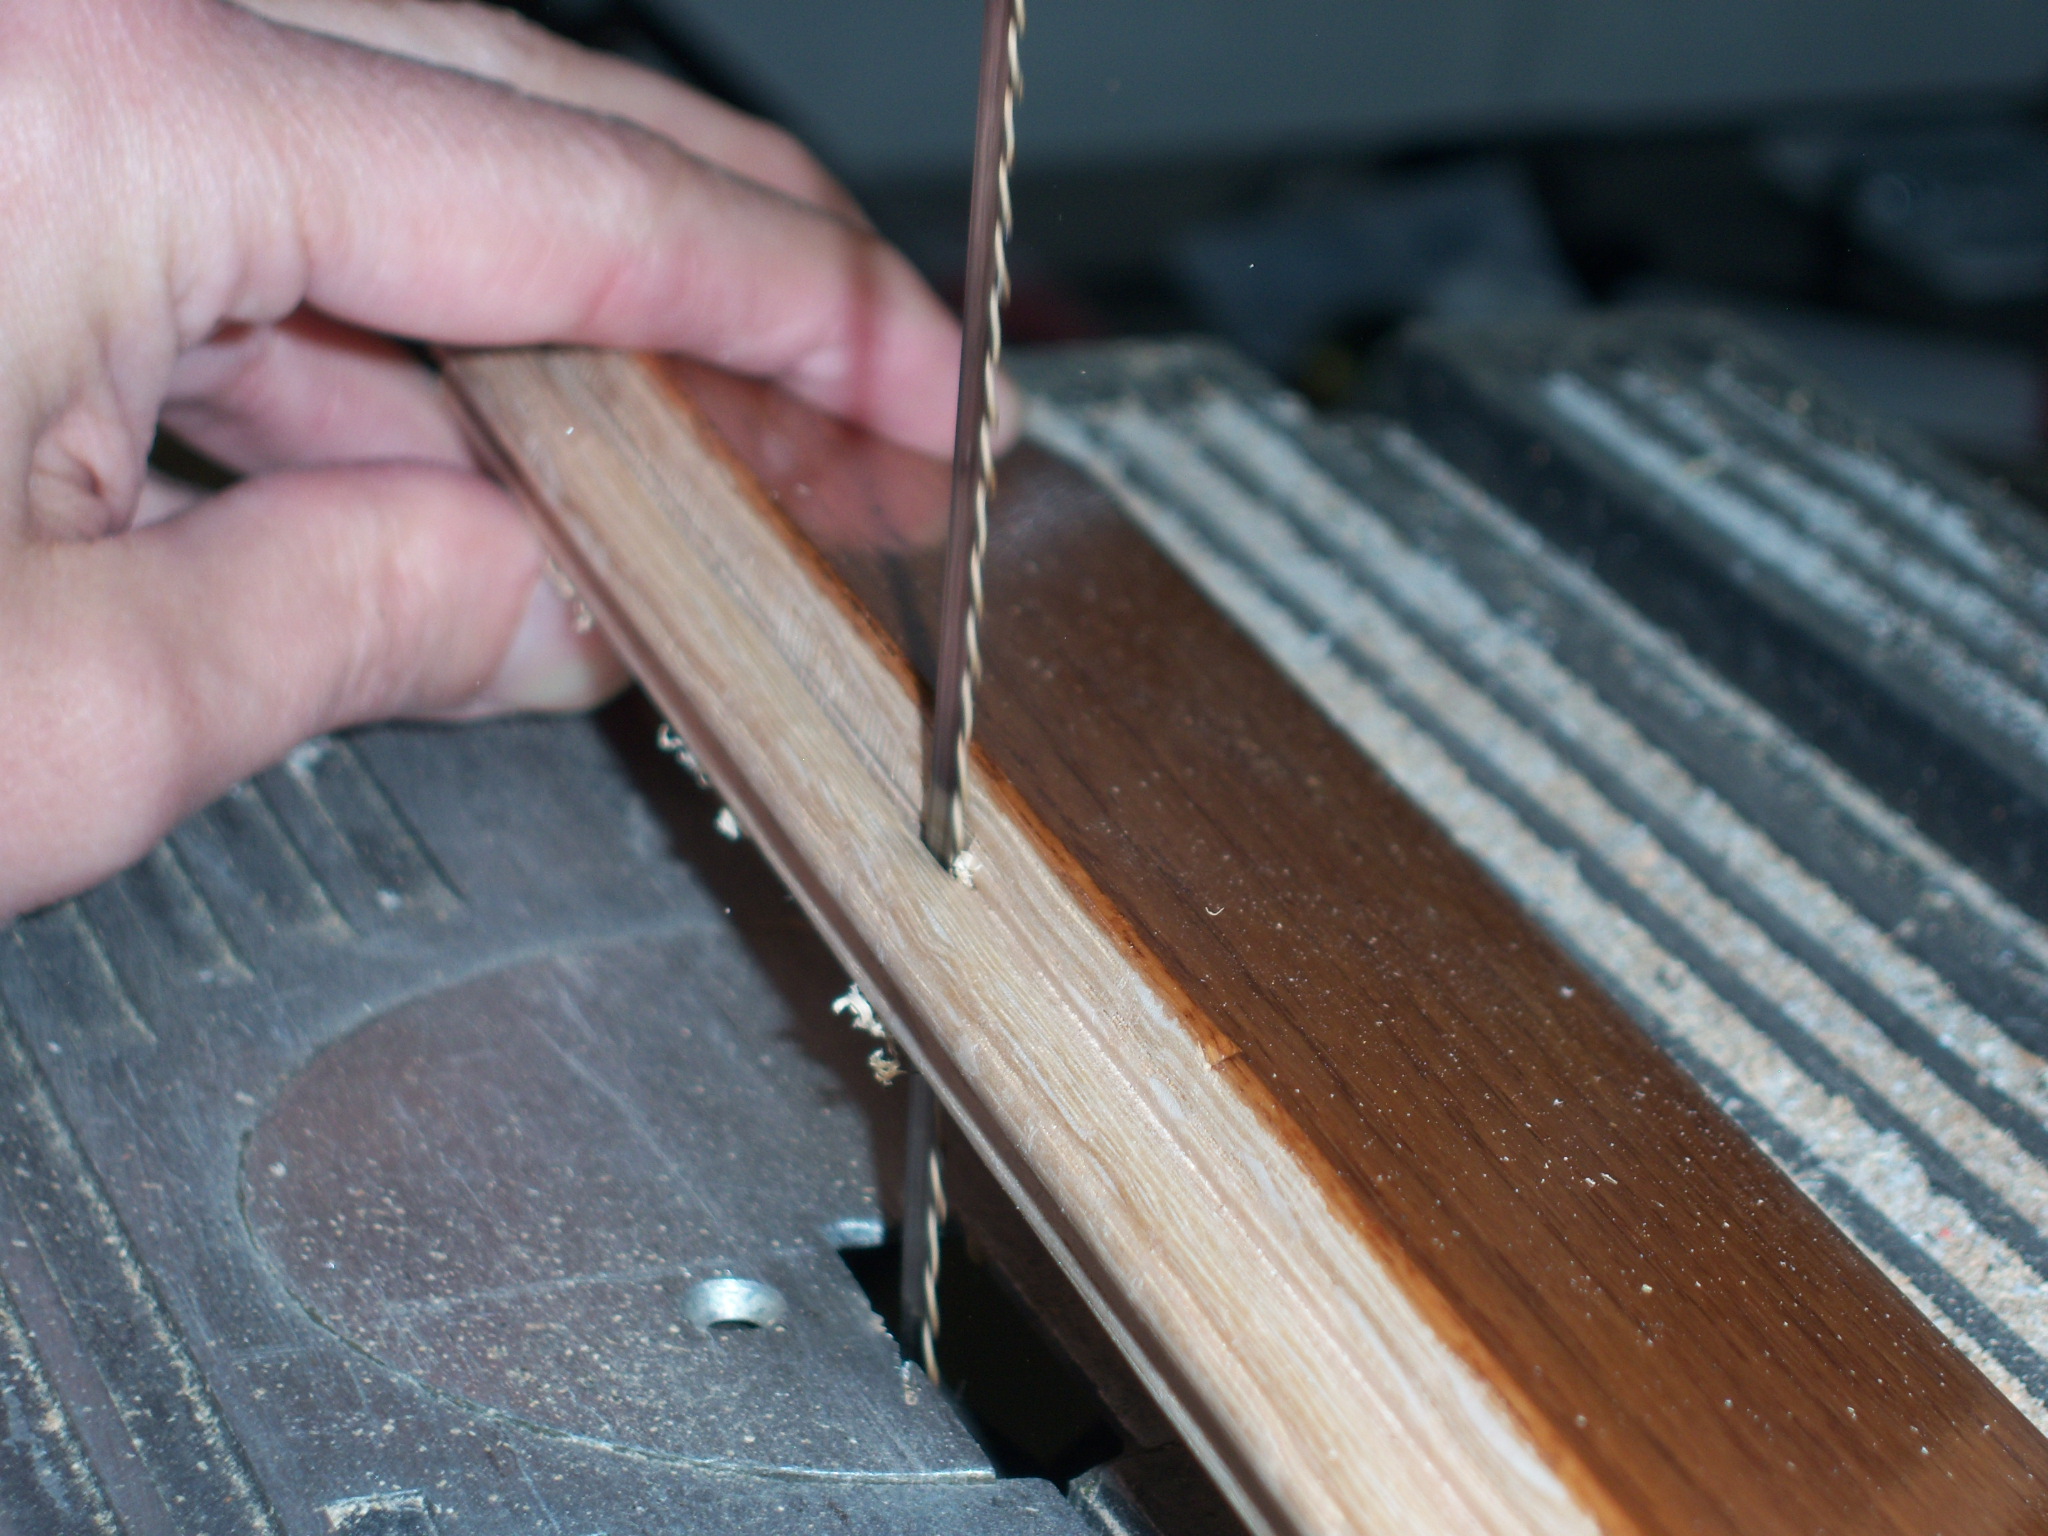
Furthermore, for accommodation of the carpet interface into the next room – I chose to reverse the direction of the tongue and grove, and thus needed to remove the tongue from some of the planks. Here again, a band saw is extremely helpful:
Using a Putty Stick to Fill the Face Nailing Holes
Your hardwood flooring manufacturer can be quite helpful if they provide a matching “putty stick” that you can use to fill those annoying (but necessary) face nailing holes. One trick I find quite helpful is heating the putty stick before trying to break off a small piece.
I apologize for the terrible quality of the photo below, but you can get the idea.
Fire, it seems, does not photograph well…

The Hardwood to Carpet Interface
I’m going to include one more video below, showing the final true carpeting to hardwood interface – but before getting to that, I really needed to maximize stability at this edge before the carpeting was installed.
I used liquid nails and created a “rock solid” bond to the subfloor a couple of days before the carpeting was slated for installation. This worked quite well.
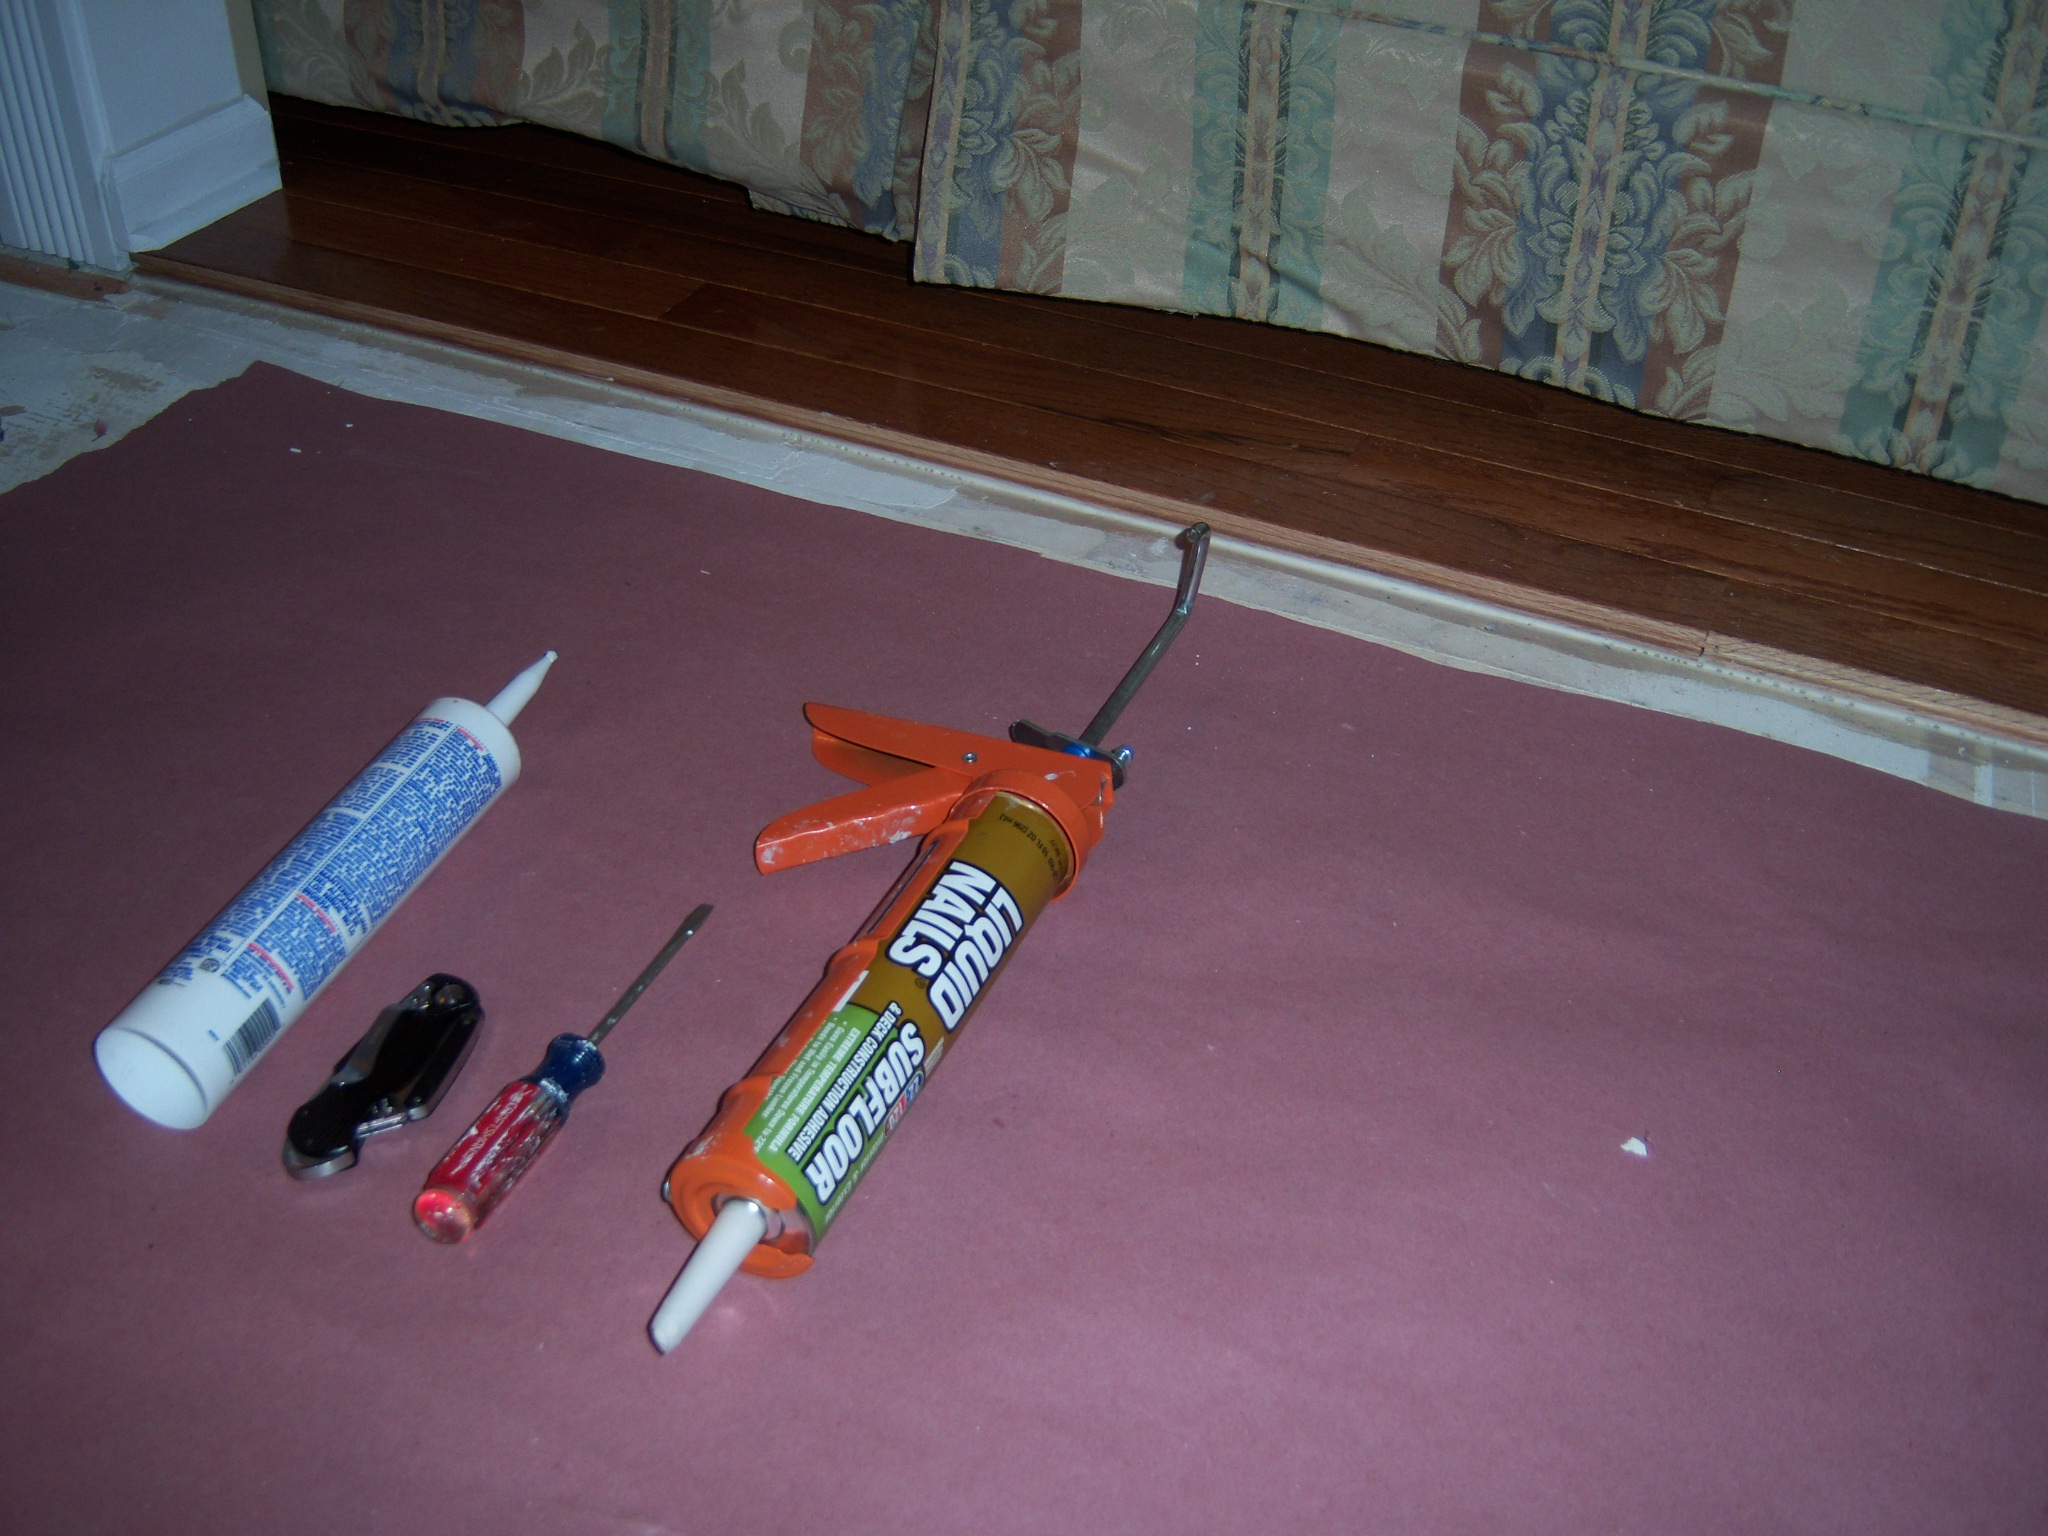
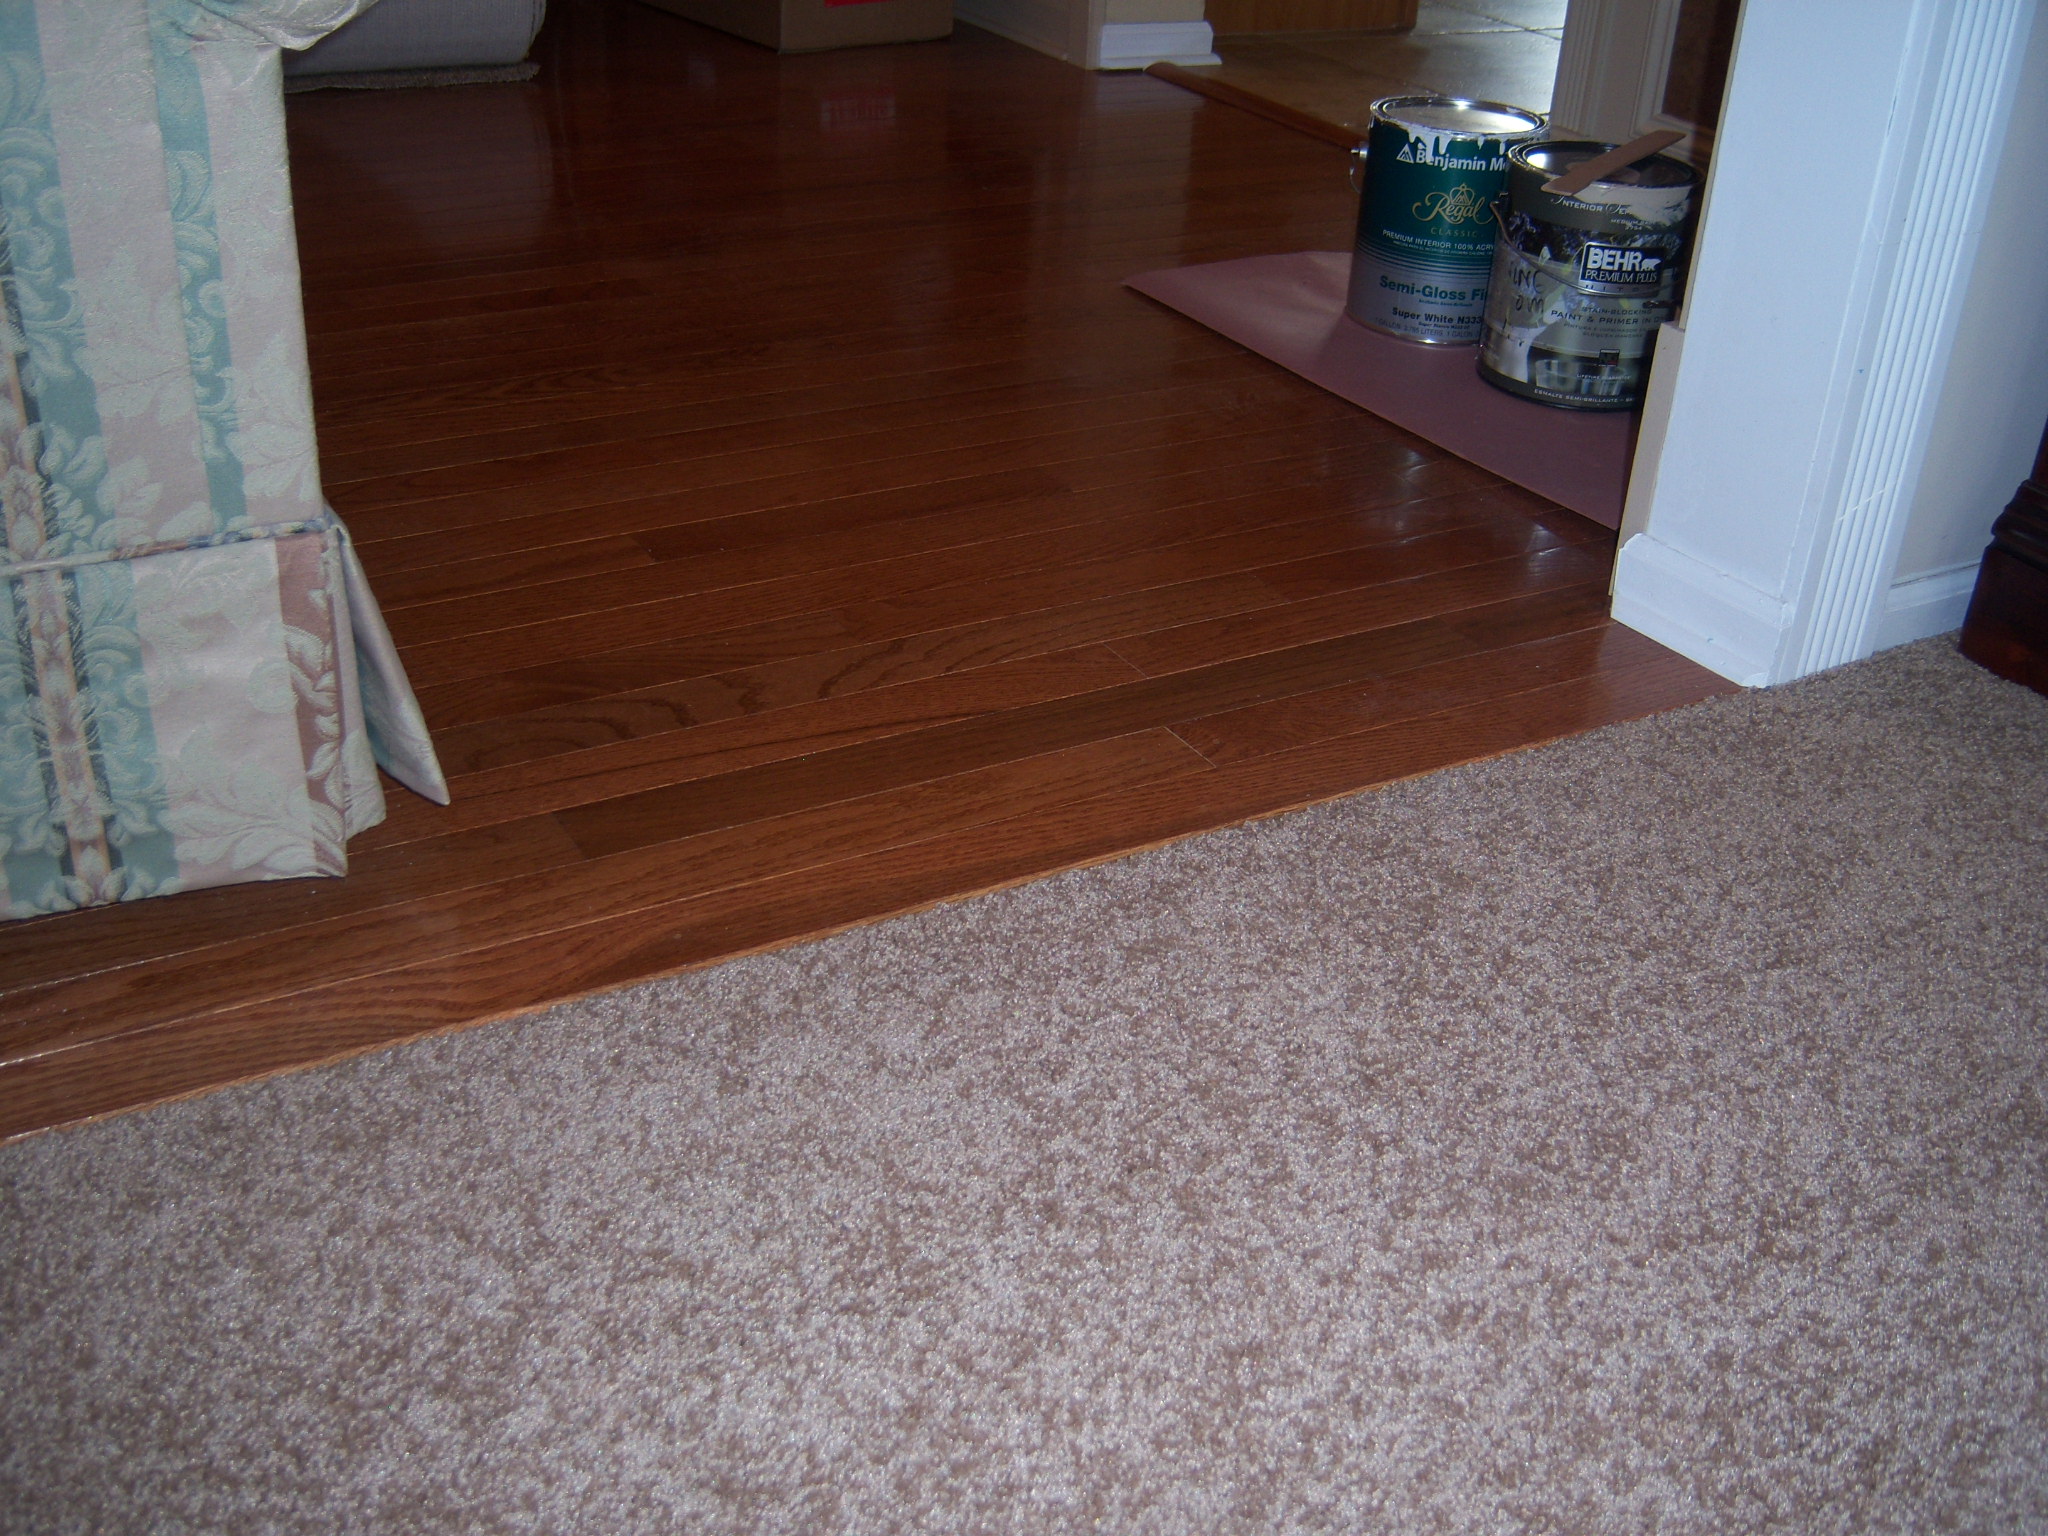
And finally – here’s that one last video that follows shows the finished hardwood-to-carpet interface, plus one more tip involving pre-staining that I thought of the day before the carpet arrived, and I’m glad I did as it turned out this was quite important:
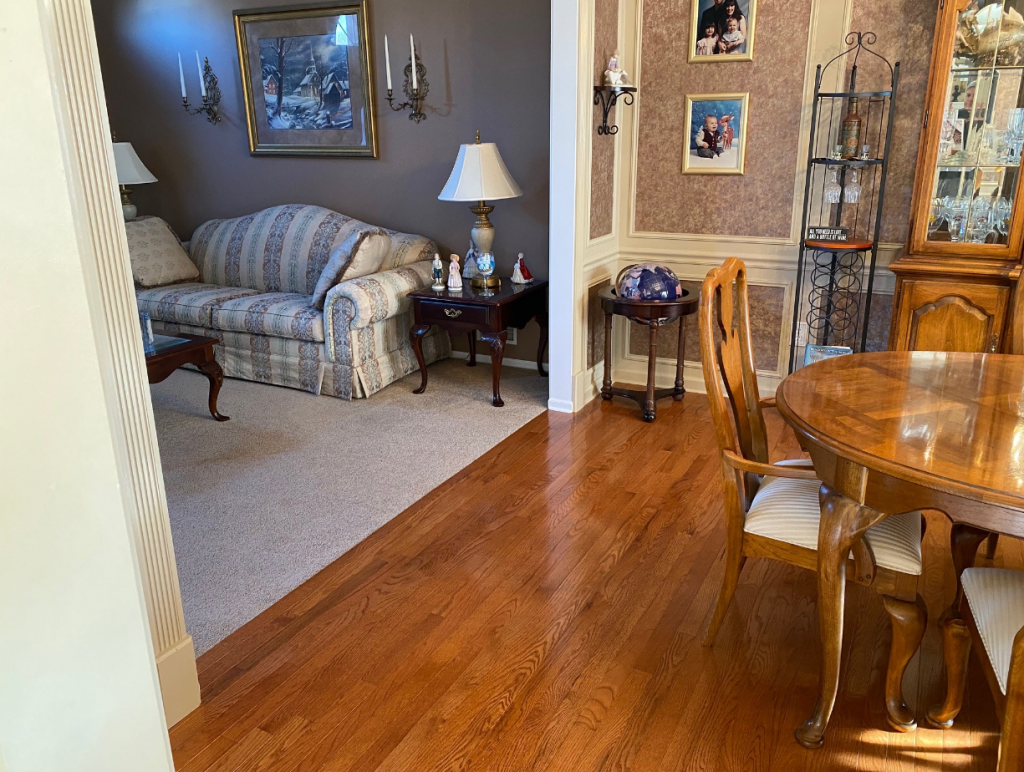
Below is another shot of that transition, just because I’m very happy with it!
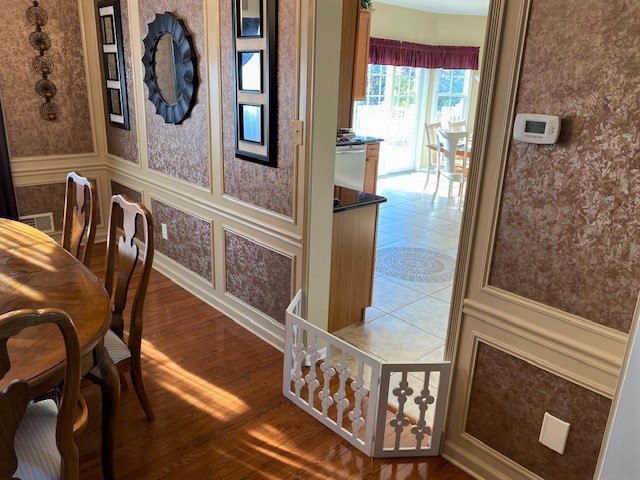
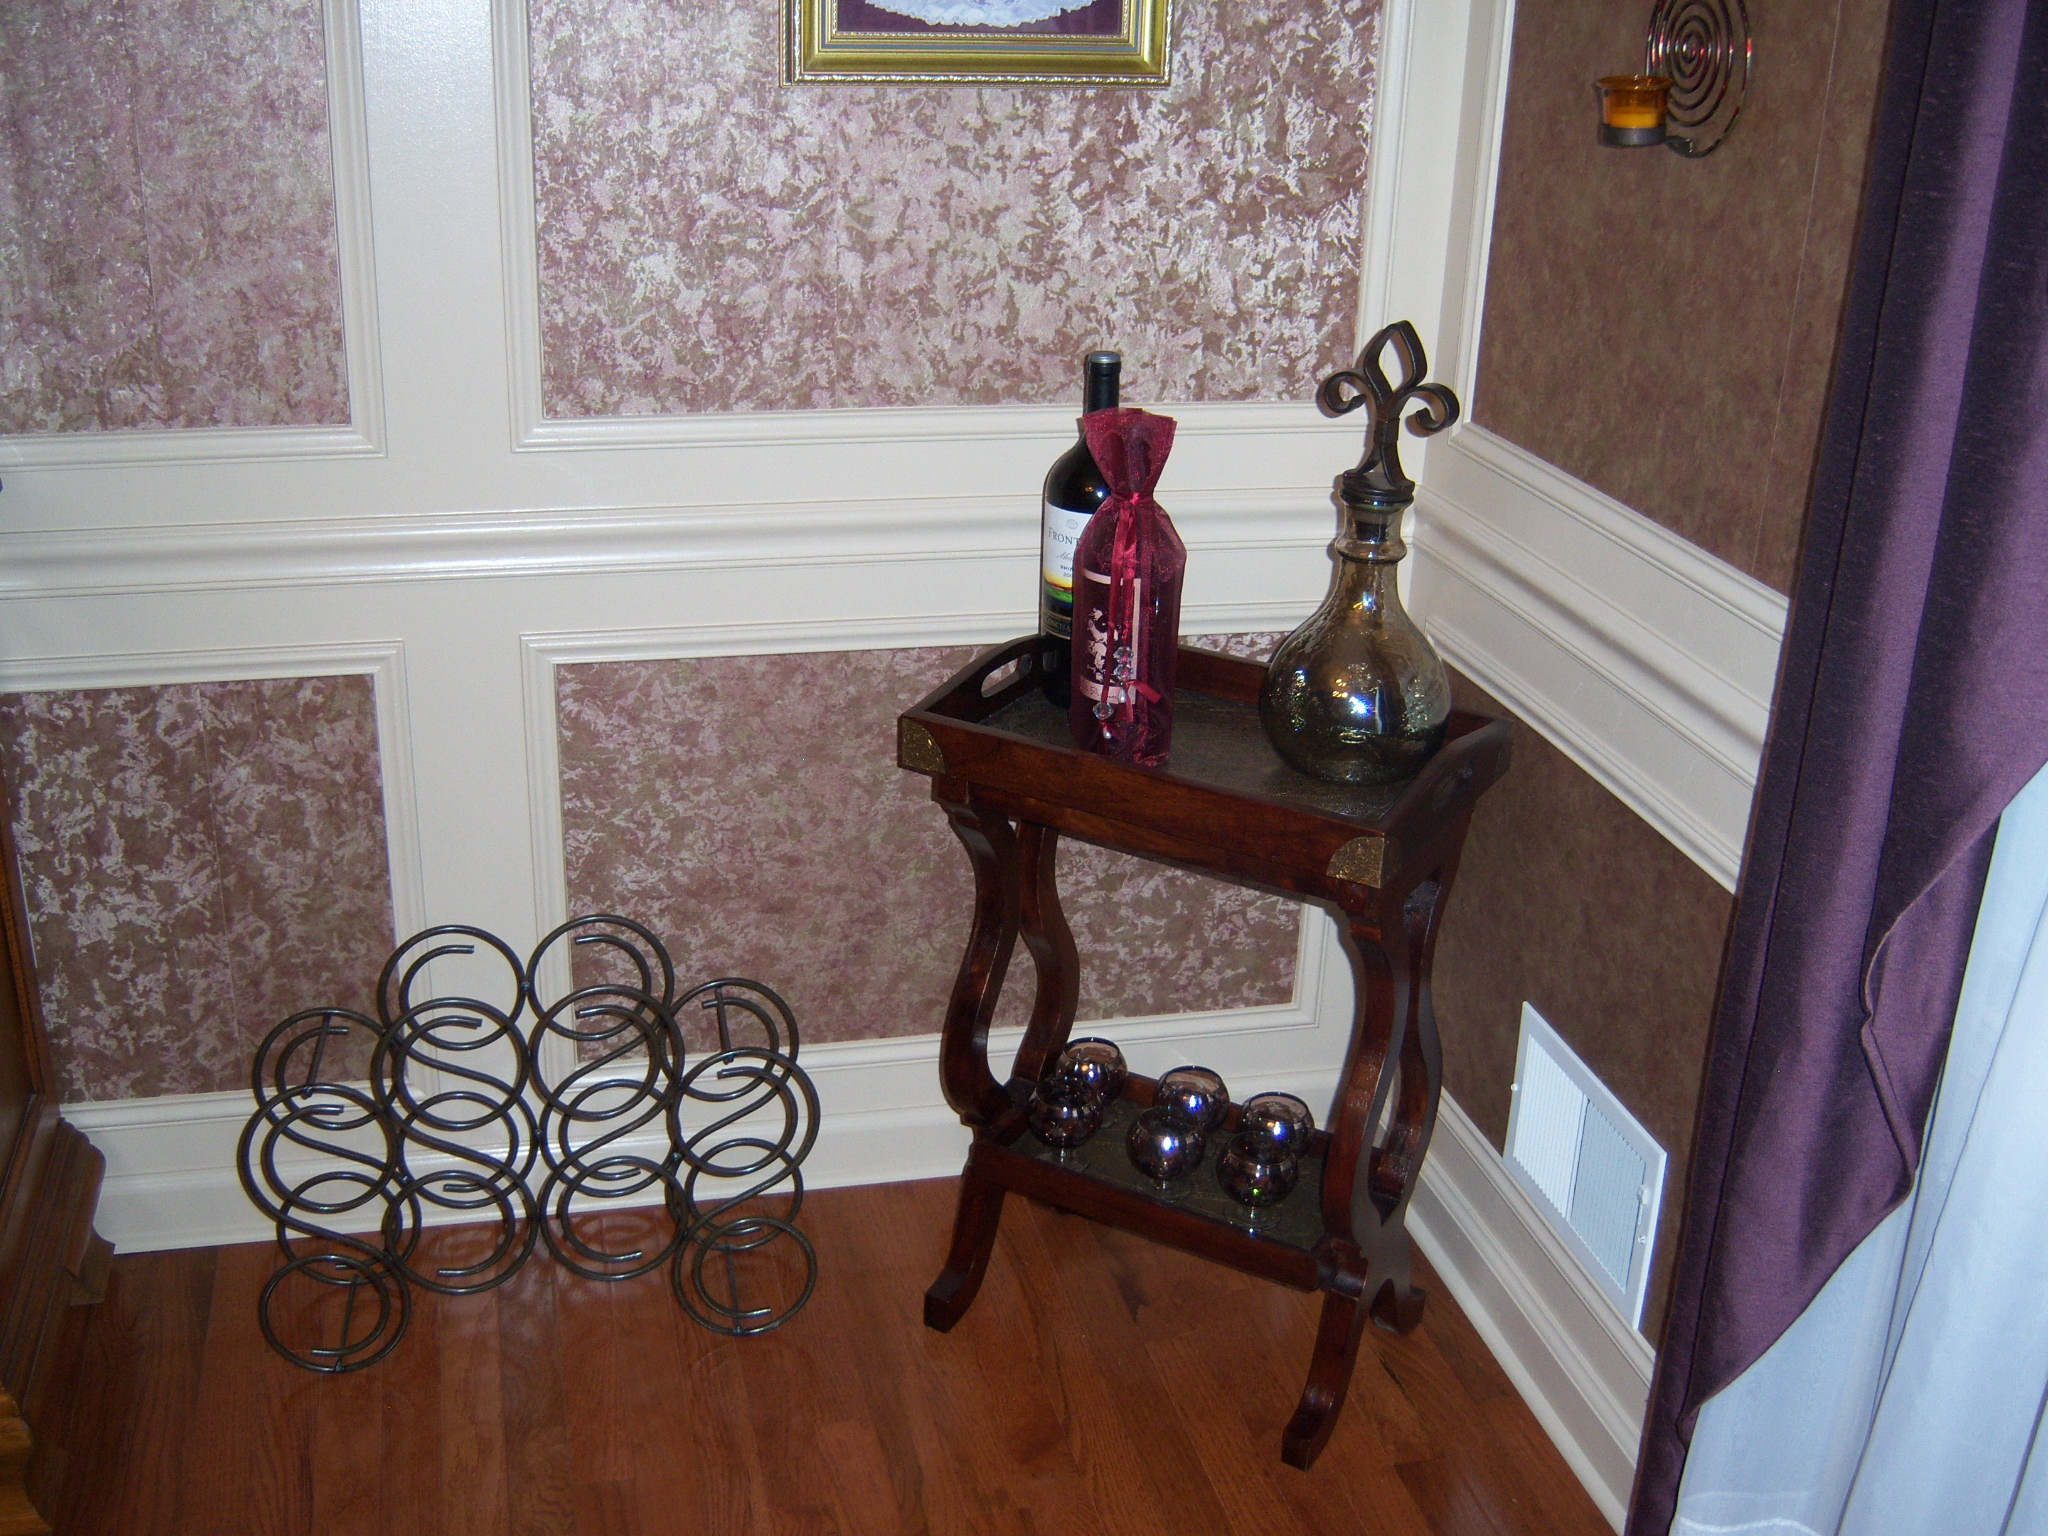
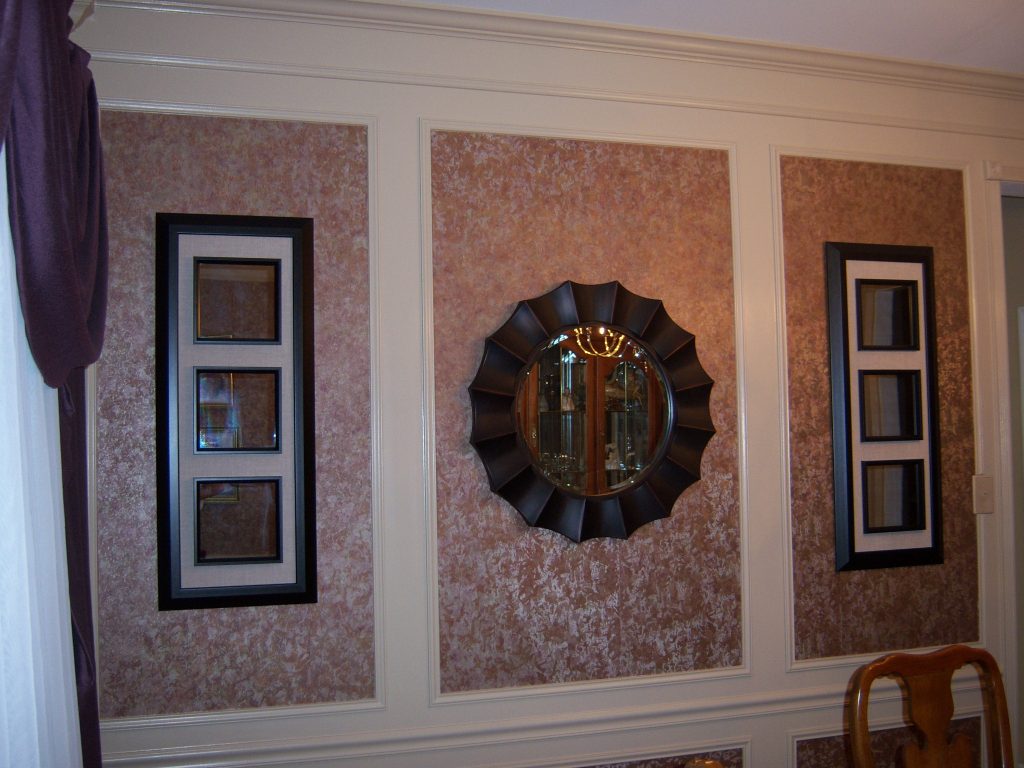
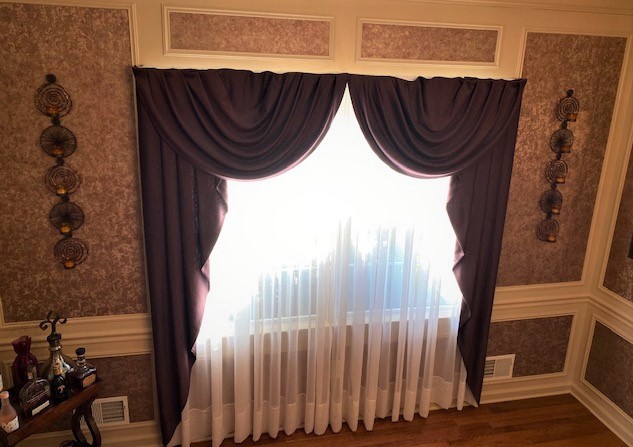
And here are a few more post-decorating photos with the room fully finished a couple of weeks later, to get the overall feeling or ‘vibe’ of the room now…
Hardwood Flooring Installation: In Summary
Hardwood floors, in my opinion, add massive appeal to any home – I think they’re gorgeous.
The project as you’ve seen outlined here and in the Part 1 portion of this article is surely somewhat involved, but it’s also quite gratifying if you can make the time and achieve the focus.
Even if you don’t have the opportunity to try this for yourself, though, I hope this project journal provides you with some background and maybe even some ideas to help with your design and the discussions you might have with local contractors as your project progresses.
Any additional insights experiences, tips or questions? Please add your thoughts below!
Need Professional Help From a Local Contractor?
Related Posts
- Preparing to Install Hardwood Flooring
- Dressing up an Archway with Fluted Casing and Rosettes
- Trim Work Design Tips: From Casing to Crown Molding
- Hall and Stairway Trim Work: Low Maintenance Shadow Boxes
- How to Visualize Deck and Landscape Design Ideas
- Building a Removable Wood Fence Section and Gate
- Designing the Perfect Deck

Another great project Mark – we will have to fly you over to Australia to give our house a face lift! Very professional looking videos as well :)
Jan – I’m more than happy to have you fly me to Australia to help out! Thanks for your comment, and I’m glad you liked the videos too; I find they can be so much more descriptive than the photos alone.