2022 Update… The first installment of my five-step rookie carpenter’s guide to playhouse building covered Steps 1-3, which guide you through building the confidence you need to pull it off, concocting the playhouse in your imagination, and then putting it all down on paper and gathering your materials and tools. But that’s all the easy stuff.
Step four is where you roll up your sleeves and get to building, and it’s the hardest step if you’re like me and fraught with fear and self-doubt. And this will be the focus of this installment – complete with many construction photos and stories from this part of the adventure.
I spent two years in the playhouse planning phase, because I was afraid to actually build the thing. It’s quite an undertaking, after all, and I didn’t have any experience with building large structures. Who did I think I was, thinking I could build a playhouse? But finally, the stress of not building it – after having promised my kid, Ruby, that I would – was becoming heavier to wear than the anxiety-ridden prospect of getting started.
I could have called a local contractor to help, of course. But no, this was mine. So finally, if only to silence the nagging voices, I just dug in and started putting it together, one piece at a time – figuring it all out as I went.
Here’s how that worked out…
Playhouse Construction Tools
Before you start digging into all the construction photos below, here’s my list of tools once more from the first chapter of my project summary with Amazon links for pics and prices in case you don’t know what some of these are. But you’ll see most all of them in use in the pictures below:
⦁ A tape measure.
⦁ A torpedo or carpenter’s level.
⦁ Lots of pencils for marking boards.
⦁ A carpenter’s square, even though I don’t know how to read it. It’s handy for sticking in corners to make sure something is square—or in my case, *mostly* square.
⦁ My trusty Campbell Hausfeld air compressor with the nail gun attachment, which sheared off hours and hours of nail pounding from the build time. It has come in very handy for filling many a bike and car tire and putting together trellises for the garden.
⦁ The SKIL drill that I’ve had since college.
⦁ My SKIL circular saw.
⦁ The tabletop miter saw I got at a garage sale for $25. (Sorry – no Amazon link for garage sale miter saws!) I didn’t actually miter much, but rather used it to cut most of my boards, since it’s faster than using a circular saw. A table saw would have been ideal, but I didn’t know that at the time.
⦁ A sturdy set of sawhorses.
⦁ A whole bunch of galvanized screws and the right drill bit.
⦁ One and two-inch nails for the nail gun.
Building My Outdoor Playhouse Base and Floor
The base of Ruby’s playhouse is a simple platform that sits right on top of the ground. I didn’t use concrete footings because (1) that just sounded far too complicated for my skill level and (2) it’s not a huge structure, so I convinced myself that the ground, which is quite hard, will hold it up just fine. (We’ll see how that goes over the next few years.)
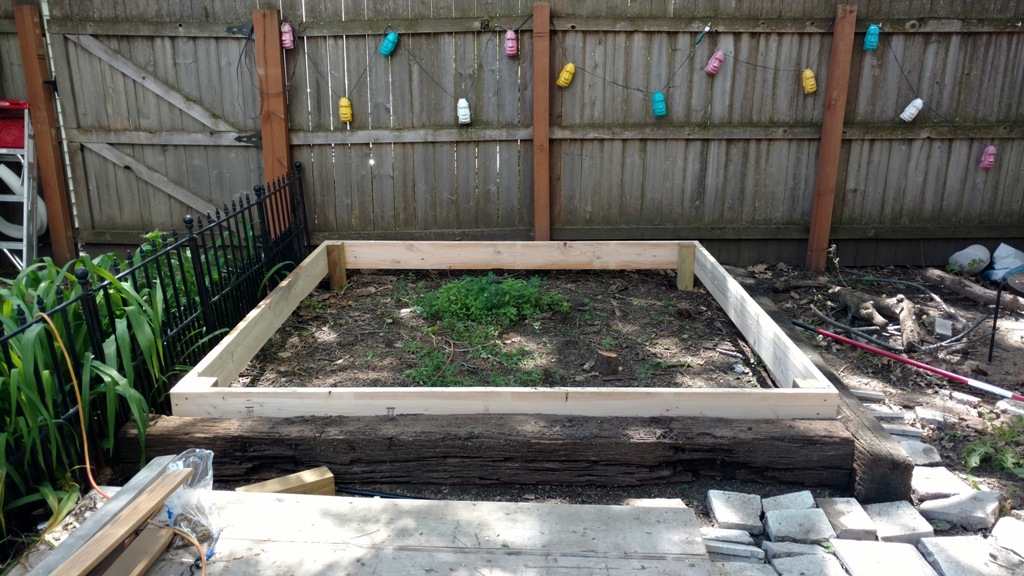
Anyone can build a platform. Mine is just four foot-high 4x4s in the corners with 2 x 6s screwed on to create a square:
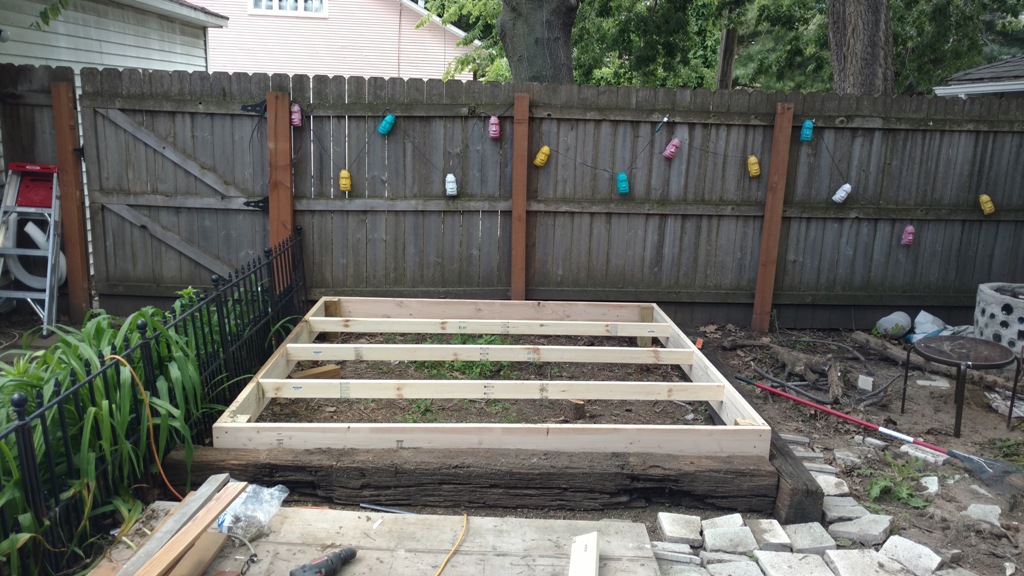
With a few braces:
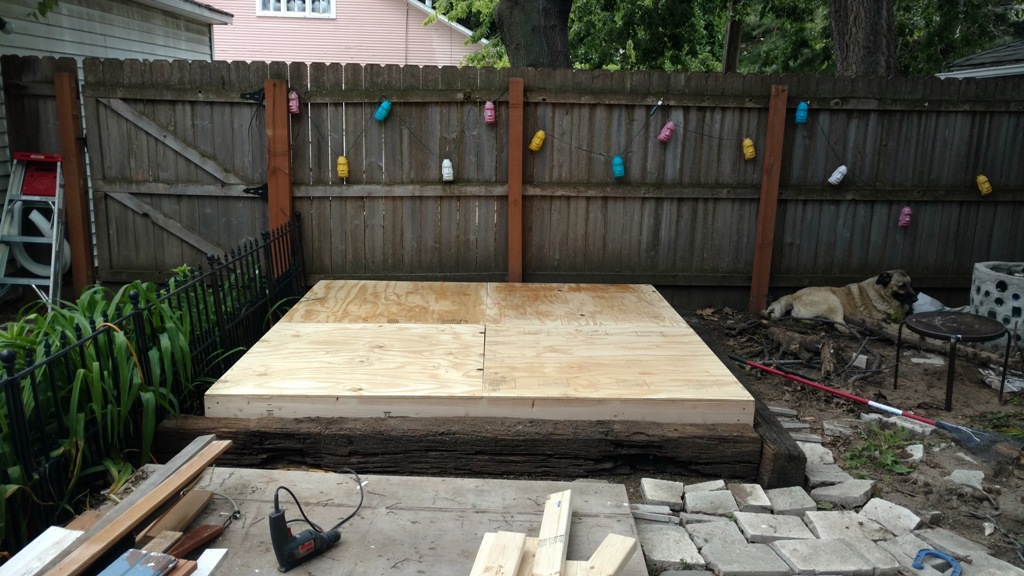
…and some plywood on top. Conveniently, I made the platform 8 x 8 feet, so I used 4 x 4 sheets of 3/4-inch plywood, which fit like a dream, to my great surprise and delight:
For the floor, you can certainly leave the plywood bare, or maybe stain or paint or polyurethane it. But I wanted a plank wood floor in the playhouse. Unfortunately, when I saw the price of treated cedar, oak, and pine planks, my eyeballs did that cartoon thing where they pop out of their sockets as big dollar signs. It would have cost a fortune to cover her floors in new lumber, so I turned to a local nonprofit called EcoStores.
Now, I don’t know if you have something similar in your neck of the woods. I hope you do, because EcoStores was a veritable wonderland of cheap building materials and delightful miscellaneous stuff ’n’ junk. I say “was” because they recently closed down, most unfortunately and sadly. But they operated a warehouse where deconstruction companies and individuals could drop off their reclaimed, unused or unwanted building materials to keep them out of the landfill. If anyone knows of anyplace else like this in business today – could you please comment below??
I spent $20 on a huge pile of whatever one-inch boards they had piled up in the lumber section. I got them in all colors, widths, and conditions:
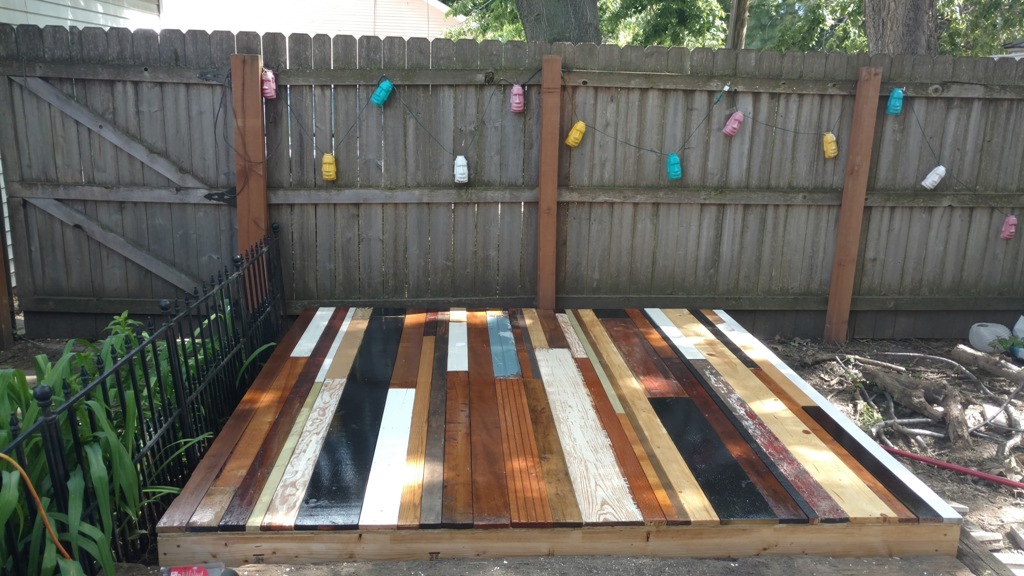
It was a bit like putting a puzzle together, but I somehow configured the boards into the floor of the playhouse:
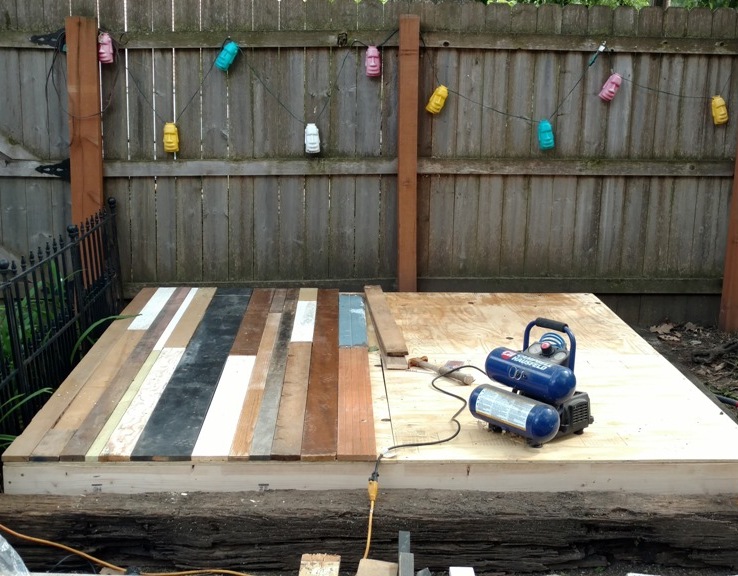
I used shed-resistant mohair rollers to apply three coats of fast-drying, water-based polyurethane on the floor before I attached the walls. I’m sure it’ll need a few additional coats of polyurethane every year or two, since most of the boards aren’t treated for the outdoors.
Backyard Playhouse Wall Construction
With my detailed drawings of the wall frames in hand (from installment one), I built all four walls at once. It was surprisingly easy and went much faster than I expected.
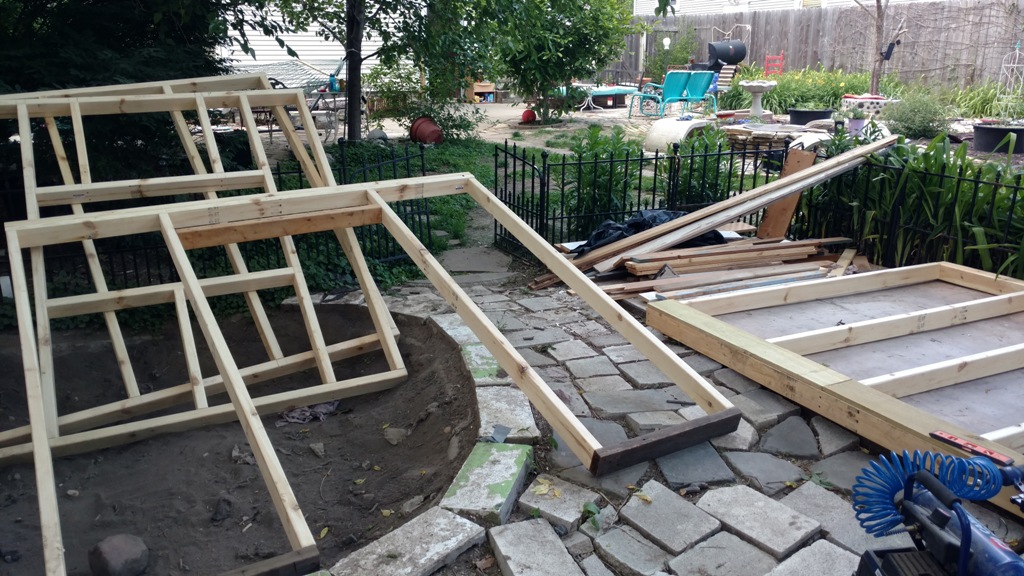
Since the playhouse roof is slanted downward from front to back, the front wall was, at seven feet, higher than the back and sides, which were all the same height at six feet. I framed in a large picture window on the west side and a smaller, higher window on the east side for the loft.
Although framing is very simple, I had to read a few articles and watch some videos to see how to screw the wall frames to the platform and join them together. The only help I needed during this entire build, aside from being rescued from the roof [more on that later], was when I put the walls up on the platform. My sig-o Gerardo and his son Leo, Ruby’s brother, held things steady while I screwed the frames in place. Since I was building it so close to the fence, I put the siding on the back wall ahead of time.
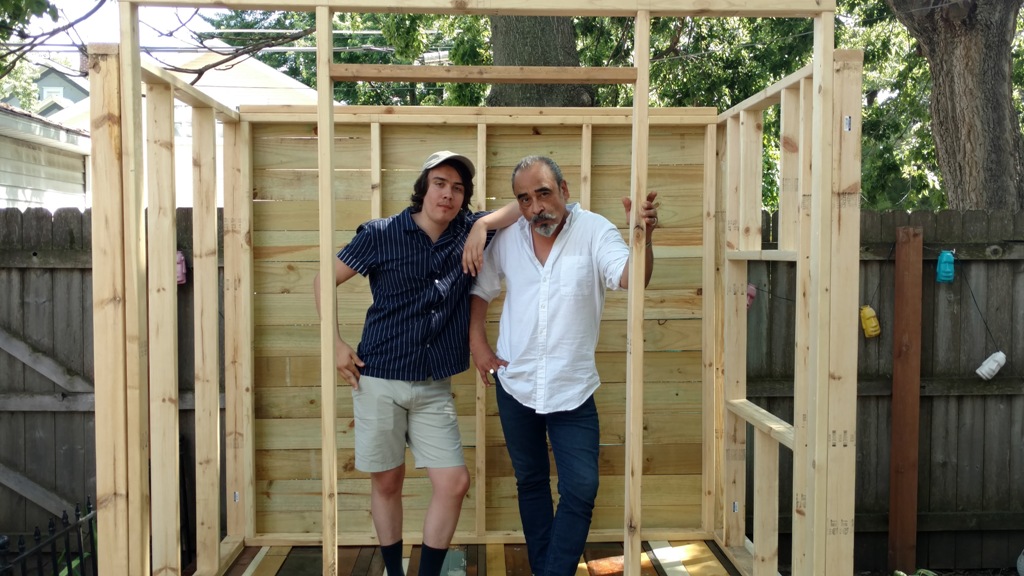
Now, if you look closely up there, you’ll see my first major screw-up.
Once everything was screwed into place, I realized with horror that the front wall needed to extend outwards on each side to be flush with the outsides of the side walls. So, I had to take the front wall back down and replace the top and bottom boards with longer ones. It didn’t take more’n an hour, and I had the lumber on hand, so it wasn’t too bad. But this is a good time to remind you that any problem can be solved, and any mistake can be fixed – or covered up, if it’s cosmetic. Think of problems and mistakes as learning opportunities rather than cosmic forces trying to get even with you for some terrible thing in your past. Makes ‘em much easier to swallow.
Siding the house with cedar or another lovely wood was out of the question since I didn’t want this playhouse to break the bank. So, I ordered up 35 5.5-inch by six-foot lengths of severe-weather, pressure-treated pine fence pickets for under $50.
I cut off the dog ear part to square them up and used them as siding.
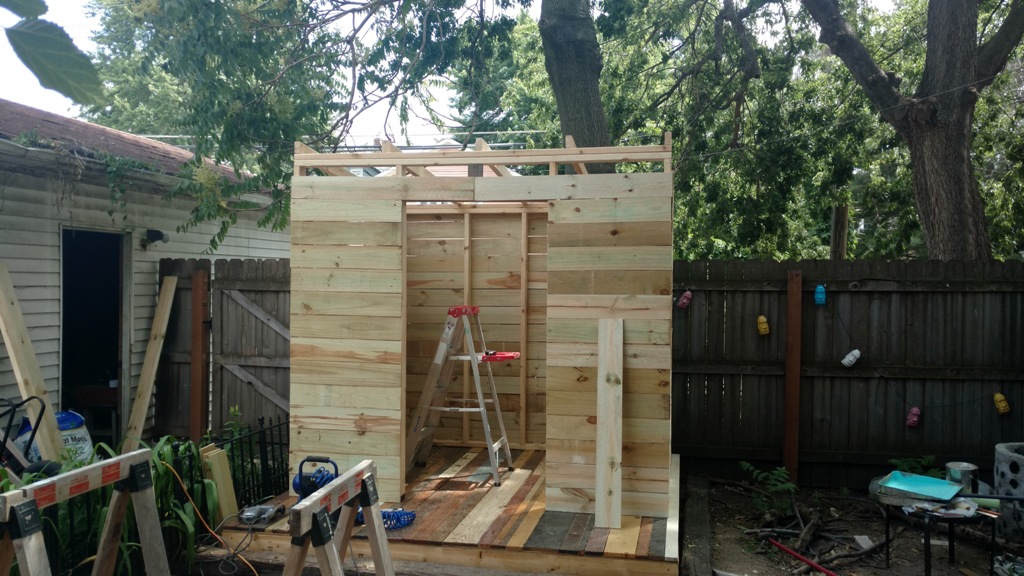
There are gaps between the boards, but this playhouse isn’t meant to be impermeable. Plenty of light and air flow through to keep it bright and prevent it from getting stuffy, and Ruby and her pals can spy on the outside goings on through the cracks, which they think is awesome.
DIY Backyard Playhouse Roof Construction
A pitched roof was a little too ambitious for me to attempt because of the precise angles and complicated cuts it would require. It also seemed like something that would require a fair amount of help, and I’m not very good at asking for help.
After watching some tutorials and doing a whole bunch of drawings, I decided on a slanted shanty-style roof. This also seemed incredibly complicated to me, until… I stopped reading and watching those tutorials and instead just started doing it. Turns out, it’s really pretty simple, which totally figures, since it was mostly my fear of the roof that delayed playhouse construction for two years.
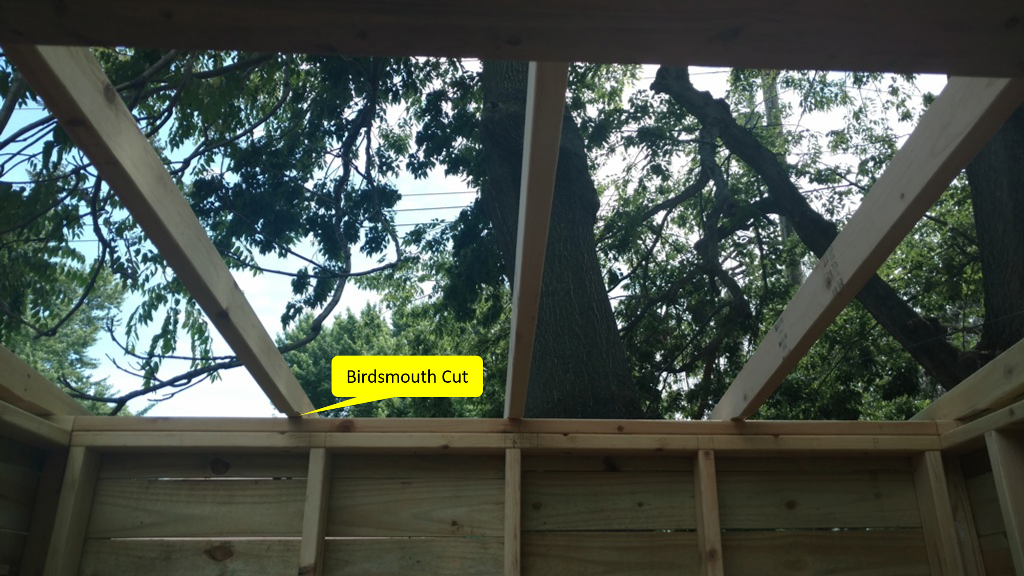
I measured, marked, and made the birdsmouth cuts (open the picture above to take a close look) that allow the roof supports to rest flush against the front and back wall frames. These cuts apparently require some serious cutting skills, so mine turned out a bit jagged and lopsided, but they did the trick, and anyway, no one can really see them – so no biggie.
Oh, look! Here comes Gerardo to help me off the roof after the ladder fell.
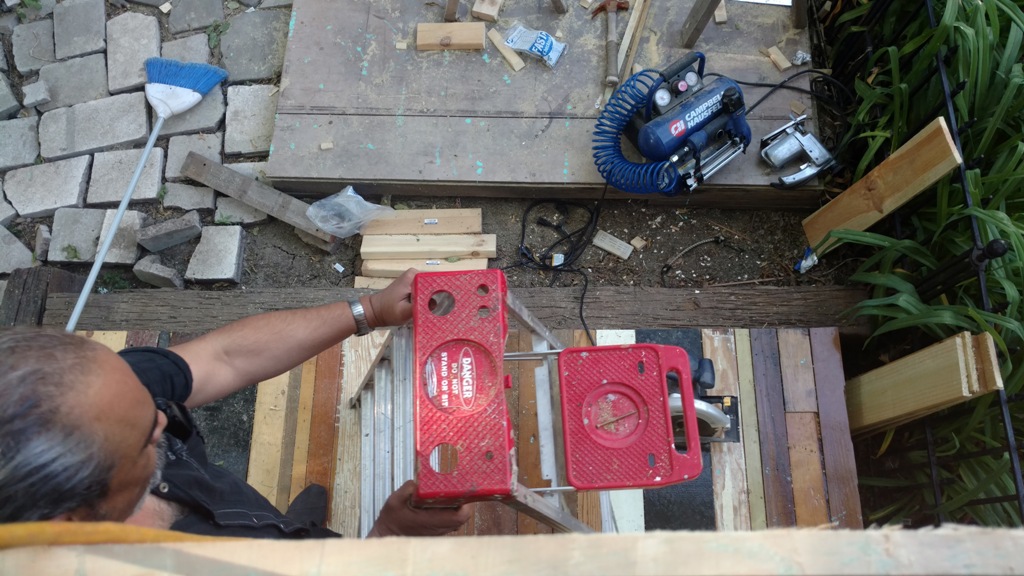
Thanks, pal!
I didn’t get a photo of finishing the roof, but I laid down treated 1/2-inch plywood sheets and nailed down tar paper and shingles on top. If I were to do it over again, I’d use corrugated tin sheets for the roof. It would be so much easier. But the shingles and tar paper, which were remnants, cost me a paltry $15.
My Kids Playhouse: A Loft with a View
Inside the playhouse, I screwed 2 x 4 supports across the east side and laid plywood on top for a loft. I built a quick, crude 2 x 4 ladder:
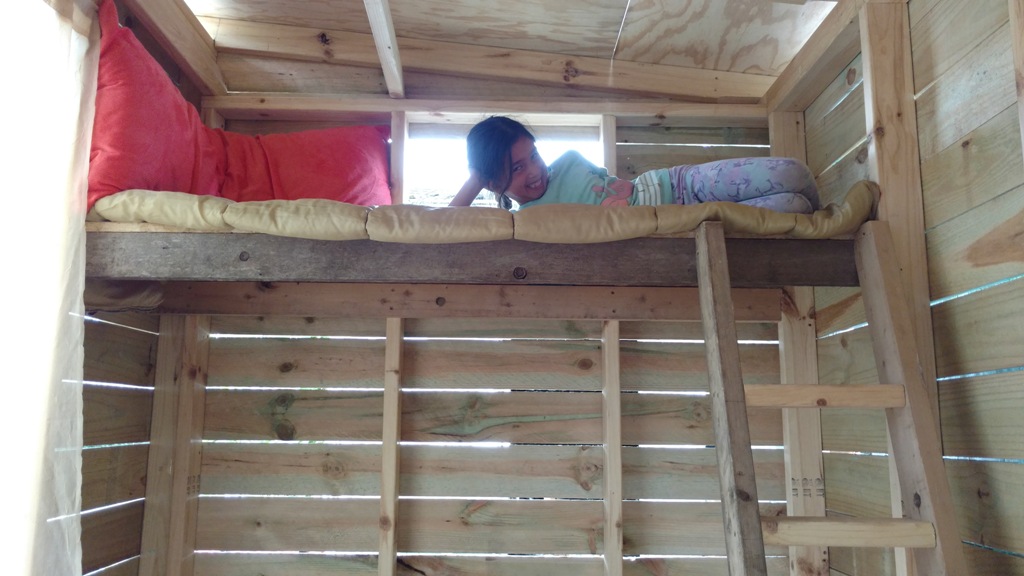
And then suddenly it was done! I had a real-life playhouse on my hands! The build was fun, but the best part, for me, was still ahead. Tune in to the third installment for the fifth and final step of building a playhouse: Decking it out.
What more can you do beyond a loft with a view? A LOT!!
Two photo spoilers from Part 3 are just below…
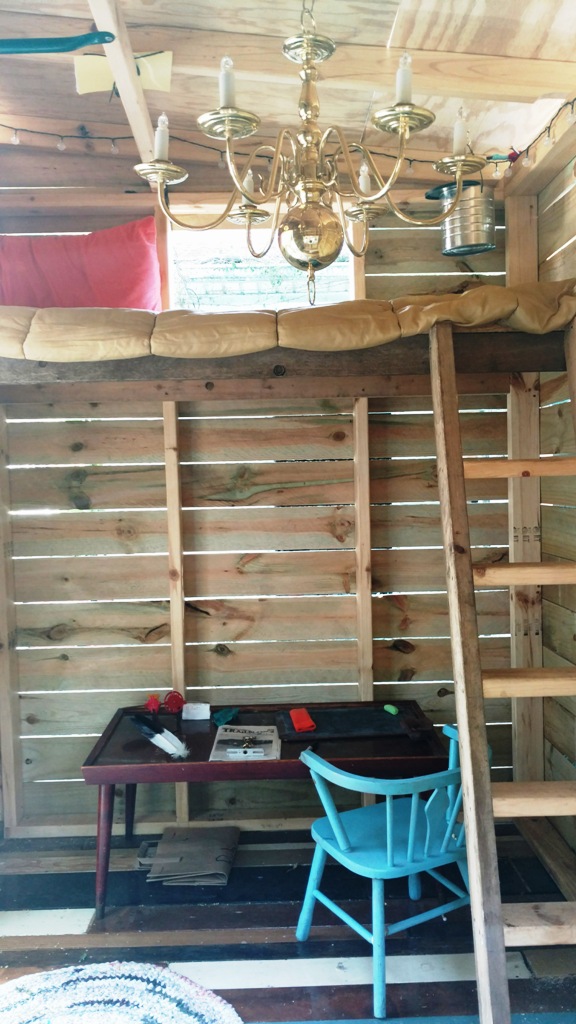
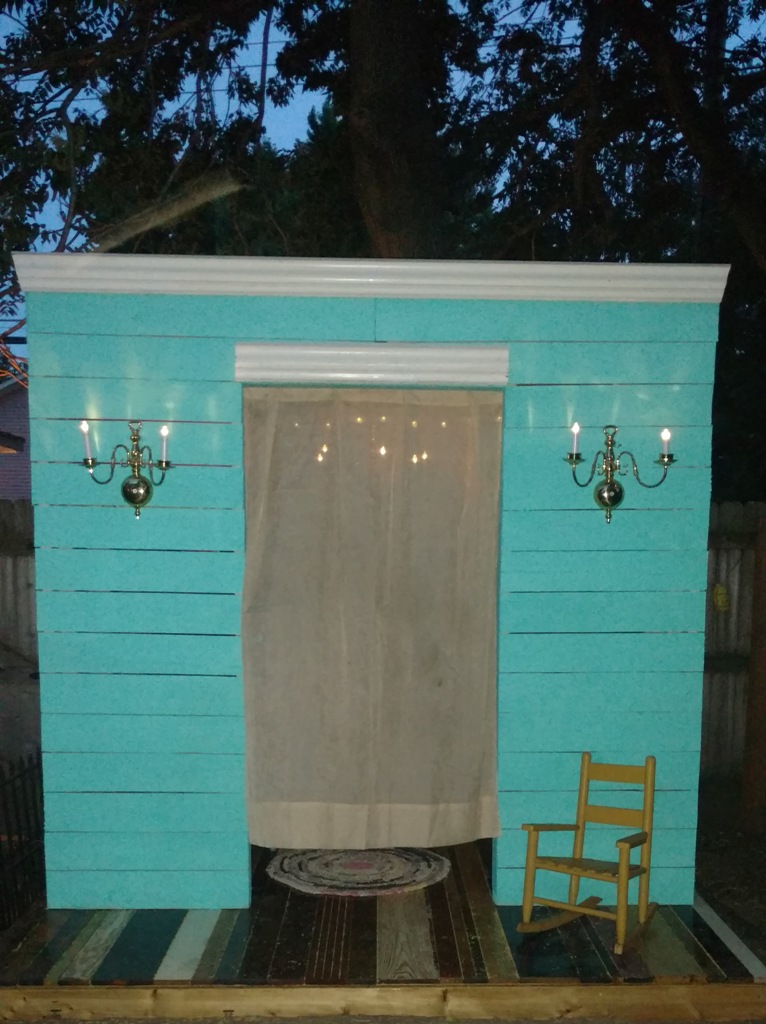
If you’d like the see more about the interior monkey bars, the interior and exterior lighting, and my adventures in repurposed furniture – well, check out the 3rd and final installment right now!
And I’m always so happy to Q&A, brainstorm and hear about other cool ideas and experiences below too – please use the comment form below… on any of the three article installments!!
Need Professional Help from a Local Carpenter?
• Visit Our Find a Contractor Page
Related Posts
• A Rookie Carpenter’s 5-Step Guide: How to Build a Playhouse – Part 1
• DIY Outdoor Playhouse Part 3: Lighting, Decor & Monkey Bars
• Hall and Stairway Trim Work – Low Maintenance Shadow Boxes
• How to Rehab a Redwood Swing Set
• Hardwood Floor Installation and Trim Work
• Dressing Up an Archway with Fluted Casing and Rosettes

Hi!
Just ready your article. So inspiring!!
I was wondering how your playhouse held up on that platform without
concrete footings? Deliberating whether or not we should do concrete
footings for our daughter’s new playhouse.
Thanks!!
Loved that reclaimed floor, I would want that in my house, not my playhouse! Great job guys. A little outdoor lighting would really pick that up as well! Nice job.
Thanks, Adrian! If we ever re-do our kitchen, I want to re-create that floor. It’s my favorite part of the playhouse. As far as lighting goes, stay tuned for the third installment, which is where I deck it out in paint, lights, and more!
They playhouse looks fantastic – I love the floor. Looking forward to the last installment.
Thanks, Jan! The last installment is the best of all, and it’ll be up in November.
Awesome construction photos, Kristen – I really love that plank floor, which is totally cool and unique. I never would have thought to have done that. I’m curious about the large picture window you mentioned though. There’s a great shot of the loft window… but could you possibly provide a photo of the larger picture window as well? Got curtains on that on the inside, by chance?? I also really love using the 5″ fence pickets for siding, with the intentional spacing. That’s just brilliant on so many fronts: low cost, accommodation of seasonal expansion/contraction, inherent air flow and perhaps most importantly, as you said, being able to peek out from the inside!
Thanks for the kind words, Mark! My original plan was to put curtains or bamboo blinds on the big picture window, but Ruby and her pals like climbing in and out through it, so I left it bare. Here are a couple more photos of that window from the inside and out. (See the sink and stove? I found those curbside with a “FREE” sign on them. I couldn’t believe it. They’re incredibly well-built. I coerced them into my little Honda Civic, cobwebs and all, and they now reside on the other side of the playhouse, under the loft.)