2025 Update – Corner blocks can make a crown molding installation job SO much easier. And the whole room a lot more striking, in the end, too…
I’ve written previously about the beauty of architectural trim work; I love it. You can change the “feel” of most any living area with the art and elegance of moldings, casings, wainscoting and coffered ceilings. Some of these efforts are much more work than others – but the artistry comes through, I believe, in all of them. So, when I found a way to install crown moldings without compound (3-dimensional) mitering or coping, it got my attention!
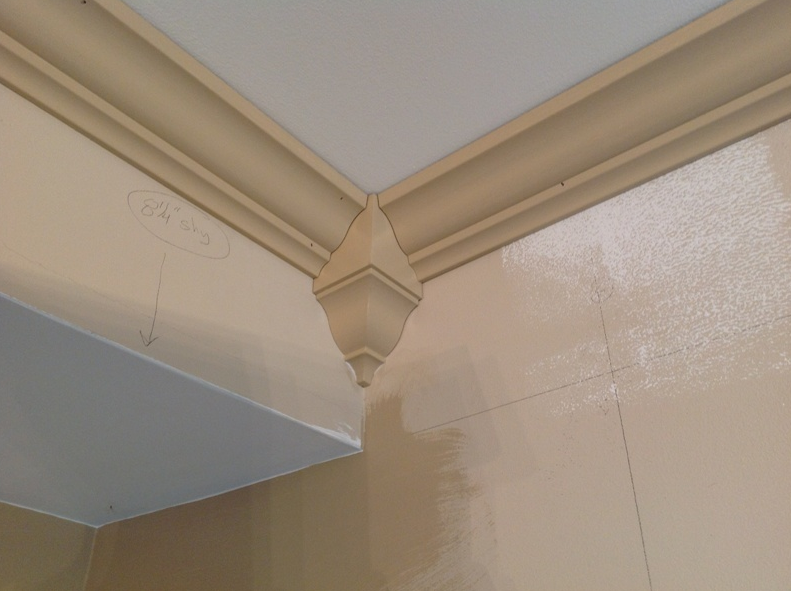
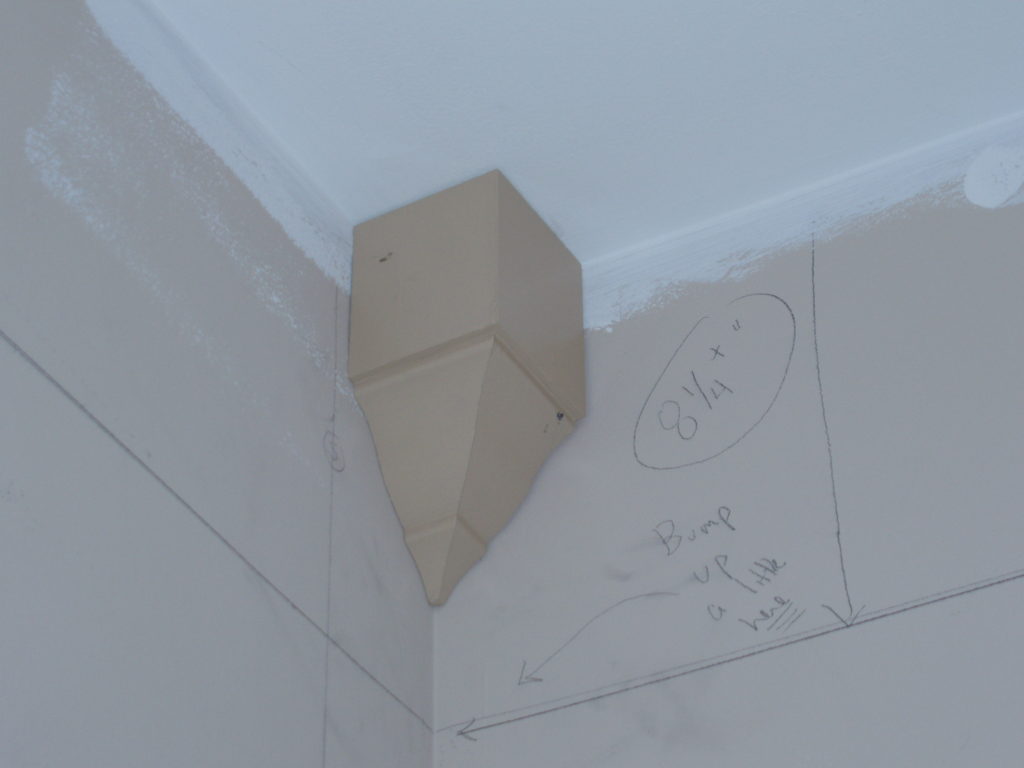
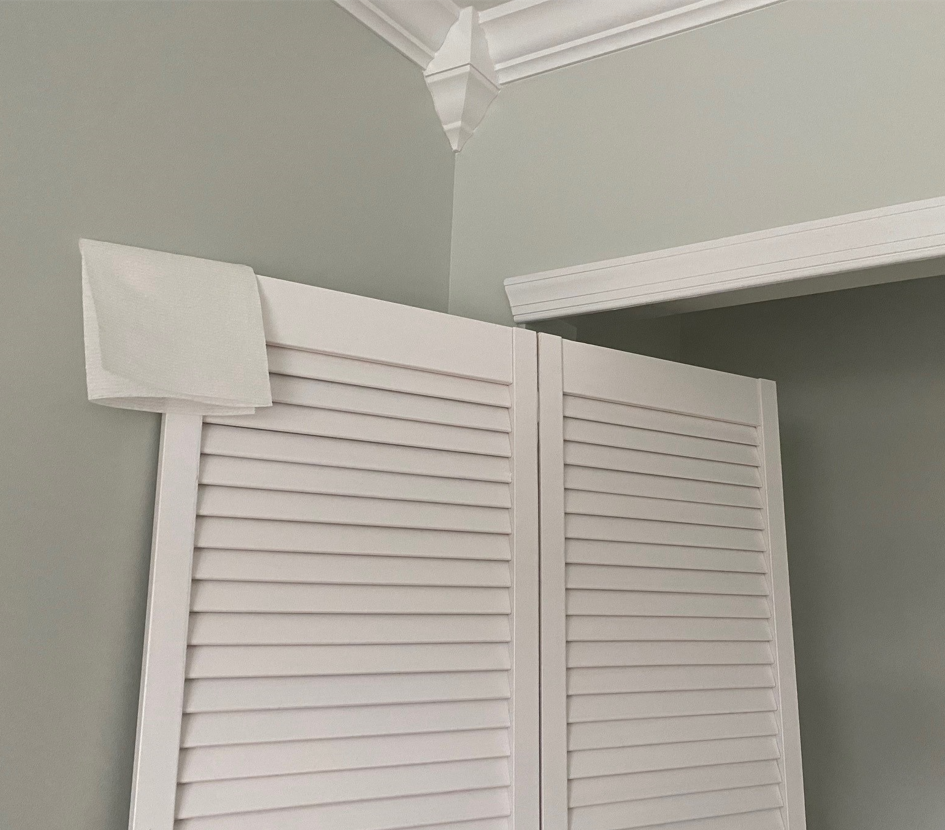
With just one single picture – I can show you how corner blocks eliminate the need for anything but simple, straight cuts in the corners. Look closely below. No miters…
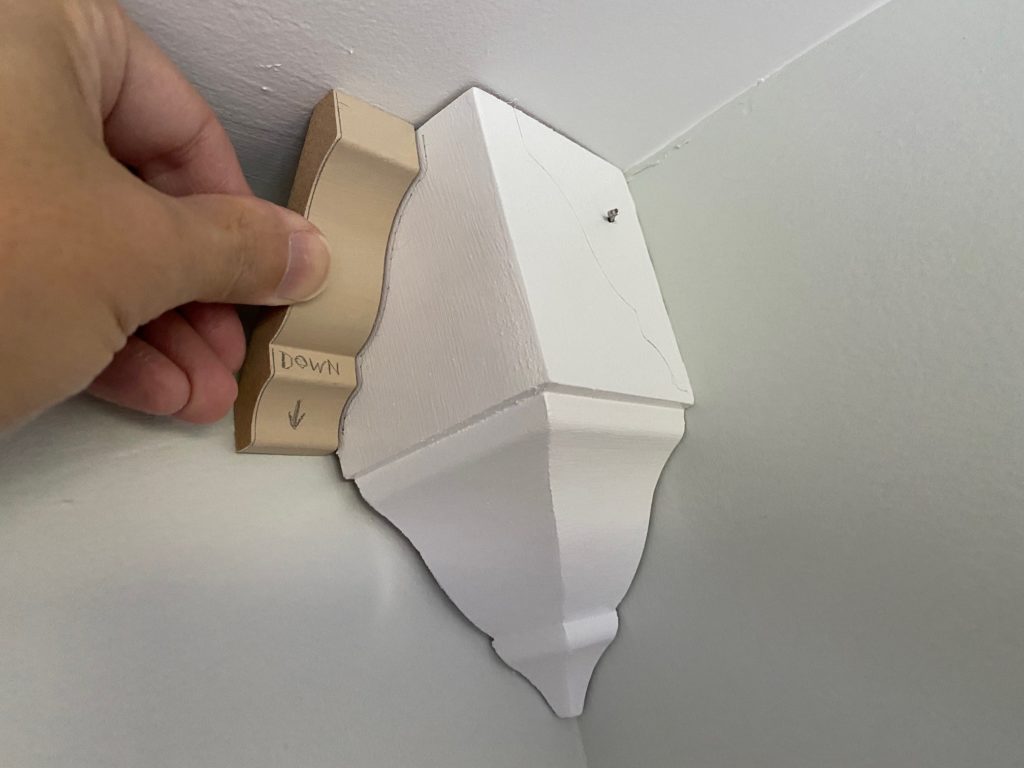
Side Note: I know, one day, I’m gonna kill myself trying to take photos and videos like these from the top of my ladder. [Please don’t do this!] But that’s a nice photo, right?? Also note the outlines I drew in light pencil on the sides of the block – these will assure symmetry of the eventual crown molding installation when you’re on top of that ladder, holding your molding in place with in one hand and your nail gun with the other. At that point… planning is over. At that point… it’s ‘game time.’
Now, as I see it, there’s no escaping a compound miter saw for crown molding work.
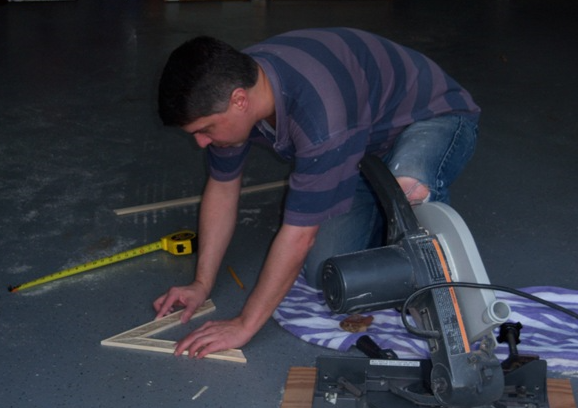
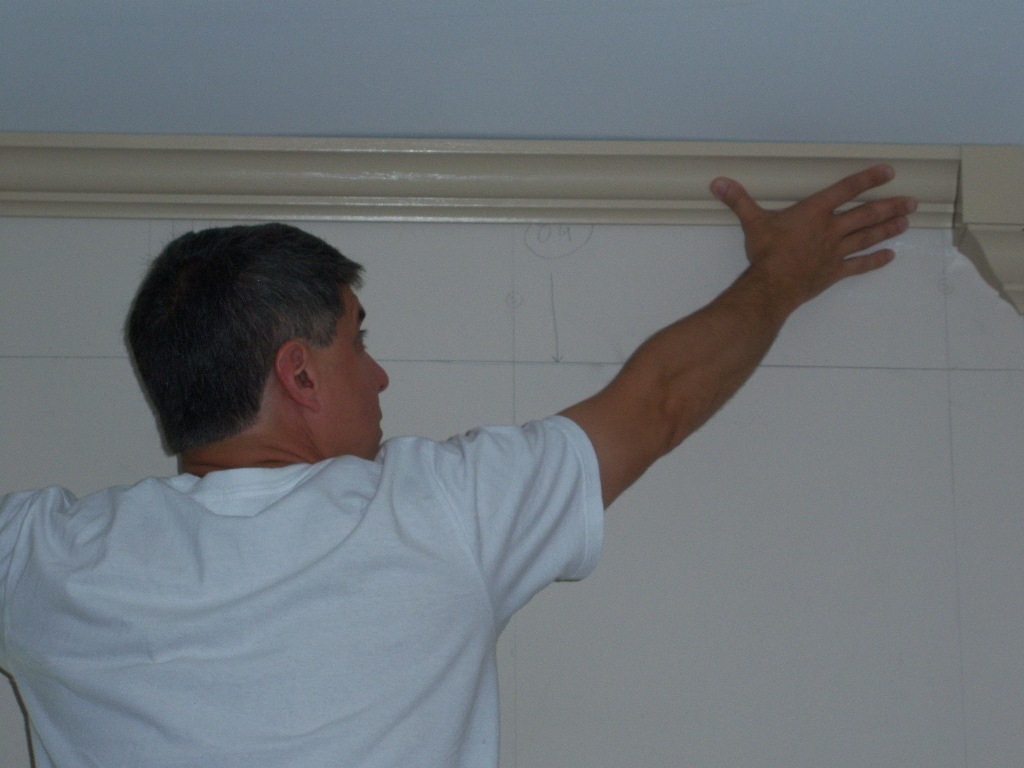
Here I am with my compound miter saw a few years back (less gray hair) – I still have the same saw, now, for at least 15 years. I change the blade as necessary, and it’s good for small jobs – the size you’ll see in this summary.
But why make life harder than it needs to be?
Especially when you can provide additional decorating cachet [aka; ‘coolness and awesomeness’] to your room via the selection of the corner block styles you prefer?
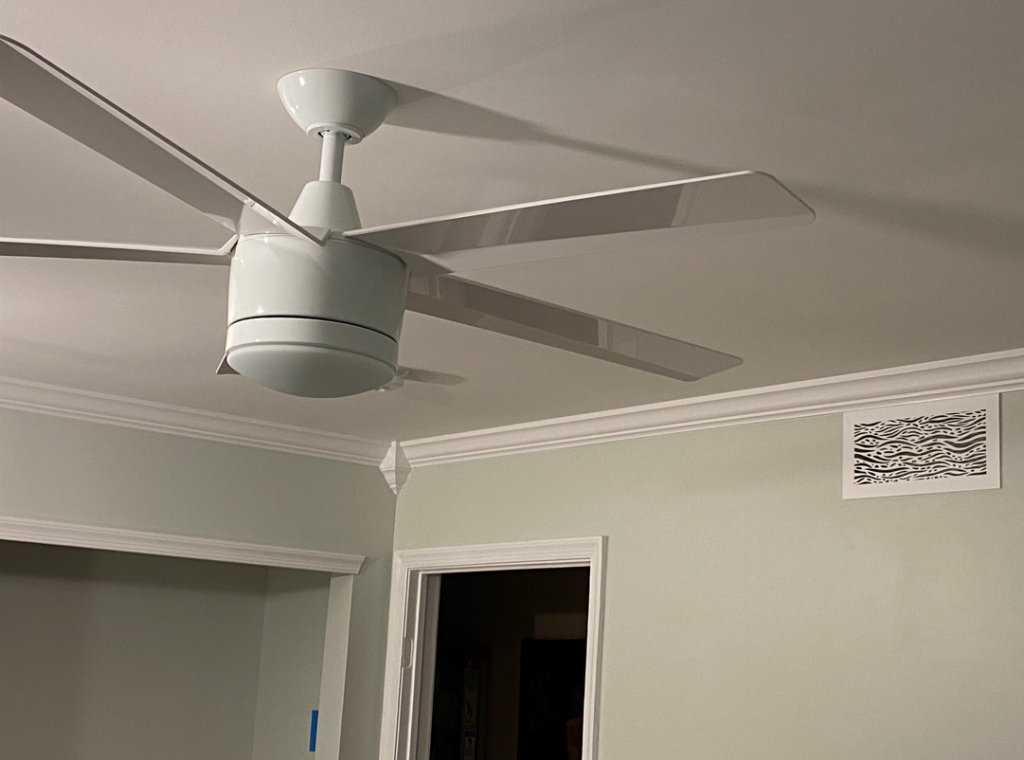
In the green bedroom above, I used my miter saw for angled splices to connect long runs of crown molding that didn’t end at a corner.
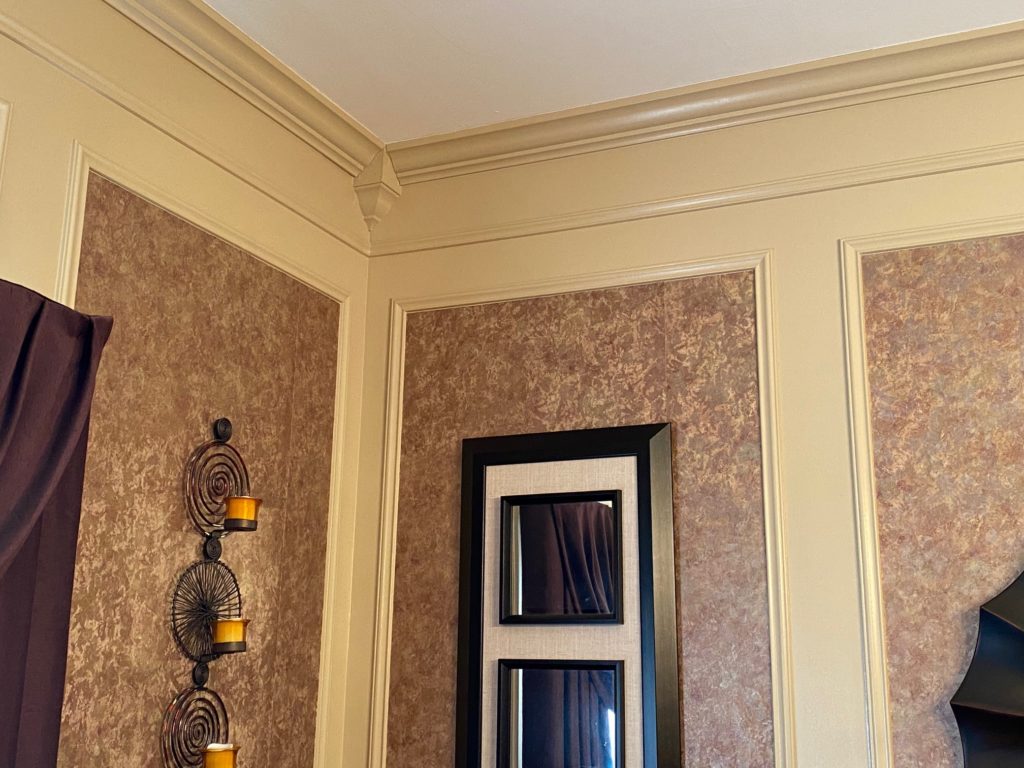
But each of the four inner corners in that simple, rectangular room were realized via non-mitered straight cuts – using the “inside corner blocks” you can see both above and below.
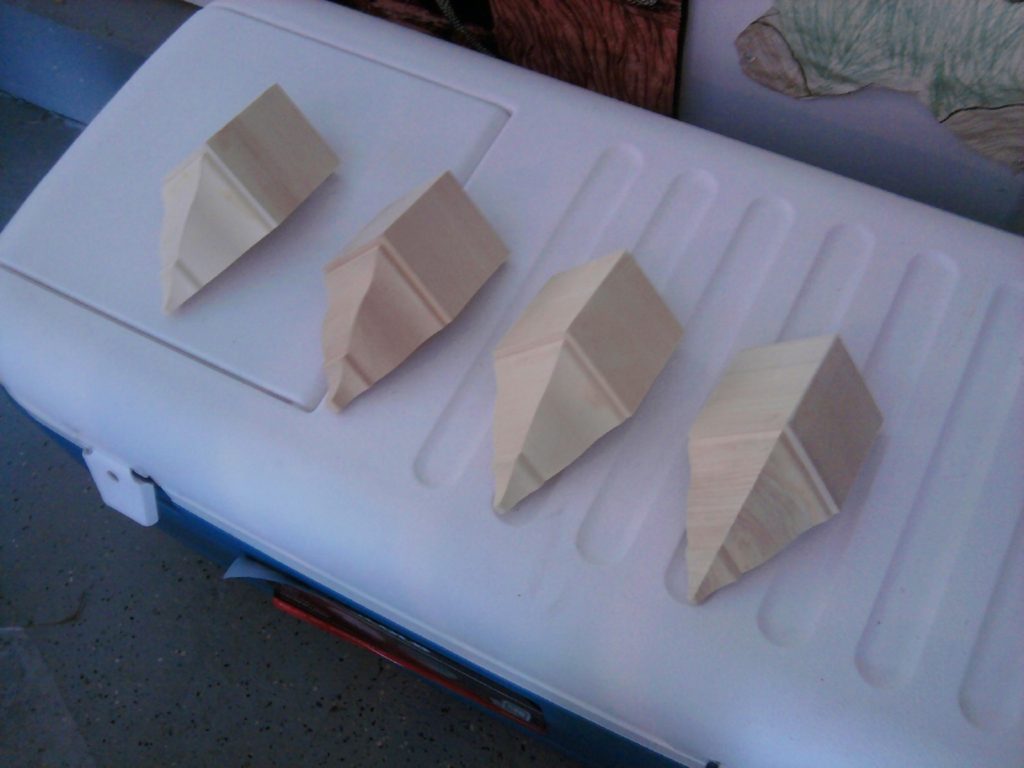
The following photos show another example in my dining room a few years prior…
Outside Mitered Corners and Corner Blocks
I’ve personally gravitated to the use of interior corner blocks only; I don’t use outside corner blocks at all. And this is mainly because I personally prefer the way external mitered corners look by themselves – neat, clean, and crisply mated.
Below are two shots of outside corners from a job a few of us did in late 2018.
In the first shot, you can see a ~30-year-old outside crown molding corner – cracked and unsightly. (Okay – let’s just say it. A little bit… “nasty!”) Then in the next photo, in a slightly different area of the same house, the brand new and larger crown molding we installed: another outside corner.
The contrast, I think you’ll agree, is pretty clear…
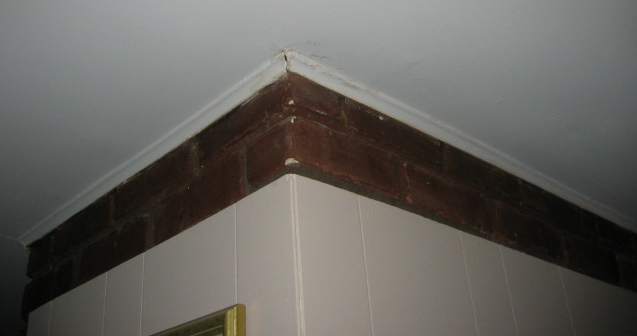
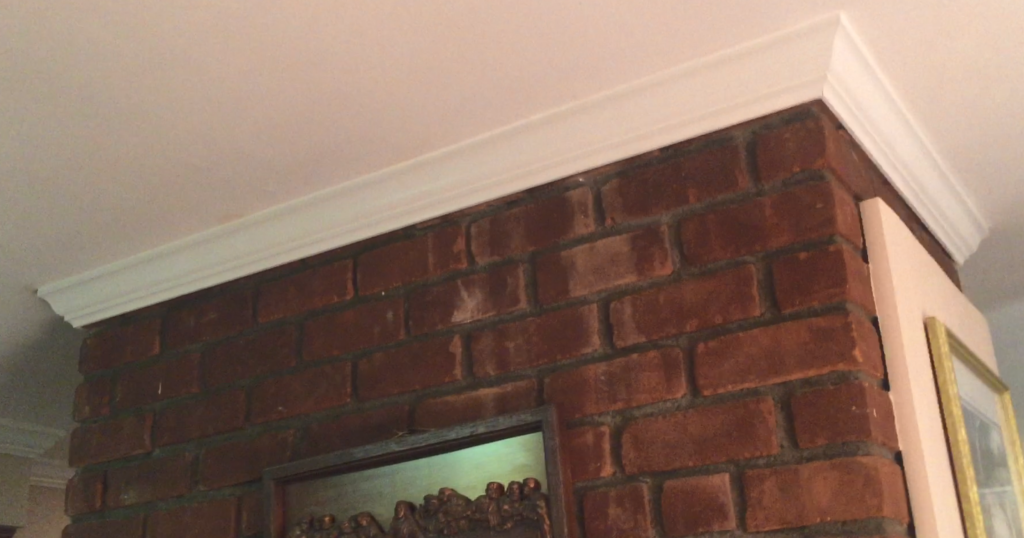
Outside miters, to me, look beautiful exactly like this – via their elegant, crisp simplicity.
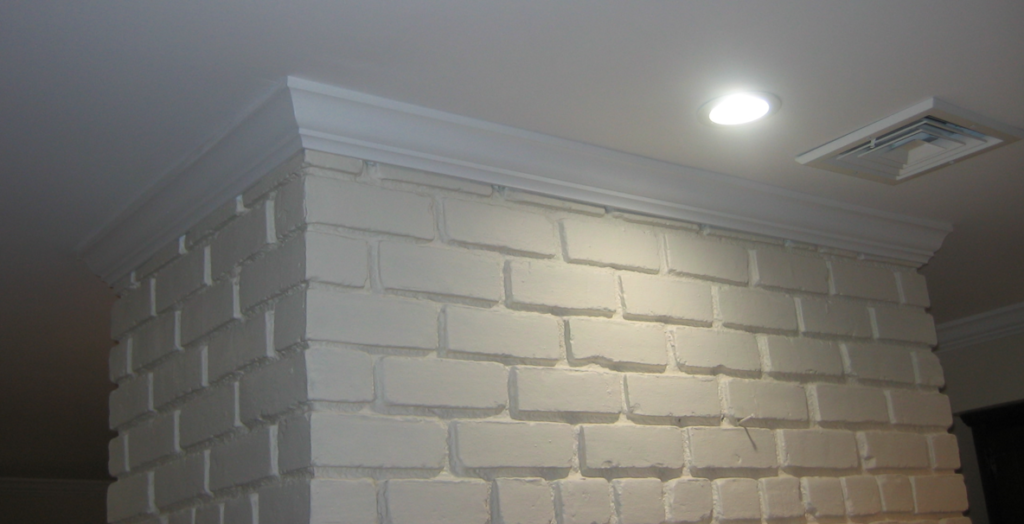
But you can use outside corner blocks for situations like the above as well.
Here’s a shot of a crown molding “outside corner block” on a red wall, for example. You can avoid compound mitering with these types of corner blocks too if you like…
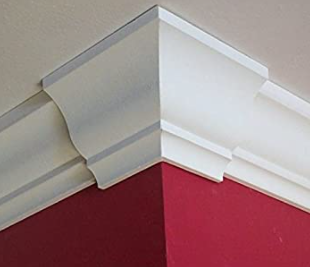
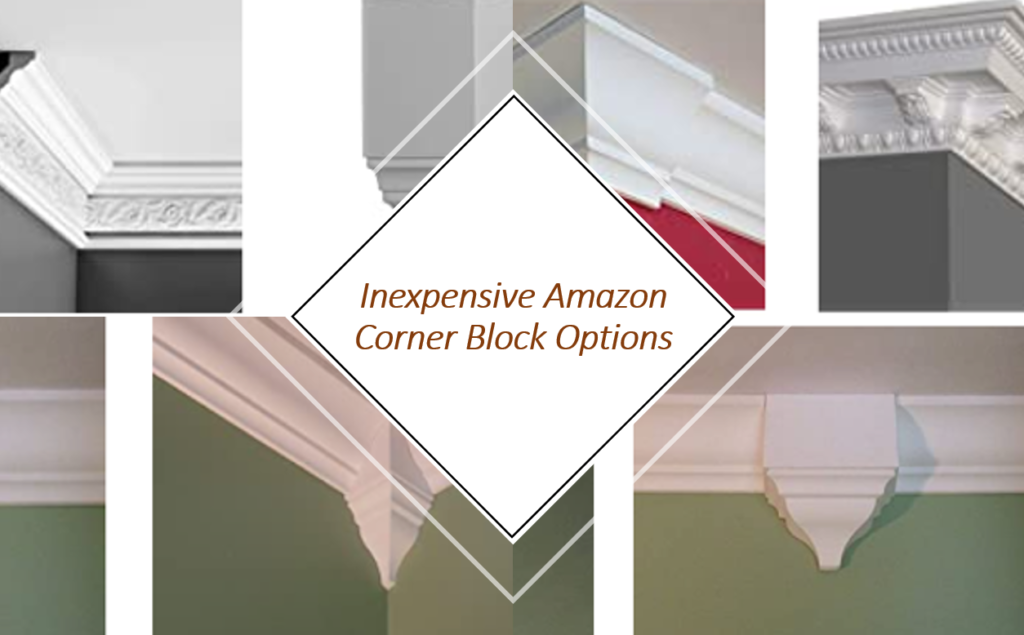
There’s lots of variety in both (and all) types of crown molding corner blocks, and they tend to be pretty cheap.
The graphic below links to an Amazon search page where you can see more about the designs and pricing; there’s tremendous variability on both fronts. The interior corner blocks that you see in the photos of my installations within this short article cost about $7-8 each. Yup. Not a typo.
They’re very inexpensive – especially compared to the price of the crown molding itself…
Corner Block Installation & Tools
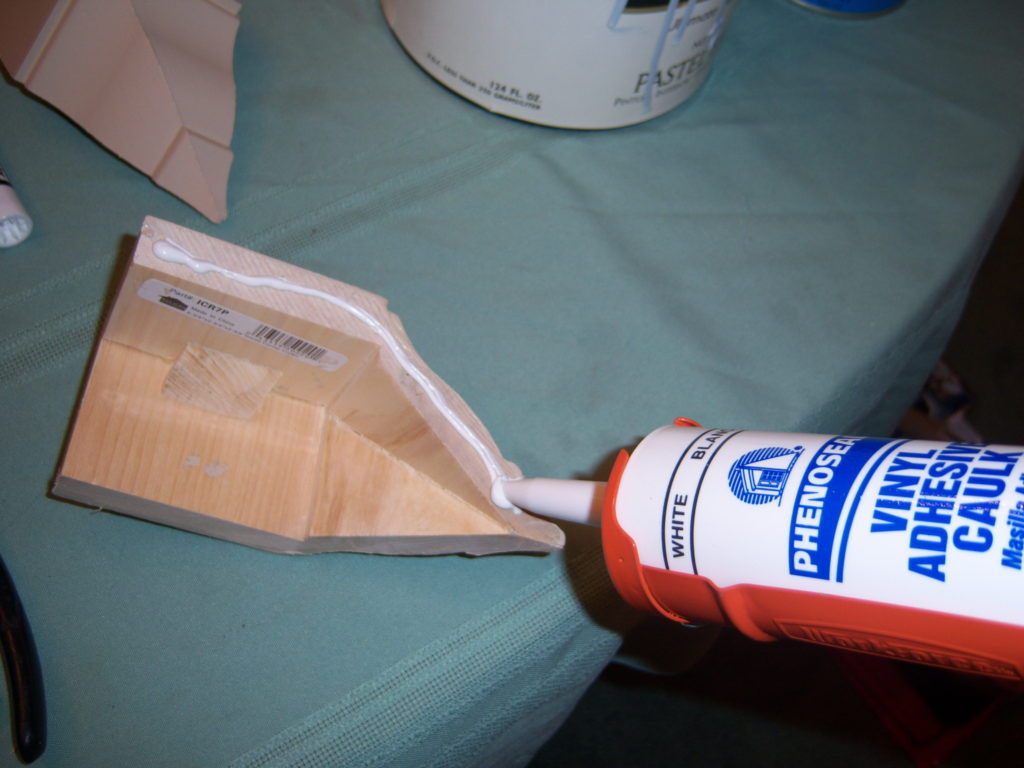
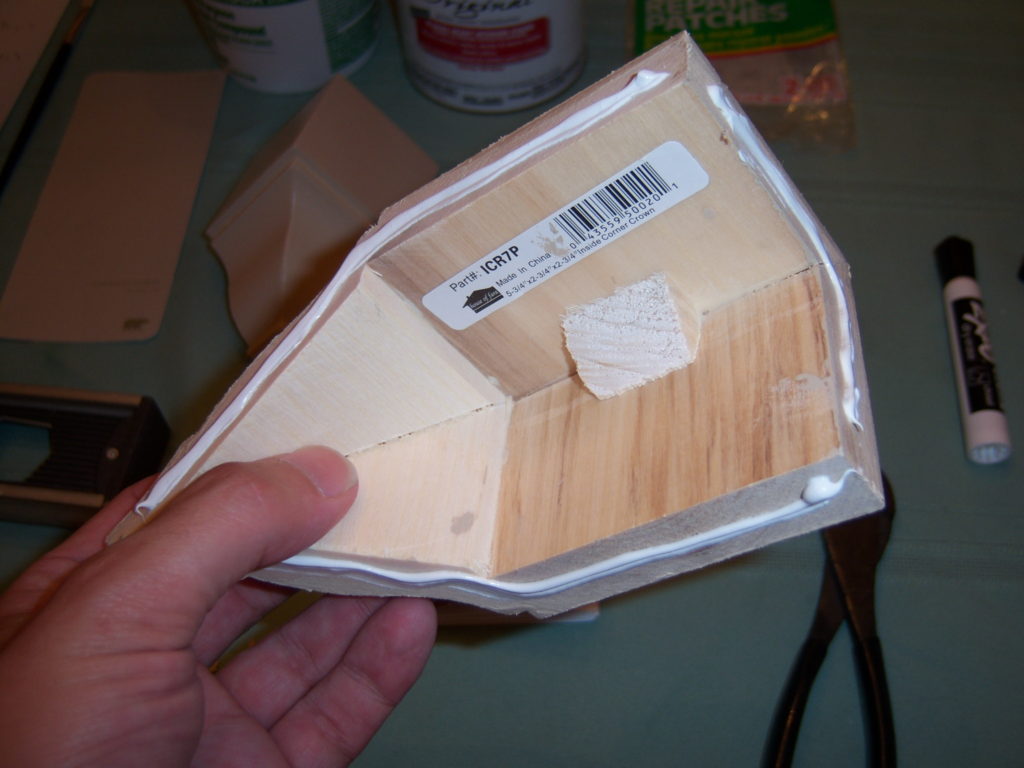
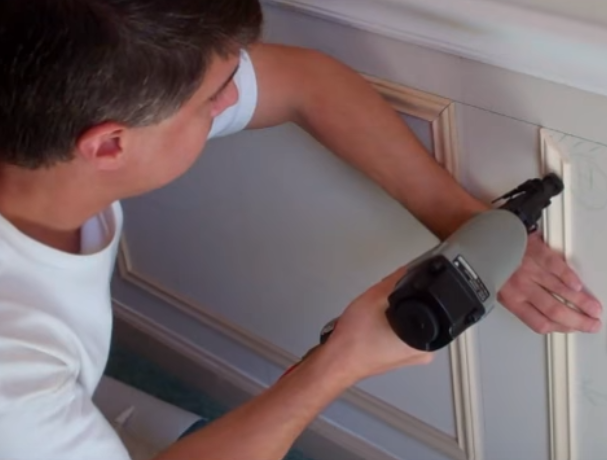
For the installation – I use a high-quality caulk for wall adhesion, and I lock the corner blocks into place, initially, with 2 finishing nails from my nail gun. That’s pretty much it.
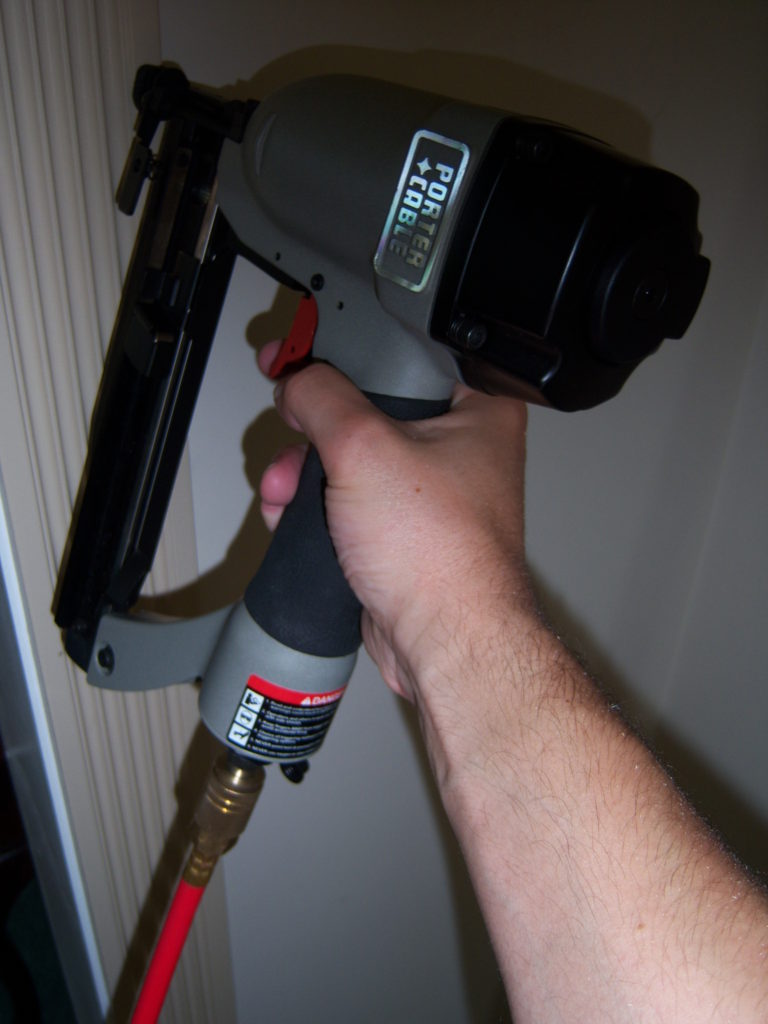
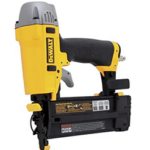
My nail gun (finish nailer), much like my compound miter saw, I’ve had for many years; it was part of a kit that came with a compressor. It’s frankly one of my favorite tools, and as I see it – it’s another ‘must-have’ for trim work projects.
(And you can get cordless, battery-operated nail guns too. If I was buying a new one today, that’s what I’d certainly do.)
Two nails – and locked in place…
But no matter what crown molding style you select, geometry you design – and whether you choose to use corner blocks in specific places or not at all… crown moldings (and architectural trim work in general), to me, simply make living spaces significantly more elegant, stylish, and beautiful!
And for a couple of hundred dollars (the cost [sadly] of a family grocery run of late), why live any other way??
2025 Update – To “Bury” Old Crown Molding
A short addendum here to show something else I just did with corner blocks. I had a very old and sloppily installed crown molding I was going to rip down and replace. Then, it occurred to me – Can I simply bury the old crown?
To achieve this, I clearly needed another crown molding that was LARGE enough to conceal the old molding, but could I still use my Corner Block simplification?
I was able to do both! I think you’ll find the shots quite self-descriptive; I’ll simply add a few words where a bit more detail may help…
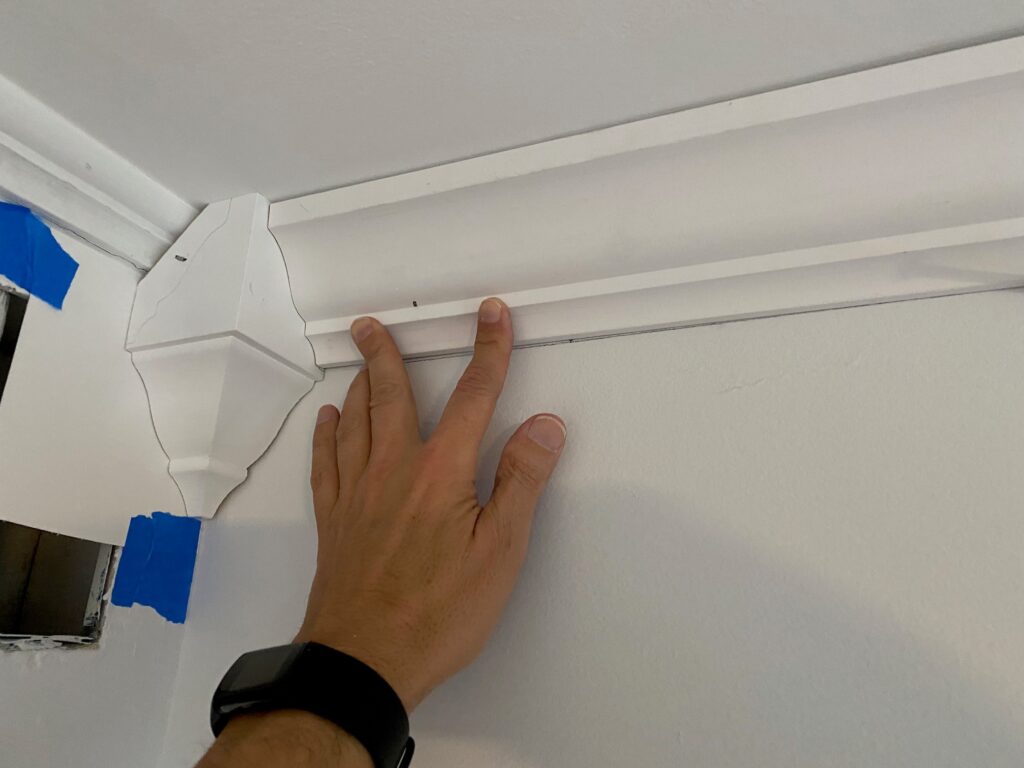
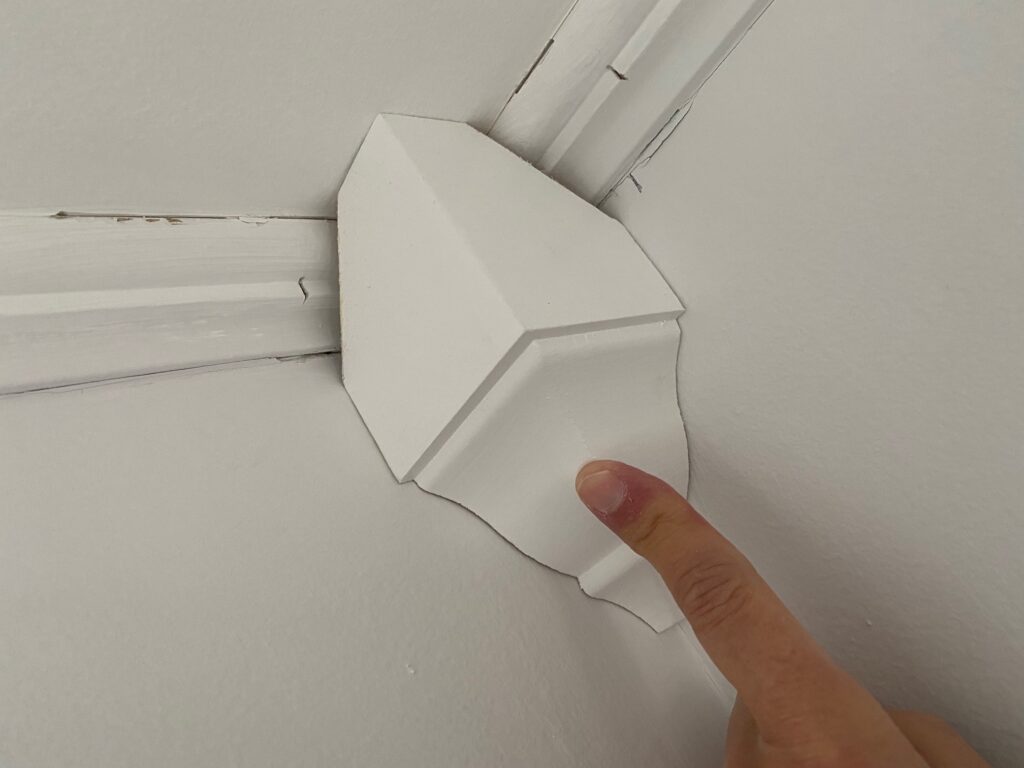
In the two photos above, you can clearly see the larger crown molding enveloping the old ‘ratty’ crown molding underneath. This is the first task at hand – assessing if you can find such a molding that looks great in your space… and that also can be used as a ‘concealer.’
The corner blocks, then, will need to be ‘re-shaped’ a bit as well.
And in the 2 shots that now follow – you can see that I used a Japanese Pullsaw to address the corner block ‘shape adjustments.’
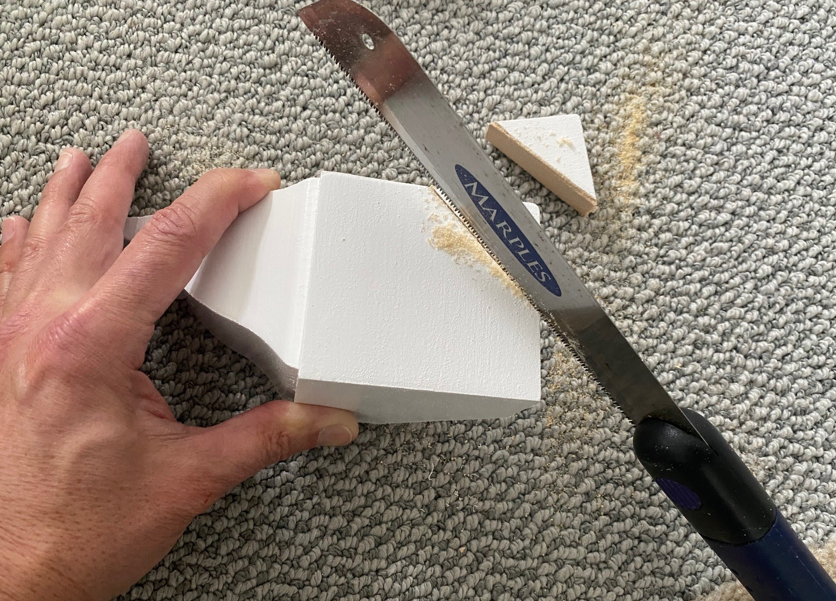
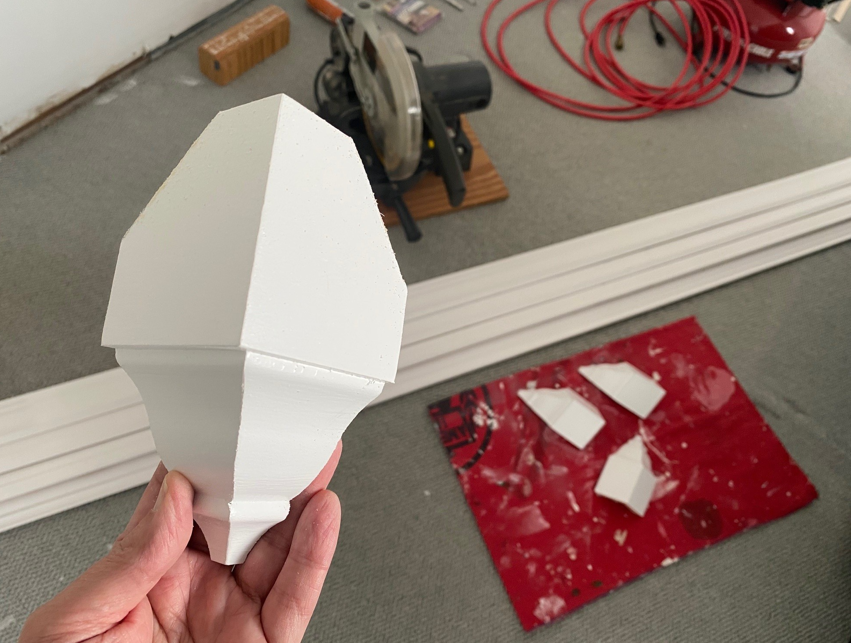
For me – this worked beautifully. Saved me both time and mess. I’m always exceptionally careful with these Japanese pull saws… they are exceptionally sharp and forged with very thin metal, so they bow quite easily. Be VERY careful with these in case you haven’t used one before!
Need Professional Help from a Local Carpenter?
• Local Carpenters in Your ZIP Code
Related Posts
• Installing a Decorative Air Vent Cover
• This Year’s New Bedroom Trends and Ideas
• My DIY Powder Room Rehab
• Rehabbing My Crappy Fire Pit Patio
• Trim Work Design Tips: From Casing to Crown Molding
• Designing the Perfect Deck

Leave a Reply