2023 Update – Adding a stone walkway is a fairly easy and low-cost project that can make a beautiful impact to any landscape area. I had a stretch in my yard between the deck and the gate I thought could use a little dressing-up. The entire effort takes only a few hours of work and is particularly liberating if you’re a perfectionist – because this is intentionally imprecise.
You can usually find flagstone like the pieces shown below at a local nursery; they’re not always at the big hardware stores as they’re somewhat more of a specialty item. And believe it or not, you can even buy flagstone (or look-alike material options) online. For me, I found these at a mulch/gravel/stone distributor that just happens to be very close by.
Selecting what you want is completely up to you – I liked the look of these. Flagstone, in my opinion, looks particularly nice in grass. But again, this is totally personal, and many of the places that sell material such as this will have various styles of stone on display. Frankly, the selection can be a little overwhelming if you go to a major distributor; the yards can be huge.
I bought 20 stones, each rough-cut (very natural-looking) and about 14-18 inches “square.”
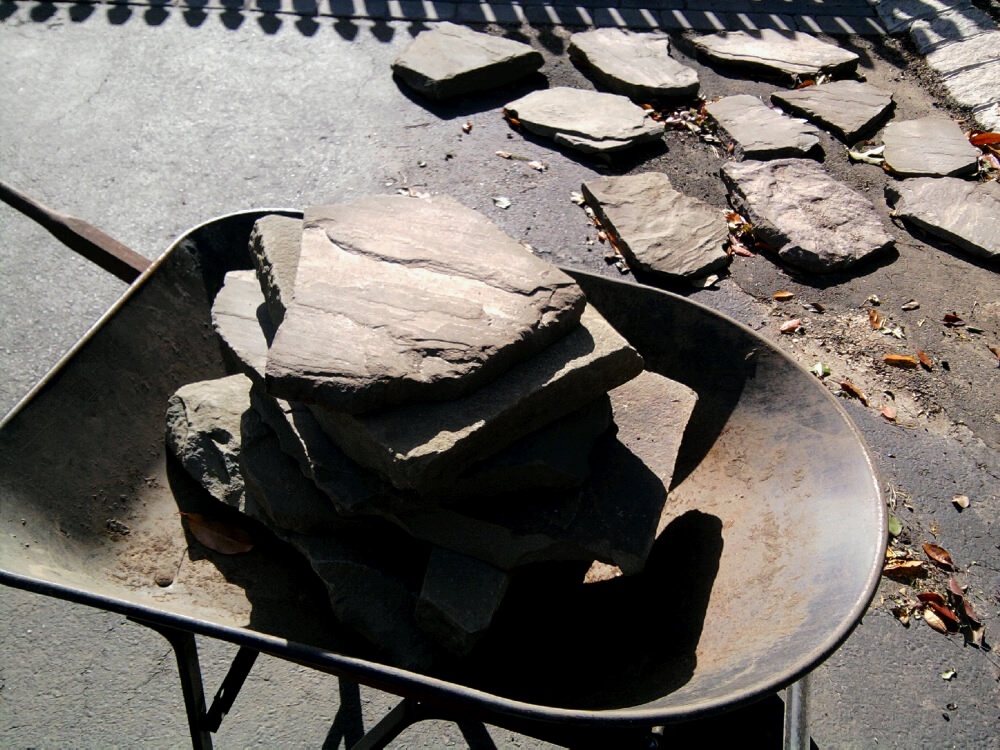
One problem you may have in buying these is that the large distributors generally want to sell by the full or [maybe] half-pallet. If you run into this, ask about damaged pallets or the possibility of a “miscellaneous bin” where they keep random stone pieces. If they really just won’t break up a pallet for you, ask them who they sell to locally where you can buy smaller quantities.
Once you have your stone at home, the first thing to do is lay it all out. This will show you exactly what the entire walkway will look like in the end and give you the opportunity to move stones around, mess with the spacing and overall tune to the look you want to get.
Now, it’s time to put these into the ground.
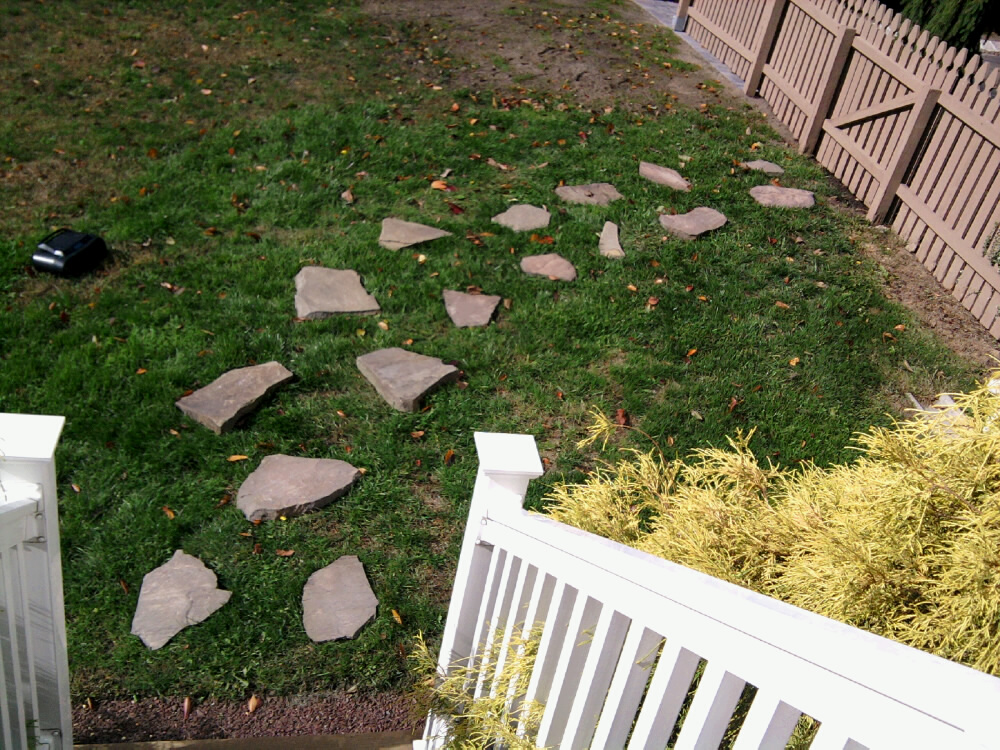
It’s very important these be stable and countersunk so that nobody trips over them. So, they’re each going to be carefully cut in. I left each stone right where it was while outline-cutting about 2-3 inches deep with a straight shovel. You then move the stone and cut out the grass, as shown in the following photo…
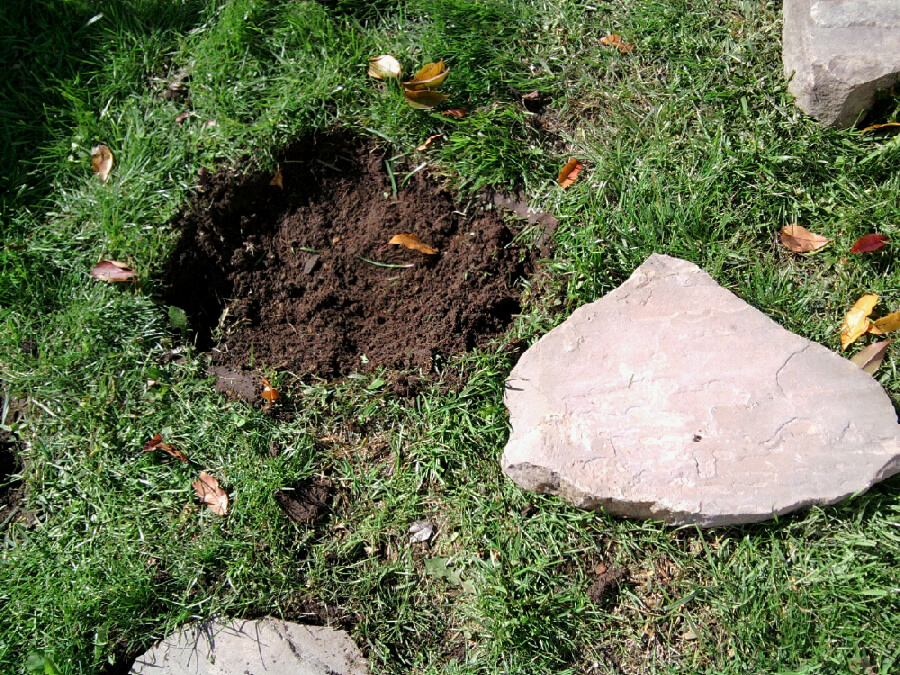
You’re really going to have to play with this now and get a little dirty. (Use old work gloves.) You have to get that stone to sit level with the grass and do the best you can to ensure stability. You can tamp it a bit or just walk on it from various angles with work boots to make sure it doesn’t want to pop up. With these rough cut stones, sometimes they can be angled to naturally pivot. You have shape that hole to get each stone stable!
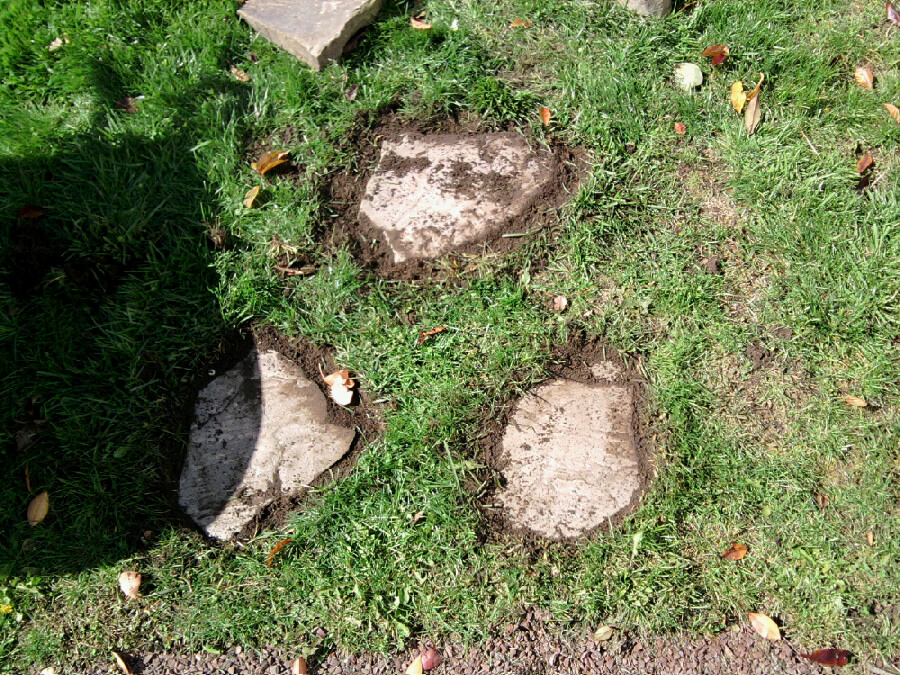
When you finally get through this for each of your stones, get the hose out and really saturate each stone around the perimeter. Make mud. This will help lock the stones in further, and when it dries you’ll have even more stability.
Then throw some grass seed around each of the stones as well – the grass not only gives the walkway the finished look you’ll ultimately want in 3-4 weeks (assuming you’re seeding at a time when grass will grow: ideally the Fall), but ultimately really locks everything into place.
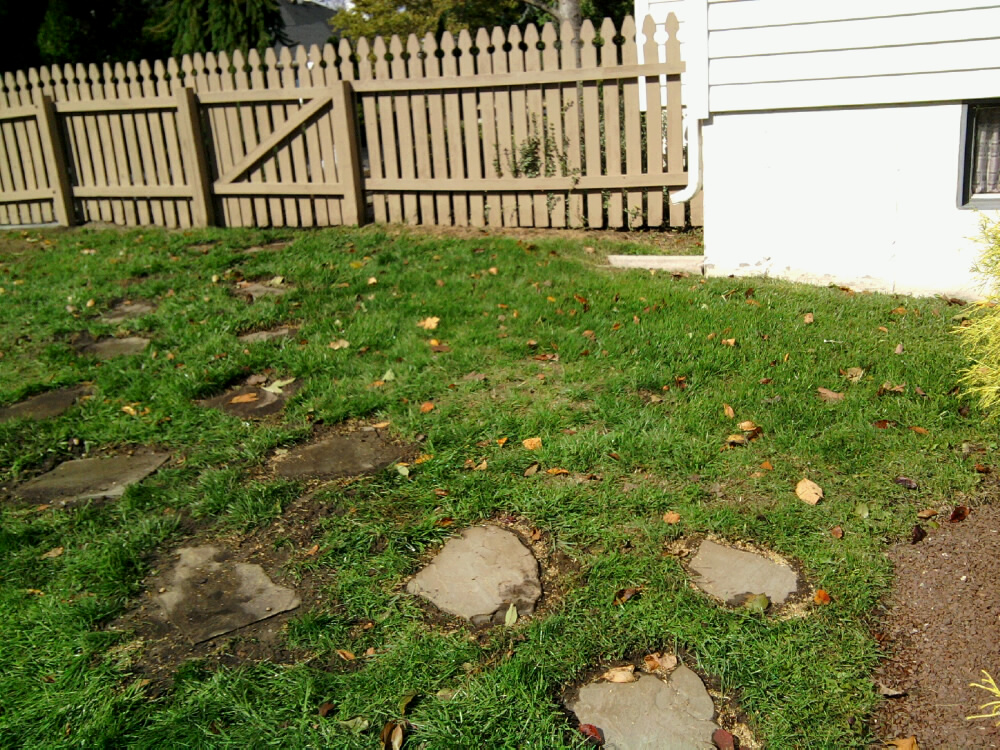
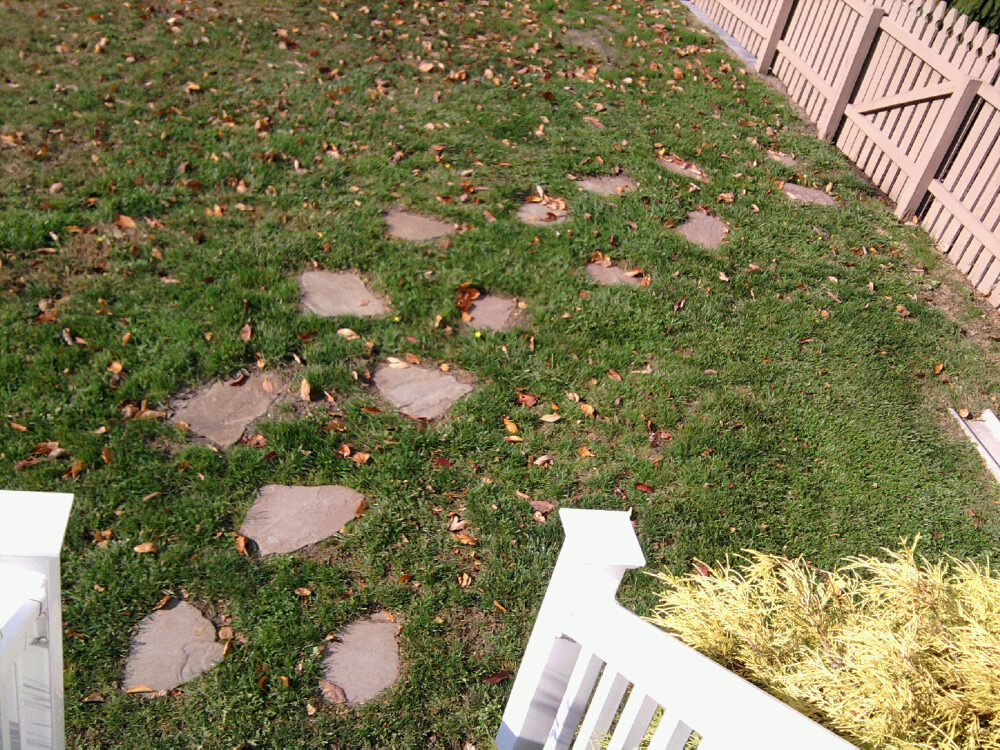
The next two photos below are of 1) this same walkway about two weeks later, and 2) another one done about a month earlier. You can see how much more the grass and stones blend together even after this short time.
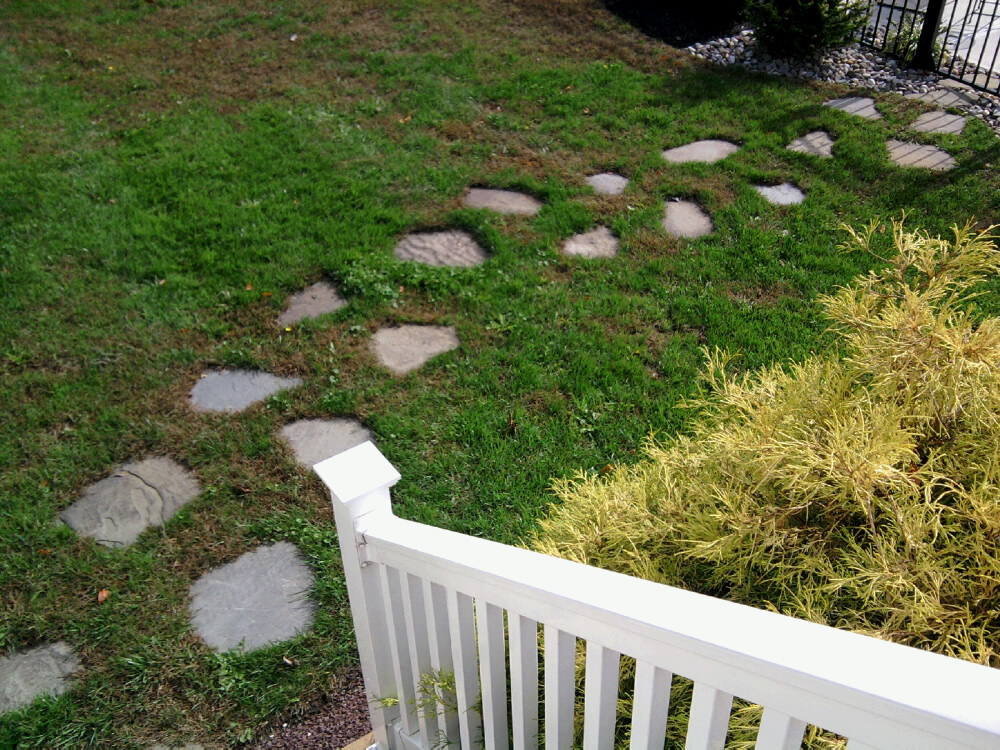
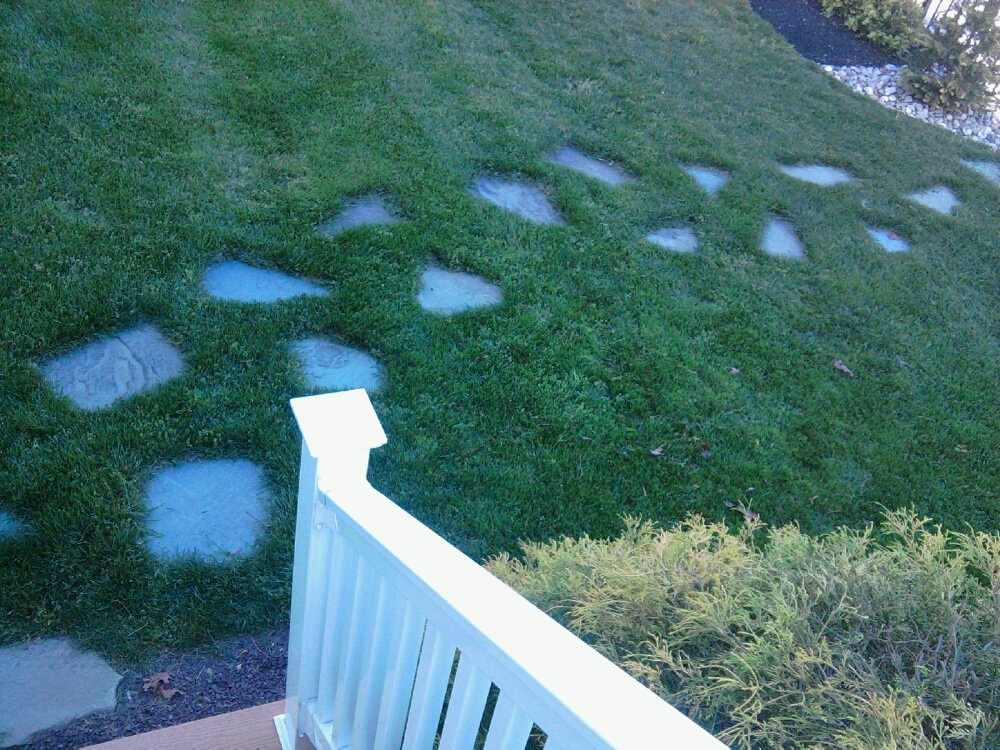
And adding yet another 6 months for the lawn to fully establish can yield the following completely finished look… crisp, clean & lush!

Leave a Reply