If there’s an afterlife, and if I somehow end up in hell – I’m certain I’ll be grouting for all eternity.
Grouting, for me, combines the worst of all things: the time crunch, a horrific mess with risk of ruining all the tile work you spent hours (or days) doing just prior, and the nightmarish thought of wrecking everything SO badly, you need to rip out the drywall and start everything over from scratch – all the time/money/effort WASTED with such an unthinkable fail.
All of that. And to be frank, this has never happened to me. Not once.
I think it’s like those recurring ‘anxiety dreams’ we have about having to take a final exam for the class we forgot to go to all semester. Or the one where your teeth are falling out for no reason at all; that’s always a ‘fun’ one. (Anyone else have that one??)
This time, though – I didn’t buy ‘normal tile.’ I bought mosaic stone. The stone was so gorgeous, I simply couldn’t bring myself to use a grout float… filling in all the natural holes, imperfections, and awesomeness.
And even worse? I had ALREADY ripped out the drywall behind to the studs – as this stone work was for a kitchen backsplash. So now? Now I’d have the ‘ultra worst case’ scenario of having to do that TWICE!
So, the [hellish] way to address this? To minimize the risk??
MASKING EVERY SINGLE STONE. Meticulously. Made me want to kill myself, which as a person raised Catholic, we all know – would land me squarely in hell!!
Lots of photos will follow, and I’ll start (as I often do) with a short list of tools, materials and supplies for this job.
I have to say, as miserable as it truly was – the results are STUNNING!
And my apologies – but yes, I’m lacking all humility this time… :)
Mosaic Stone Grouting & Masking Tool/Material List
• High quality masking tape (I bought 3 rolls, 2” width for my job.)
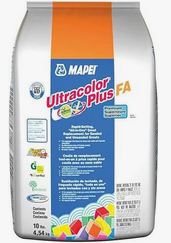
• Mapei Grout (I’ve evolved exclusively to this grout. And for this job? TINY batches.)
• Grout-matching Mapei Caulk (See the cabinet gap above? You fill it with this. Along with tiny grout spaces you may miss.)
• Cheap, small, plastic grout application knives (For tight areas. In fact, I used these almost exclusively.)
• A proper Grout Float (For large areas – once masked.)
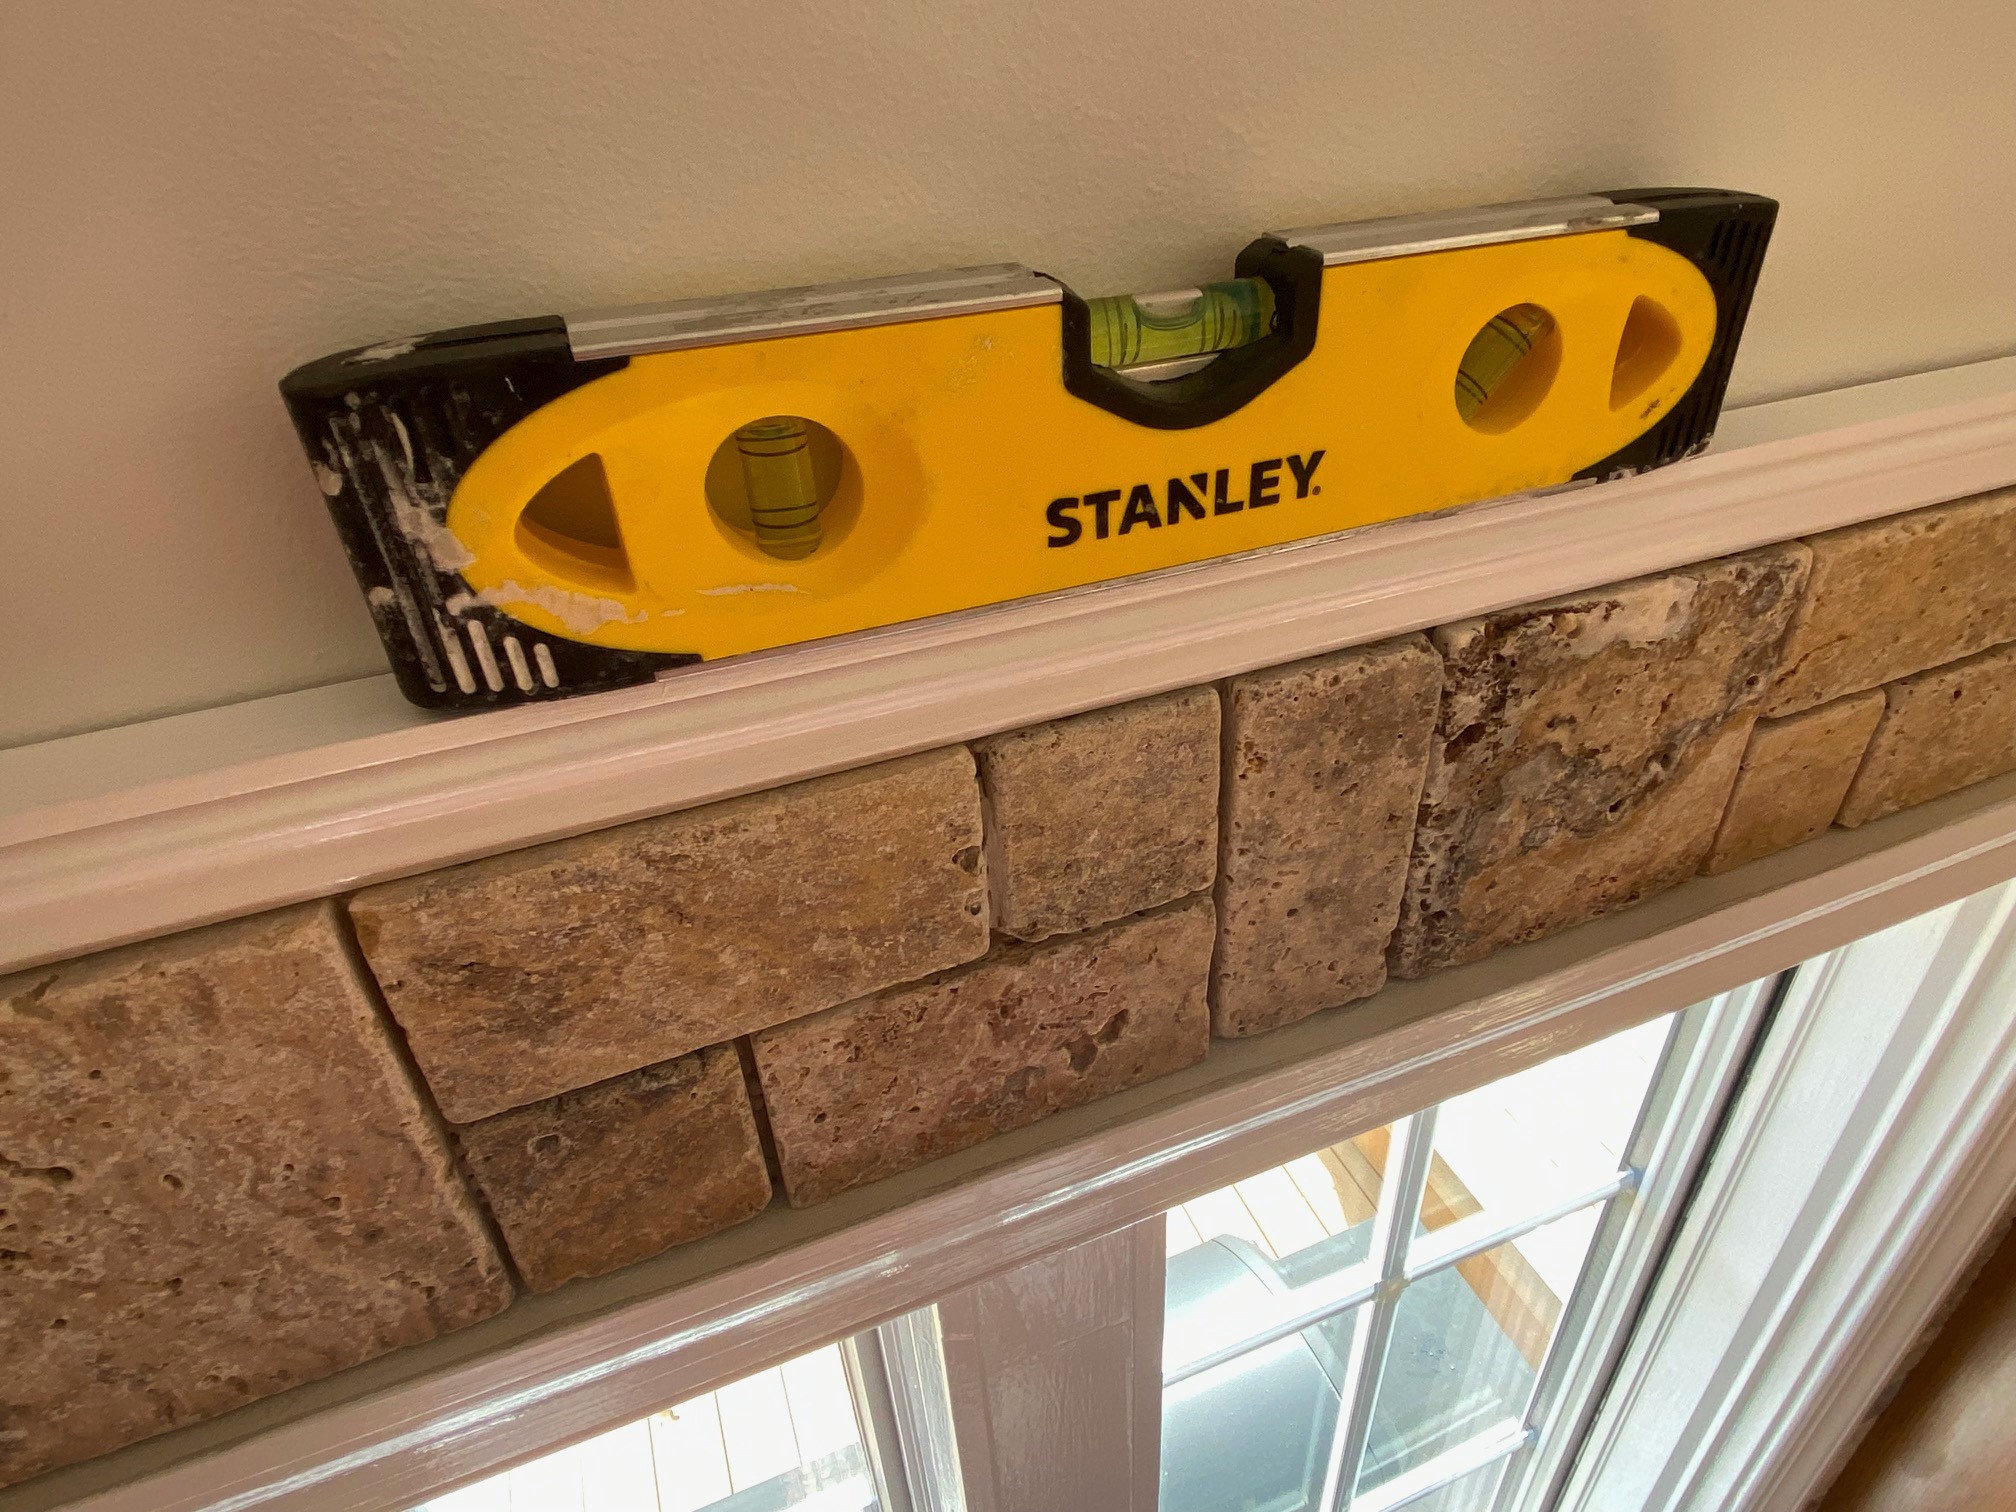
• A Torpedo Level
• LED Downlighting once all is completed (Crazy cheap and VERY high impact.)
• Electrical outlet spacers (More aligned with the tile work pre-grouting, but VERY useful.)
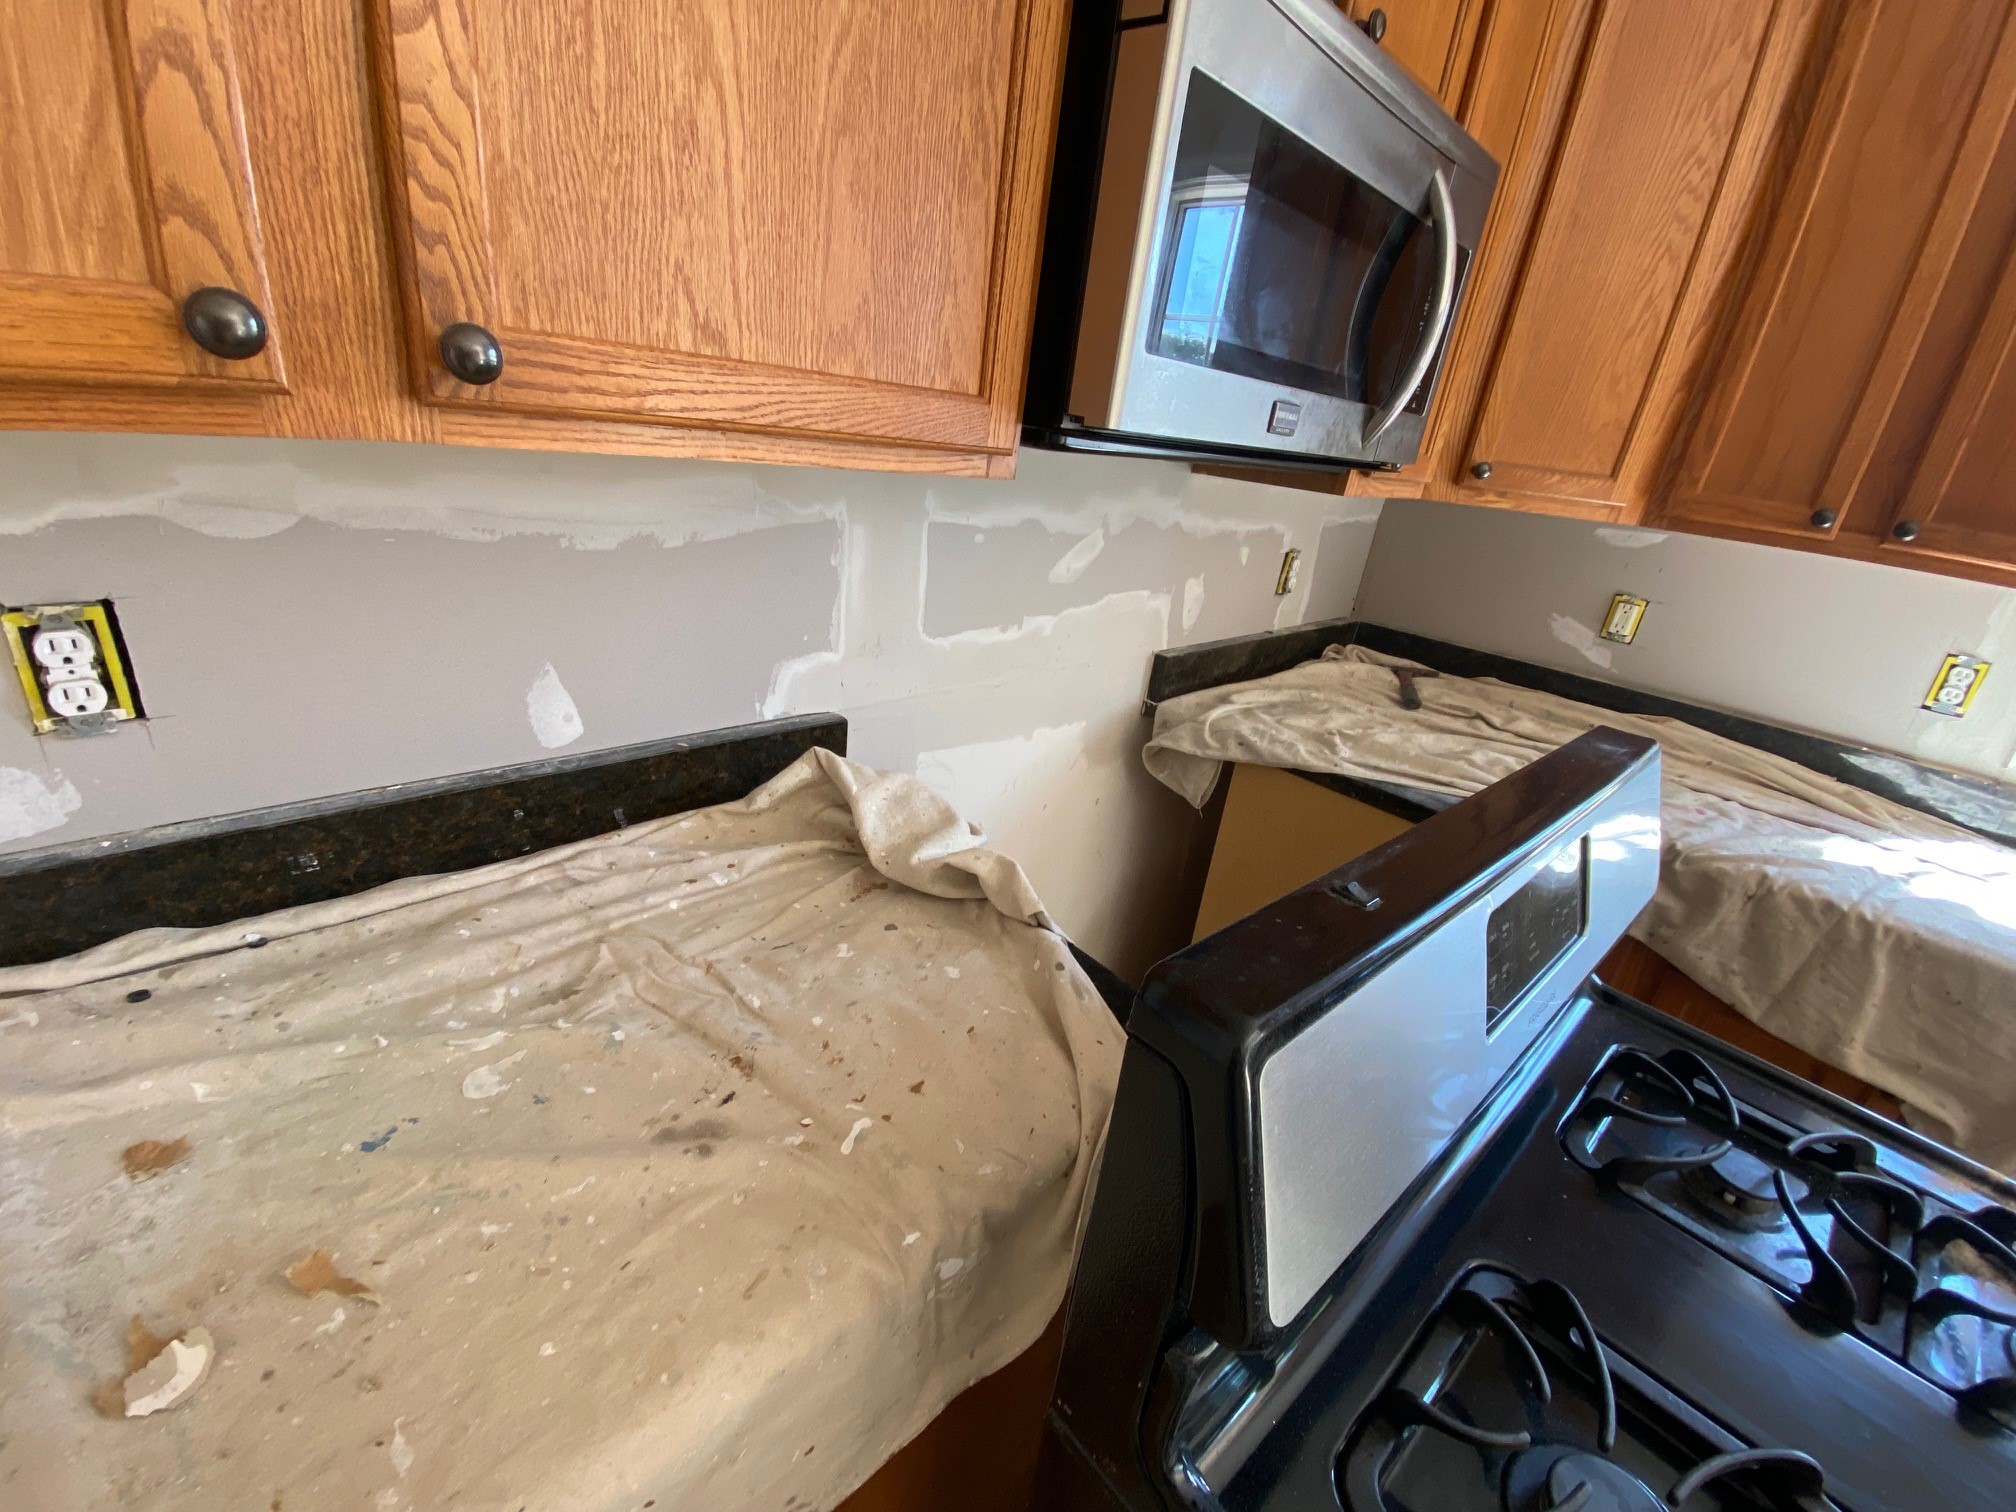
• Drop cloths (You MUST protect your countertops and appliances)
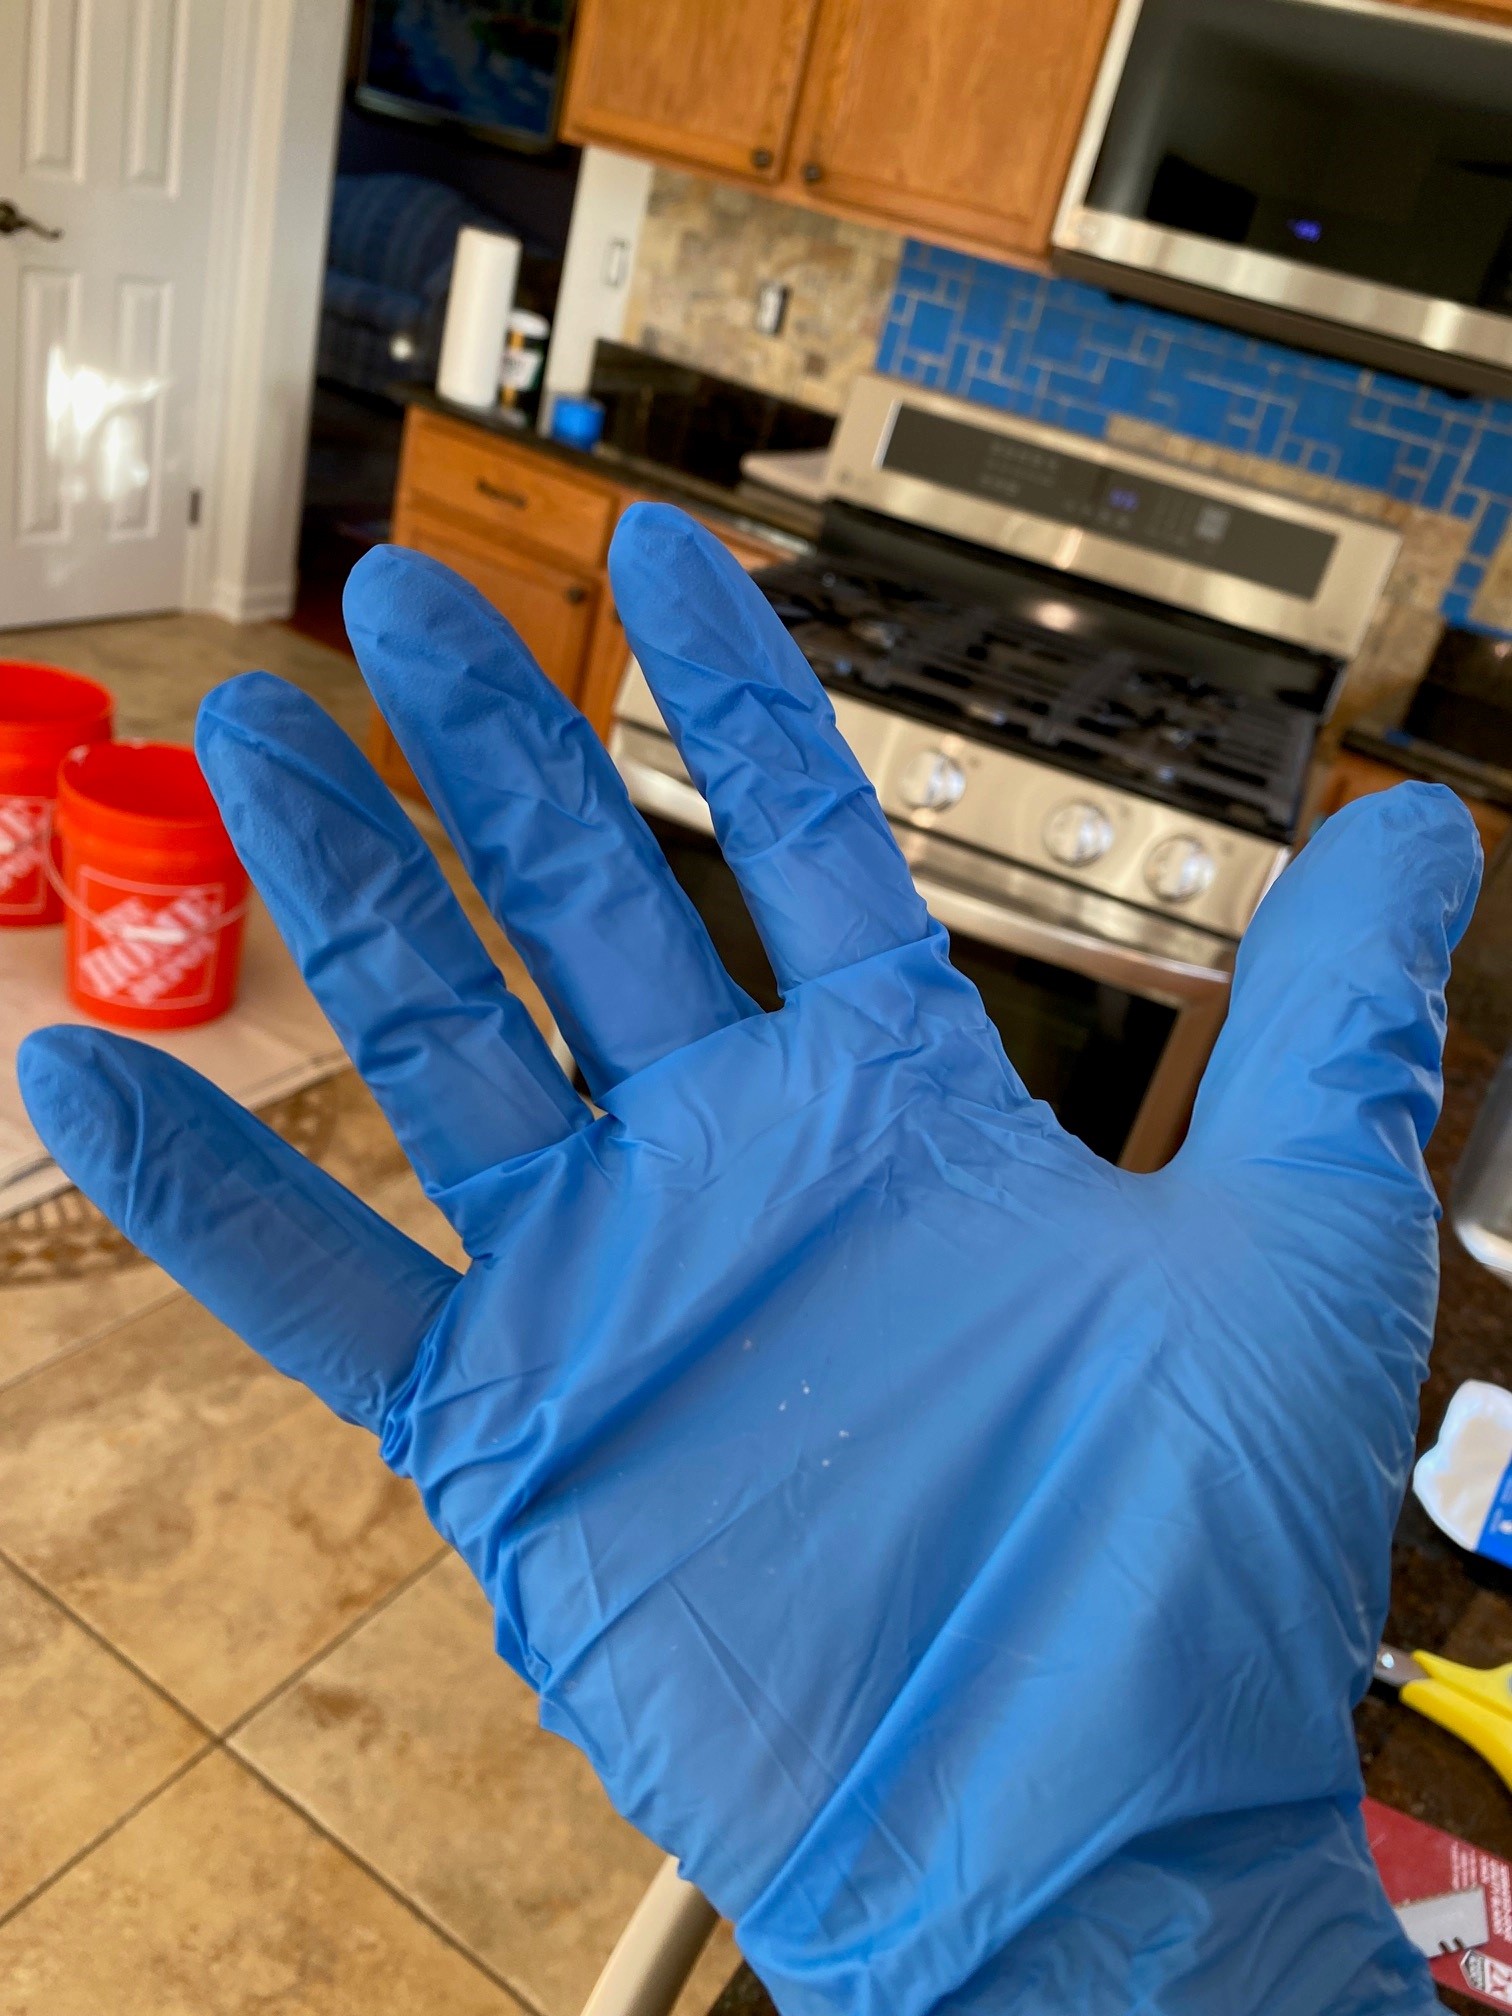
• Rubber protective gloves (And you MUST avoid getting grout on your skin)
The LED downlighting was an indulgent afterthought; It has nothing to do the with the backsplash grouting. But it definitely made things more ‘sexy’ in the end!

Mosaic Stone Grouting – In Pictures…
Just a few sparse words for each photo below; the photos will surely convey the vibe more than the sentences.
But how did this all start? With mosaic stone material selection – and then gutting the walls, followed by new Sheetrock for the kitchen backsplash areas…
I installed our original shiny-tile backsplash in the late `90’s and it looked, well, very ‘90’s.
It served us well – but above and below, you’ll see we wasted no time taking this to the `20’s… right to the studs!
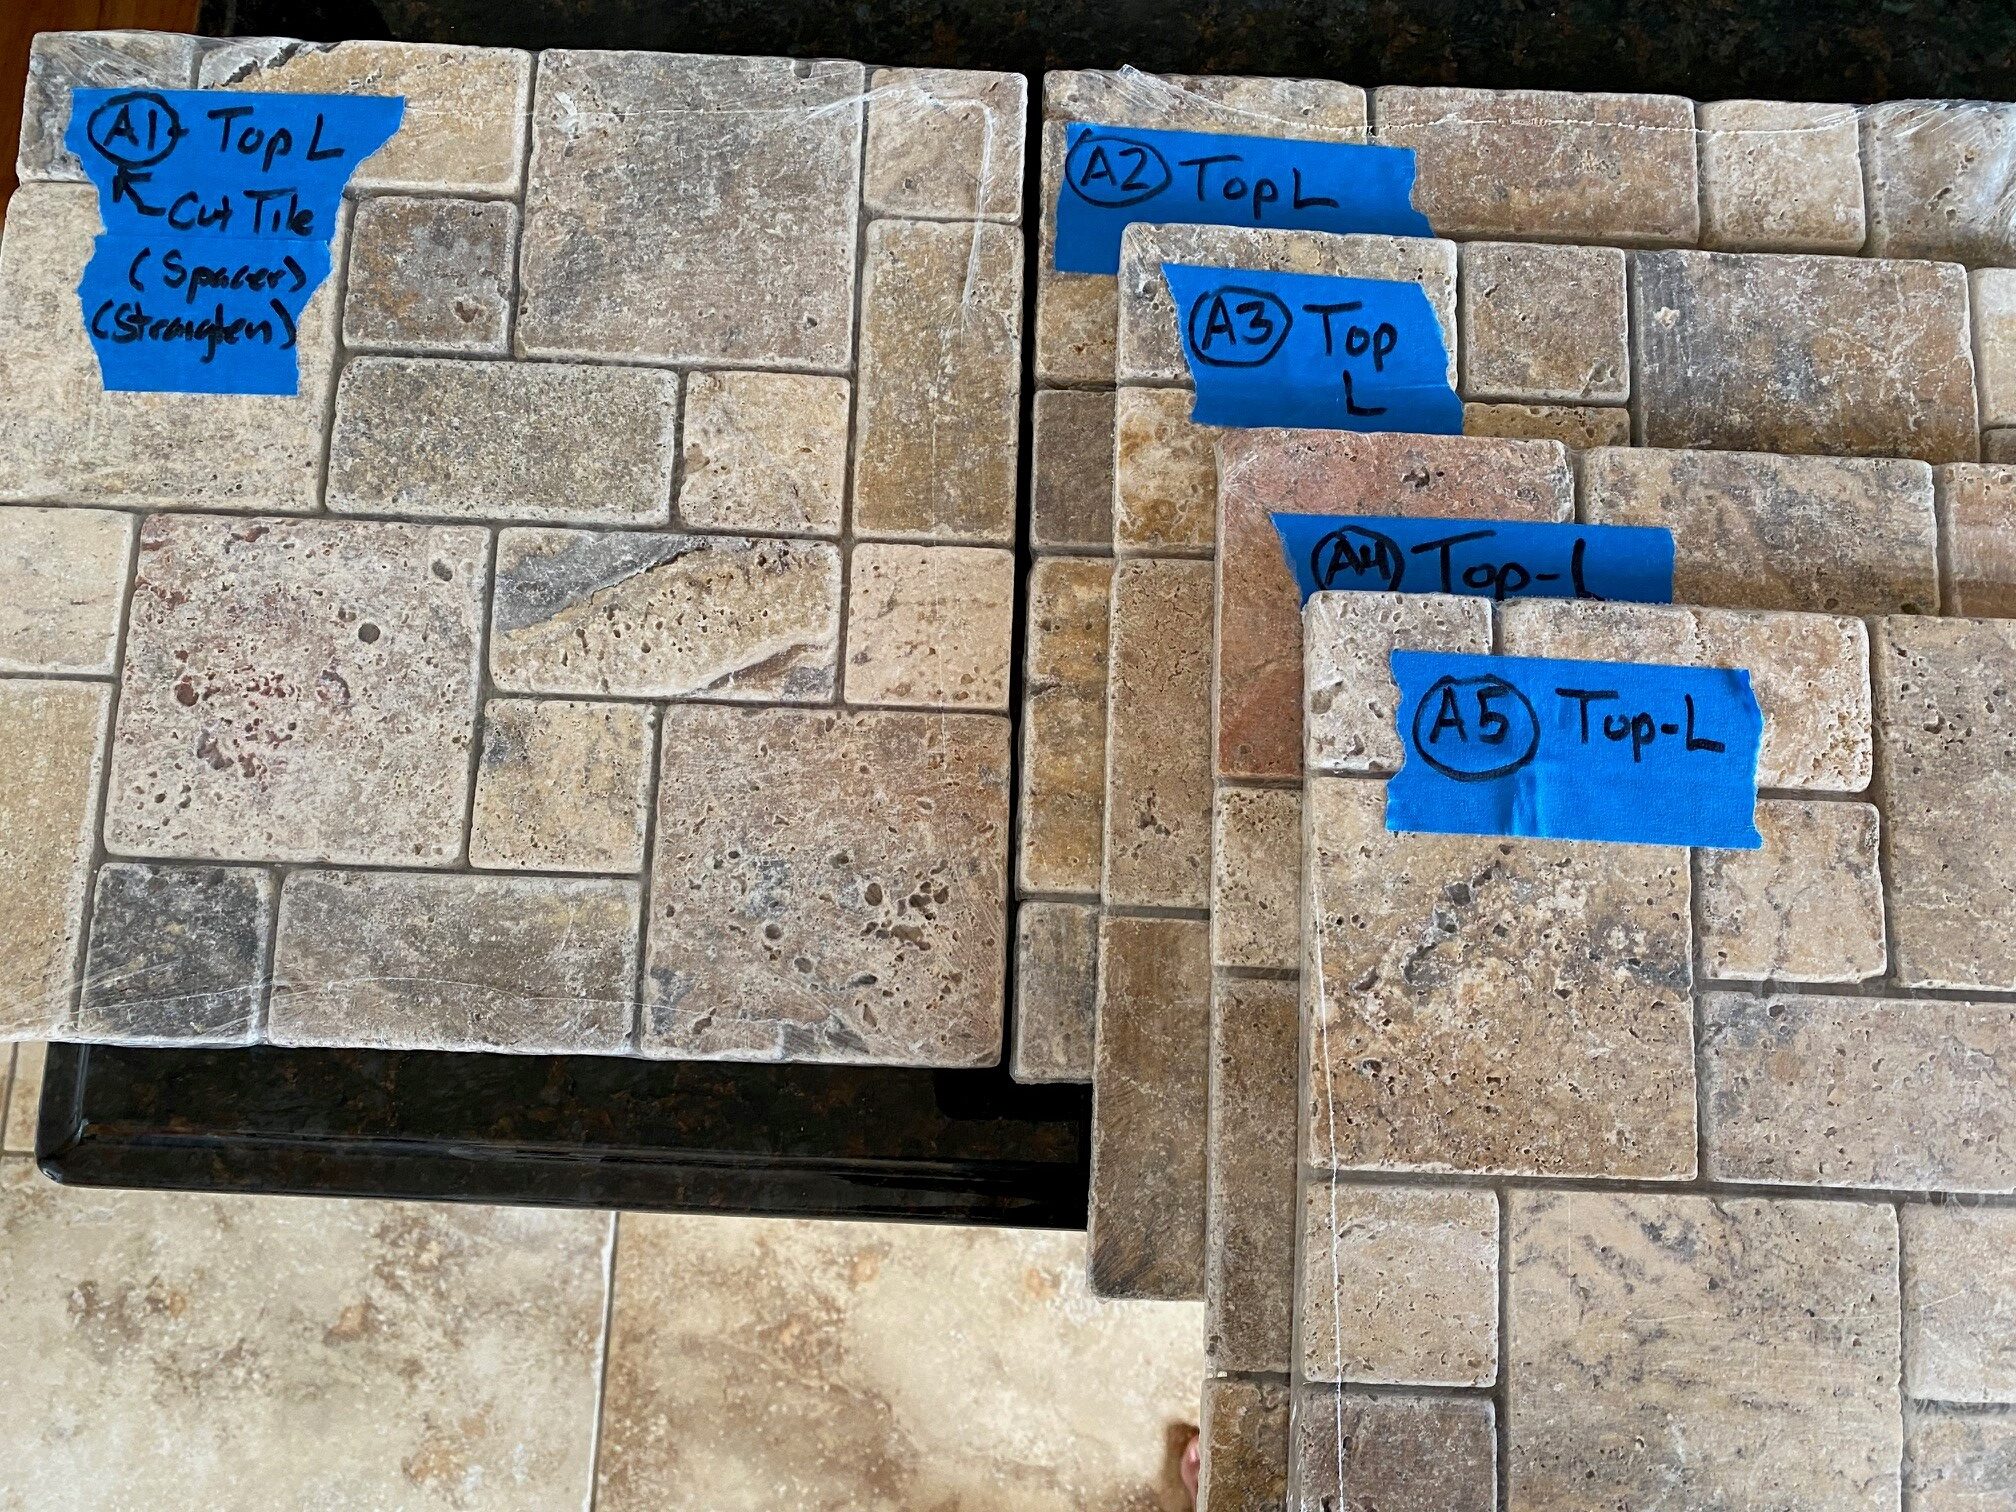
The material we chose (after agonizing for days, naturally) is pictured below. Zoom in. Note how porous it is; you can see the holes clearly – even through the plastic.
Every stone is natural. The ‘Swiss cheese effect’ you see? Just gorgeous – to my eye. One mosaic 12” x 12” square is shown in the first shot, then part of my wall layout design in the second shot…

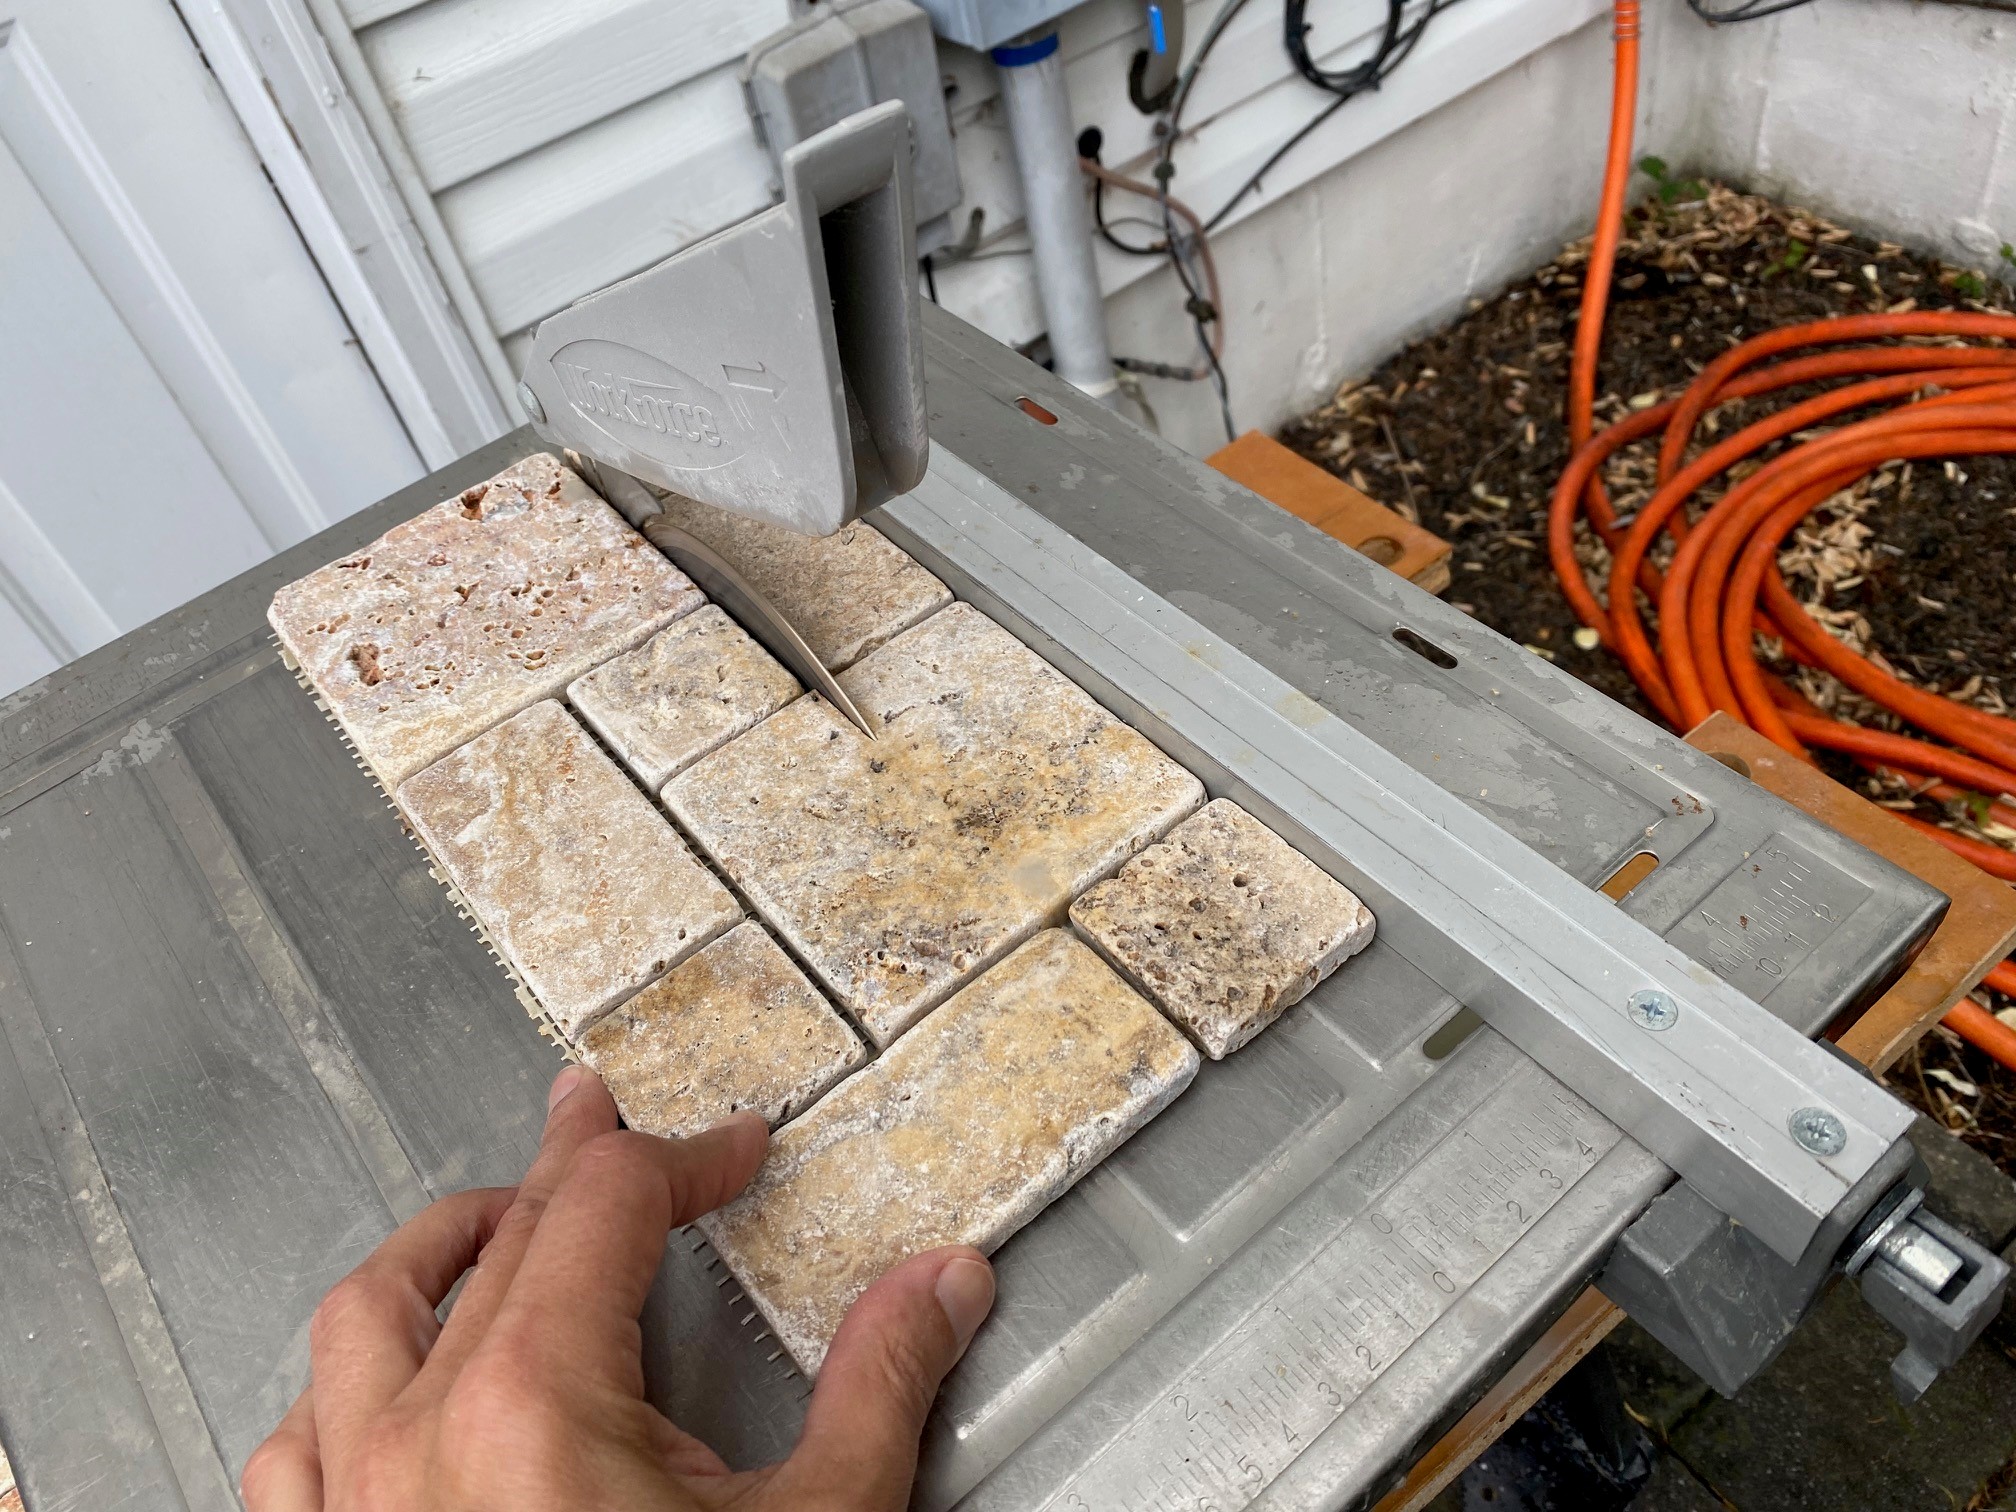
The construction leveraged my wet saw, of course – and a particular challenge with the natural stone mosaic squares was working around the seven electrical outlets and switches. It was very doable, but it took a little more time than when working with ceramic or porcelain tiling. You can get a sense of it below…
Masking, Masking, Masking – and Grout ‘Micro Batches’
And now to the grouting – starting with meticulous masking.
One square foot at a time. That was all I could tolerate – the masking. I turned it into a little game… 45 minutes free in the morning? Do a square. Back from a meeting? Maybe 2 squares. Once I had 3-4 squares masked off? Grout a ‘micro-batch’ with a 1-inch plastic knife, rather than a grout float. In this way, the risk was minimal as I mentioned earlier. And before actually grouting any of this on the walls, I tested some stone in my garage to be sure the masking tape wouldn’t pull off when I was working with the real grout and plastic knife on the walls.
I DEFINITELY suggest any of you reading and considering doing a job like this – test as I did. Before you take any grout to your newly ‘stoned’ walls.
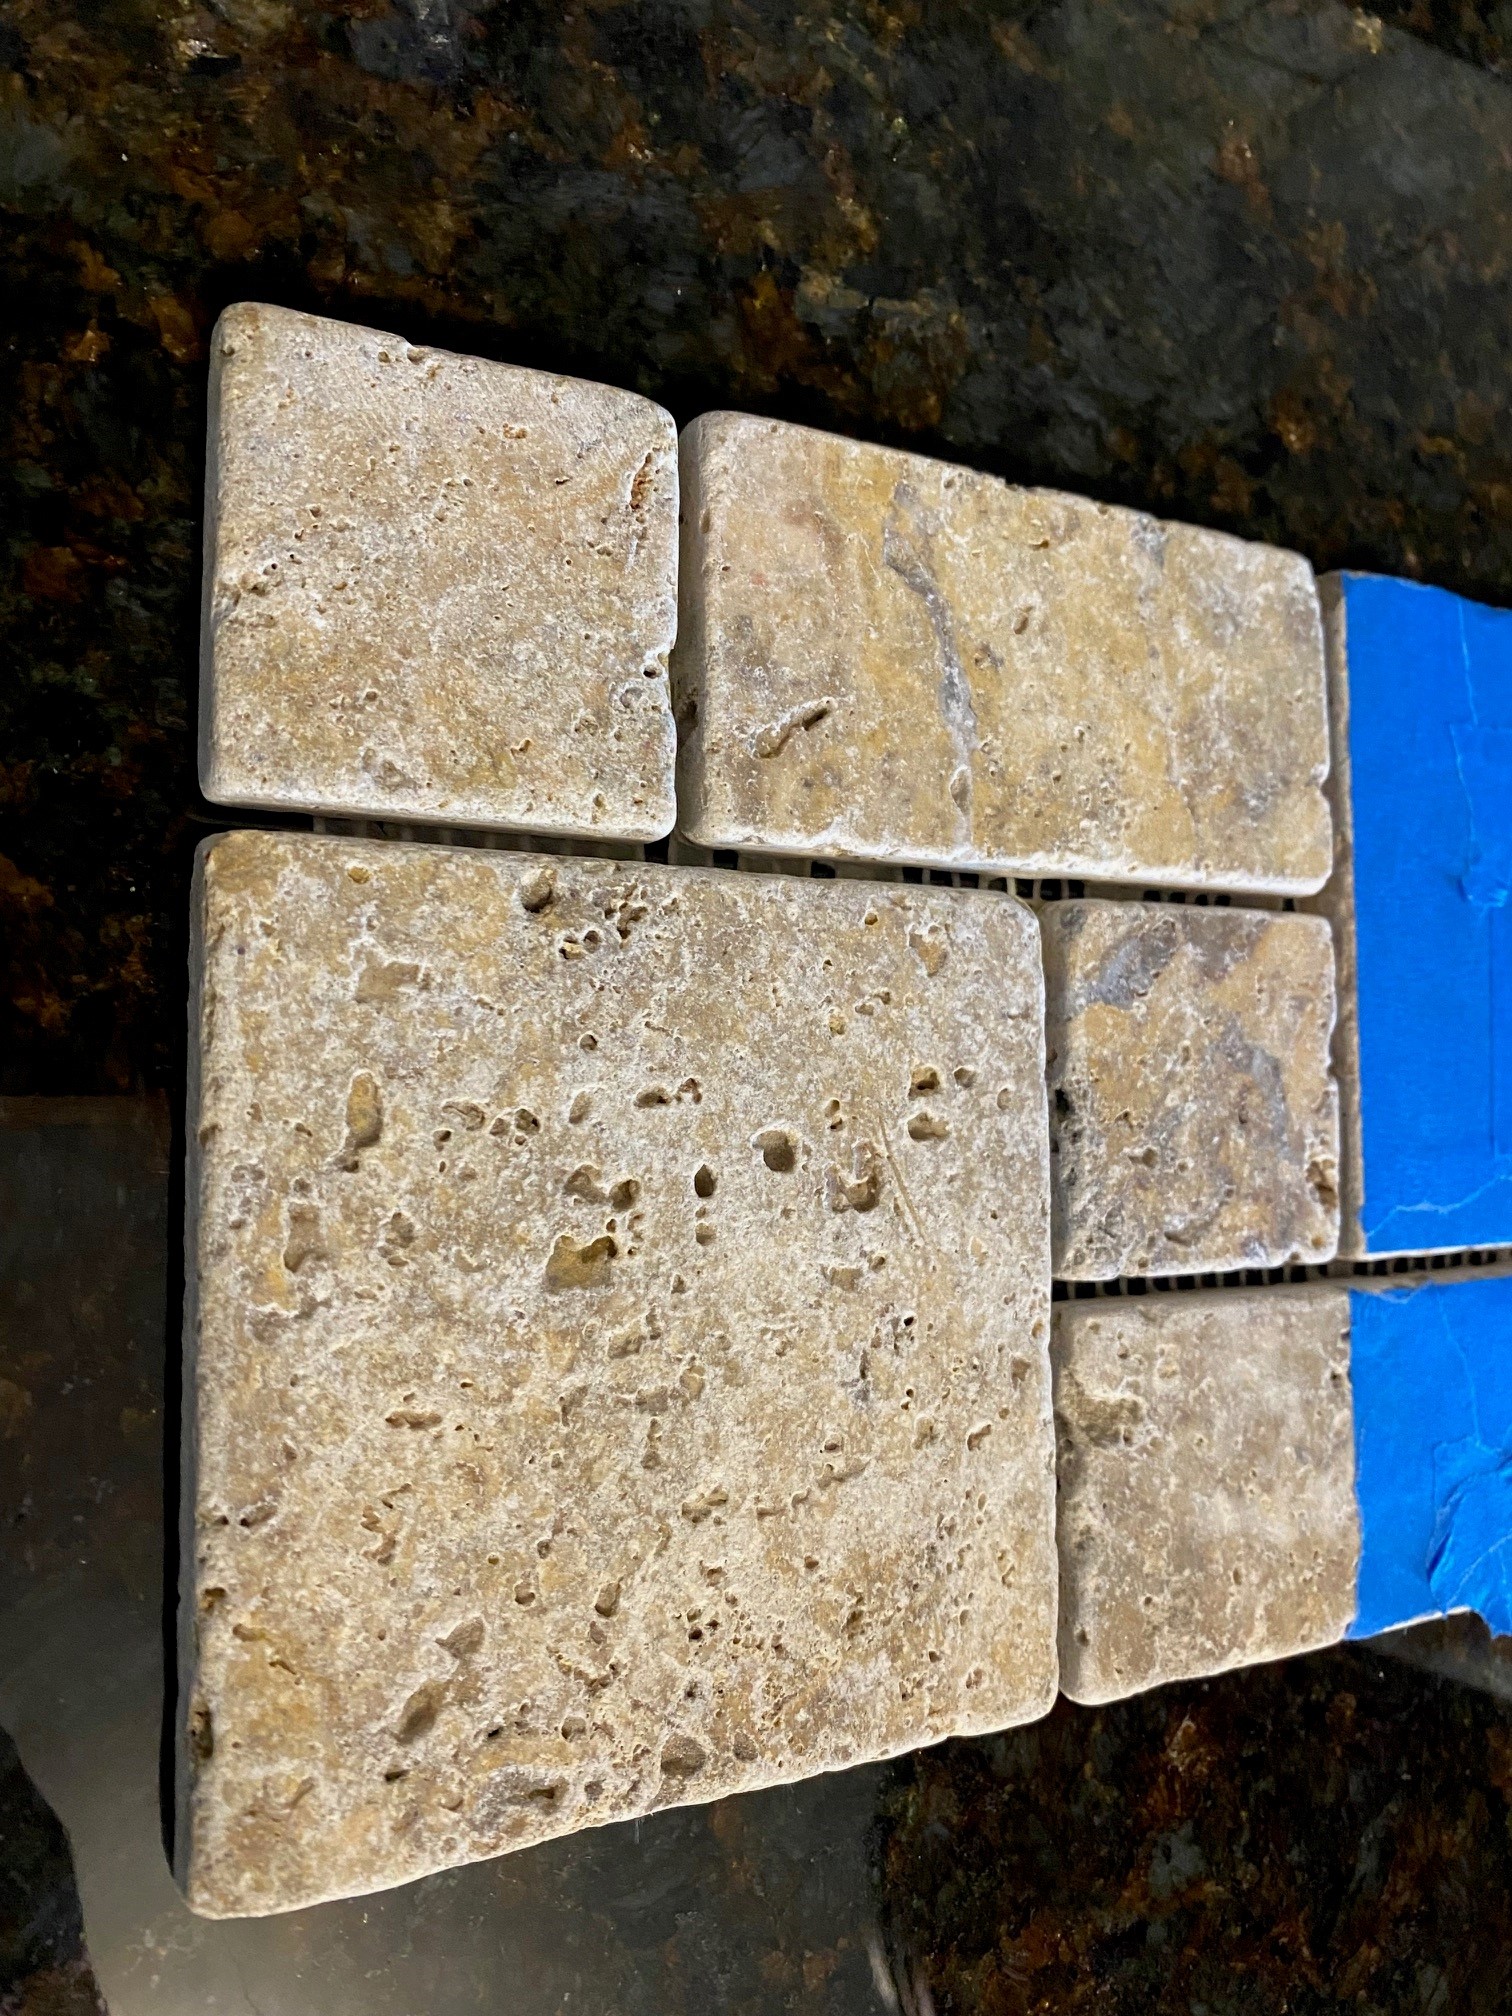
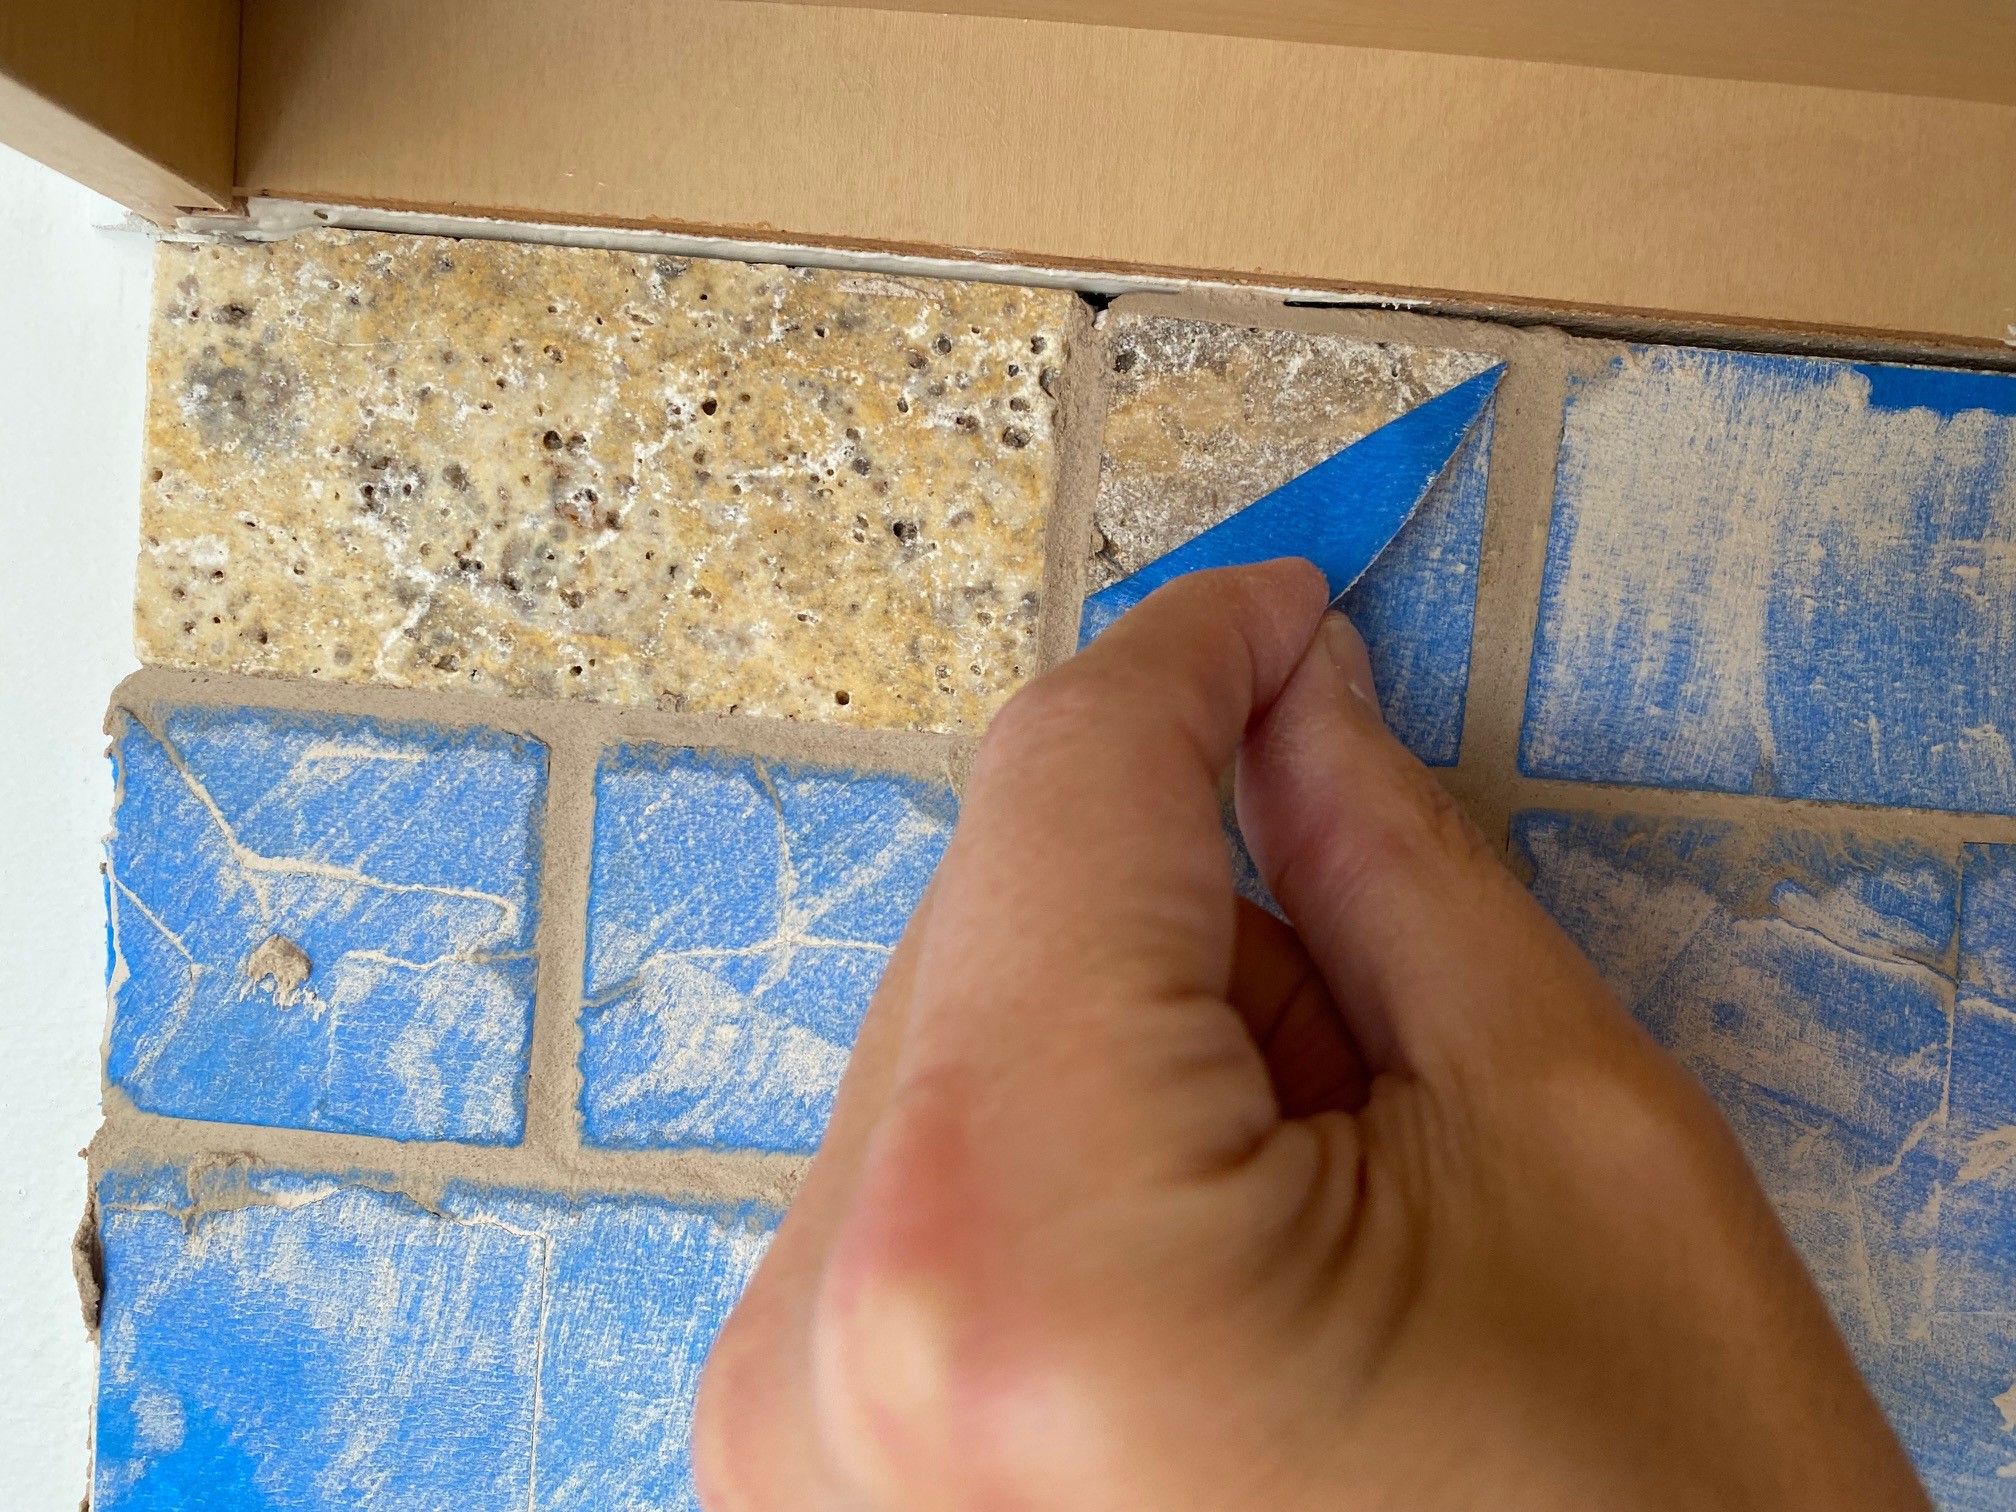
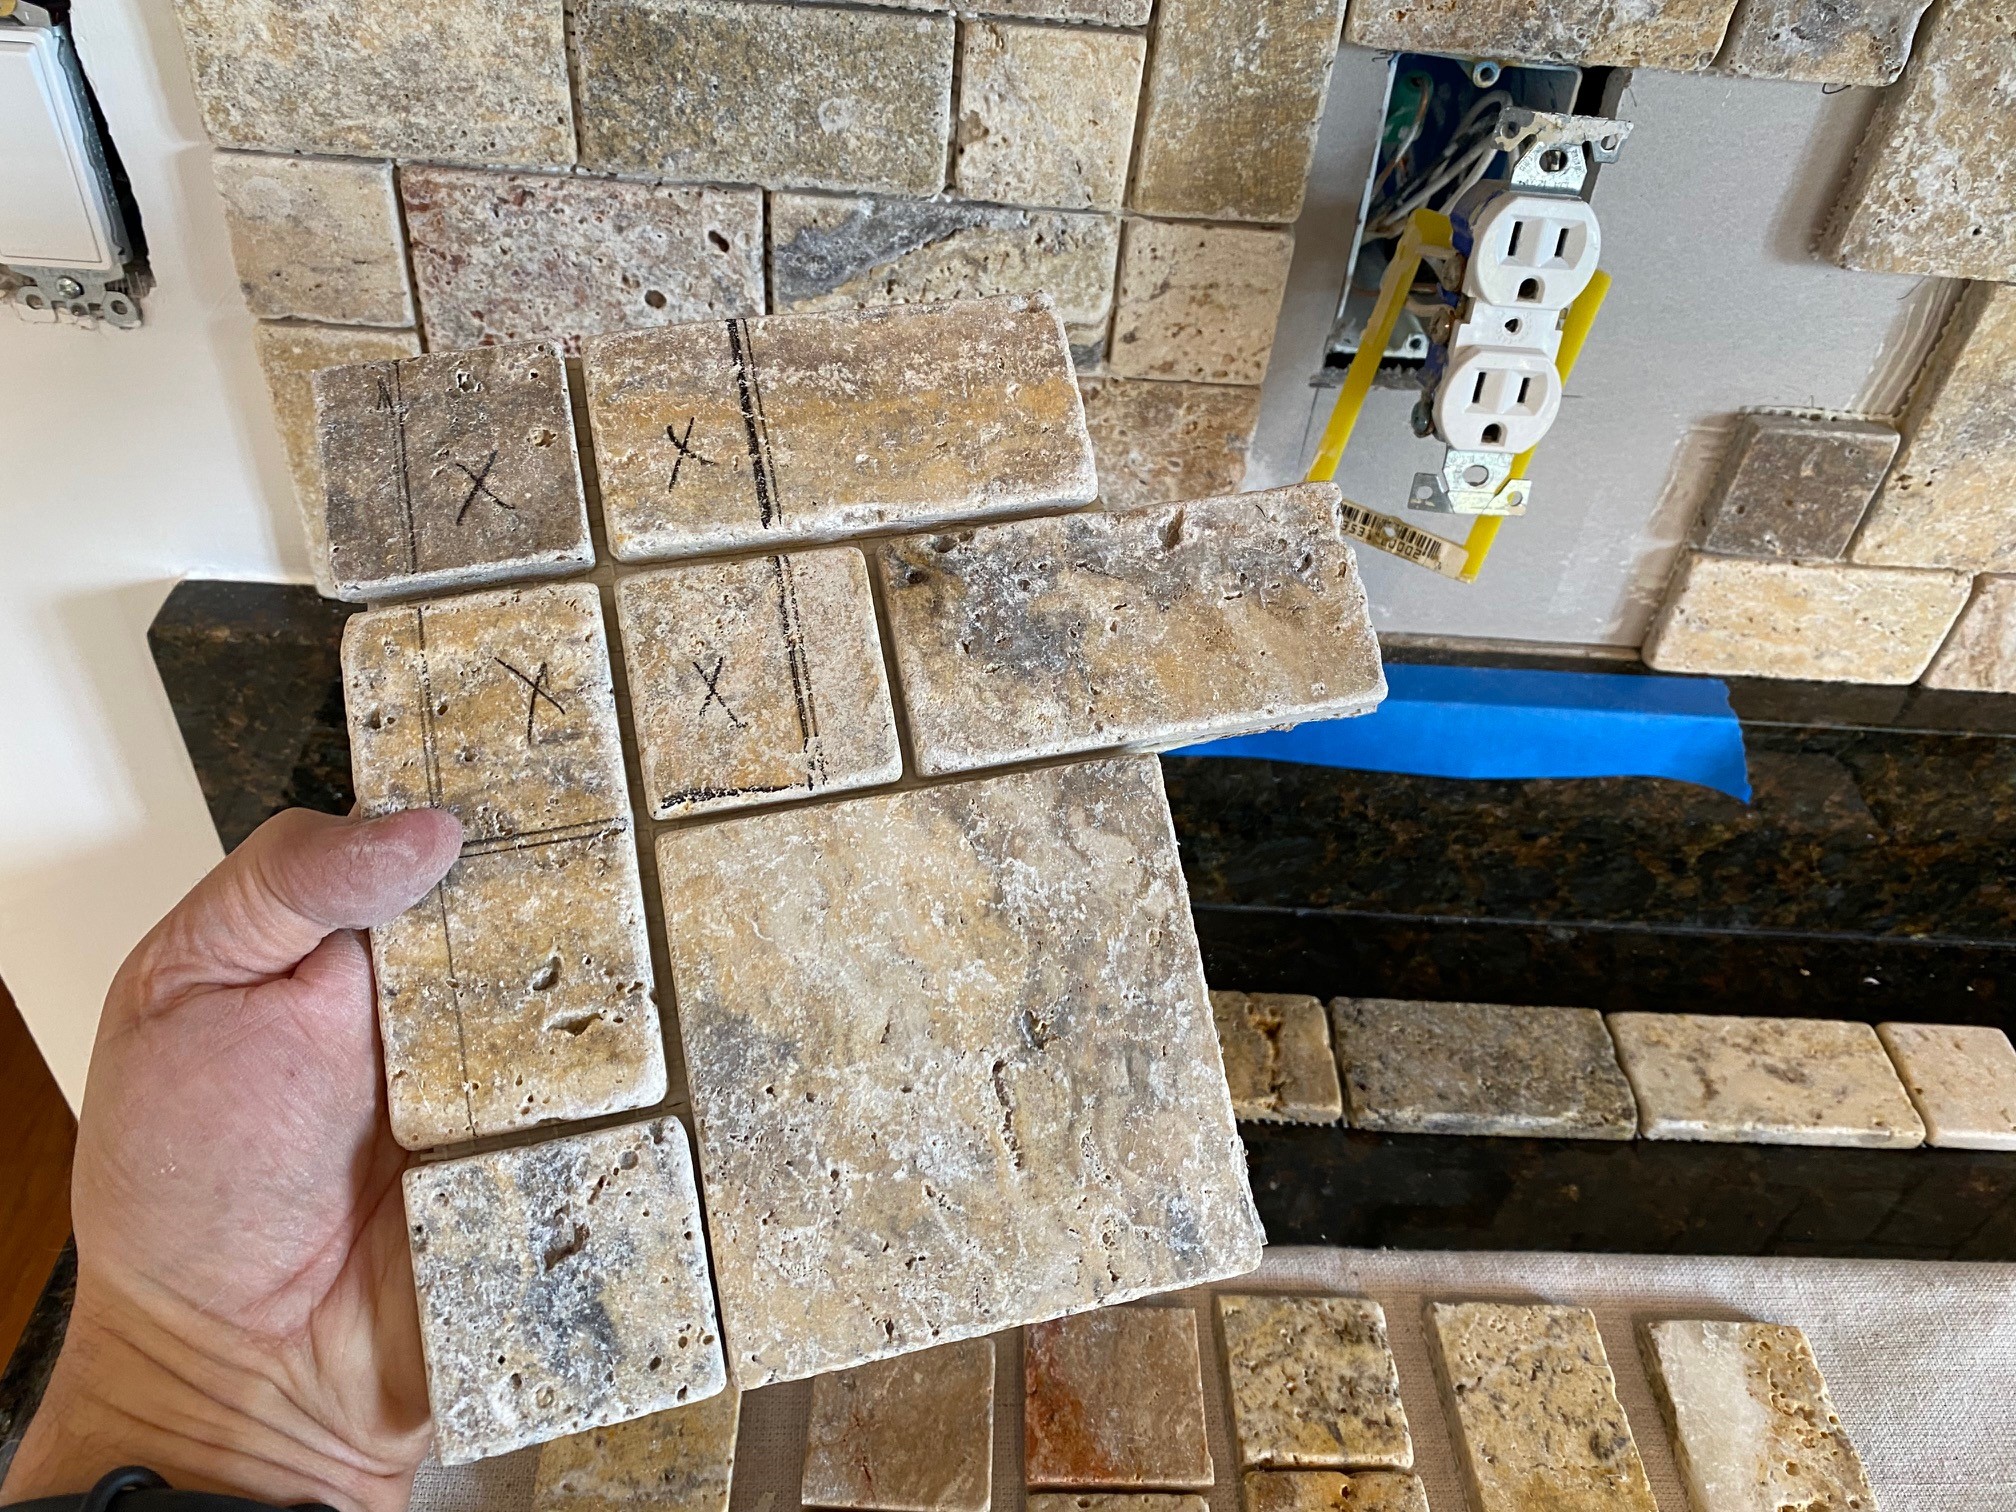
The above photo shows my ‘test’ half a square. I filled the holes on the left, and grouted over the masked stones on the right. In the end? The right, once I removed the tape, was still gorgeous. The left? Not so much.
(It was fine, but it lost all the texture. No way. This is when I was certain I had to ‘suck it up’ and simply mask everything. Embrace ‘anal retentiveness’ like never before.)

And what exactly do I mean my ‘micro-batches?’ See above. That’s a ‘red solo cup.’ They’ve been useful since college, and here again – VERY useful!
As are the rubber gloves; you really do NOT want to get grout on your skin in any significant way. Be sure to protect yourself.
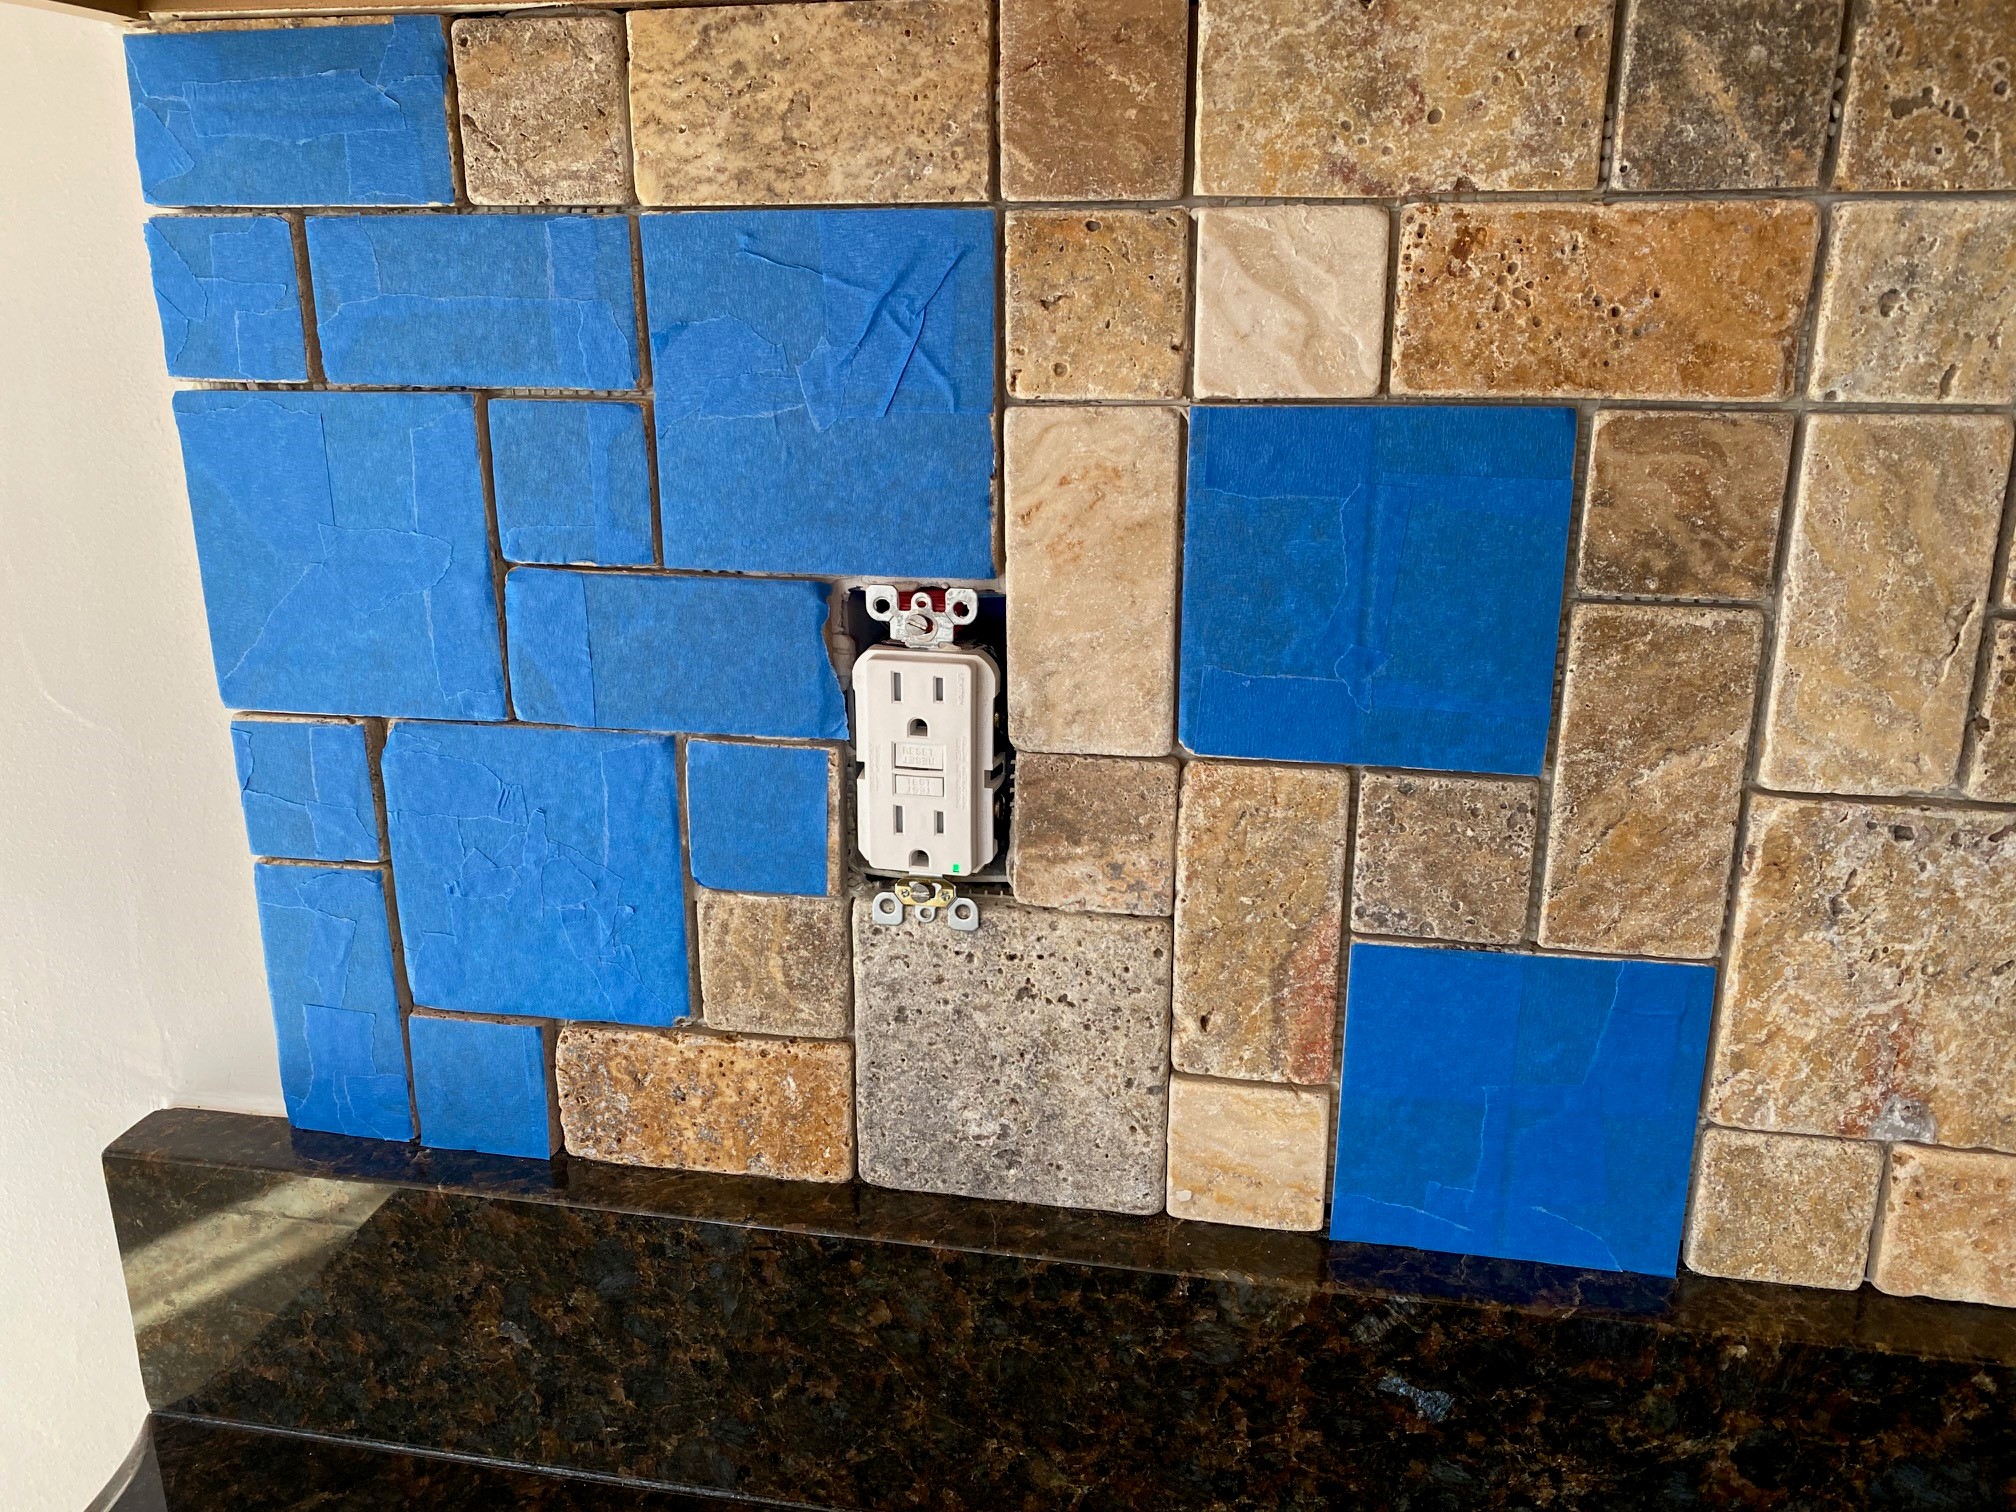
The shot below probably took about 3 hours of masking for grout. A tiny bit at a time. This is about four square feet…
Another grout masking area is shown below. And once more, unless you can remain ultra-focused for hours on end… a tiny bit at a time.
This is NOT fun!!
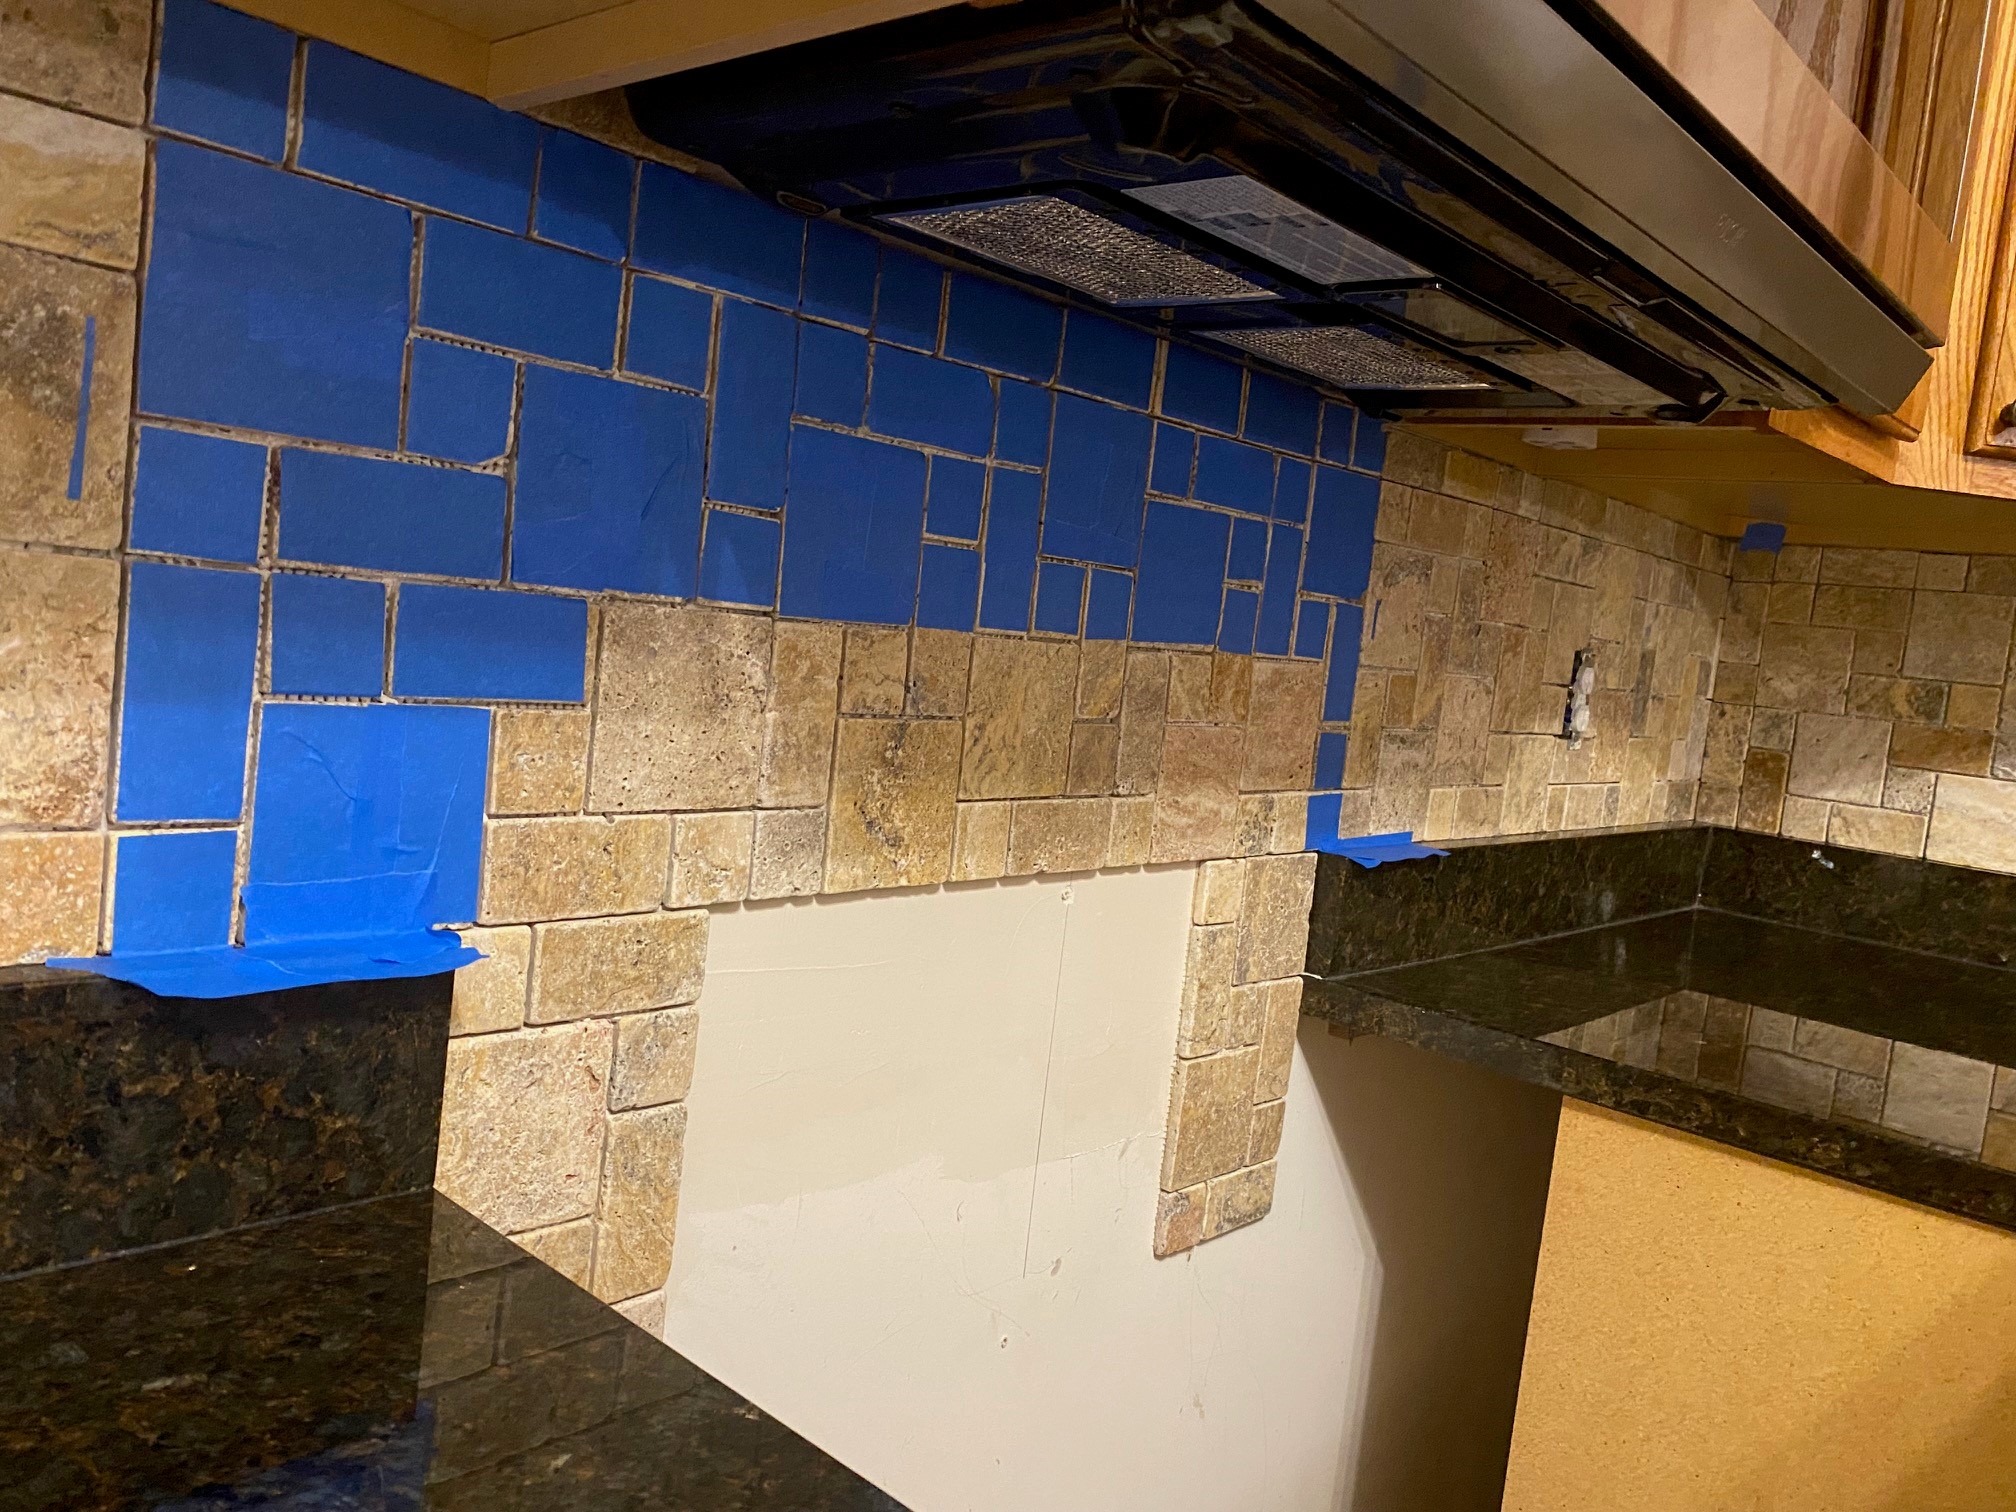
Applying the grout goes quite quickly with this level of masking (which you’ve EARNED via all this advance protective work).
For me, the area you see below (blue-masked) was grouted in about 10 minutes using a 1-inch plastic knife – and in some parts of this section (the areas behind the stove), I used a standard sized grout float too. But for most-all of this kitchen backsplash, the grout float was just too big and too imprecise. I really wanted to get the grout significantly into those channels between the stones.
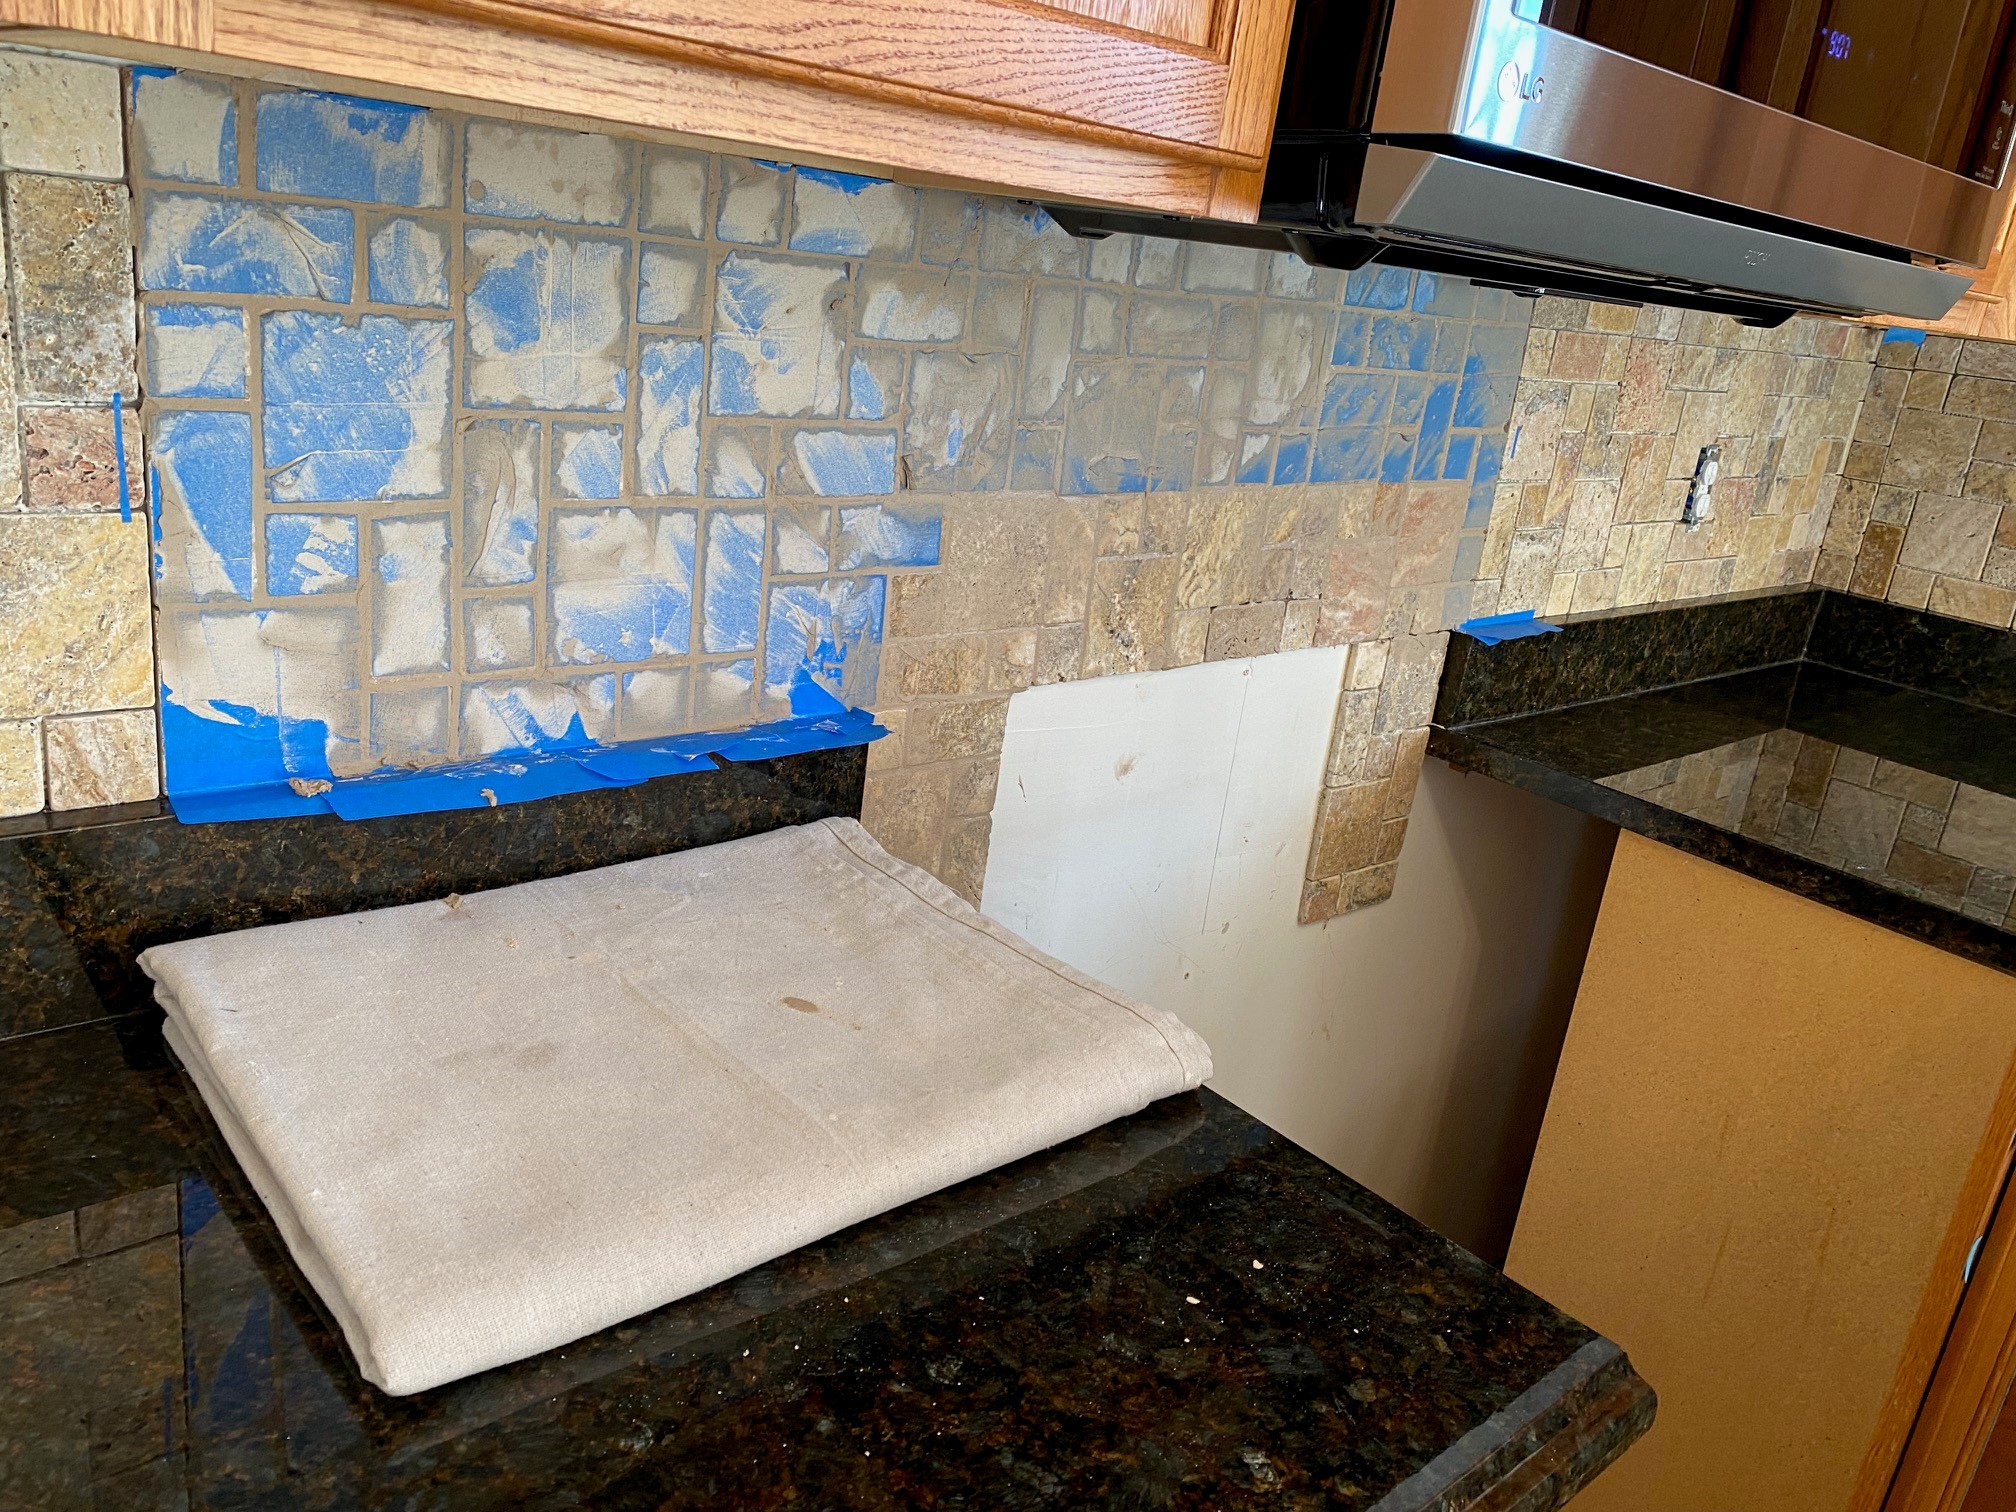
And in many places, a grout float was simply impossible…
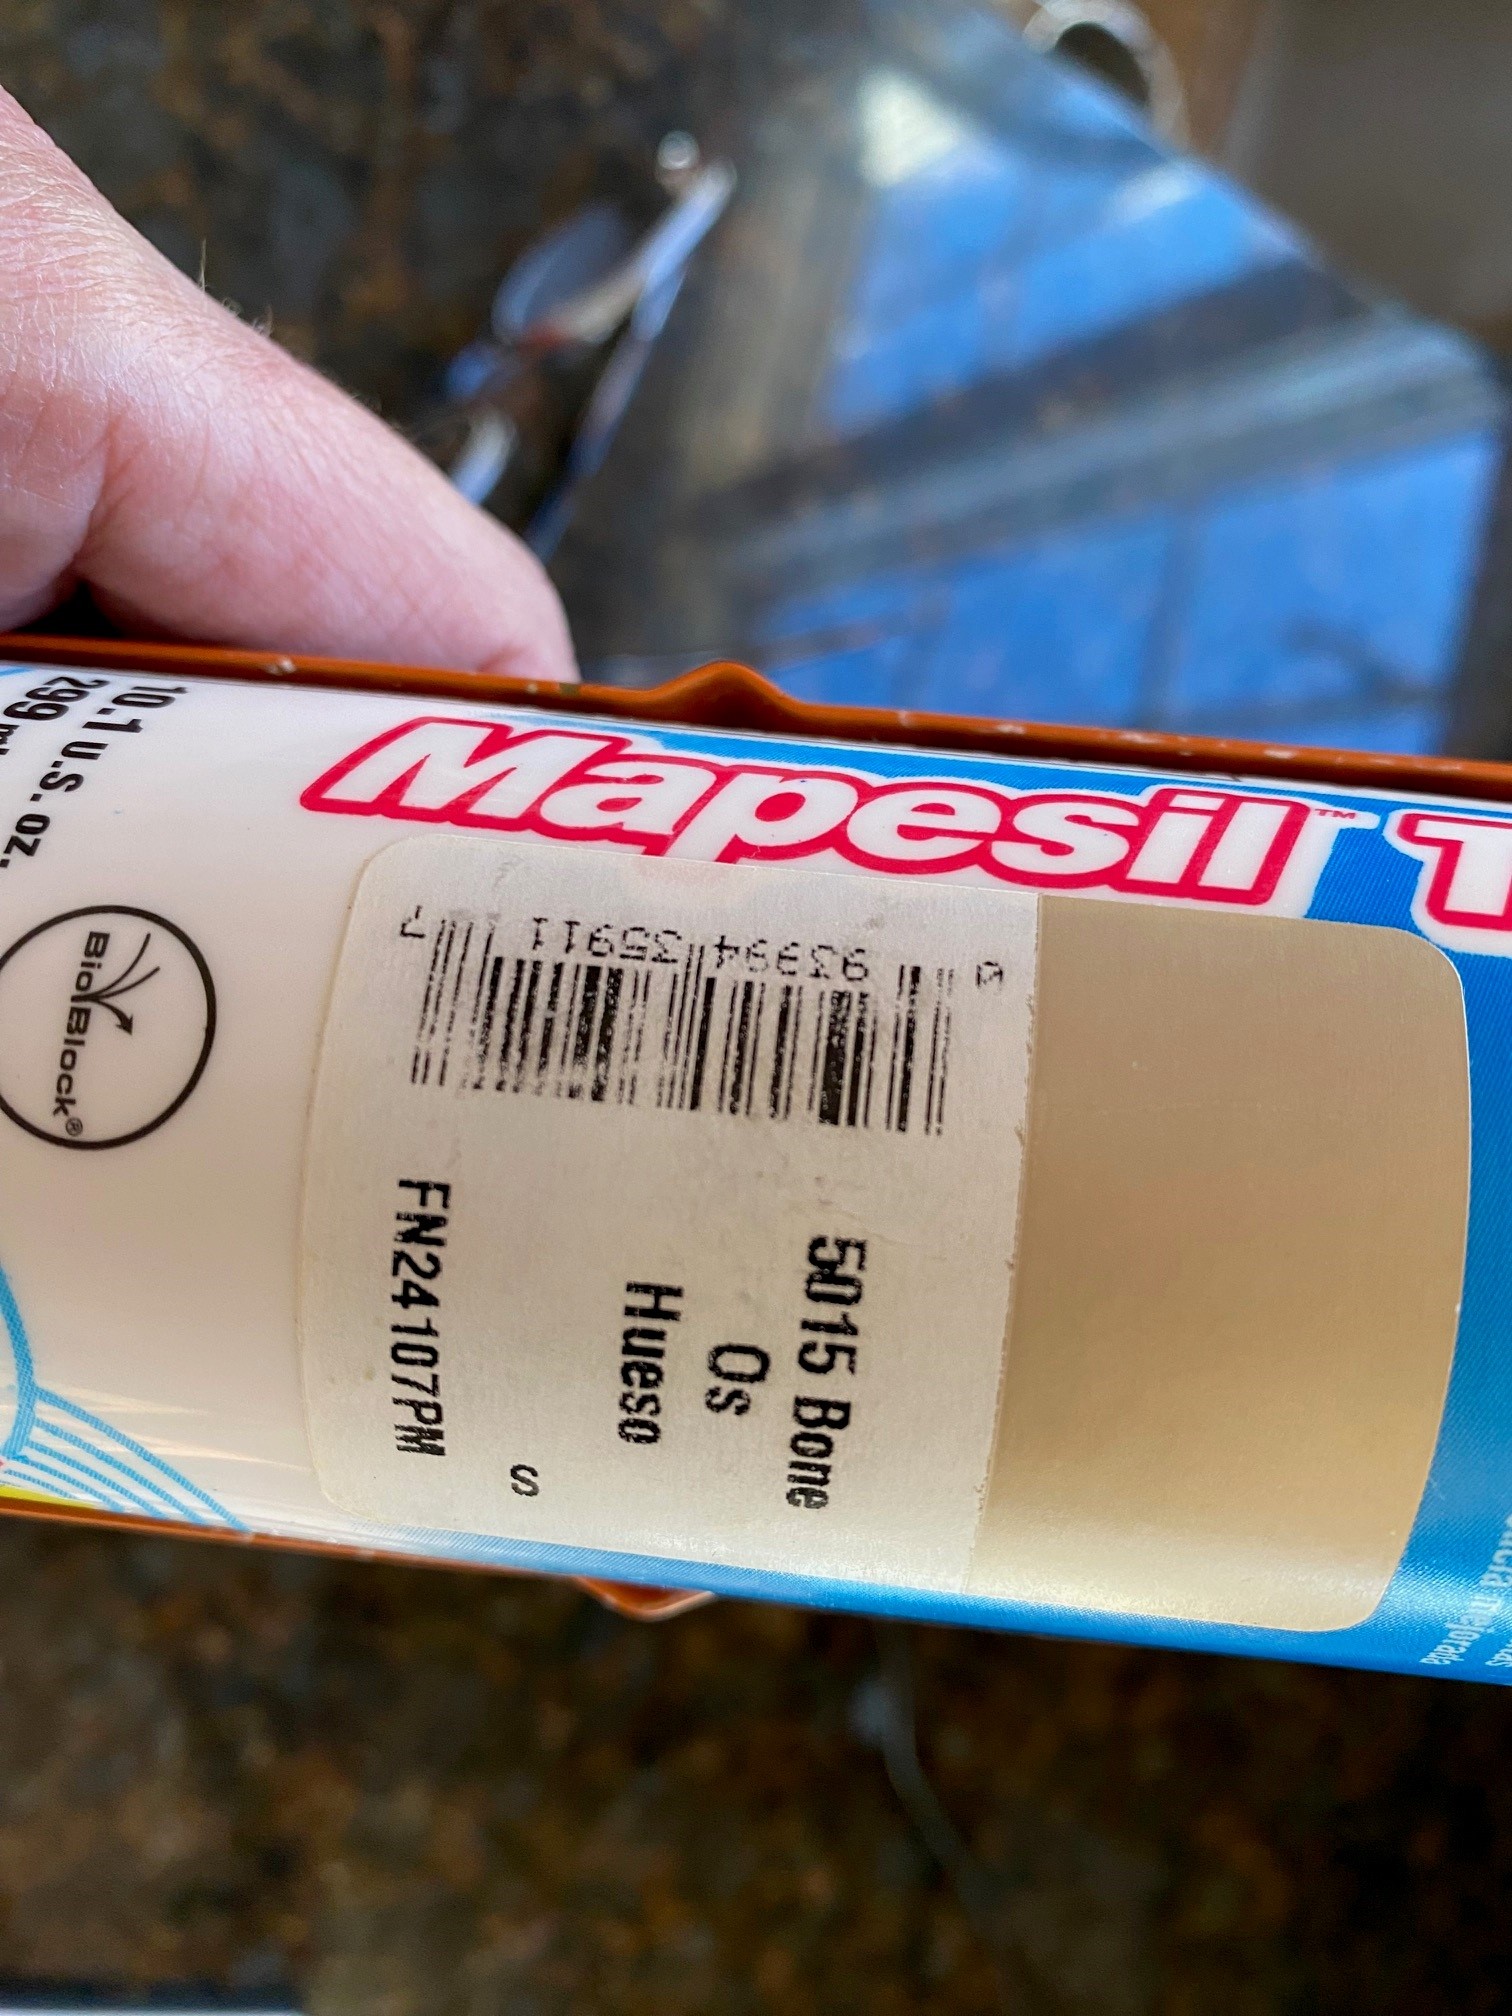
Grout Color Matched Caulk
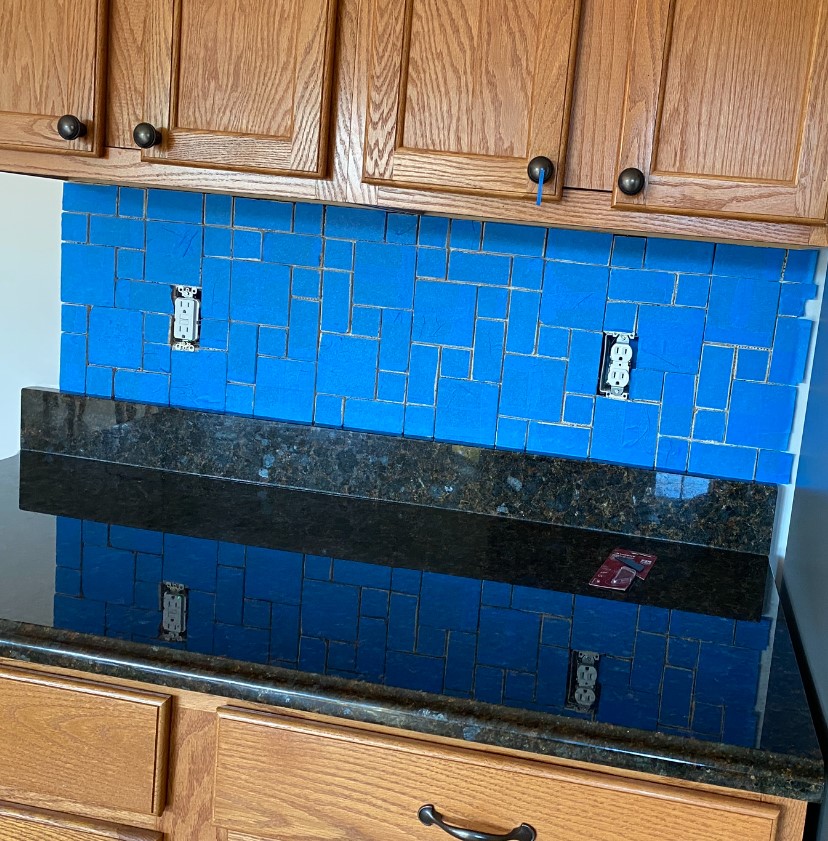
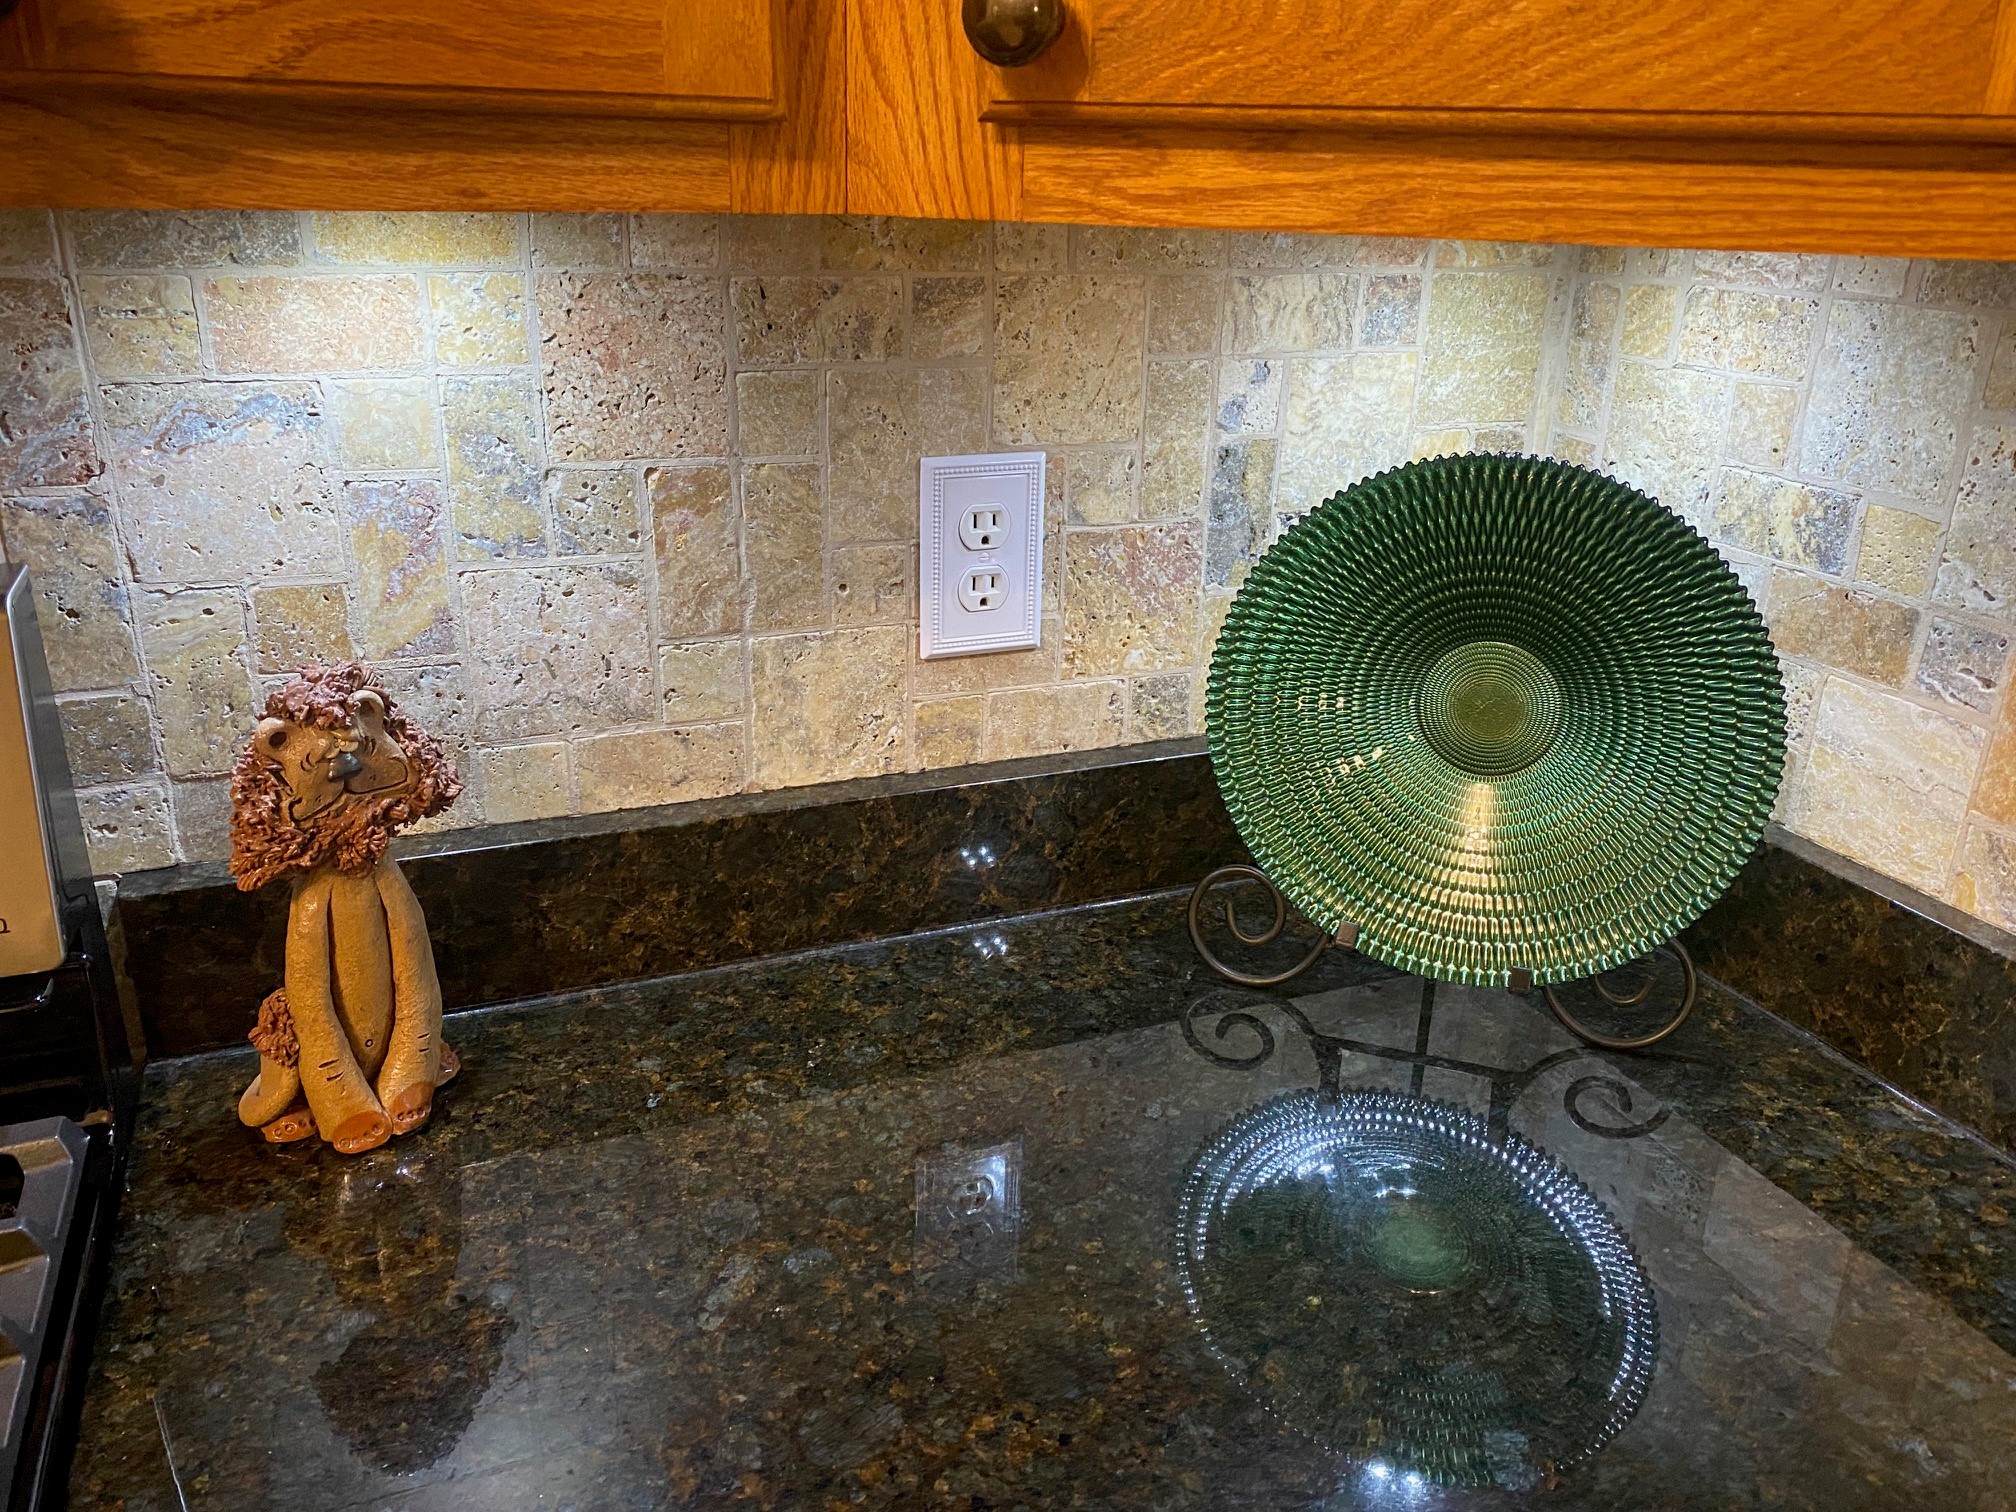
The specific Mapei Grout color that I selected was 5015 Bone – and I also bought a tube of matching caulk. This is expensive… the caulk. In part because it’s so specialized. But you really, in my opinion, should get one tube. Because it’s invaluable to interface the stone to the cabinets – quick and easy. Plus, you very-well may find you miss some small areas when grouting – you’ll see them a day later. Or a week later. And when you do? You use this caulk… it matched my grout perfectly. Stunningly perfectly.
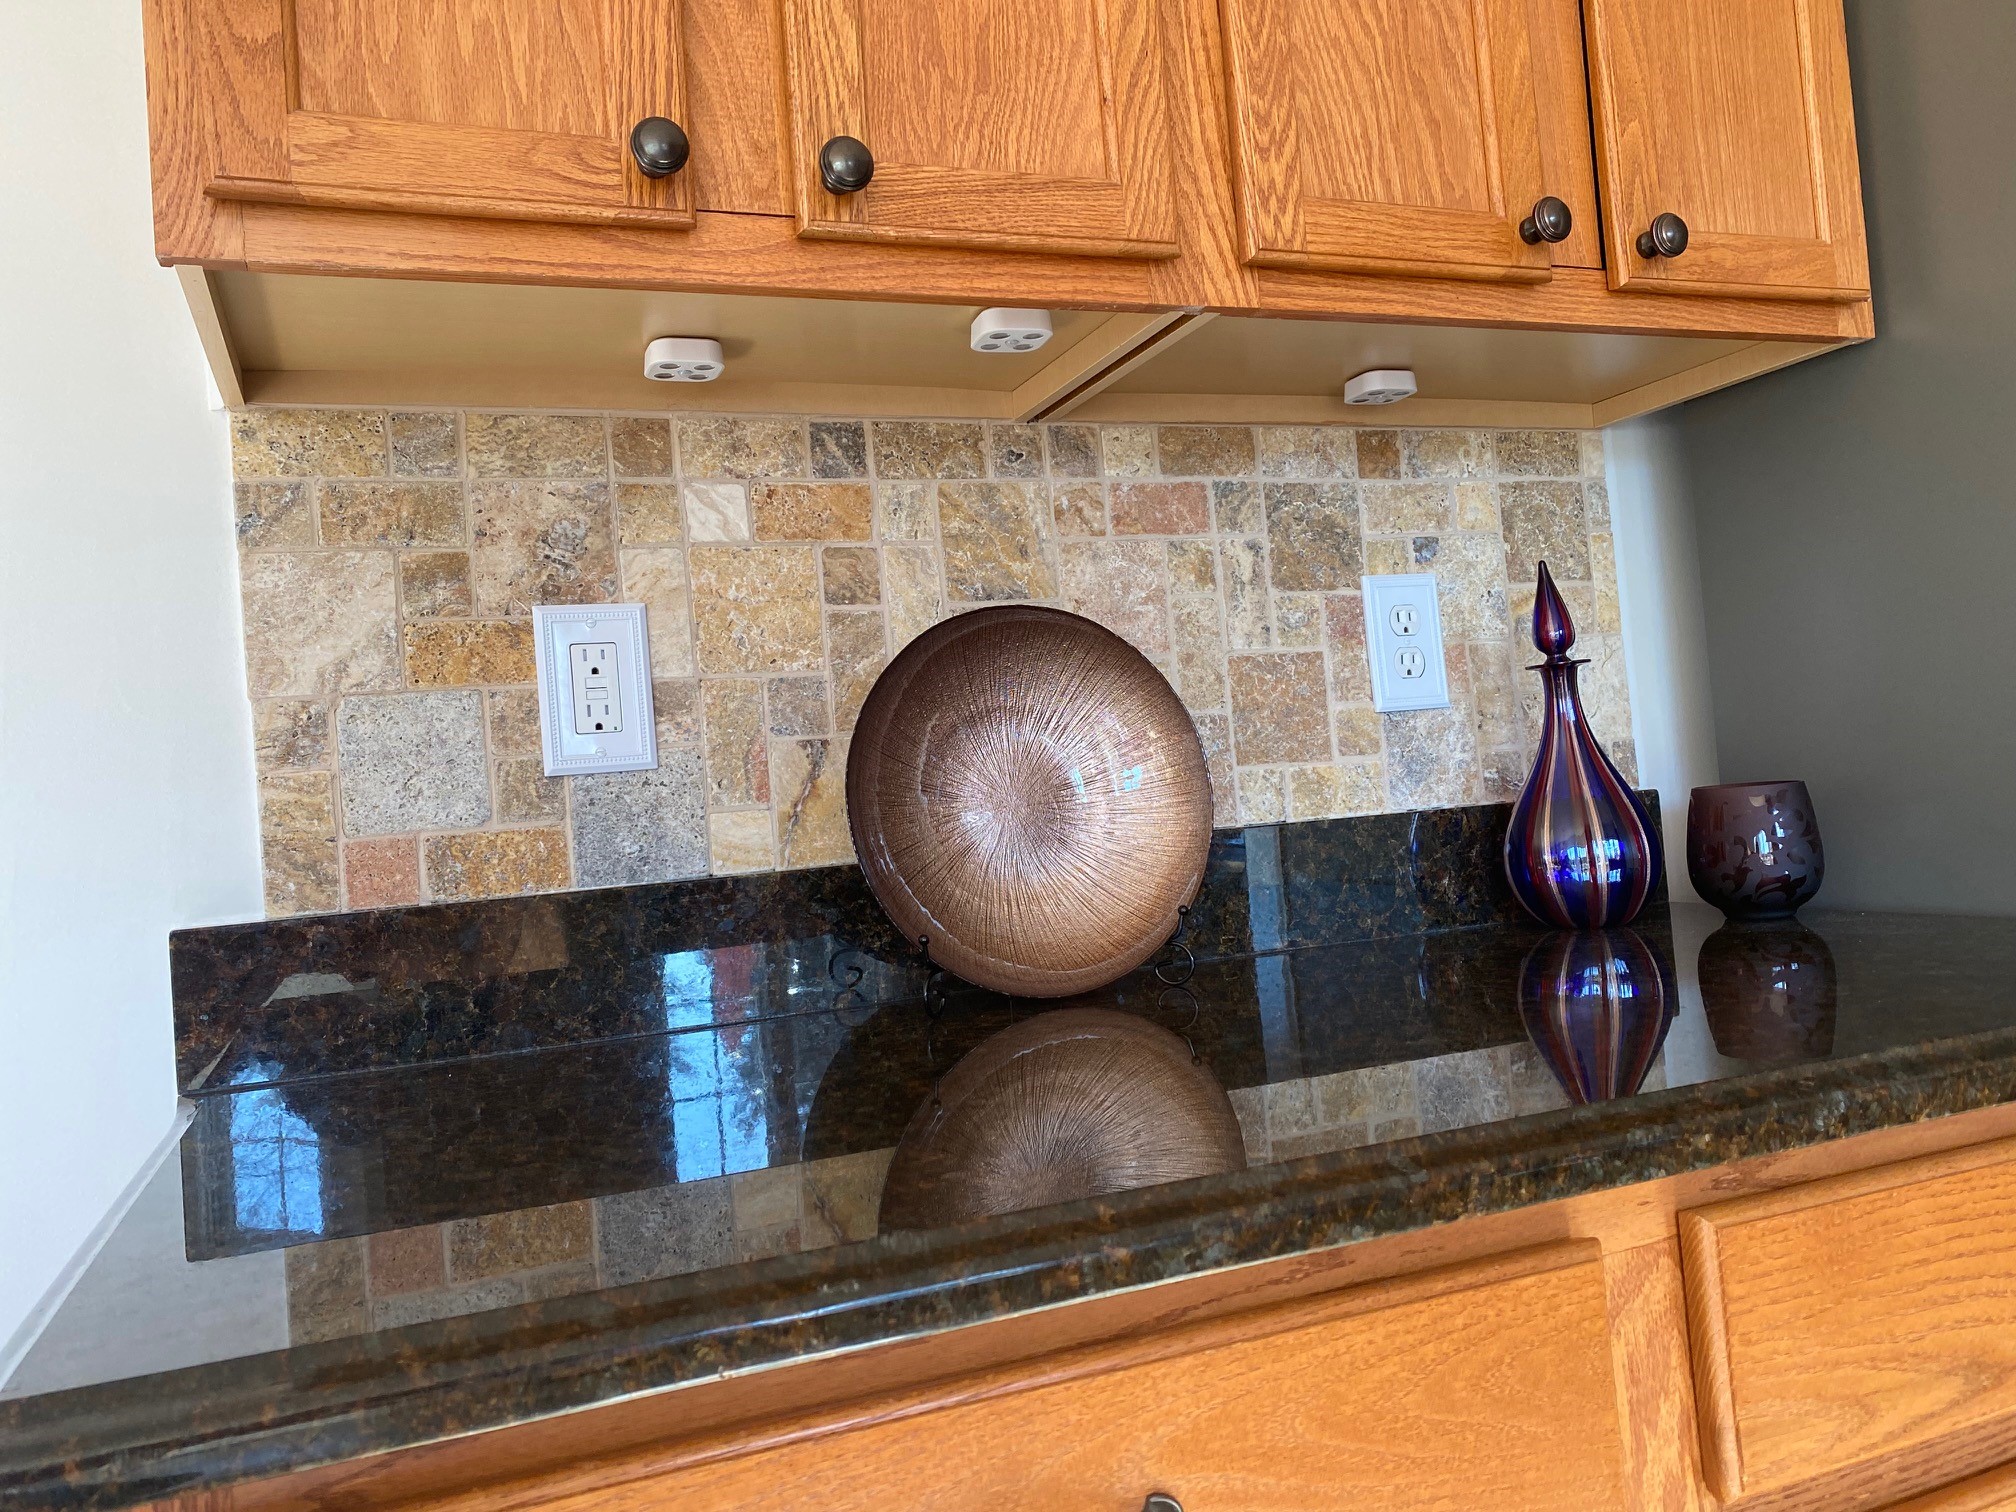
Please zoom in to look at the ‘grout’ line you see below the cabinets in the photo that follows, because that’s NOT grout. That’s the grout color-matched caulk. Really impressive to me. (You can also see the ‘hidden’ LED down-lighting pucks I added once I finished the entire job. A few words on these will follow later.)
Grout and Stone Nuances
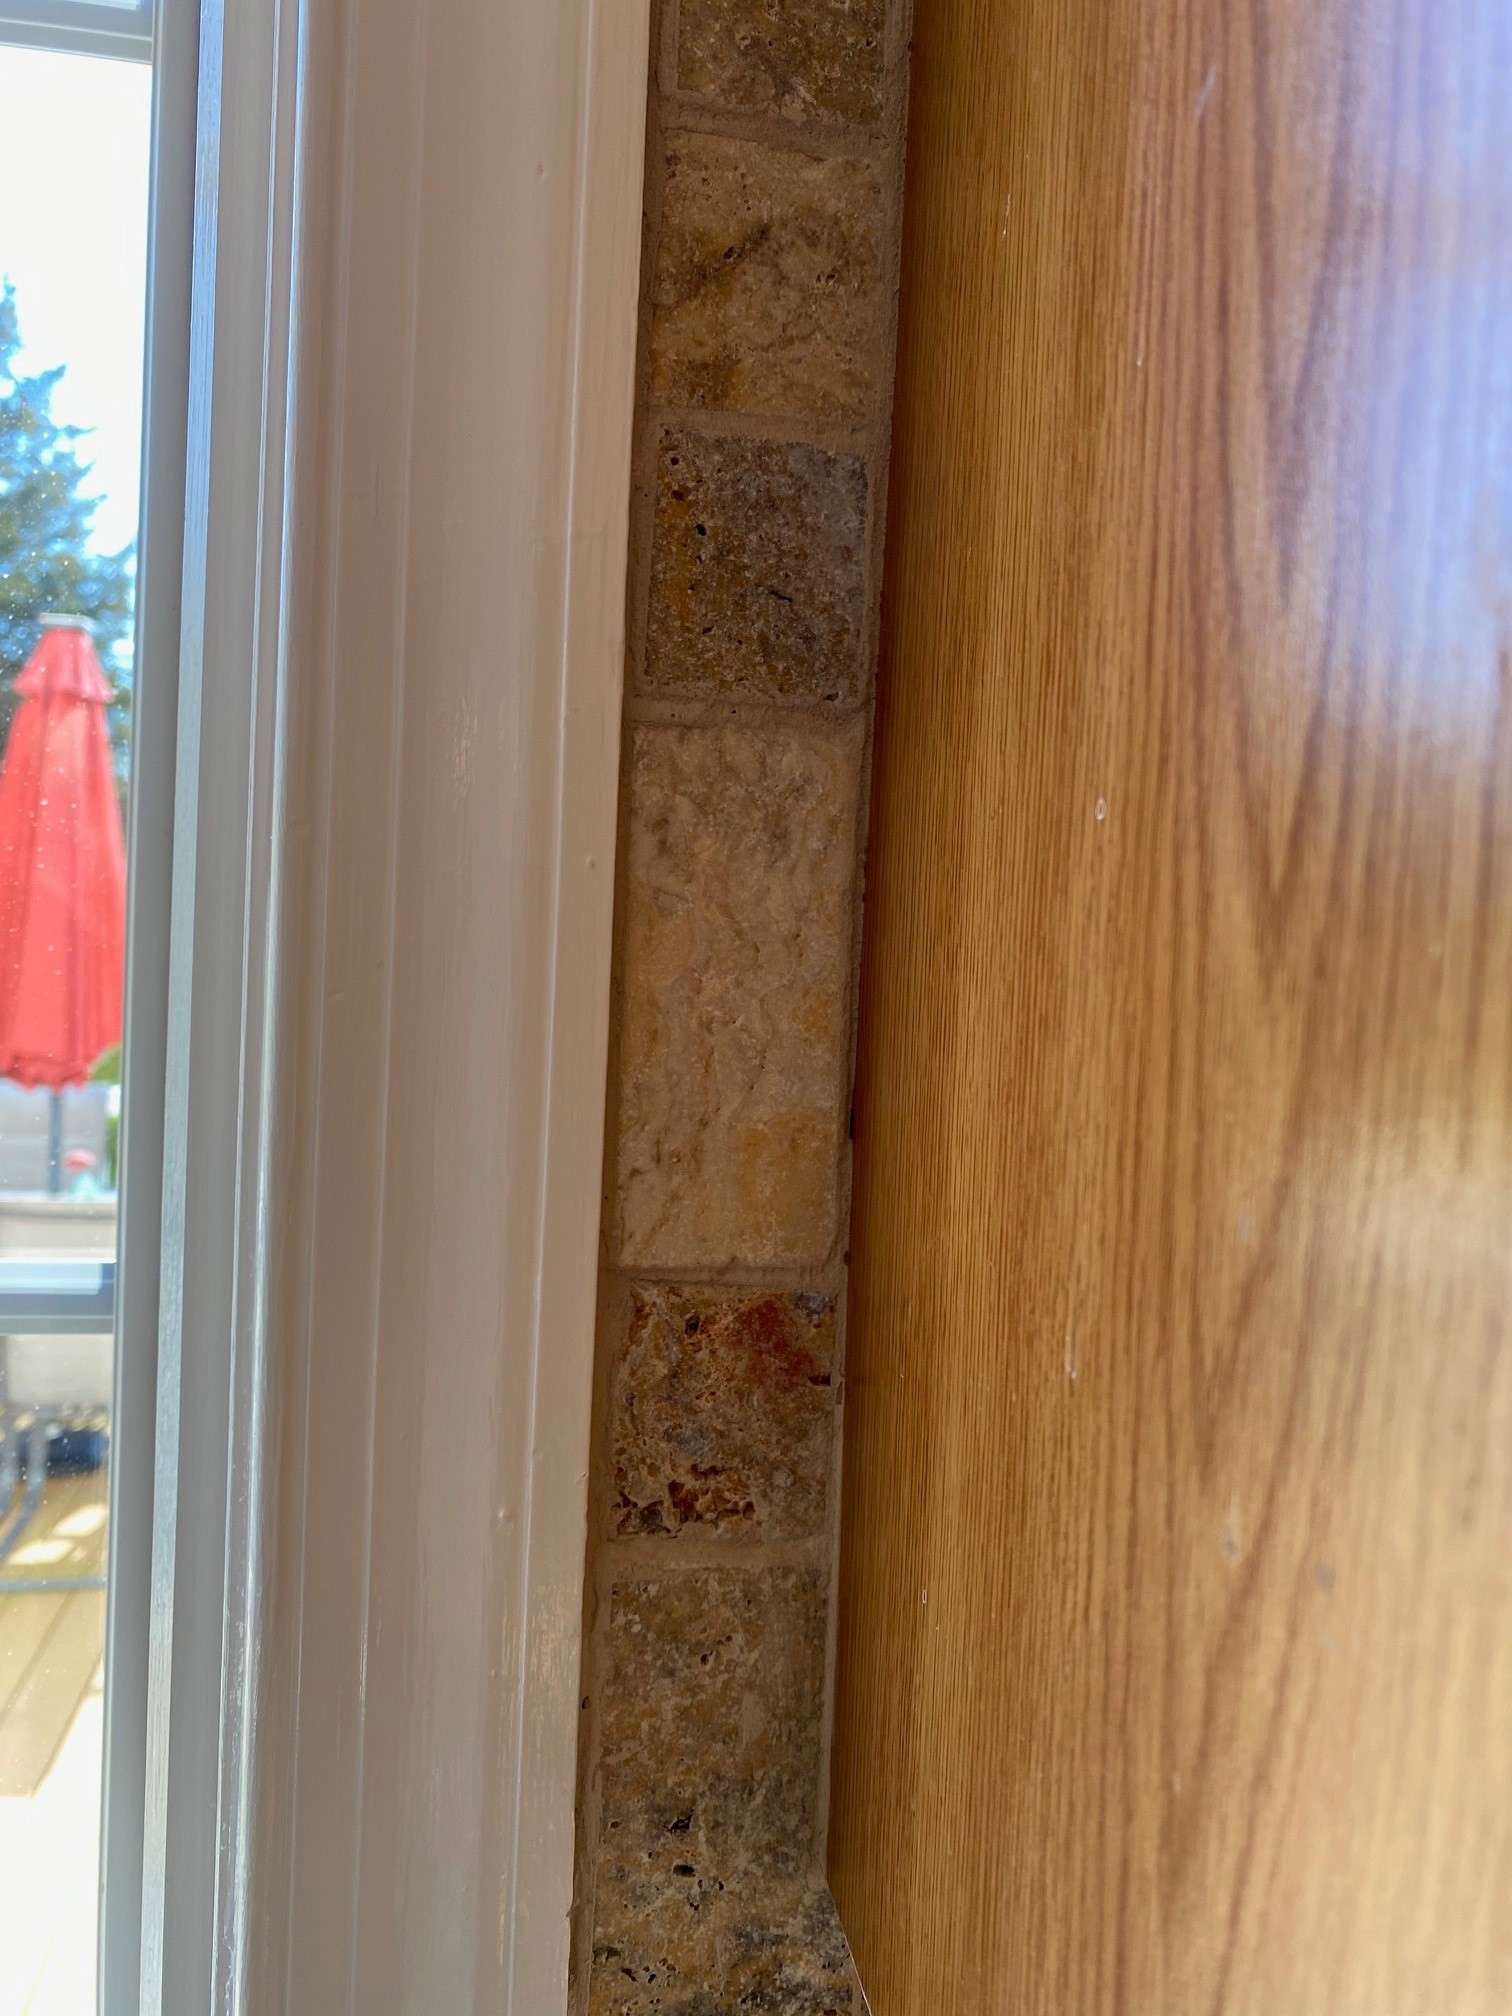
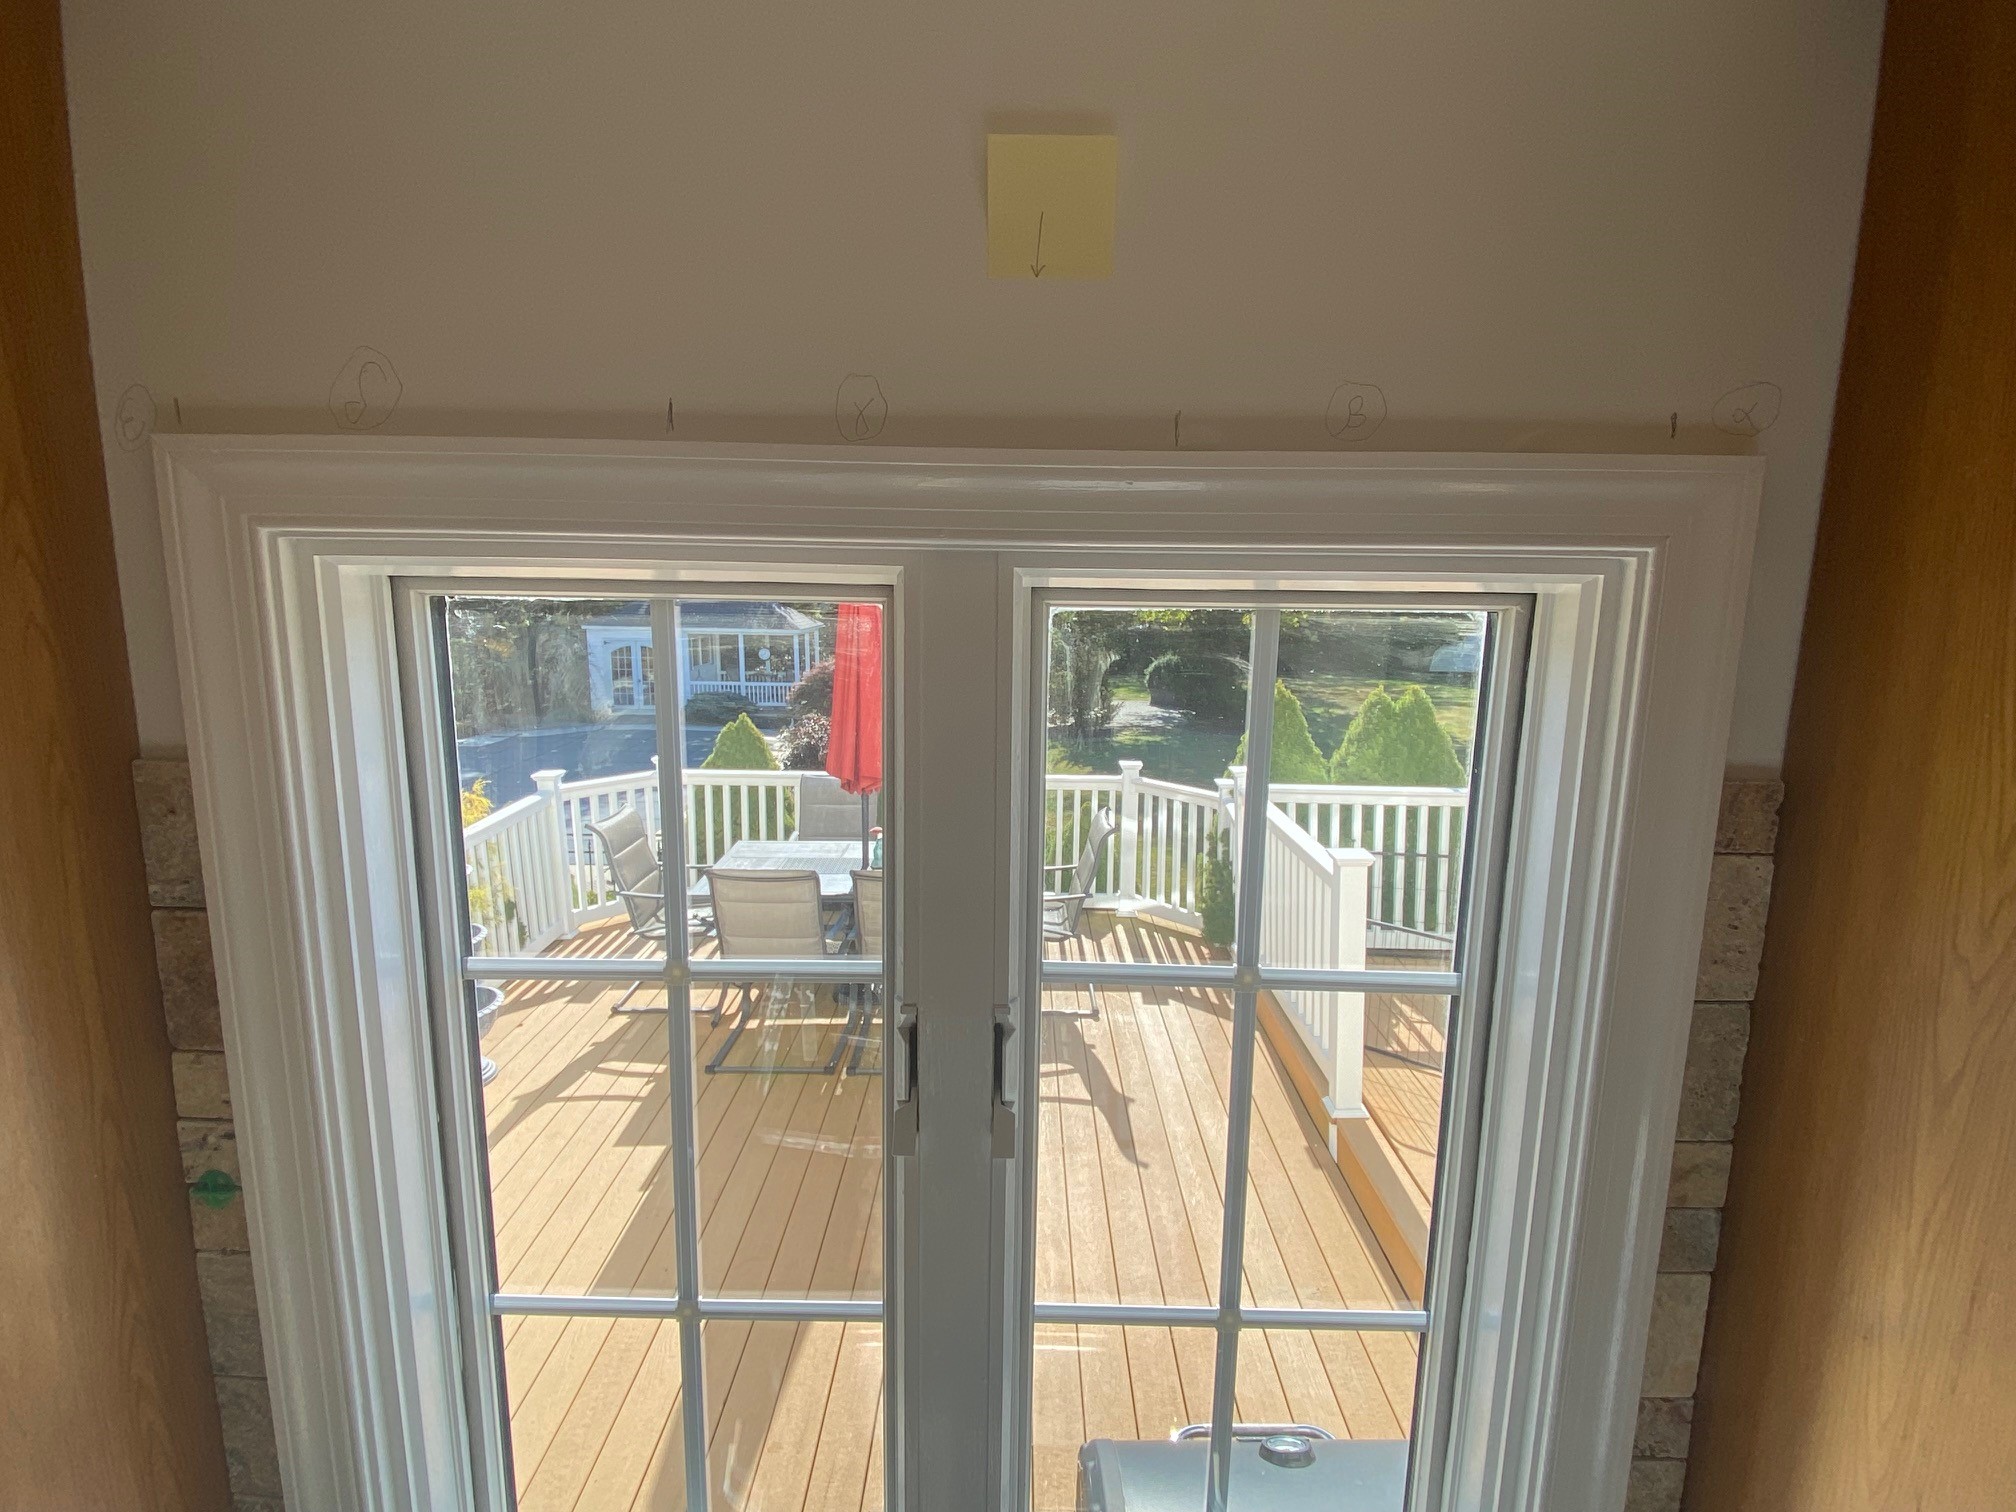
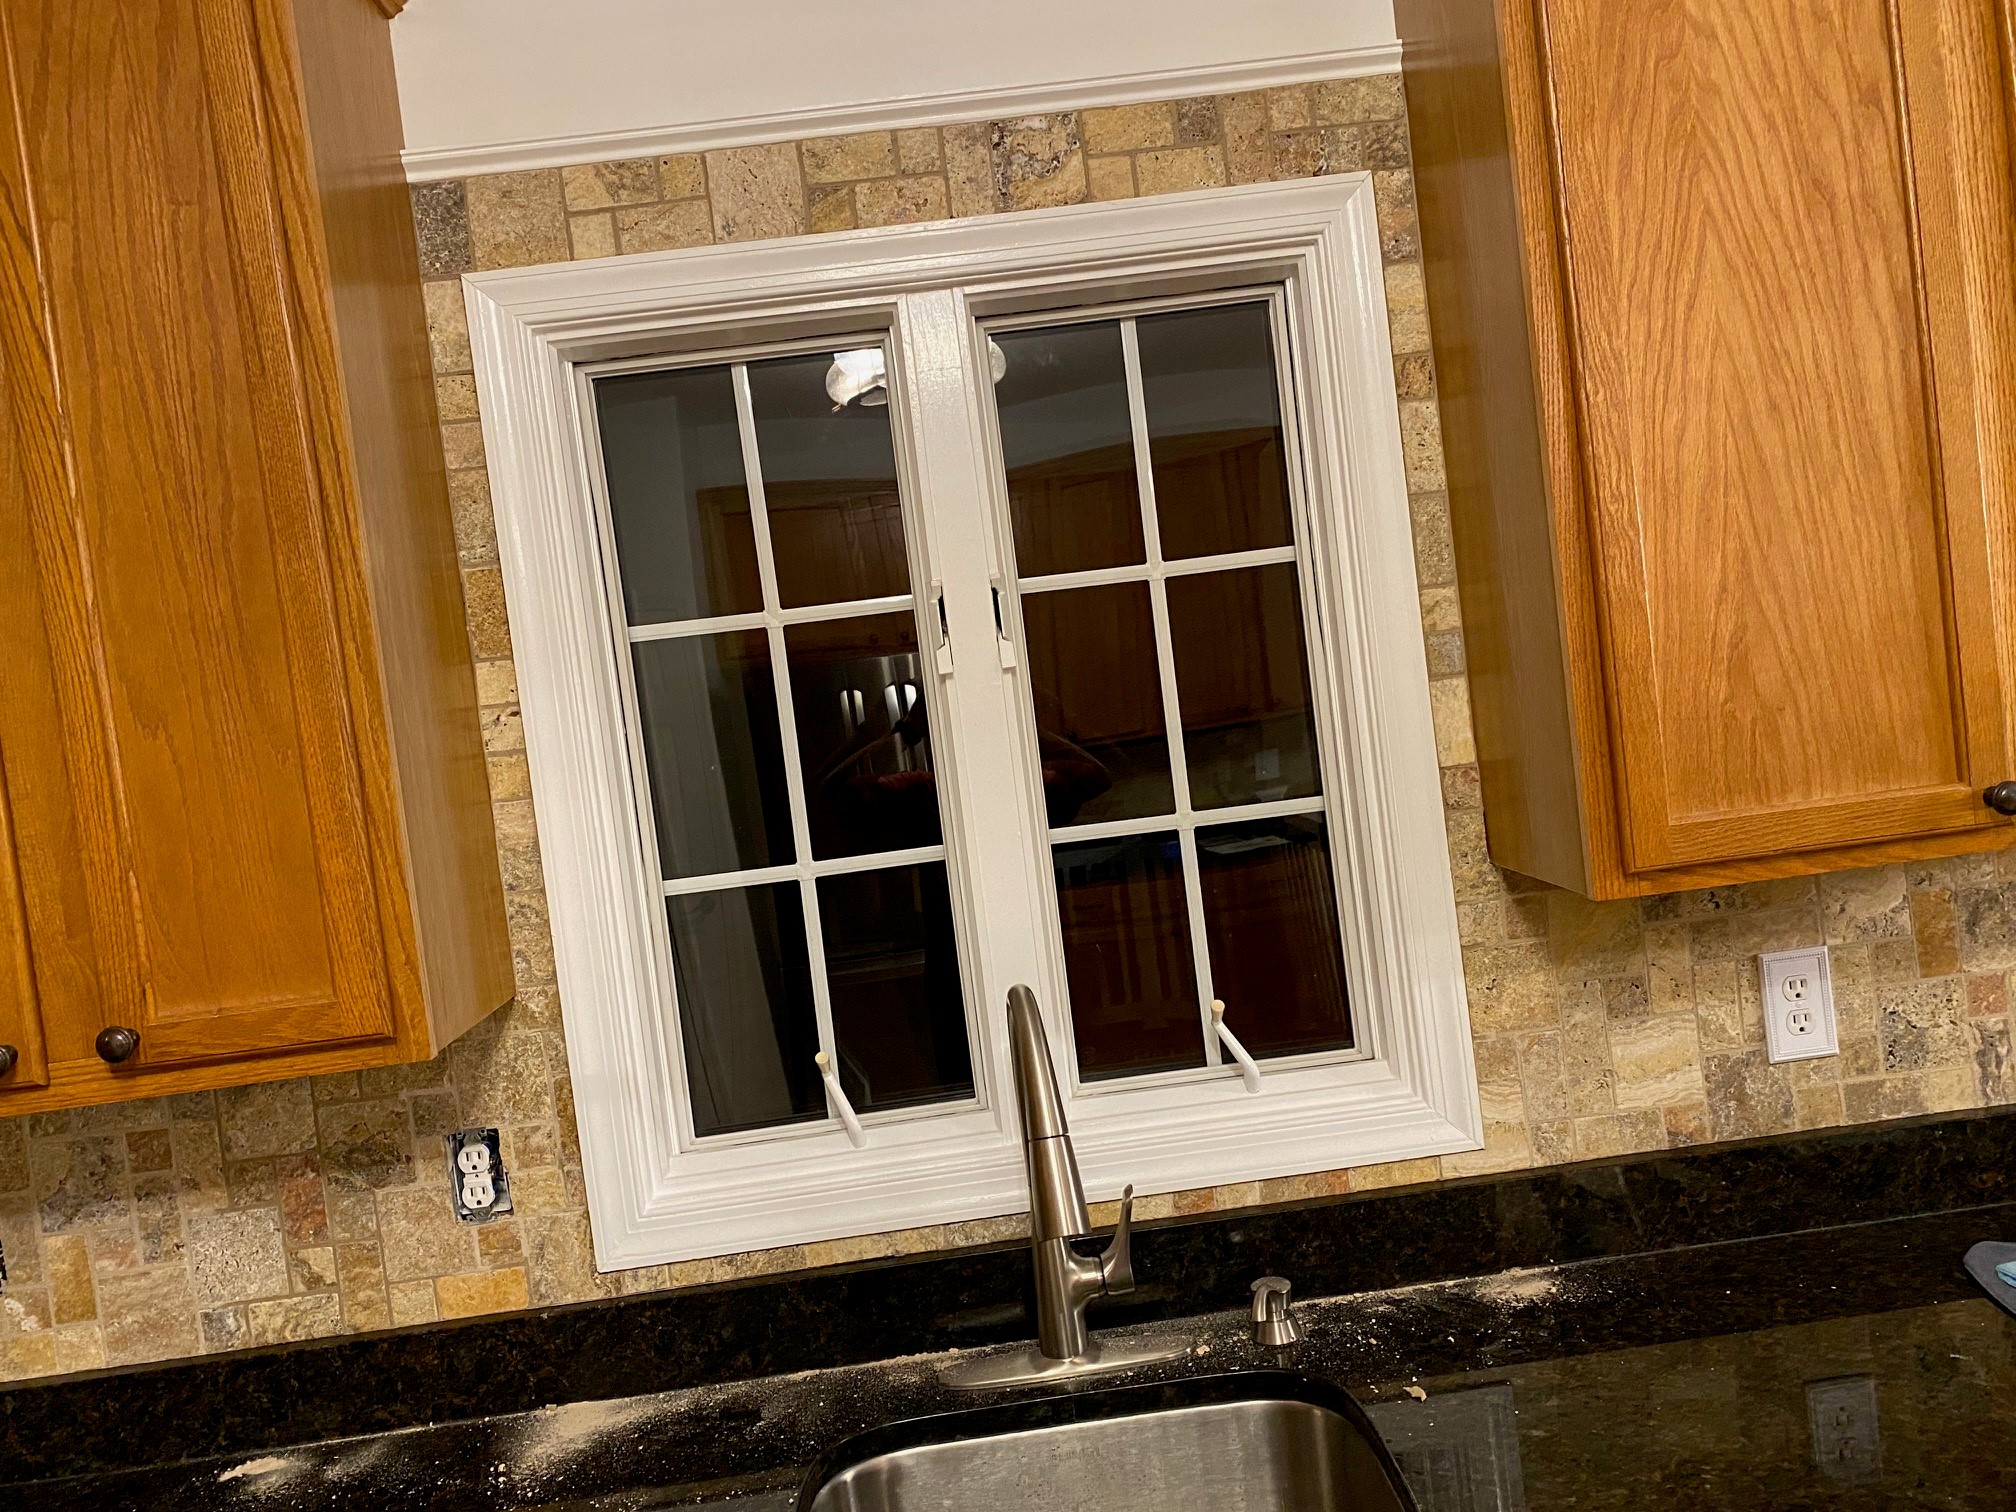
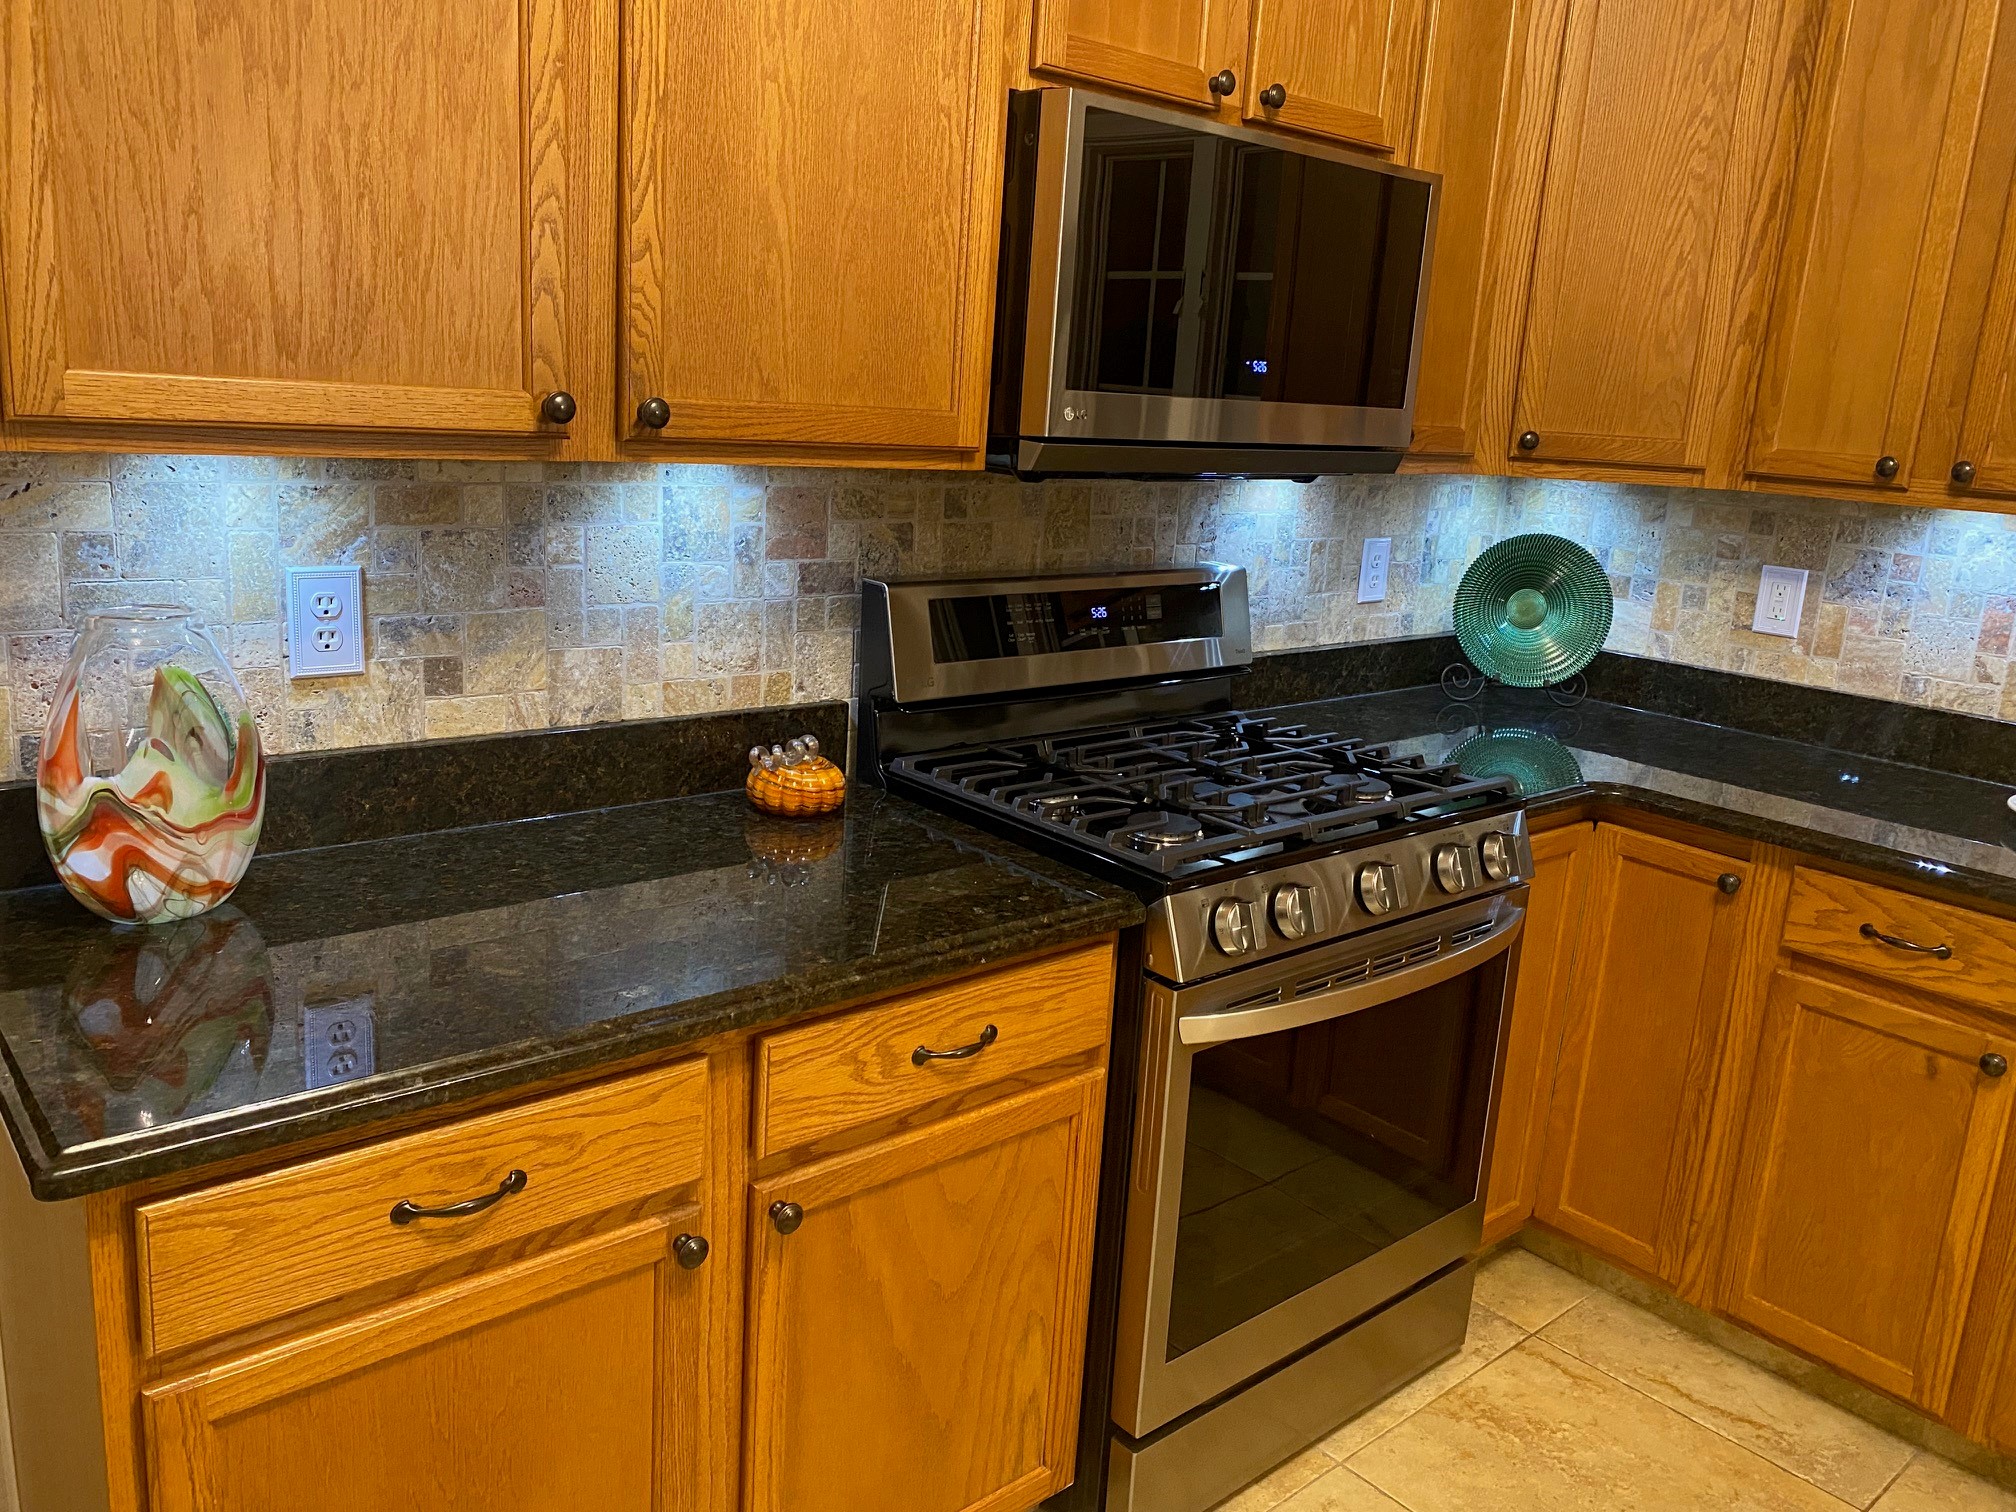
I know it’s hard to ‘feel’ it from a few photos, but the idea to take the backsplash above the kitchen window and finish it off with a little piece of ‘header molding’ made an UNREASONABLY positive impact to my kitchen. That idea came to me in the middle of the job, and It somehow elevated… everything. Funny how little nuances like that can really pay off.
I’ll show before and after shots just below; you can decide for yourself. It may be something extra to consider:
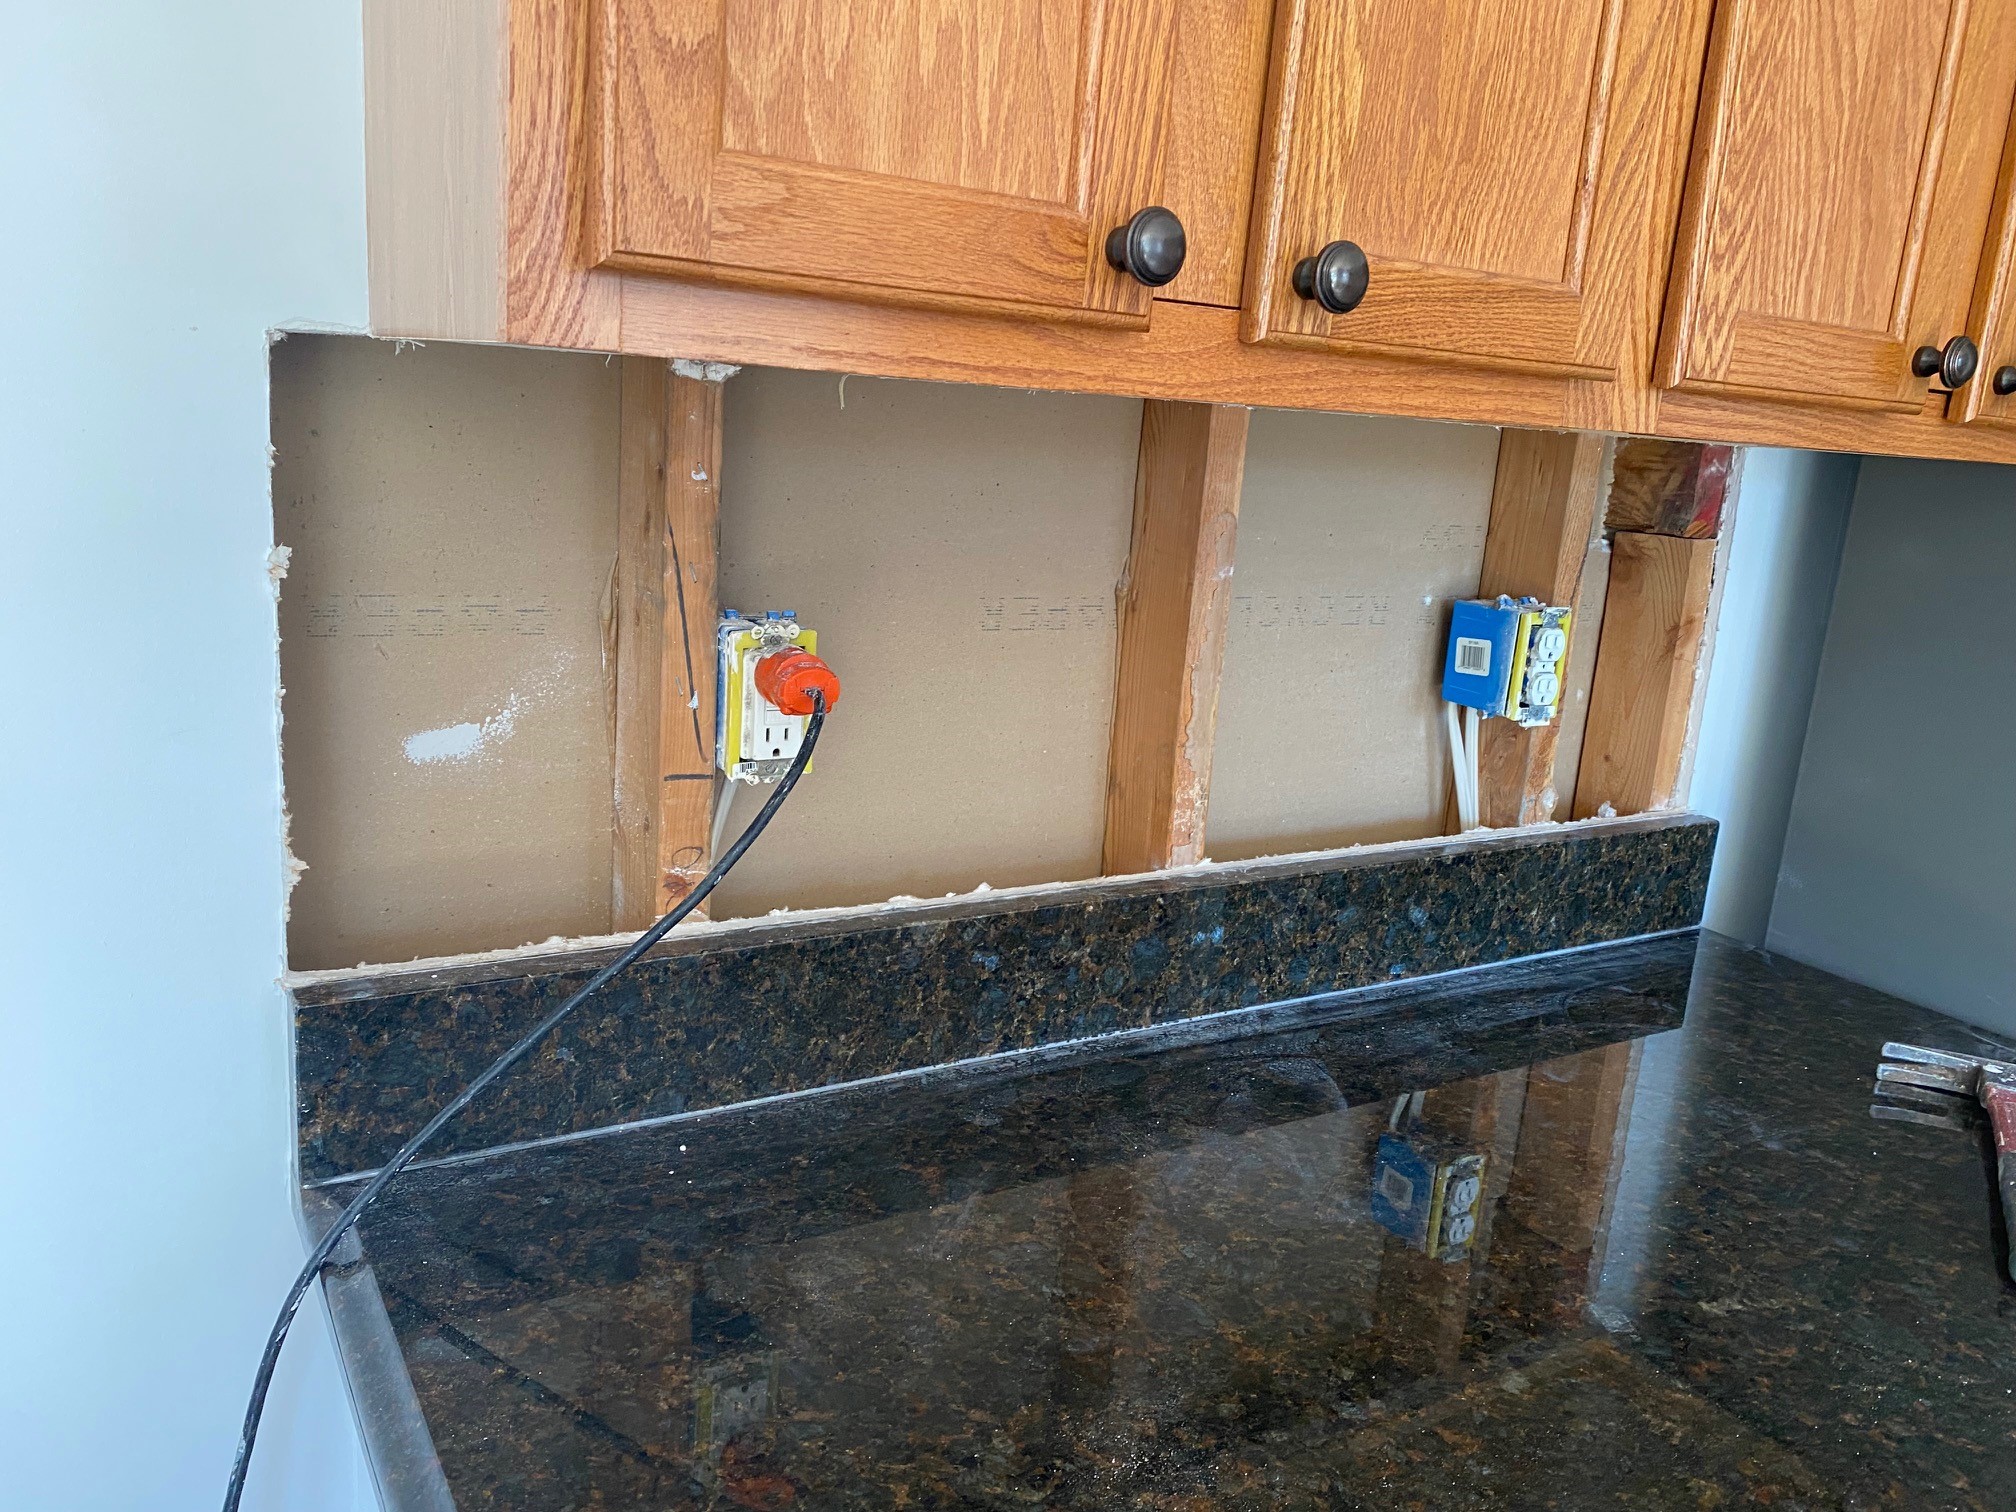
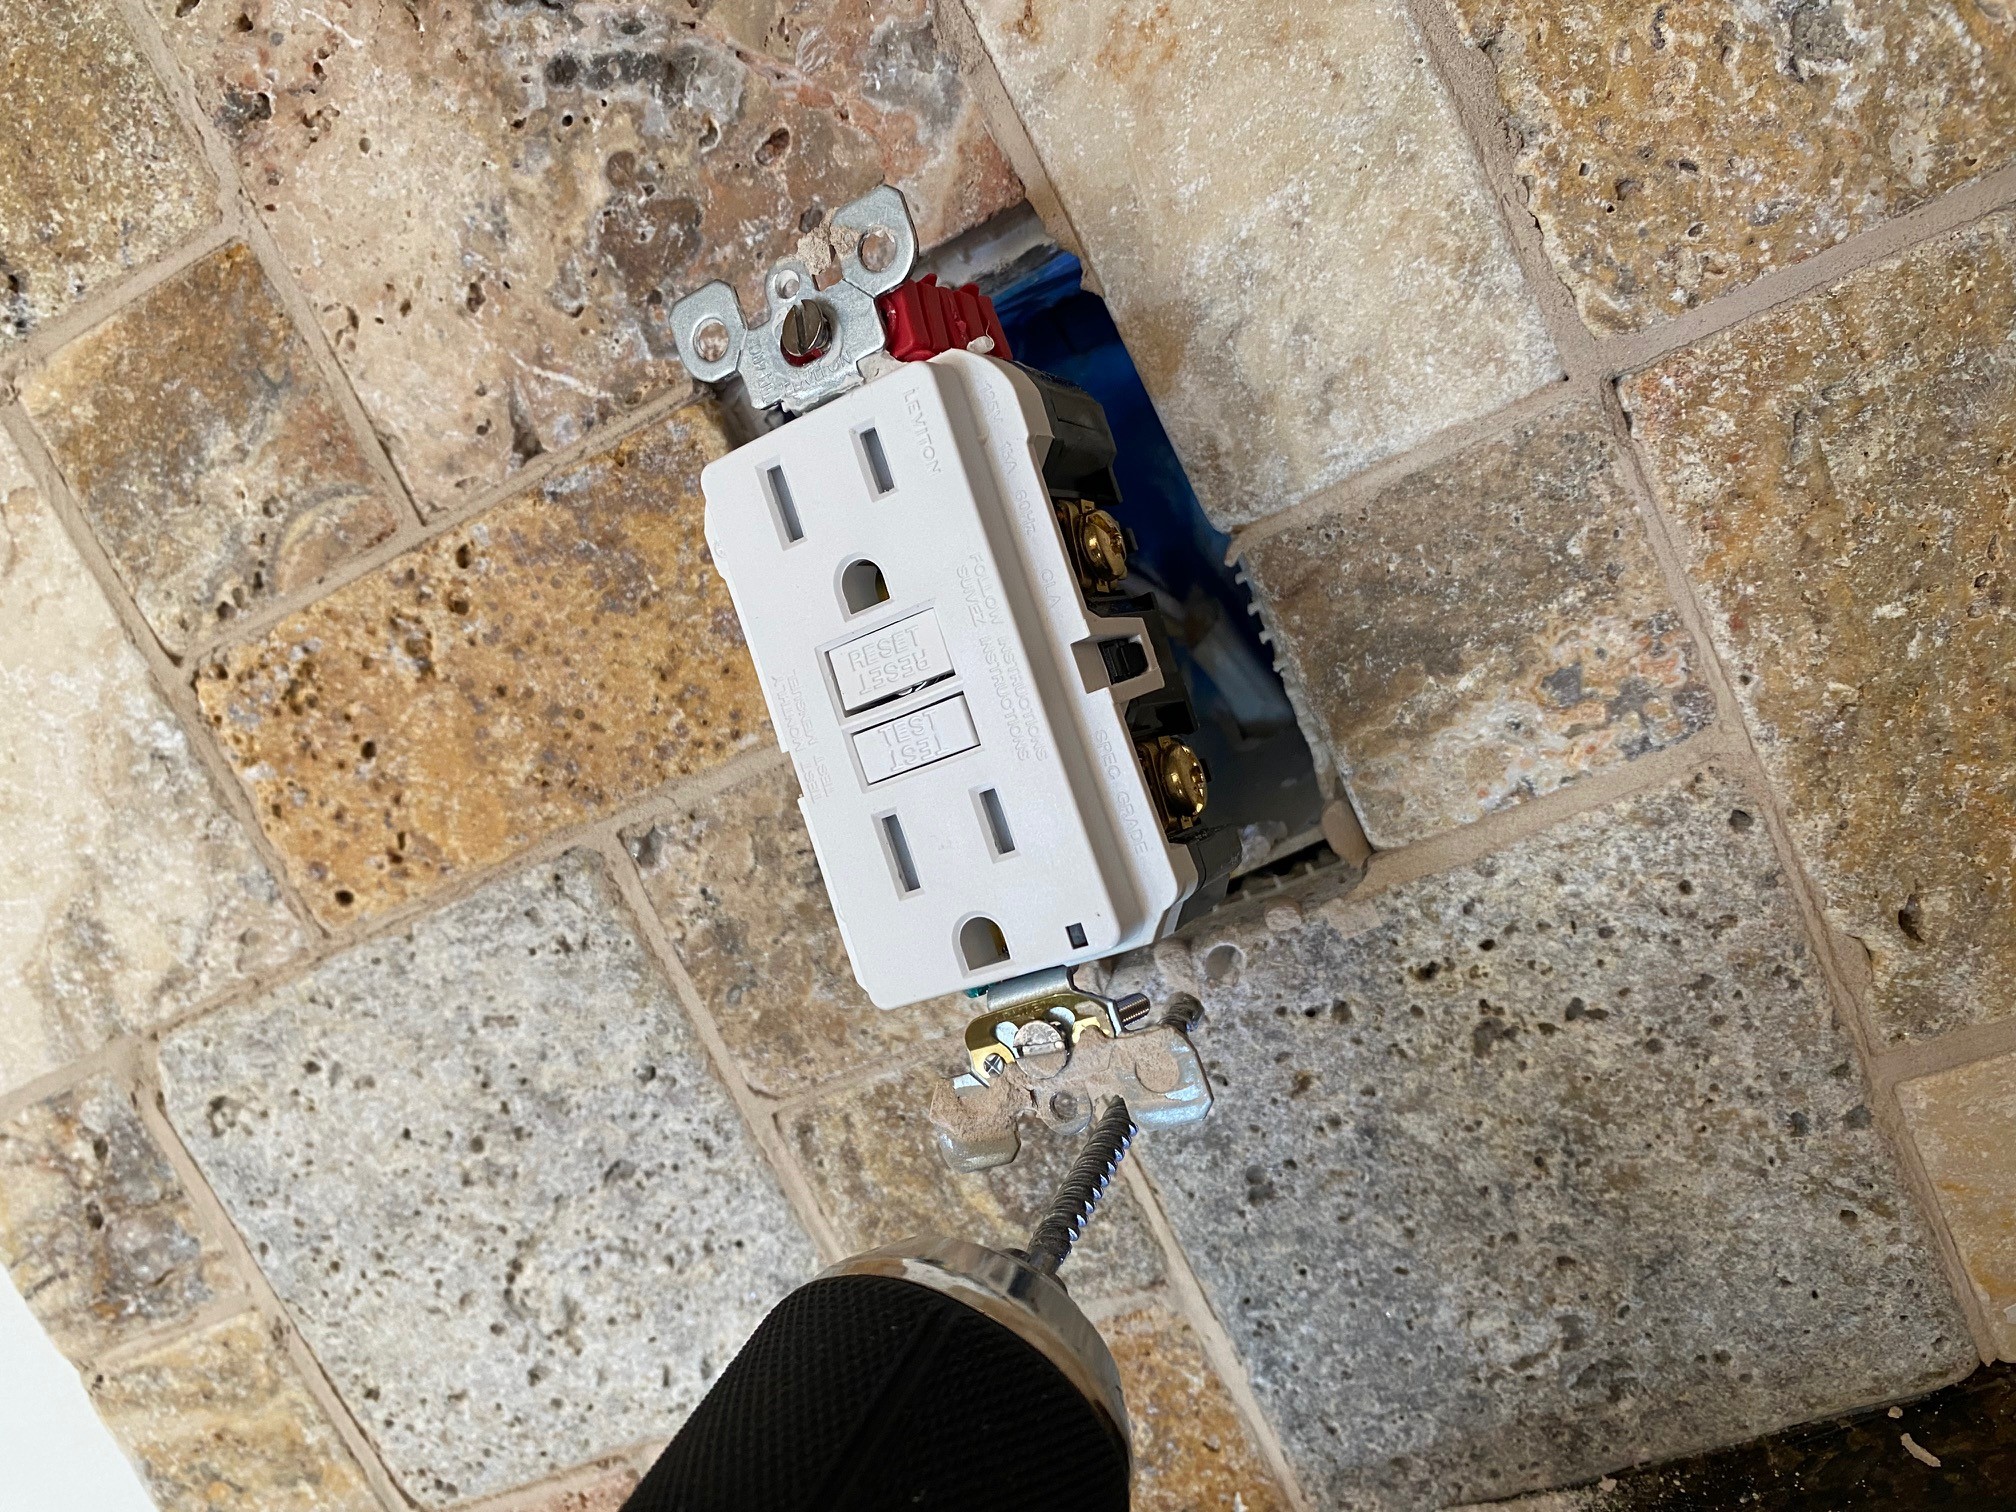
And remember those electrical outlet spacers I mentioned in the material list earlier? INCREDIBLY useful and dirt cheap – because the electrical outlets and switches are most likely going to have to come forward in many places to accommodate the new stone backsplash installation.
The outlet spacers are red in the photo that follows. You can see them clearly…
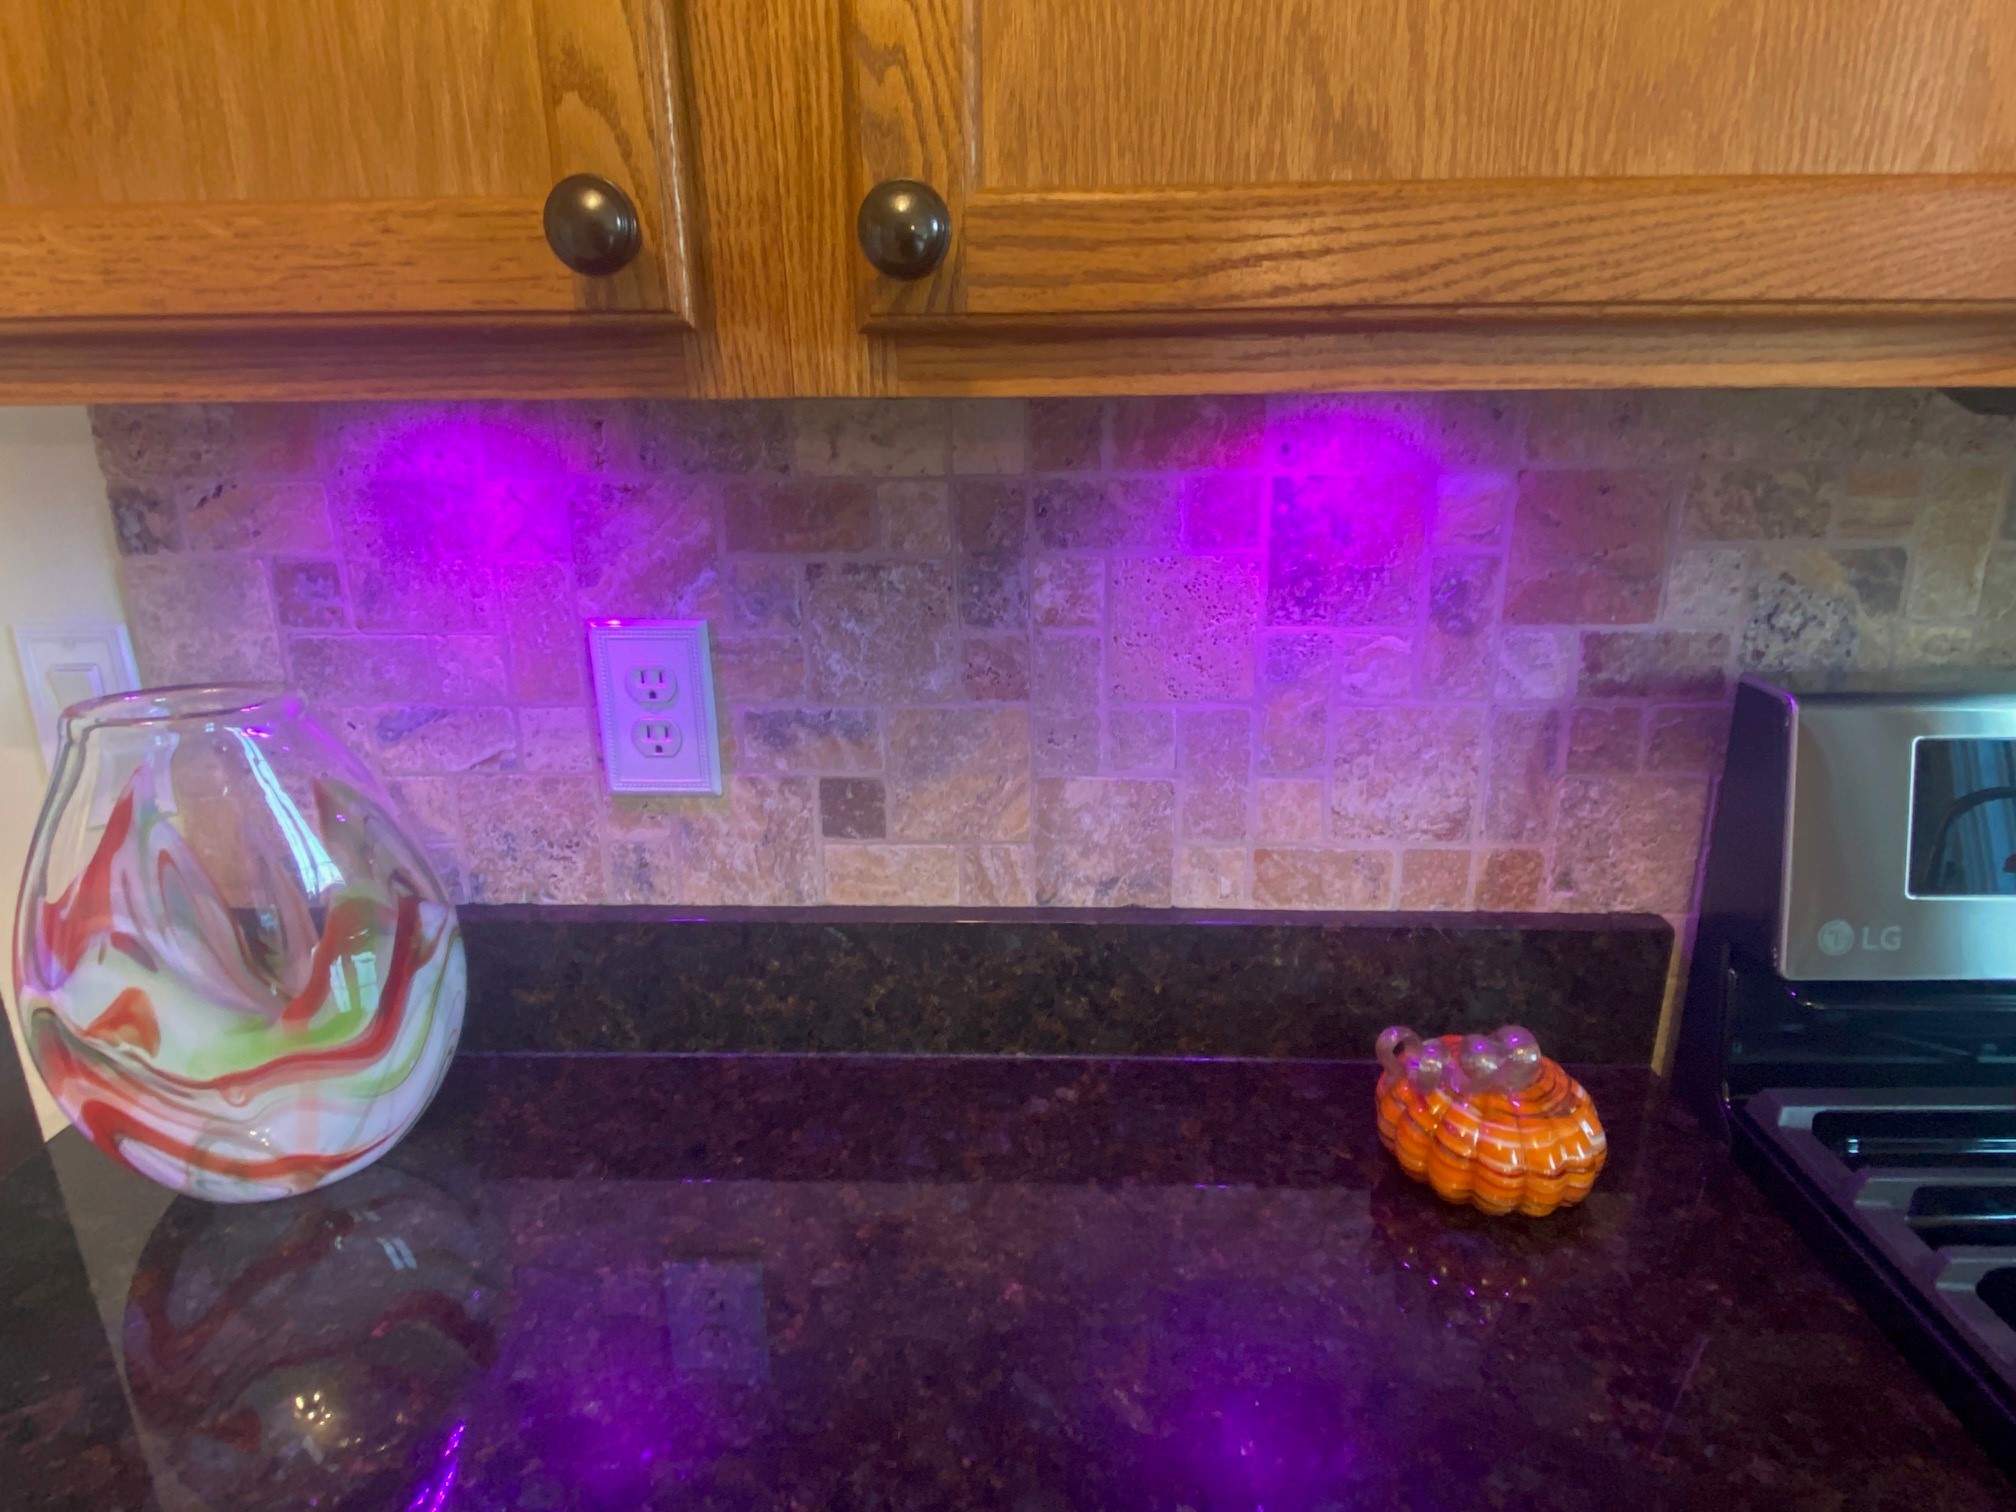
And the final nuance I’ll leave you with? Those LED down-lights I mentioned.
Because they were crazy cheap and simply COOL. We don’t turn them on too much, but it’s really just so funky (or classy depending on our choice of color) when we do….
Anything else anyone can add on these fronts? Further nuances or experiences to share??

Leave a Reply