2021 Update… My bedroom door had been getting more and more difficult to close. It reached the point where in order to get the thing to latch – I had to pull up on it by the door knob really hard every single time.
How hard? So hard that I became the only person in the house capable of doing it! And so I realized, maybe it was time to suck it up and actually fix it! General door sagging can occur naturally over time, especially for doors with only two standard builder’s grade hinges. If you’re in a house (like mine) where that bedroom door is also used to hold lots of laundry on hangars en route to their destination rooms – that’s all the more stress on the hinges and the door jamb.
And if your kids like to go for rides on the door, hanging on the knob and causing the door to swing?
Well, that’s not going to help matters any.
Door Hinges and Carpeting Clues
Quite often, if your door is sagging – it can be very easy to fix. In fact, if you’re lucky – it can take about 60-seconds. I knew I wasn’t going to be lucky; otherwise I would have dealt with this a long time ago. But if your door is on a carpet and you see a pattern where the door is dragging, it will very often look like the photo below with a very pronounced carpet indentation at the end of the door by the knob.
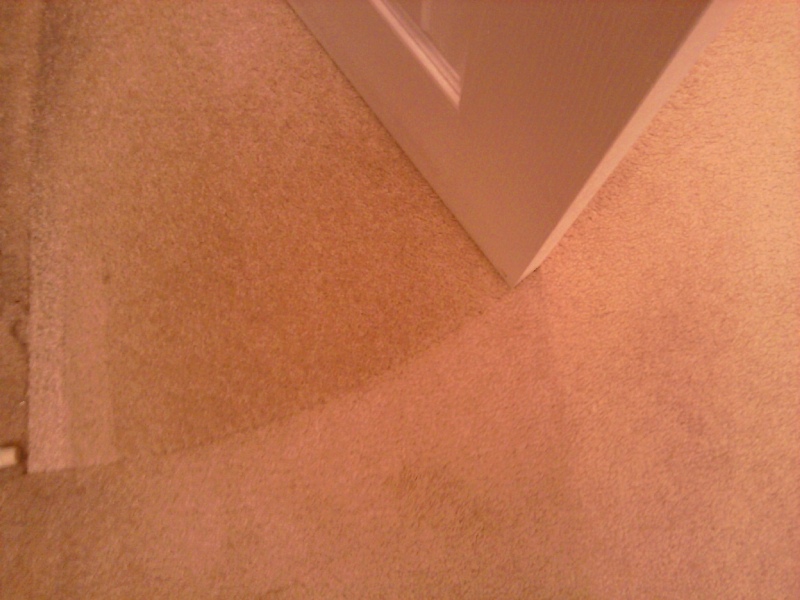
You need to focus on that top hinge first.
It needs to be rock-solid and tightly connected to the door and the door jamb. Check the screws, and if they’ve loosened in any way – your first (and possibly only) job is to get these all nice and tight again.
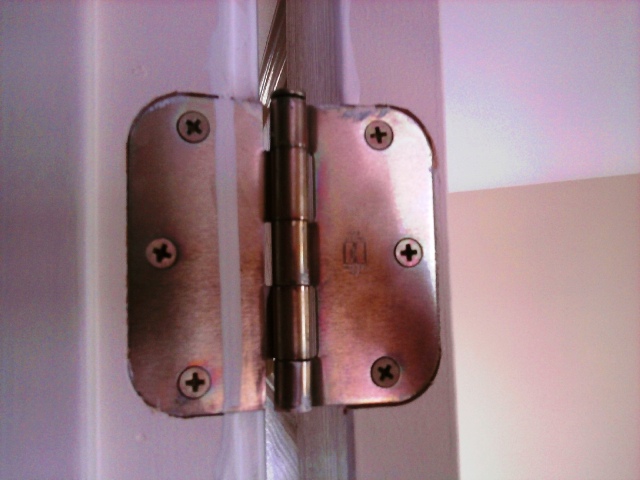
This could entail nothing other than getting your Phillips screw driver and making a few turns, or if the screws have stripped-out, you can often just plug the holes with small pieces of scrap wood, door hinge dowel inserts, or quality wood filler (which you should let dry before re-drilling thin pilot holes) to once-again get a nice bite.
Check on the bottom hinge as well, of course. It should be equally solid. But if your door is dragging due to a loose hinge, it’s the top one that will cause the door to pivot on the bottom hinge, and thus drag. Both hinges should be nice and secure.
But What If Door Hardware Isn’t The Problem?
So, welcome to my world now…
Both of my hinges were secure, but my door was still sagging and not latching correctly.
In order to get the bottom part of that door up a little, take a look at the top [and in my case as pictured below] left-side hinge. Look very closely and see how much space is between the door and the jamb. If you open the photo, you’ll see I have about a little bit of space there, which is good. There should be margins around the entire perimeter of the door, but in my case now – I’m going to use that small space to lift the bottom right hand-side of the door by counter-sinking this hinge. That should give more clearance, and it might do the trick nicely.
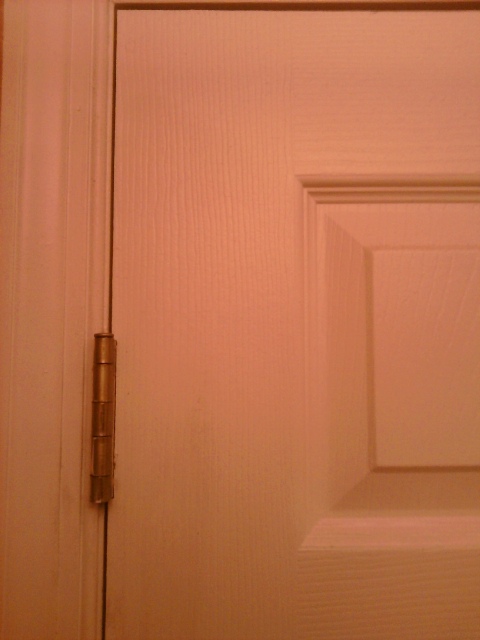
I remove the door first and put it aside – tapping out the pins as shown. (I usually do this with the door latched so that after both pins are out, the door remains mostly secure and I can then lift it out carefully.)
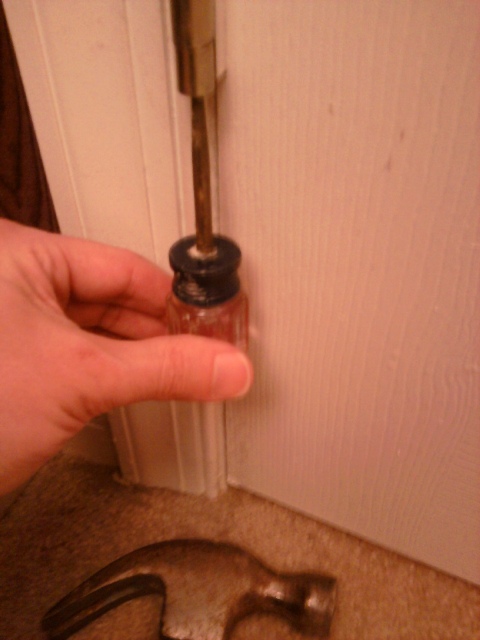
Then I remove that top hinge – and I’m left with the following…
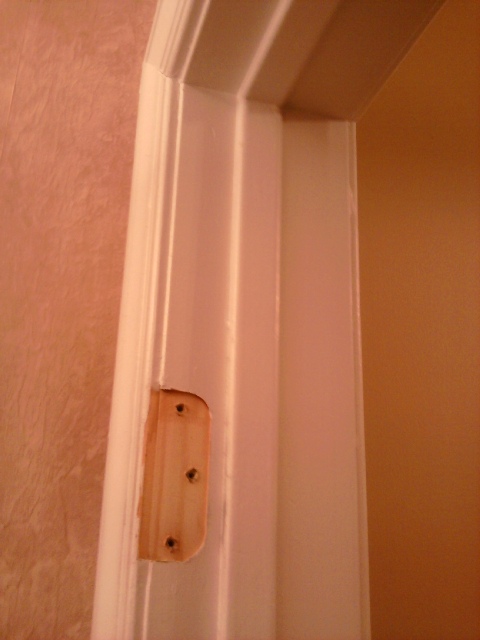
The job now is to deepen that hinge area “just enough” to take up most of that gap.
This will effectively raise the bottom right-hand side of the door when everything is reconnected as the hinge will be pulling further on the top left-hand-side. Here’s where you get to use that nice set of chisels you have – or here’s a reason to go buy a nice set. They’re great to have around for various jobs, and they can last for decades.
By the way – be sure to have a rag or paper towel on the carpeting for protection. The door hinge pins (and some of these other tools) could easily get dirt and/or oil on your carpeting otherwise. It’s also a good idea to bring a very bright light into the area if your room is dim.
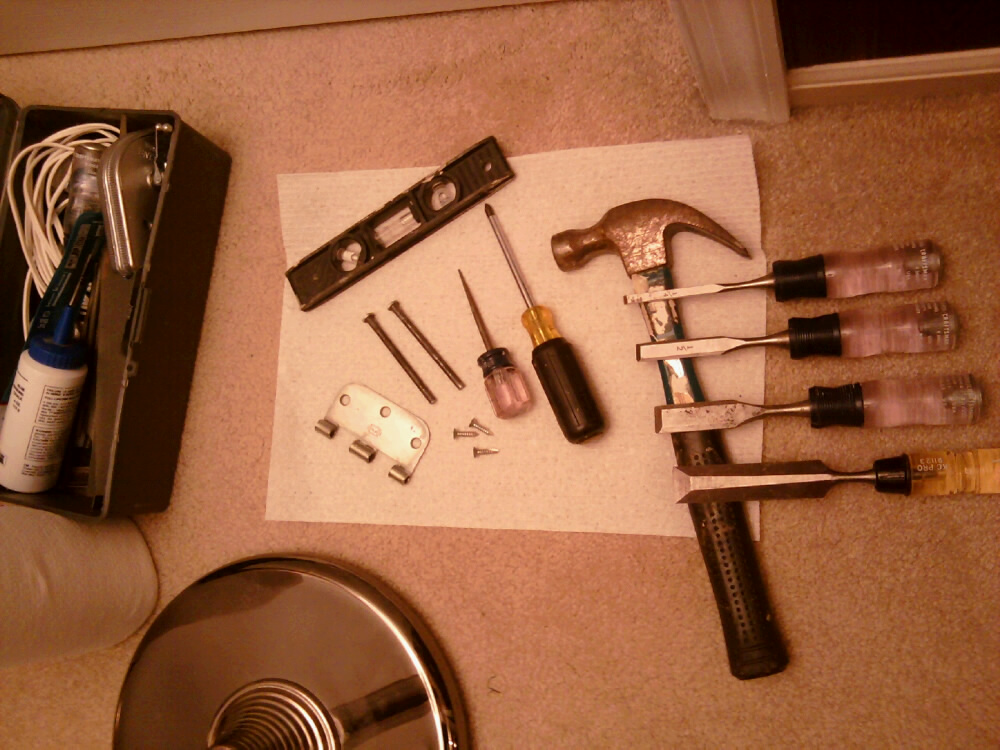
The chiseling is not terribly time-consuming (5-8 minutes, maybe), but you need to be careful. Chisel out only the area where the hinge will be seated, try not to go deeper than you need to and try your best to keep the entire surface level. (Small uneven bumps will push the entire hinge back away from the door jamb and undermine your efforts.)
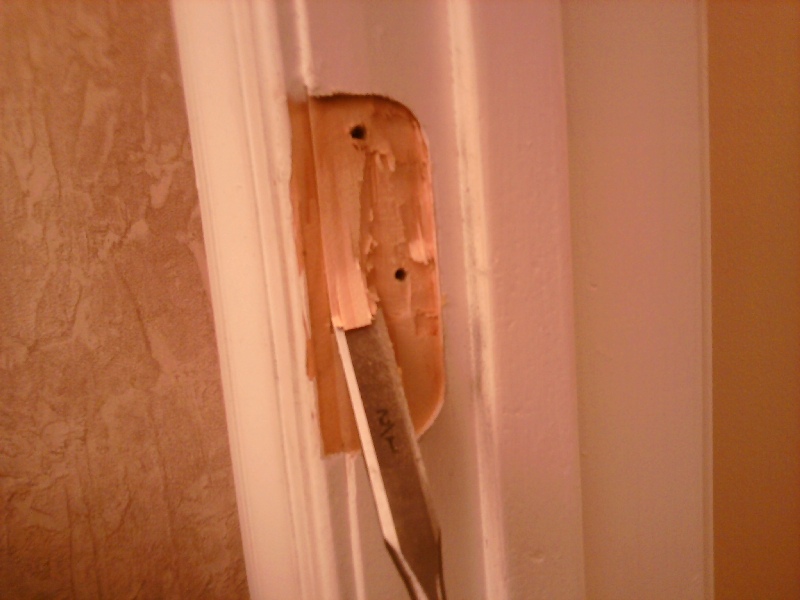
This will make a little bit of a mess when you’re done. I find it’s always a good idea to clean up as you’re going along on projects like this. If not, you’ll be tracking this stuff all-over your house and giving yourself a much bigger clean-up effort in the end. A shop vac works great for this, as does central vacuum if you have in your house.
(My central vacuum was installed by *mistake* when we built our house, and I’ve grown to love it. It has particularly great use as a remove-that-spider-from-the-corner tool! But for the particularly nasty jobs with sheet rock “crumbs,” small wood scraps, nails and surely anything wet – use a wet/dry shop vac.)
I reinstall the door now for fit, and I make two discoveries: 1) it latches wonderfully without lifting, and 2) it’s pushing back a little.
Why the Door Jamb Push Back?
I was successful in my door jamb top-hinge adjustment for the elevation – but I went just a little too deep with the chisel. If you take a close look at the top hinge now (with the door attached), you can see there’s no longer any space there. Furthermore, the door is actually “pinching” a little bit at the top – providing the slight push-back.
There’s no margin left at all…
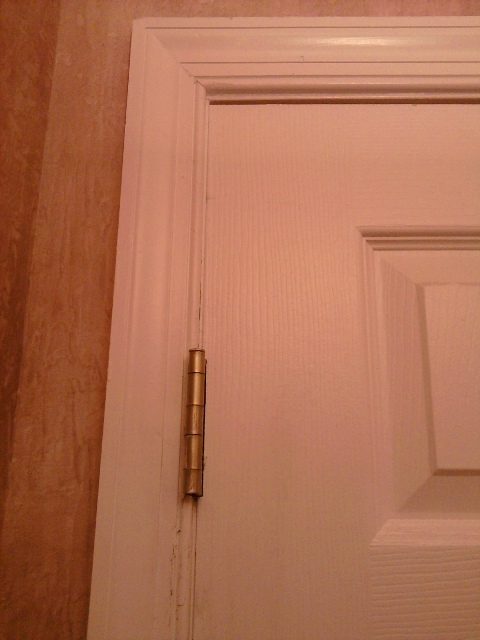
I could surely stop here as other people in my house can now close this door, but no – that just won’t do.
I need to now get a little of that margin back, but I don’t want to mess with the hinge in the door jamb any more as I have the elevation I want on the bottom right. So, I mark the door in the area that’s binding – I take it down once more, and I go get my belt sander. For this job, I’m going to use an 80-grit (medium) belt which will allow me to take off some material pretty easily without roughing things up too badly.
I set up the door outside, and gently and evenly remove just a little bit of mass – trying to minimize how much the belt sander touches the area where the hinge attaches to the door.
(If you sand down where the hinge attaches as well – you won’t lose the pinching.)
Once completed, I naturally need to repaint my door – and I reinstall.
This whole project could take about 2 hours if you have everything up-front, and if you run into the various complexities I’ve outlined above. But, in many cases, if your door is dragging from sagging – you’re going to [hopefully] be able to get away with tightening up the screws, primarily, in that top hinge and not having to mess with too much of anything else.
You can easily get help with work like this as well if you don’t have everything, or if it’s just not a way you want to spend a Saturday morning. Check out Finding the Best Local Contractors for tips on finding and working with the best contractors in your home town.
And remember – try to keep those kids from hanging and on your doors!
Actually, I’ve seen kids do this with the kitchen cabinet doors sometimes as well. The cabinet hanging (or hovering/pushing down on the lower doors) *really* stresses me. But, as of yet, I haven’t had a cabinet door damaged or broken off. “Knock on wood,” I guess… right??

Hey, that will come in handy to shave a little off of the other side of my door that sticks in the summer.
Hey Mark,
The part I really like about this article is where you bring up a pitfall AND a way out of it. We should all be so lucky as to never have to redo our work for some reason.
I think I’ve just realized that part of my early training related to home ownership was made easy by owning an old house. When I bought the house, the previous owners left a dictionary downstairs on the work bench with the words “level” and “plumb” Exacto-ed out. It’s something I never had to worry about. (The other way of looking at this is that I can only do meatball carpentry where even a job executed in the worst way is an improvement. Perfection is overrated).
Reading these articles, for me, is both informative AND enjoyable. I’ll be looking for the youtube version. (8-)