2021 Update – Originally Published April, 2014
My dining room is about to undergo a massive renovation, but before I get started with my grand plans – I have to make a drywall repair to the ceiling. Damaged sheet rock is going to have to be patched, primed and repainted.
The sole source of damage to my ceiling was me; I was a little too rough when installing a new shower upstairs. I actually cracked the gypsum board from above when I pushed down on the shower drain trap. It’s a classic example of fixing one problem and causing another!
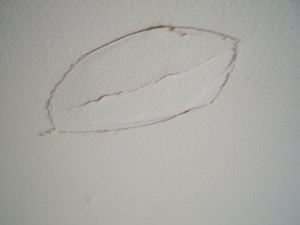
You can see a shot of the damage just below. I “scribed” the area surrounding the crack with my razor knife as I’m going to remove the outer paper as I get started with the drywall repair.
For now, though, it also serves to make the affected area very easy to see in the photo…
Drywall Repair Materials
Drywall (also known as gypsum board, wallboard or plasterboard) is, in essence, a panel made from gypsum plaster sandwiched between two sheets of paper. It’s also somewhat common to hear people refer to this as “sheet rock” (as I did above), though this isn’t really technically correct. “Sheet rock” is a brand of gypsum board, much like “Coke” is a brand of Cola. Still, though, it’s common to hear.
For very localized/small drywall repairs, there are convenient drywall repair patches you can buy; these are well-worth the cost, in my opinion. In total, there were just a few key drywall repair items that are needed for this job; these are illustrated, described and Amazon-linked throughout this section.
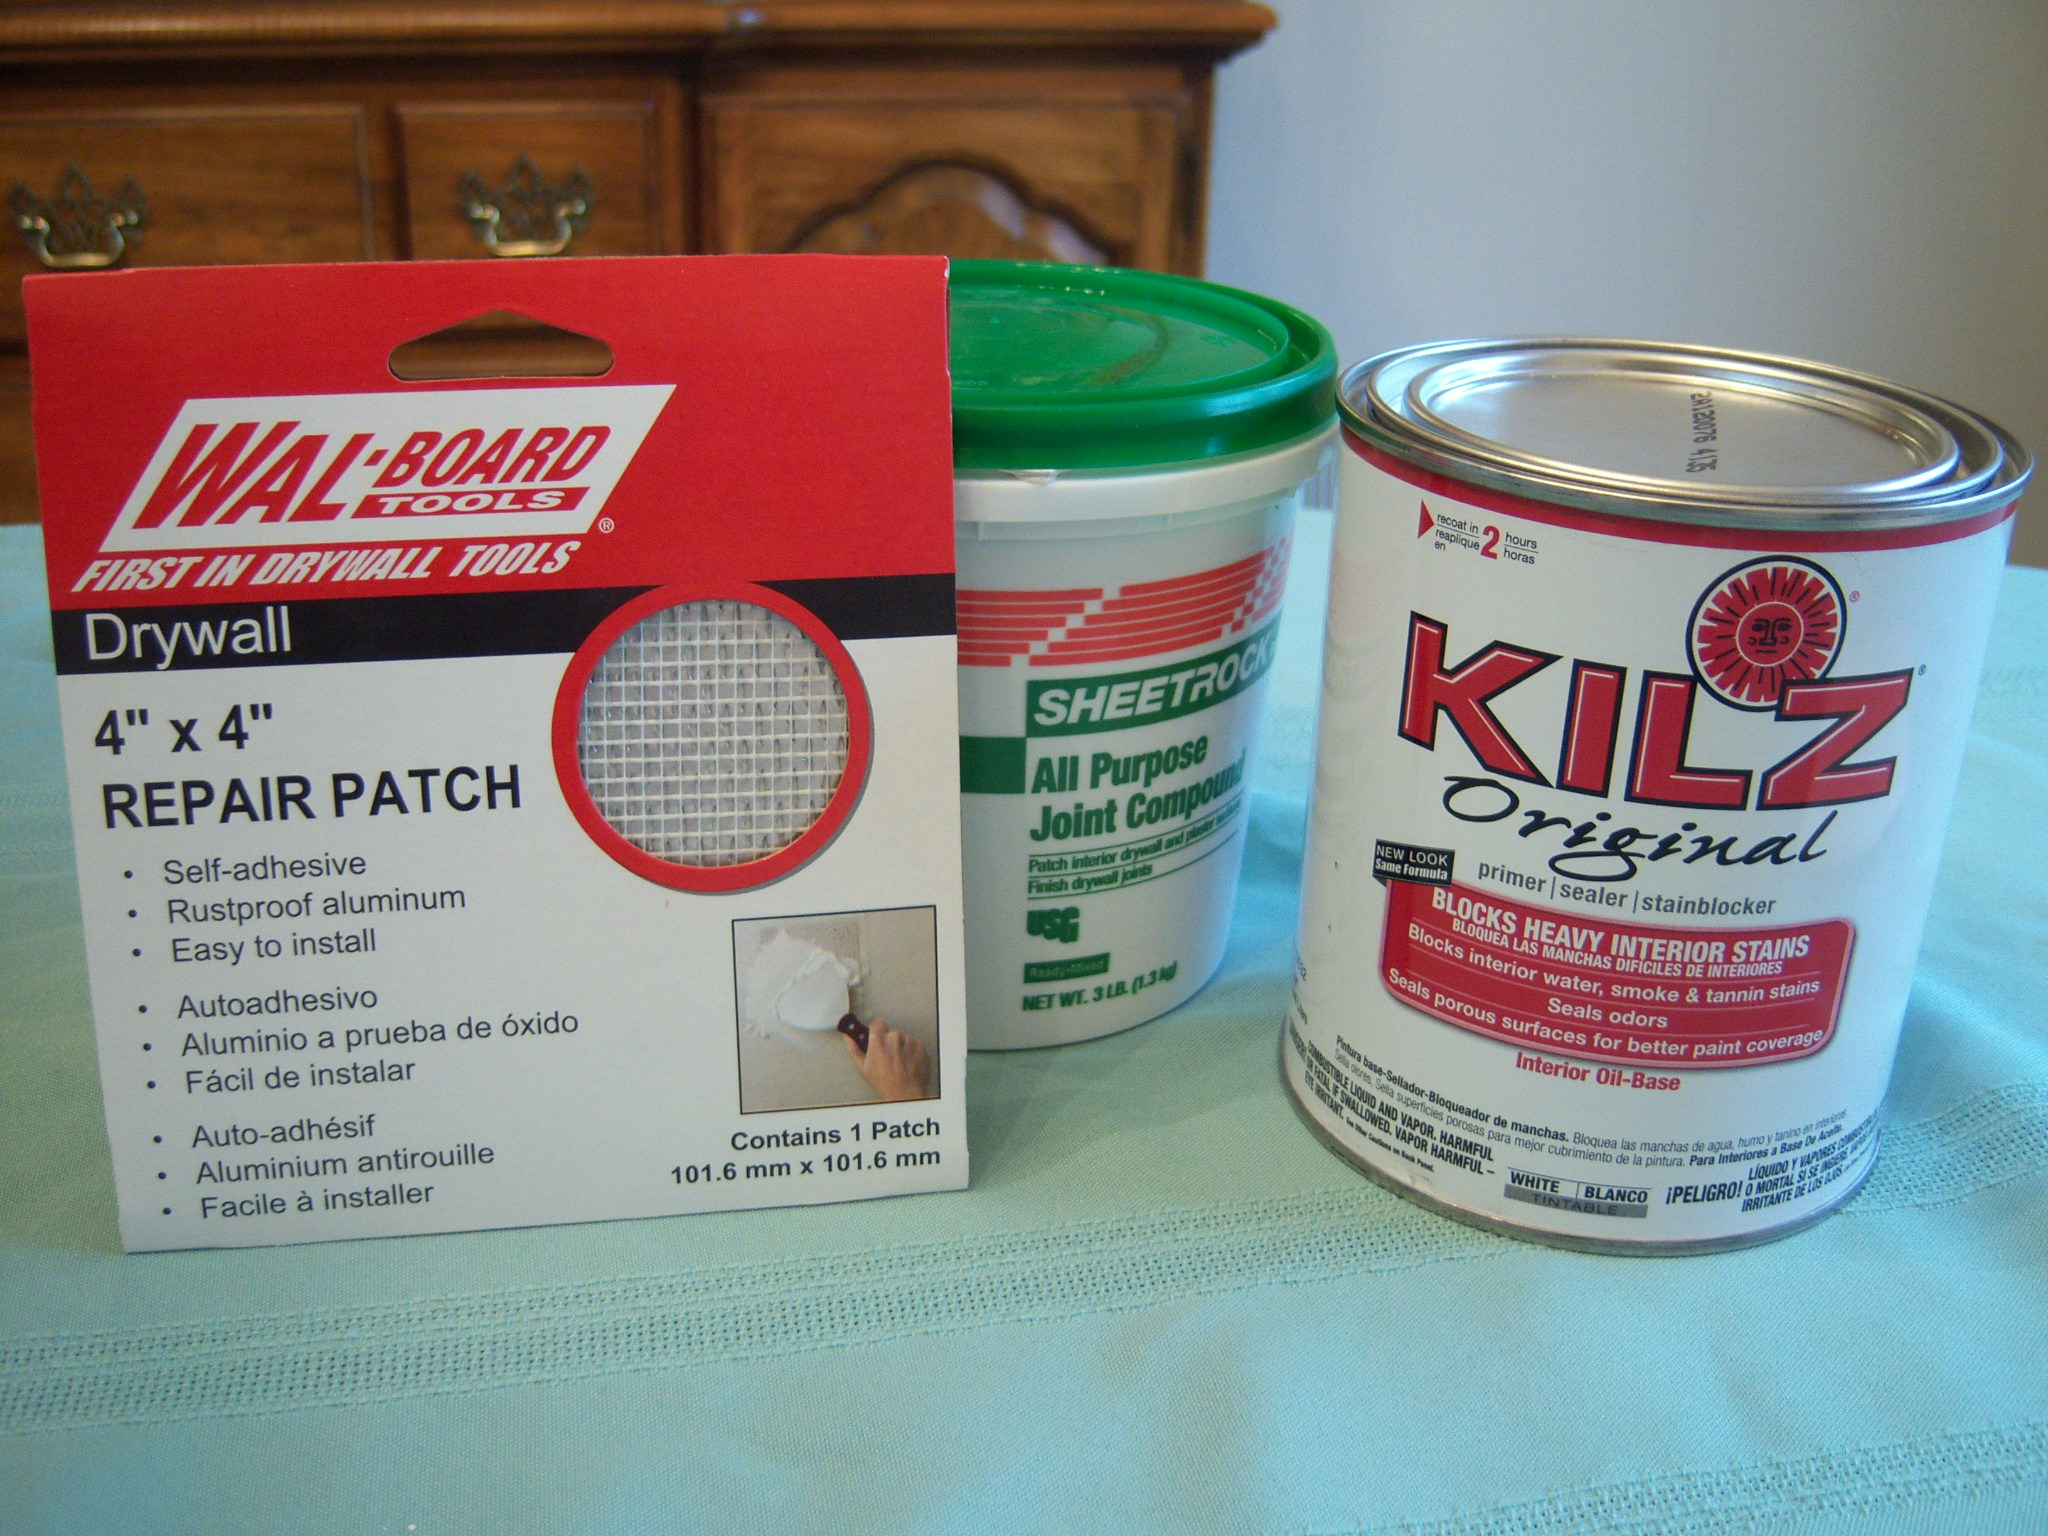
Item 1: A Drywall Repair Patch
A 4-inch by 4-inch drywall repair patch was perfect for my damaged area, and I really liked the aluminum construction from this manufacturer as this patch would be supporting the weight of some gypsum plaster horizontally on the ceiling. If the patch was to be used on a wall, there would be less need for strength. I’ve used softer (non-metallic) patches on vertical walls in the past as well.
Item 2: Fresh Joint Compound
Once the drywall repair patch is in place, we’re going to need to apply a few coats of joint compound to blend this into the ceiling. If you have some joint compound at home that’s been in your basement for 2 years, toss that. (Sometimes I’ve even seen old joint compound get moldy.) Buy some fresh joint compound; it’s very cheap and you want it to be fresh.
Item 3: Oil-Based Primer
In addition to my cracked drywall area, I also had another nearby part of the ceiling that got stained from a small water leak. (This is how we discovered the shower problem earlier, in fact. That wasn’t a good day – but that’s another story entirely.) With stains like this, you need to seal that in such a way that prevents the stain from bleeding back through after repainting: I find it’s always best to go with a high-quality oil-based primer.
Preparing the Damaged Gypsum Board
Okay, let’s now prepare the damaged area. The first thing I did was remove the outer sheet of paper from the drywall previously scribed it carefully with my razor knife. I have to make sure this is not “bowed out” in any way before I apply the patch. In fact, I’d like it to be slightly concave or “bowed in” so I give it a few careful shots with the back of my razor knife as well…
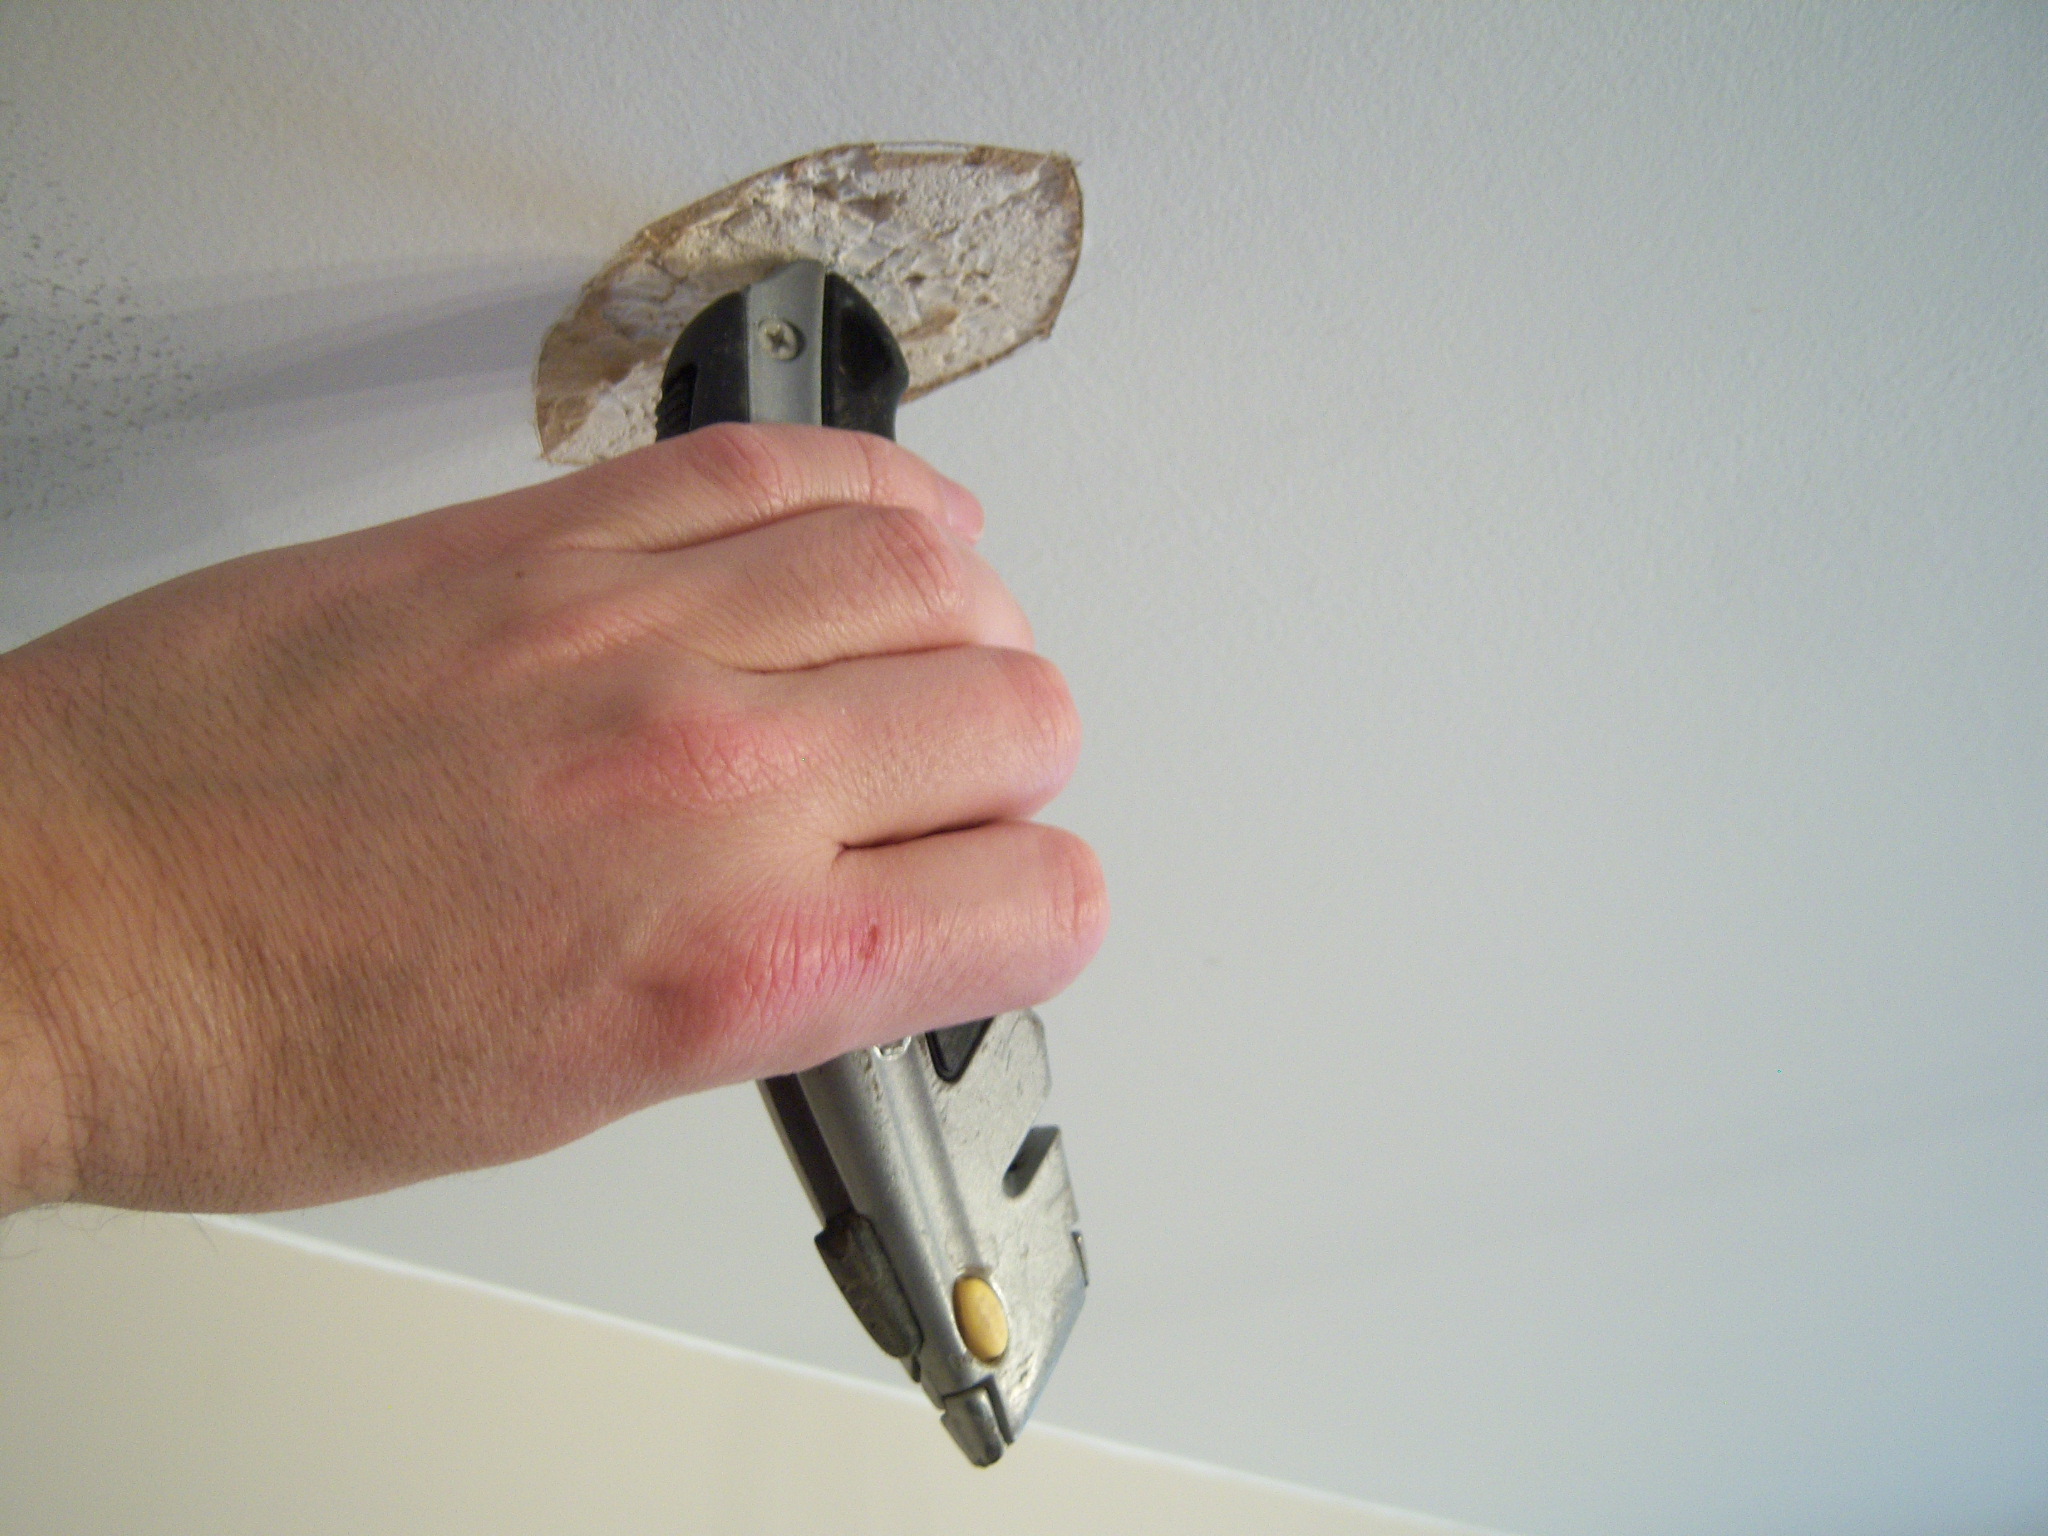
Once I’m happy with this (striving not to cause too much plaster crumpling), I sand out the edges as smoothly as I can.
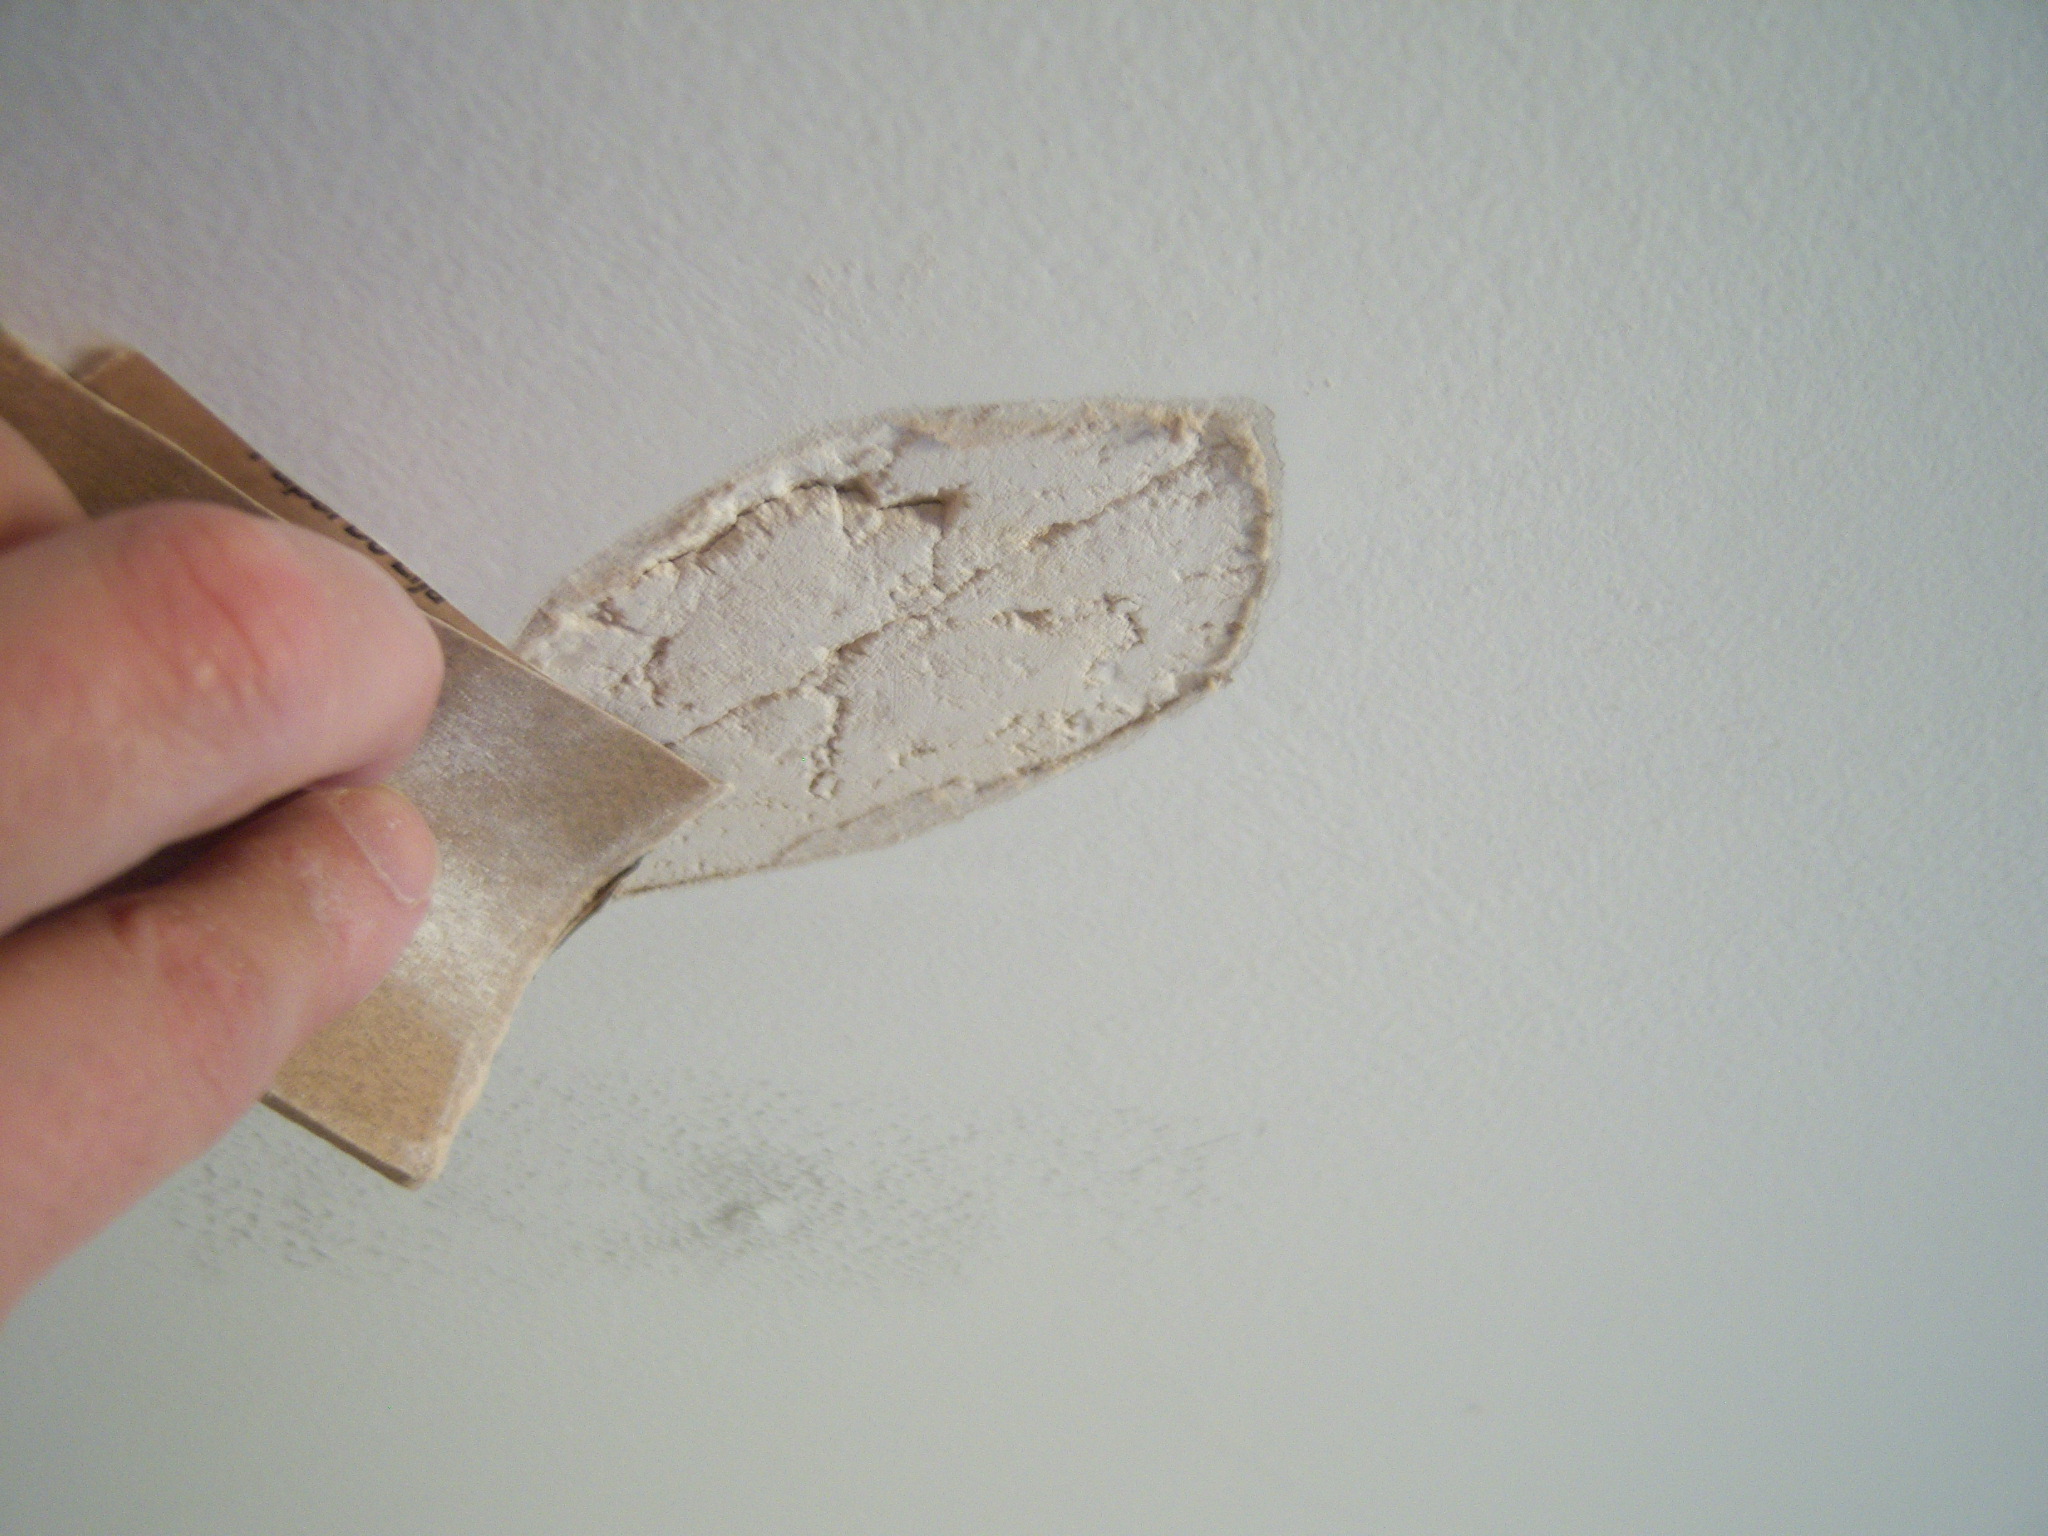
Then, I give the entire drywall repair area a little dusting with a clean, dry cloth.
Bringing us to: “How to Fix a Hole in the Wall”
Everything shown here can be equally applied to wall damage as well, of course.
In fact, it’s much more common to have localized damage (usually holes) on walls than ceilings.
Since I now have everything fully prepared, I take my patch and position it carefully over the drywall area as shown. There’s adhesive on the back of the patch, so it will stay nicely in place as you prepare to begin the joint compound work that will follow.
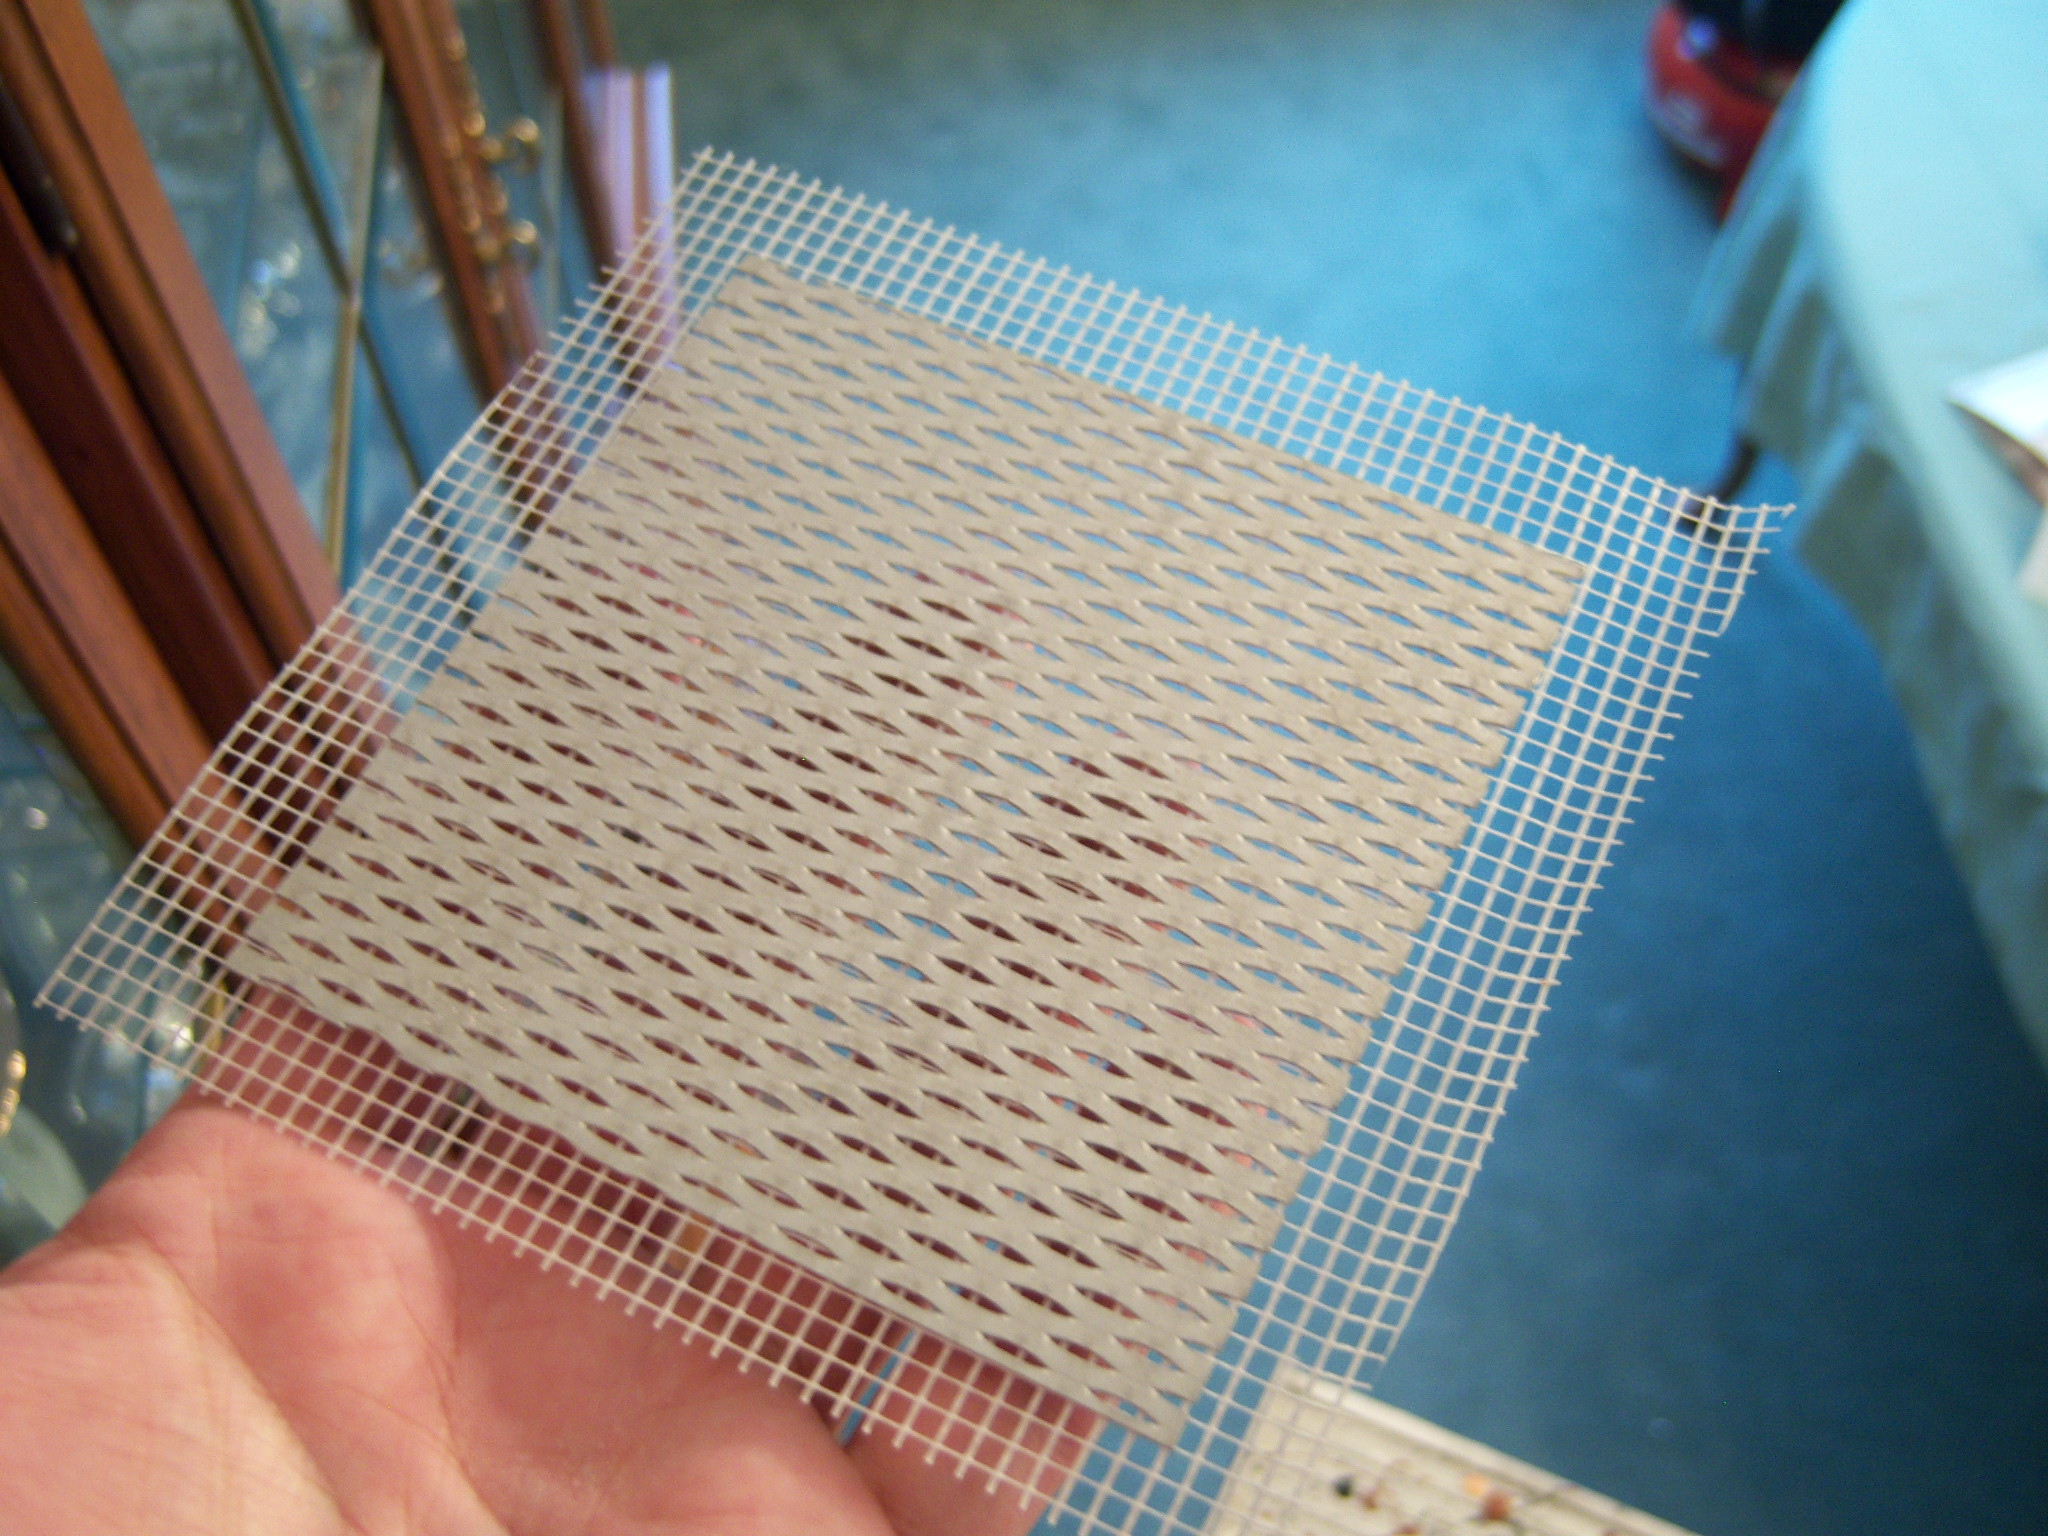
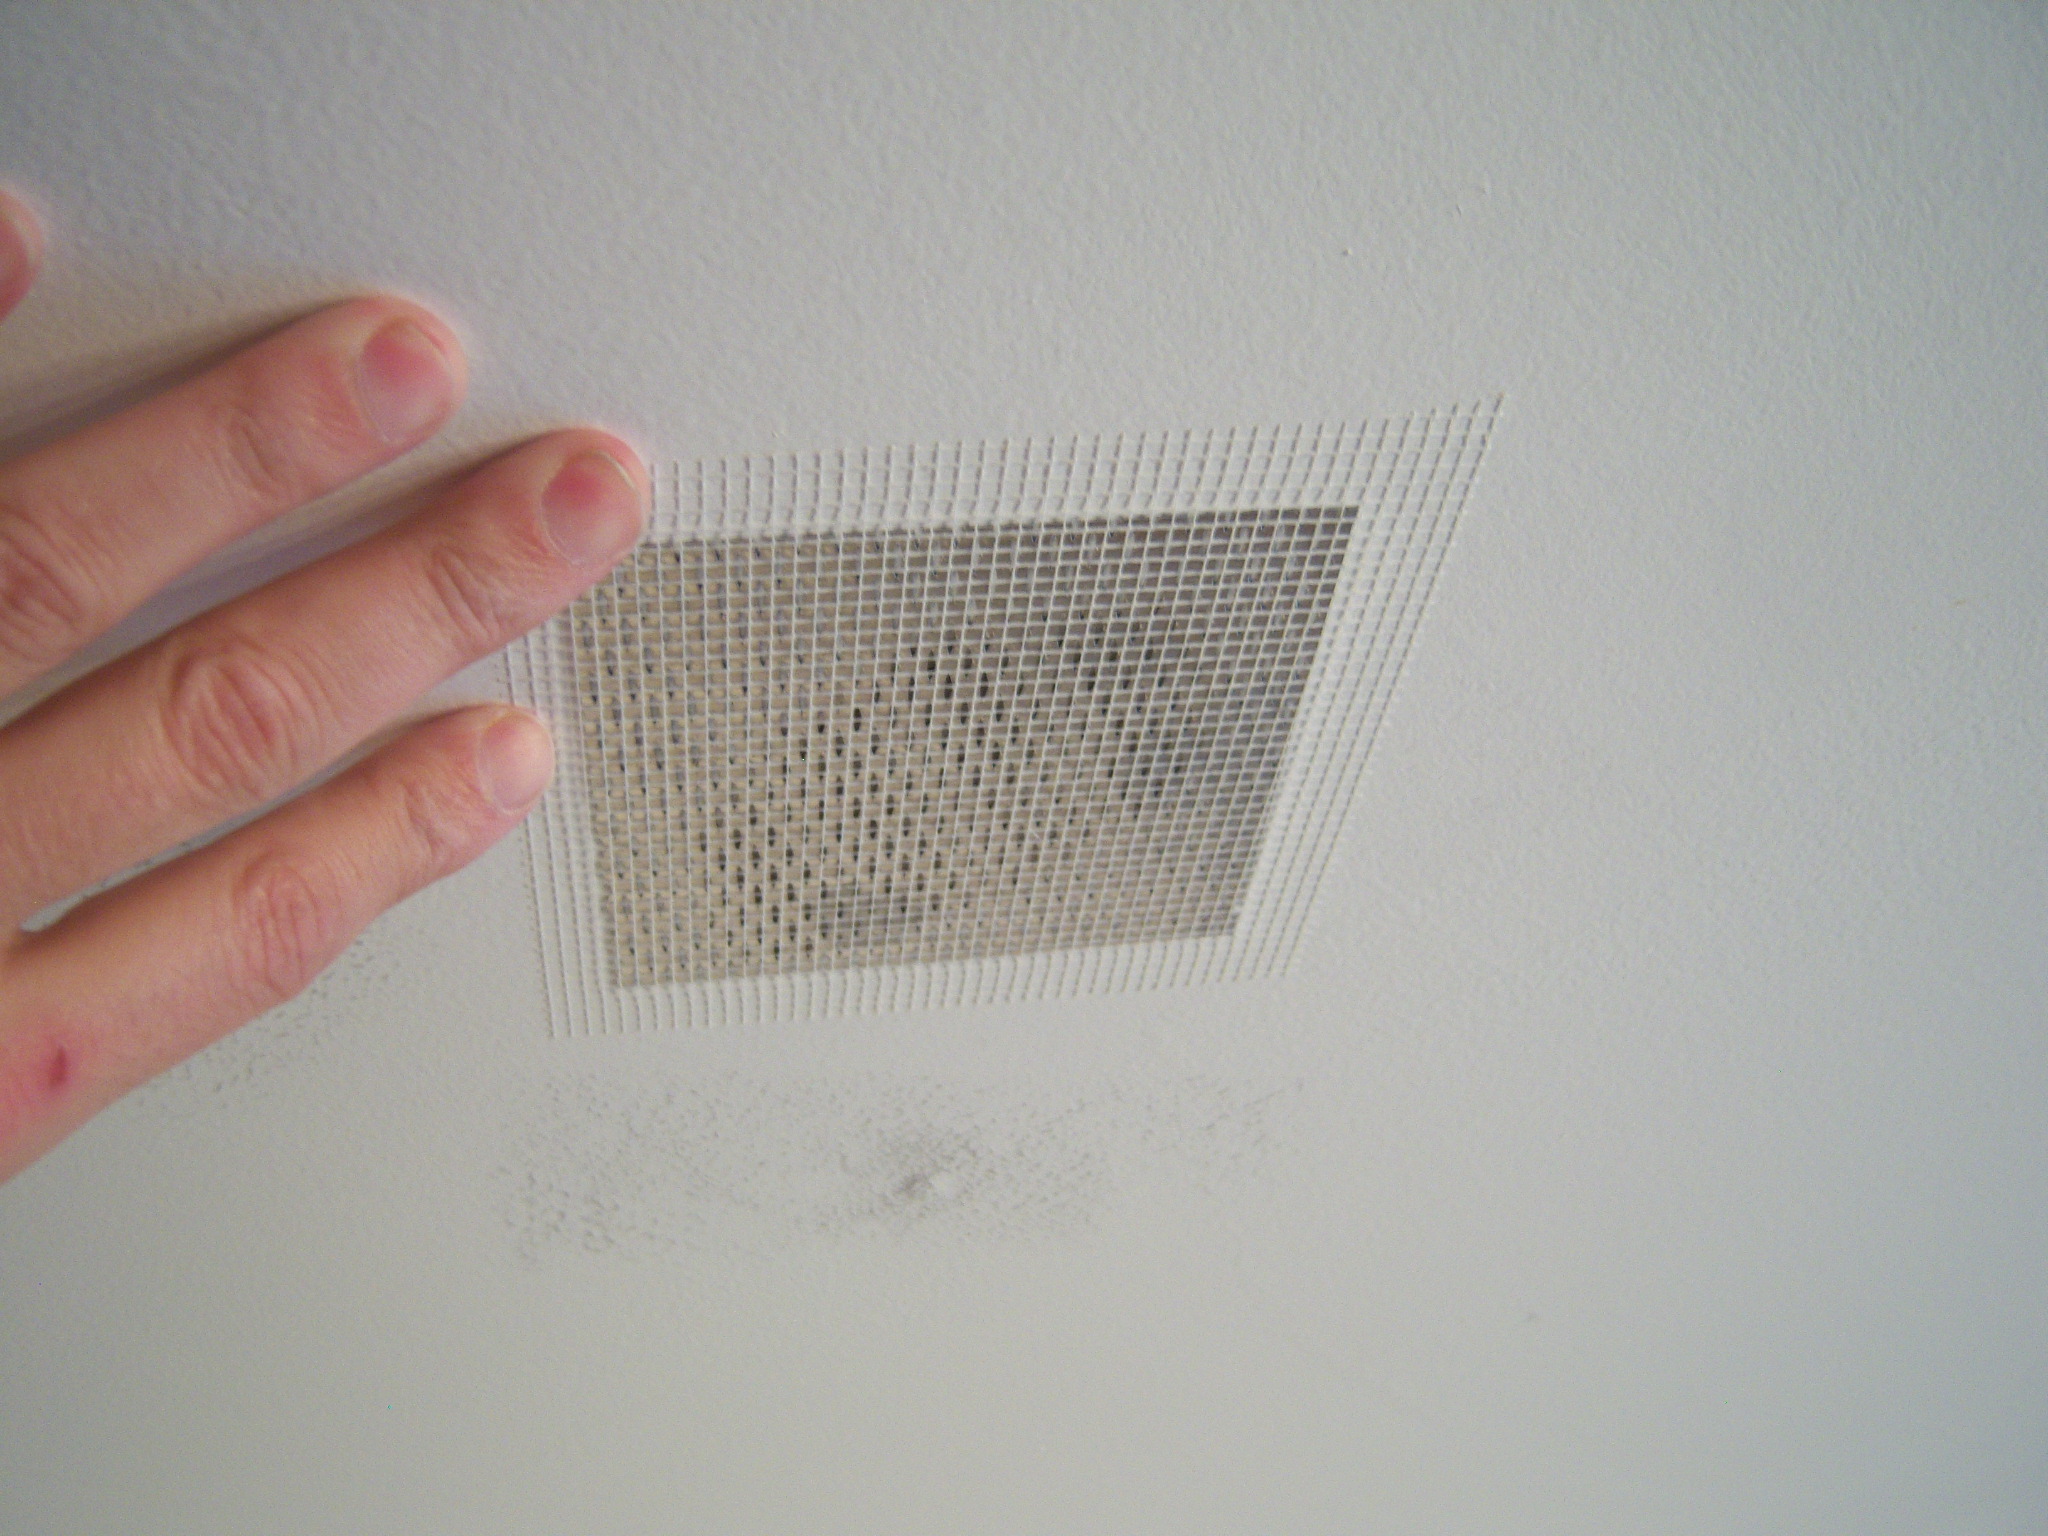
Application of joint compound (sometimes called “spackle”) is frankly an art form. I’m not an artist here, and I have great respect for people who can do this “effortlessly.”
Some key things to know:
1) You should have a couple of clean drywall taping knives. I usually apply my joint compound with a 2 or 3-inch knife, then spread it carefully with a 6-inch or larger knife. Keep your knives meticulously clean and have a rag or roll of paper towels nearby as you work.
2) You’re not going to do this once; you’re going to apply several coats of joint compound. Don’t try to get complete perfection with your first coat (you won’t) – just essential smooth coverage. Then you let it dry for several hours (or a day).
3) Once dry, sand it smooth with a fine grit sandpaper. Then apply another coat the same way – and repeat this process as necessary, striving for more and more perfection. I usually end up doing 2-3 coats with hours or days in between days. Don’t rush this – you’ll be done when you’re done.
4) When I have the last coat applied and it looks nearly perfect, I sometimes use a damp sponge to get the edges even smoother. Naturally, if you sand (or use the sponge) just a little too much, you’ll need to apply another coat. So, be careful and stay patient.
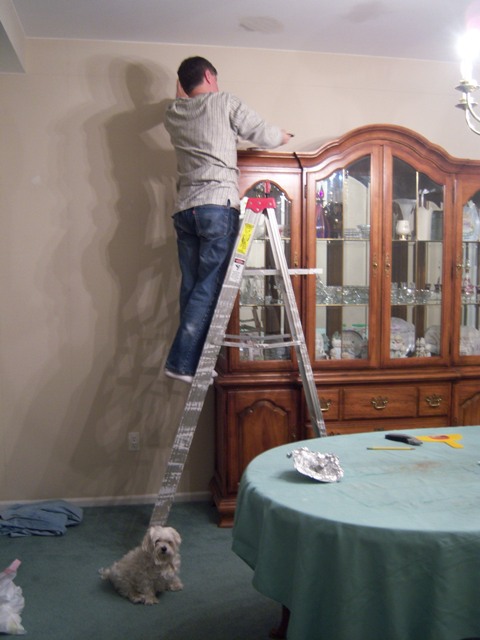
In the above photo, you can see my dog. My wife loves to photograph the dog. The back of my head and the drywall repair spackling are mostly incidental! :-)
I took the following shot as well right after application of the second coat…
Once you’re happy with your joint compound – it really looks like it blends nicely into your ceiling and there are no signs of the drywall repair patch underneath, you’re ready to repaint. For me, I chose to prime first as I had the other water stain as well.
The priming might be overkill for many sheet rock patches, especially if you have the original paint. But since I’m planning on renovating the entire dining room – this made perfect sense for me.
Once the primer fully dries, the ceiling is painted.
You can see in the shot below that the paint over “primed” areas doesn’t necessarily dry as quickly as the paint of the rest of the ceiling.
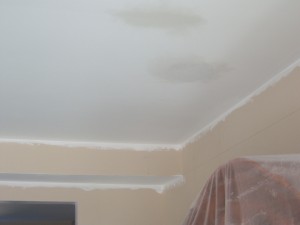
When the ceiling paint is completely dry, though, you can see the final ceiling below:
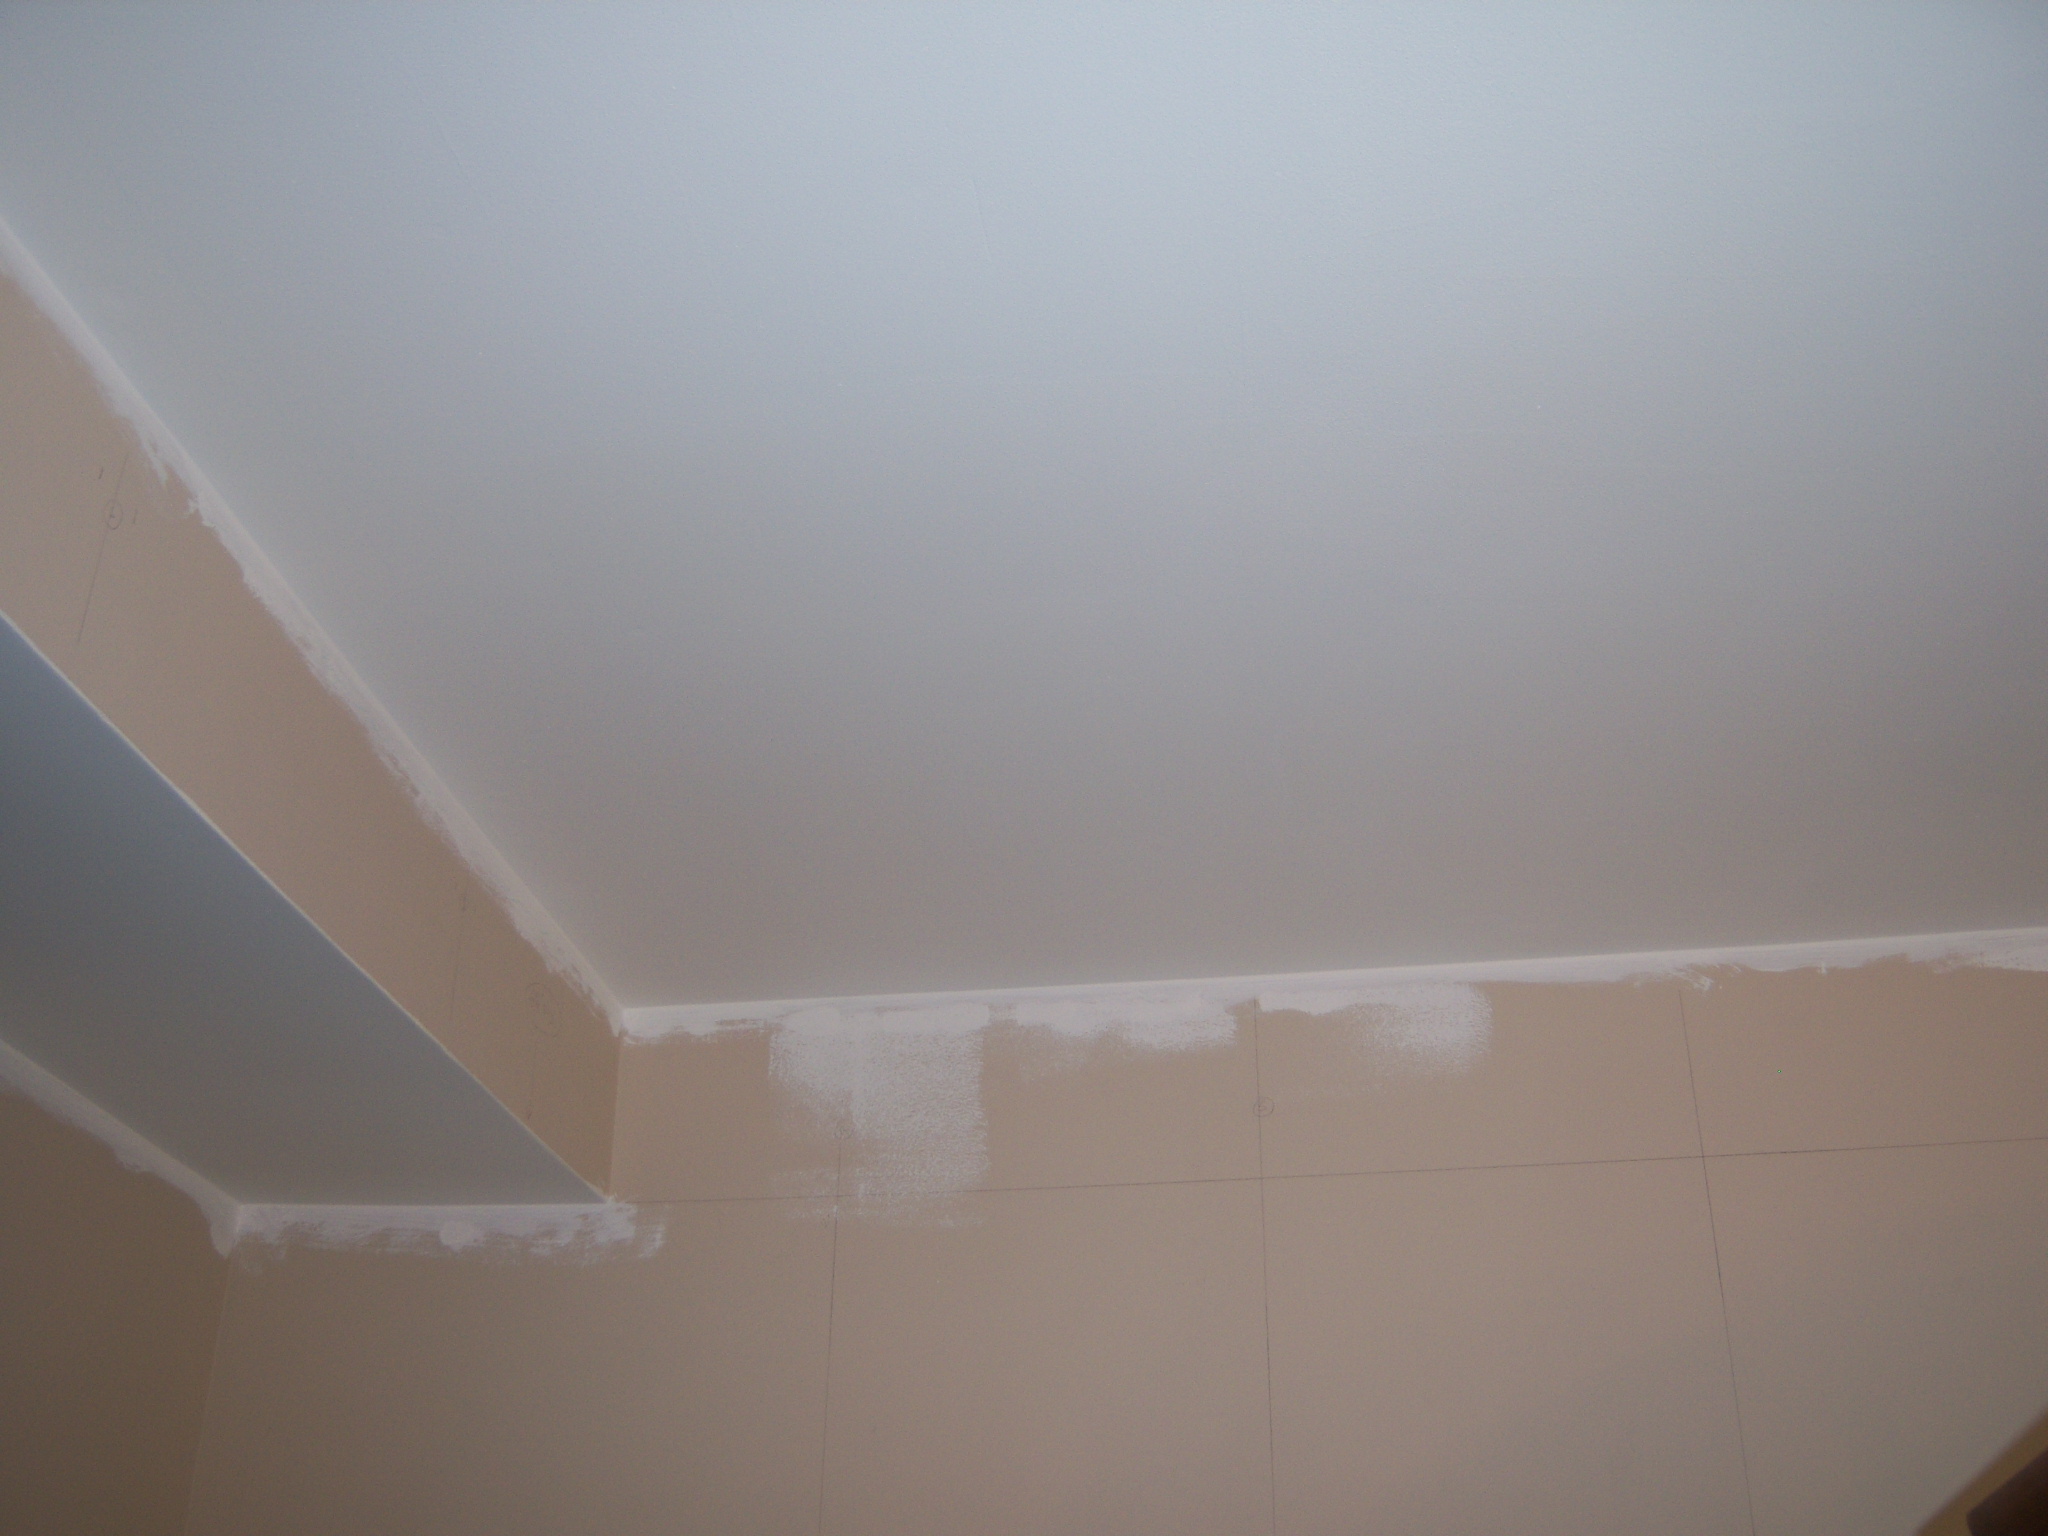
I’m pretty happy with this drywall repair overall.
And I’m ready to move onto the core of the dining room now: fluted casings, crown moldings, chair rail, wall frames (aka; “shadow boxes“) and maybe even a faux finish if I can figure out how to do that. I’m not 100% sure yet.
But that hole and stain on the ceiling? Those surely had to go first, of course.

2021 Update – A few more photos below, and I want to show how to repair a hole that’s too big for one of these drywall patch kits as well…
First off – here’s another of the drywall patches I showed above: this time for a wall repair. (Or rather, to bury an electrical junction box I won’t be needing any more.) Neat and clean… I love these drywall patches:
But what about a bigger hole?
Well, the final sequence of 4 photos below show how I [last week] patched a much larger hole in my ceiling for another renovation I have going right now. In this case, note how I add scrap wood behind the neatly opened hole in the ceiling.
Once I have that in place, I add a mating piece of drywall and some mesh tape. And then? Well – then it’s that joint compound ‘artwork’ once more. Slow and steady – and at least two (probably three) iterations of sanding and smoothing to get things just right!
Thanks, really informative post. You explained everything step by step for a Gypsum Ceiling. I really like your post.