2025 Update… Sometimes, you just need something new – and for me, it was my bedroom ceiling fan. A 52-inch, LED light replacement for the Hunter ceiling fan I had installed when we first moved in almost 20 years ago. That’s a pretty impressive lifespan, and while I probably could have fixed the Hunter – as they’re known to be of exceptional quality and carry a great warranty, well, sometimes you just need something new.
Okay – so let me start with a “Stupid Mark Story.” My wife and I left the house for a nice day out at an awesome Sculpture Garden in Trenton, NJ. Super-hot July day. I didn’t bring my house keys as she was driving. We had a great day – but when we got home, we found the garage door opener wouldn’t work. The power to the entire house was out… and yes, without my keys (as I wanted to travel ‘light’), and with her keyless car, we were locked out. Stupid – but kinda funny too, right? We were so hot, though. We jumped in the backyard pool with our clothes on and reported the outage to the electric company. About an hour later, the pool filter started – we had electricity. But since the AC had been off inside for several hours, the house was hot. With some exasperation, I plopped on the bed and turned on the ceiling fan.
It didn’t work. It remained, ever so peacefully, at a dead rest.
I pushed the button a few times. I pulled the pull chain a bunch of times. I checked the circuit breaker downstairs. And then…
I cursed loudly and repeatedly like a crazy person! It was NOT pretty… ;)
A Video: How to Replace A Ceiling Fan
So, here we are now, with a tale of a July ceiling fan replacement. It’s a fine tale – and if you’re looking to replace your ceiling fan, I hope find it helpful. But you now know the full back-story, which, as you’ll see – I leave out of the video. And so, you know that this wasn’t exactly on the ‘list of things I wanted to do’ this July 4th holiday weekend.
I’ve probably installed about a dozen ceiling fans over the years – and I almost always use Hunter or Hampton Bay. I love on-line reviews from Amazon and the fast delivery. But this time, I actually drove to a Home Depot with my wife, and the fan we chose was one of theirs. It was the one that matched, most closely, what we wanted – right there to take home immediately.
So, please watch the video below and you can see how this all went – and then, in the remainder of this article, I’ll include lots of additional construction photos and some product (ceiling fan and tool) links you can check if you’re planning to do this yourself. This can be a really fun project if you set up carefully and take your time. Or, you can hire a local ceiling fan professional contractor [electrician], of course – but, even there, it’s always best to know what’s entailed. Here’s the job…
Ceiling Fan Replacement Tools
The tools I used during this project were as follows:
⦁ A few straight and Phillips screwdrivers.
⦁ An electrical multi-meter to test for voltage – or you can use a general voltage tester. (But you must have a way to validate that the voltage is off!)
⦁ A wire stripper
⦁ A truly sturdy ladder – safety and stability are critical here.
⦁ A drop cloth of some kind. (Or in my case, you can see I used a bed sheet on top of my comforter.)
Recommended Ceiling Fan Product Links
I’m only going to include three links for you to peruse:
⦁ I’m pretty sure this is the Hunter ceiling fan I had working for me for 20 years – it’s very close: click right here. (I mean… TWENTY years!)
⦁ Hunter ceiling fans, in general, on Amazon, are right here
⦁ Hampton Bay ceiling fans are right here
Ceiling Fan Installation Photos
Okay, now I’ll simply throw in some additional photos with minimal annotation – so you’ll see a bit more than the video even shows.
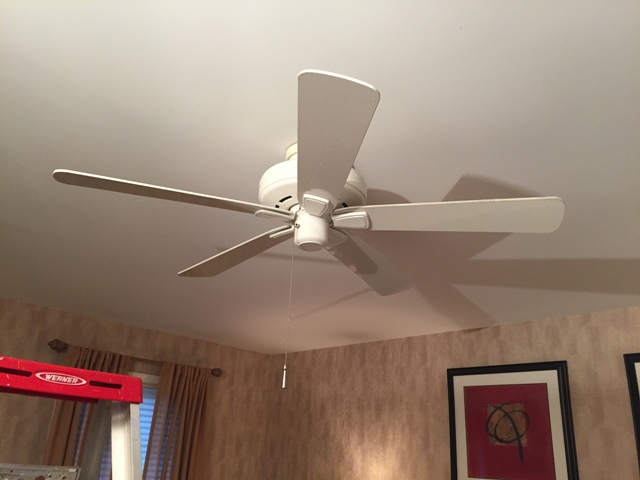
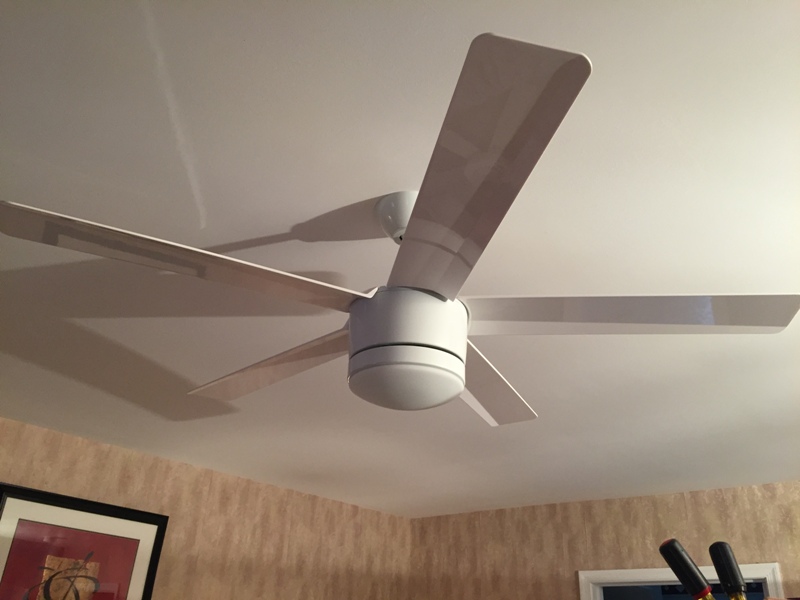
Let’s start with my original Hunter ceiling fan once more. We loved this fan. Simple, sleek and elegant. This particular photo is also a link…

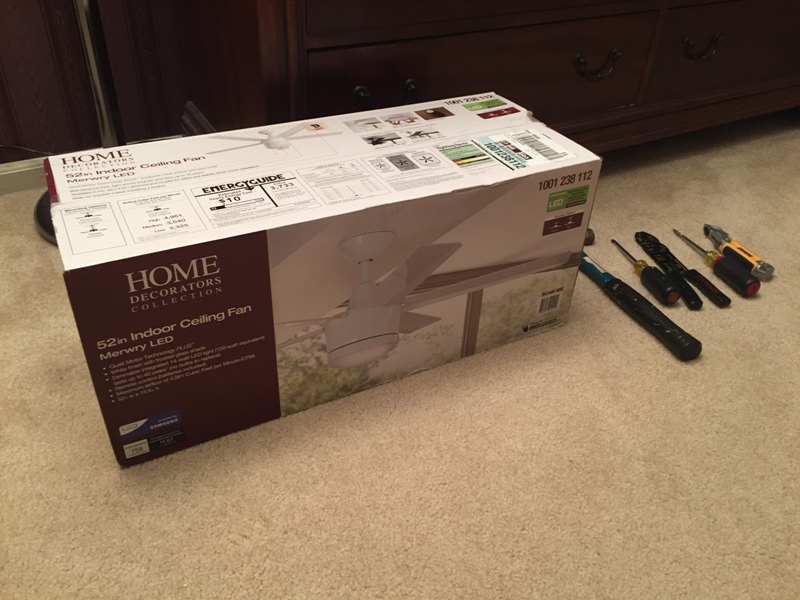
Here’s my replacement fan now – with some of the tools I used beside it. I didn’t need the hammer. But the wire stripper, per the list above, is a must. And some screwdrivers.
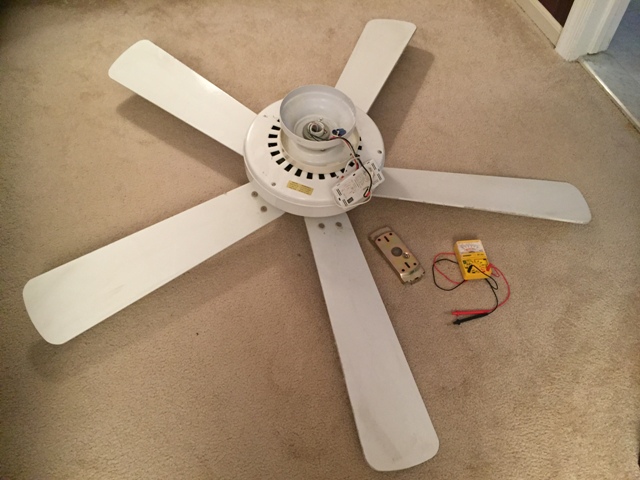
Note the yellow multi-meter to the right of my old Hunter ceiling fan in the shot below – that I used to test for voltage. (To validate the voltage was OFF.)
I cannot, once again, stress how imperative it is to validate voltage is truly off when you’re working on any electrical project. If you think you’ve switched off the correct circuit breaker or that the wall switch in your room kills the power to the fan… you could easily be wrong. You MUST test that the voltage is truly off.
You can use a multi-meter as I did – photo below. Or just a plain old (and perfectly fine) voltage tester.
To remove my original ceiling fan – I’ll use three shots that I annotated to use within the video above. It was simply too dangerous for me to try to video this removal process. So, I took these photos and annotated them, as you likely saw when you watched. Safety first!
For my original ceiling fan, access to the set screw was from behind a decorative collar:
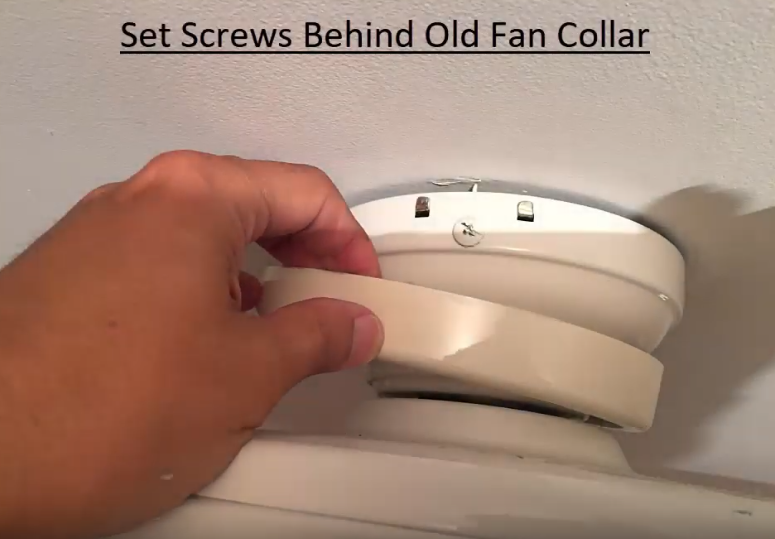
Once these set screws were removed, the fan (by design) then hinges – and you have access to the electrical wiring, as you can see in these two removal photos:
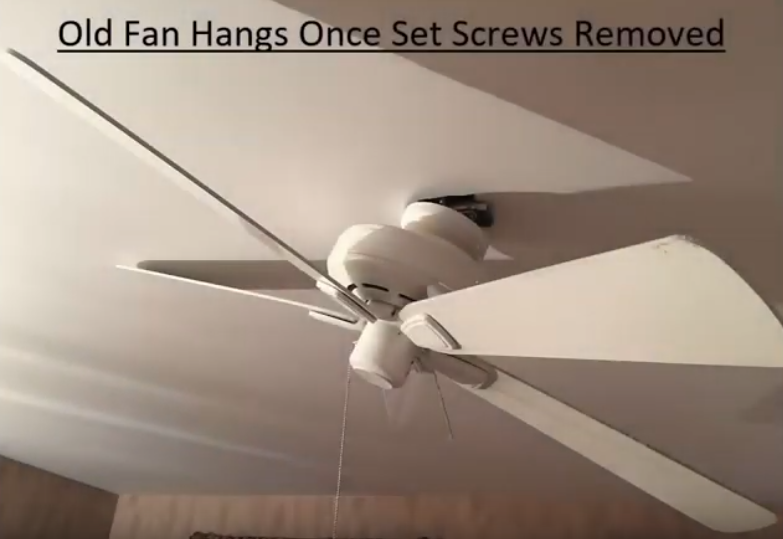
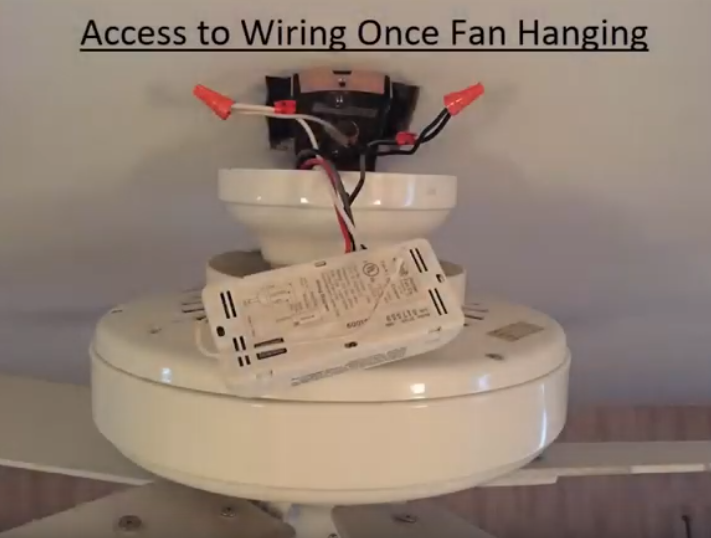
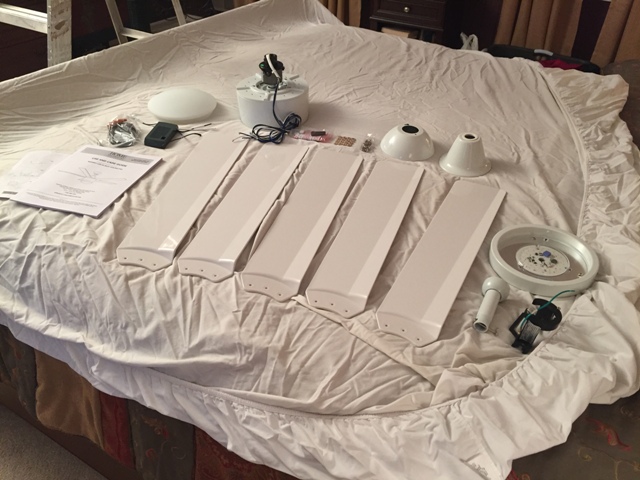
Now, once the old ceiling fan is removed… including the ceiling bracket that held it in place, I like to lay out all pieces onto what might be called a ‘staging area’ – so I can then get ready to begin the assembly, once careful step at a time…
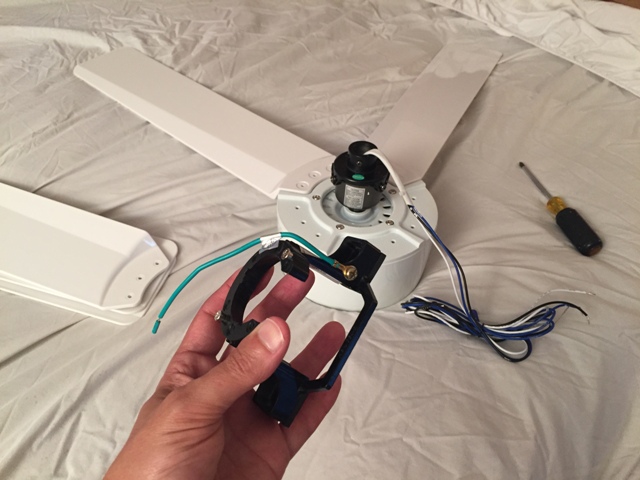
For my new fan, I have a new bracket that must be mounted to the electrical box. (The video above shows and explains all of this in much, much more detail.) Here’s a shot of my new ceiling fan bracket – essentially part of a “ball joint,” that will allow the ceiling fan a small degree of mobility once fully installed:
The old and new ceiling fans – with the blades fully assembled on the new fan now…
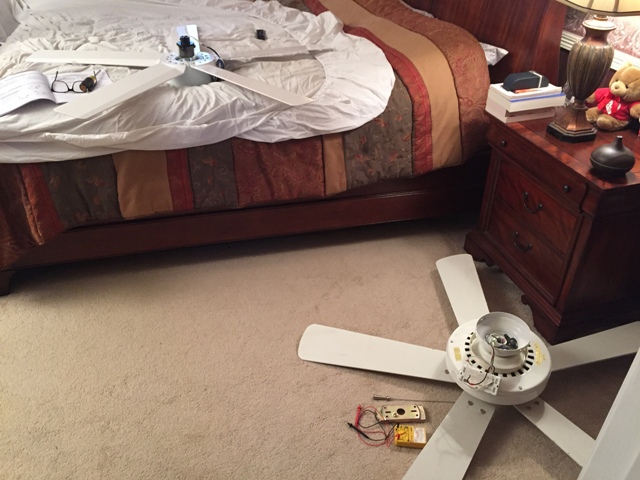
Now, in the next 2 photos – I assemble the new ceiling fan to the point where it’s ready to mount to the ceiling. No electrical work has been done yet; this is all mechanical. And the specific details will, naturally, vary from ceiling fan to ceiling fan. But here’s what I had to do for this one:
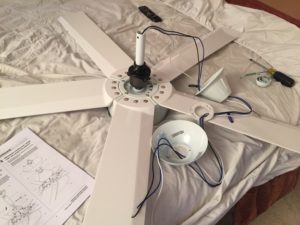
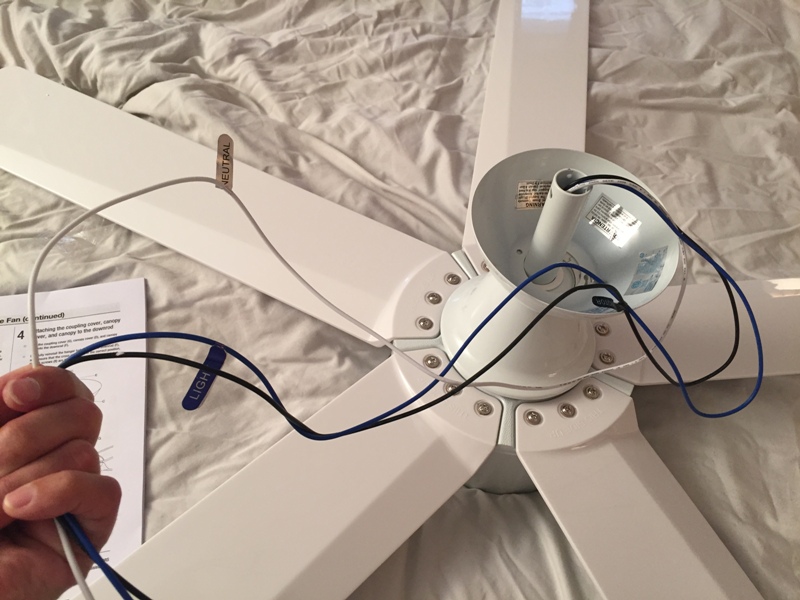
And then the entire unit gets lifted and hung into the ceiling bracket that was previously installed. Here’s where that ball joint now comes into play; the ceiling fan hangs within the ceiling bracket:
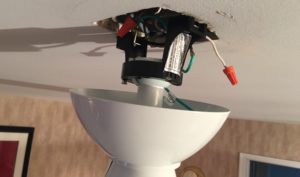
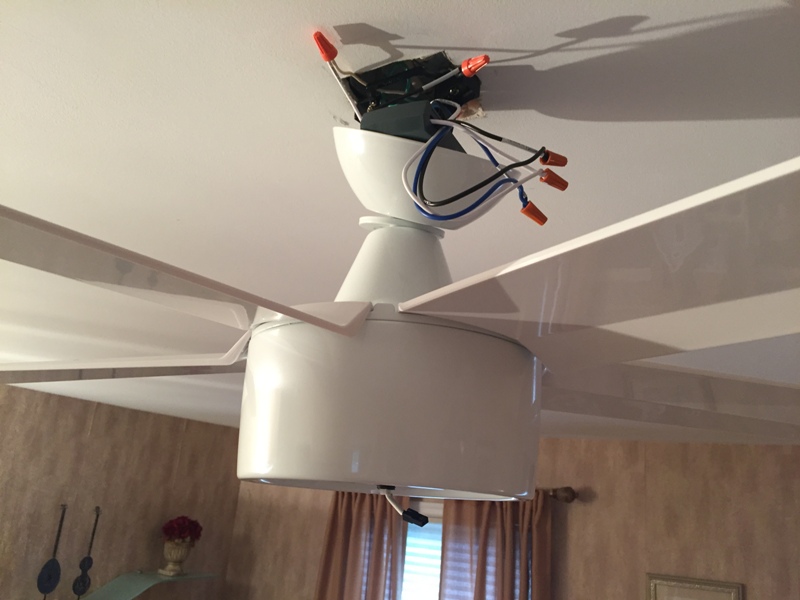
The electrical wiring can now be connected, per the manufacturer’s specific instructions of course. For me, I had to address a wireless remote and an LED light. Not all units will have these; all ceiling fan units can vary a bit in their details.
If your ceiling fan does have a wireless remote, though – be very mindful of one key thing… you can often designate transmitter and receiver settings to mate the pair. Why would you want to do this? In case your next-door neighbor is using the exact same wireless transmitter and receiver on something in their house… and thus turning on (and off) your ceiling fan by accident! That would NOT be cool.
Note, in the 2 shots that follow – the transmitter and receiver and the [DIP switch] settings. I’ve intentionally set mine to OFF/OFF/ON/ON (or 0011 if you prefer) to add a little complexity from the original default settings – that were all in one direction. You can do this as well. If you like.
But you need to be aware… in case you run into that ‘next door neighbor” problem.
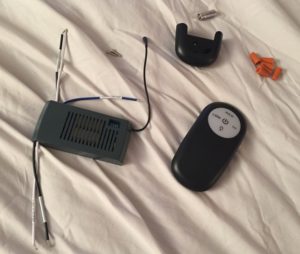
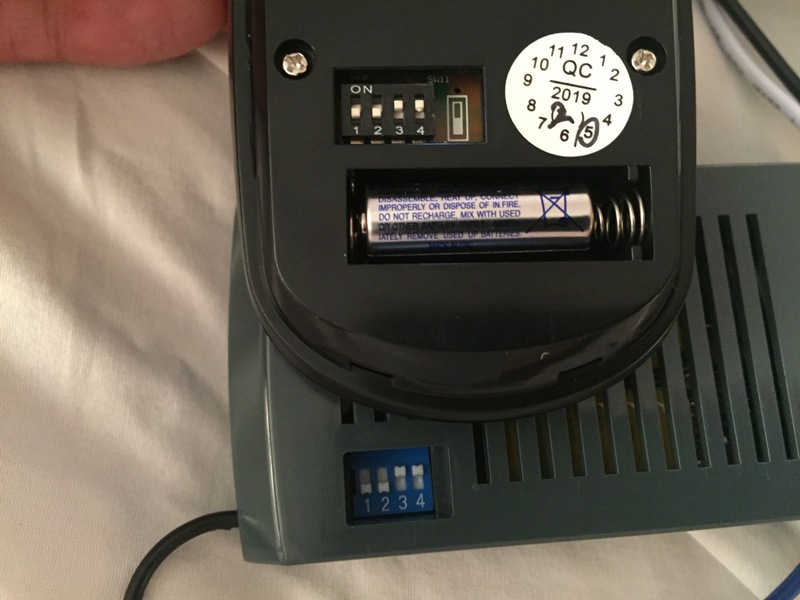
The wireless remote, even if it doesn’t come with your fan, is particularly useful for bedroom ceiling fans. You can, depending on your fan model, buy these separately as well – and I’d strongly recommend doing this for bedroom fans.
(Getting out of bed to flip a switch across the room or to pull a pull chain at 2AM is no fun at all.)
Now, in the final two shots below, the wiring (and wireless receiver) are covered, the LED fixture installed (a wiring connection and a ‘twist to lock’ for my specific ceiling fan) – and we’re all set!
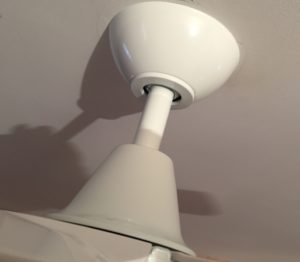
So, there you have it – that’s the job from beginning to end.
For me, a bit less than 3 hours once I had the unit at home – going slow and easy. Talking on the phone a bit during the process. Taking some video and photos, of course.
If it’s your first time, I’d suggest planning on a little bit longer. And if you’re installing a ceiling fan where there was NOT a ceiling fan already, this is a bigger project; I allude to some of these additional work items in the video. (At my current home, all the ceiling fans I installed, originally, required new electrical runs and additional ceiling/attic support.) So, be careful with this. And remember, hiring a credible local contractor (electrician) to help is always prudent when warranted!
June 27 2022 Update – Installing a 64″ LED Ceiling Fan
Quick update to this article today, as I just installed another fan… well actually… more like 4 since writing this originally in 2019.
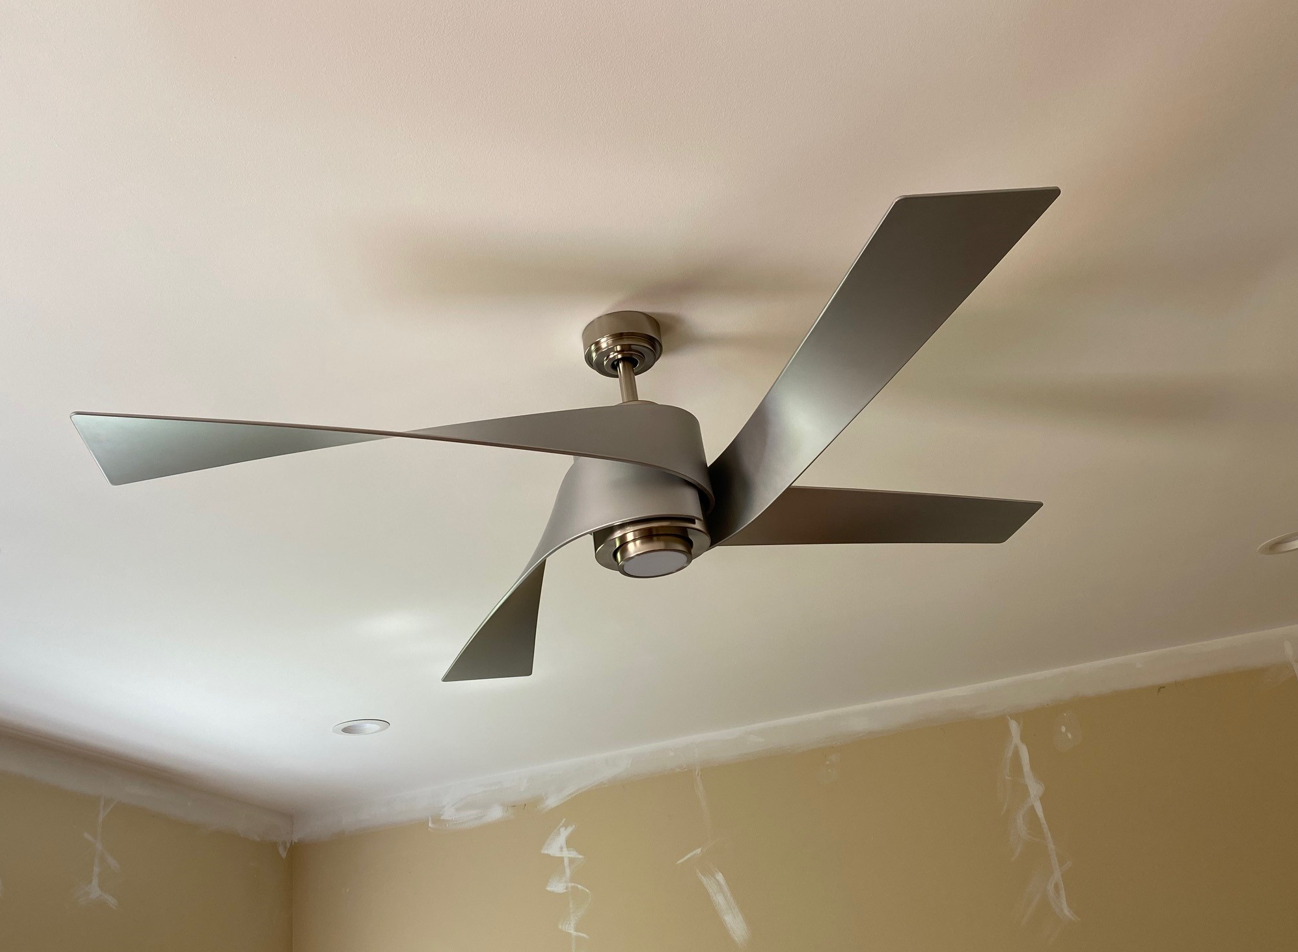
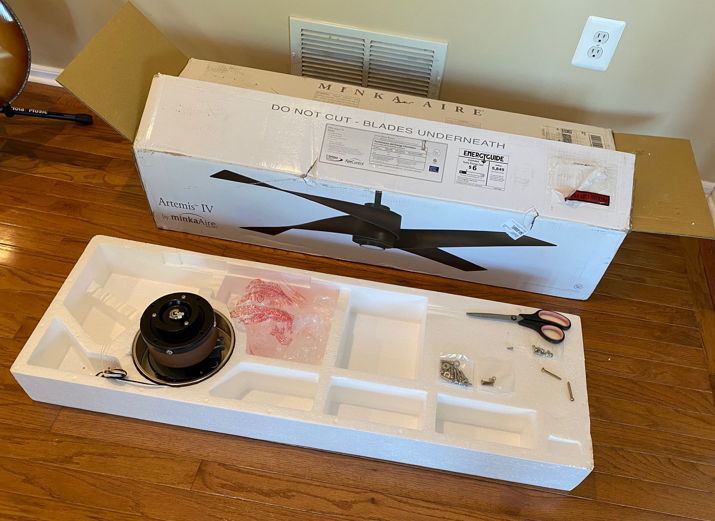
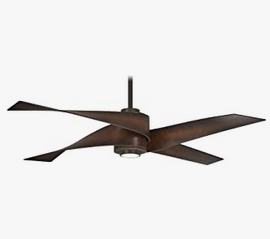
But this last one was different, and is well worth a few photos and words: Yesterday, I installed a 64″ Artemis IV Ceiling Fan. For a Great Room I currently have under construction. It’s HUGE and beautiful, and while it was a little trickier on a 9-foot ceiling and with such a large circumference and diameter – the installation was, for all intents and purposes, ~97% identical.
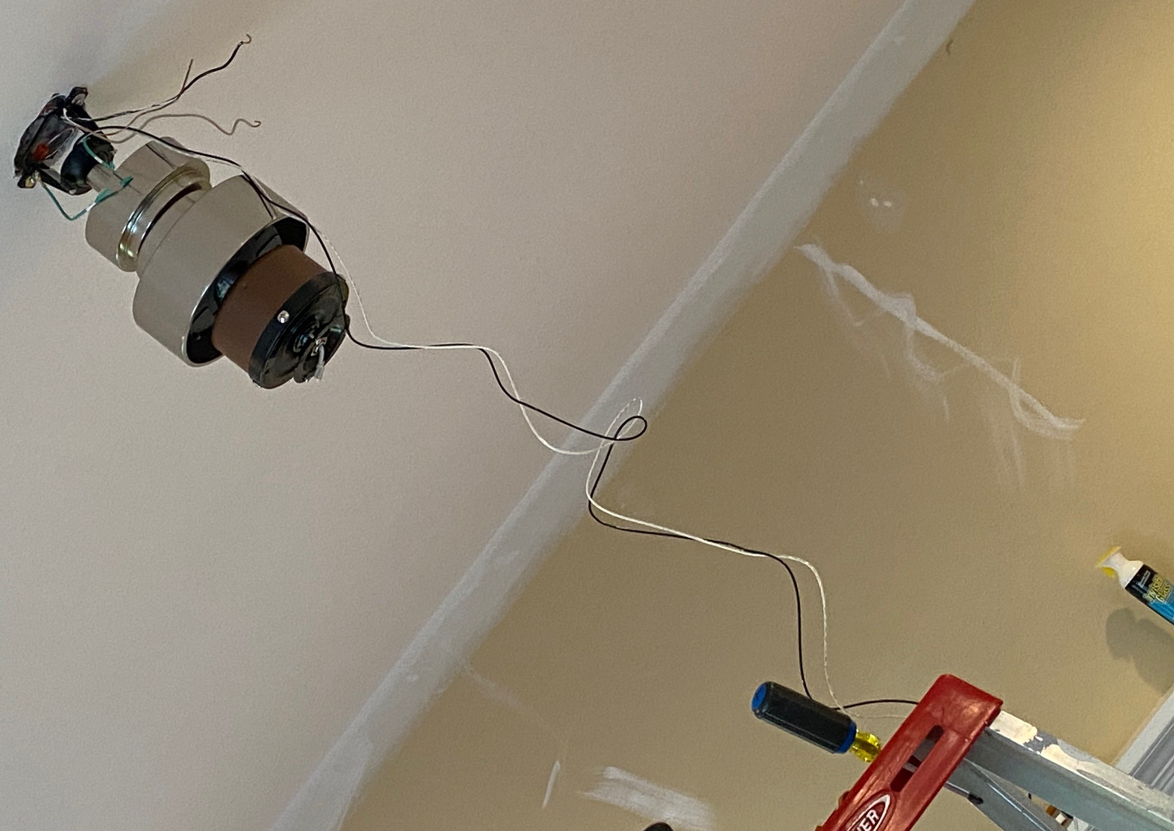
So, that said – three more photos now, starting with the finished fan – and two more showing intermediate steps.
I’d suggest that if something like this is attractive to you… just go for it!! (Because – it’s an exceptionally similar job.)
Anyone have any additional ceiling fan replacement (or new installation) ‘war stories’ you can share below?
Need Professional Help from a Local Contractor?
⦁ Visit Our Find a Contractor Page
Related Posts
⦁ My Wireless Waterproof Doorbell Epiphany
⦁ Installing a Bathroom Ventilation Fan
⦁ How to Replace a Dead GFCI Outlet
⦁ How to Install a Wi-Fi Range Extender
⦁ How to Clean your Outdoor A/C Unit for Better Cooling
⦁ Troubleshooting and Repairing a Broken Doorbell

Hi Mark – My ceiling fan needs repair. Searched your site and found your article and video on installing new one. That’s now my fallback. Per the picture I just sent, the fan blade assembly has “fallen” from the fixture and does not engage with the rotor/turning thing. I cannot see any way to reattach it! Any thoughts??
Hmm… Not obvious to me either, from this photo. I wouldn’t sleep under that, though! If it’s of any help at all, I’ll give you a gut feeling based on past experience: I suspect you can probably reattach that. But… if you have to disassemble a ~10-12 (?) year old fan, figure out how to fix it mechanically (if practical), and then reassemble and test… Is it really worth it? I’d start with the manufacturer. Perhaps send them this very photo. Could the unit (given this specific failure) be under warranty, potentially?