Update — Originally Published June, 2015
Maintaining a beautiful lawn is an ongoing effort. There are the rules of watering, seeding, fertilizing, lime application as well as both pest and fungus control.
So many facets to consider, and if you’re reading this – you’re probably quite well-aware. But there’s one more challenge that I recently had to address: patching a huge lawn area and getting it to match the original grass, as closely as possible, in texture and color. Ultimately, I ended with a premium mixture of high quality Kentucky Bluegrass seed applied over multiple iterations. That’s the essence of the solution that worked for me in the end. (And you’ll see photos of the overall journey and progress below.)
But at first – I didn’t do so well as you can see below… Pretty hideous, right?
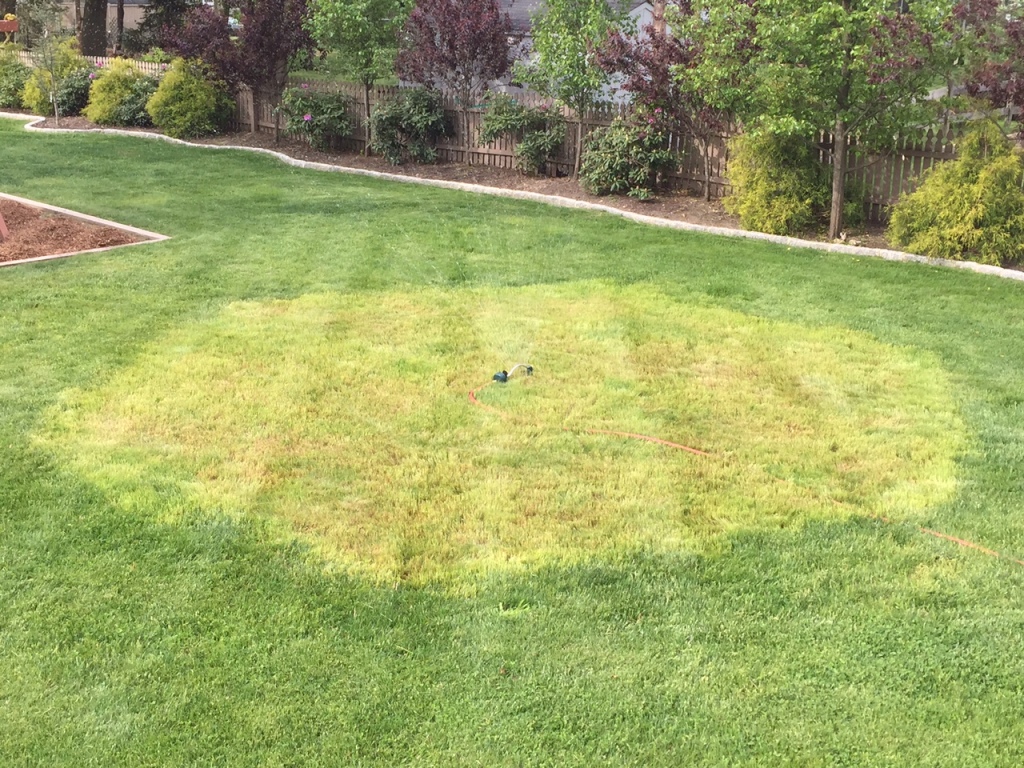
Let me back up a bit – give you the ”back story” and show how I’ve managed to get things onto a much better path over the past few months…
The Story of a Trampoline and a Hurricane
My kids absolutely loved our backyard trampoline, and if I’m to be completely honest – I did too. We spent a lot of time on this together; we had a lot of fun and got a lot of exercise as well. Which is truly ‘all good’ with all of our smart phone, tablets and gaming systems.
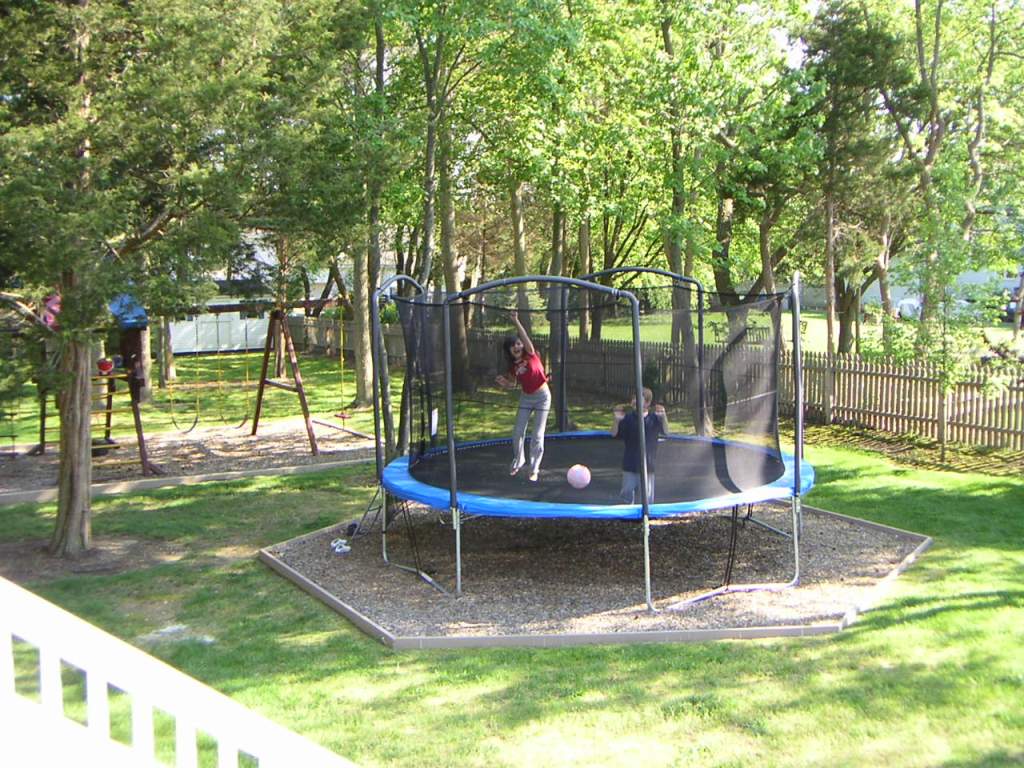
But then along came Sandy.
Hurricane Sandy hit the Jersey Shore in late 2012 with such massive devastation that people remain displaced from their homes even now, nearly three years later. Many of our friends lost their homes, with one family I know being rescued from their house via boat. And it was much worse than even this, as you may all well know.
In the scheme of the ‘big picture’ my family was so, so lucky.
We had some damage, of course – but we didn’t lose our home. Although as I listened to walls creak and heard the roofing tiles being steadily ripped from our house (have a close look at the roof in the photo that follows), I must say I wasn’t sure how things were going to fare that night.
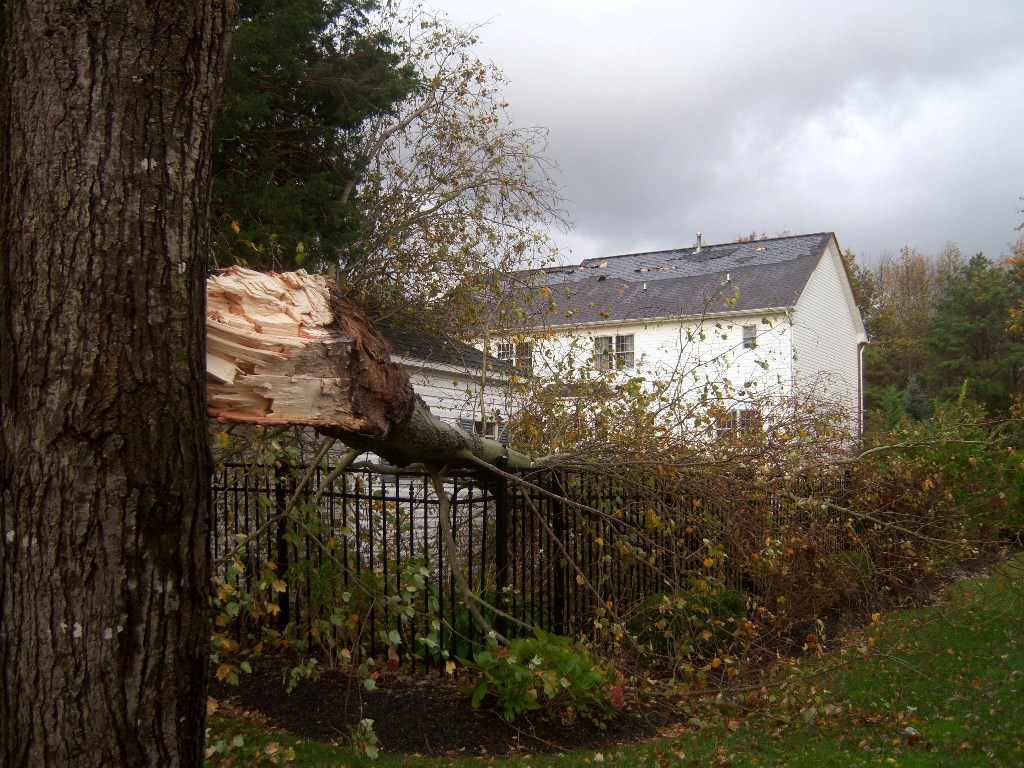
When dawn approached the following morning, I’ll never forget hearing my Daughter from upstairs asking timidly, “Hey guys… Where’s the trampoline?”
The numerous 12-inch auger-like anchors holding the trampoline to the ground were absolutely no match for the force of the storm, and the trampoline was ripped out and thrown into a Sassafras tree. When it crashed down onto the ground by my cedar fence, the aluminum frame cracked cleanly.
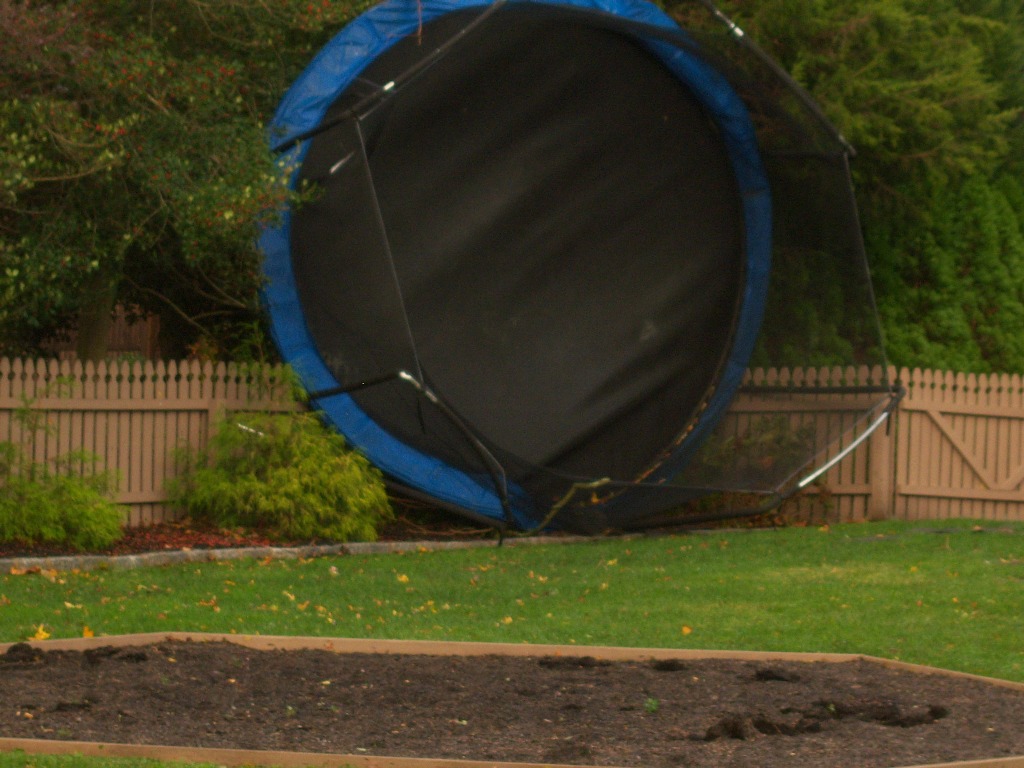
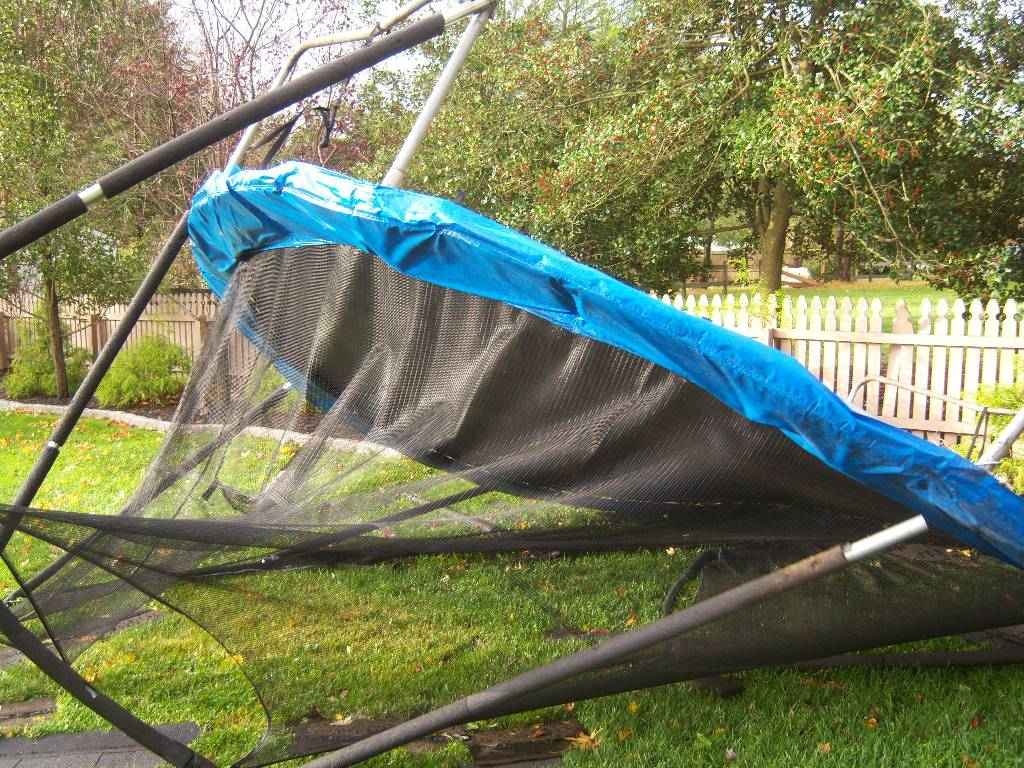
Thus ending the ‘era’ of our trampoline.
I actually wanted to get another one, but my kids assured me they were far too old for such things. (Xbox ONE beat-out PS4 in my house – and it beat out the trampoline now as well, it seemed.)
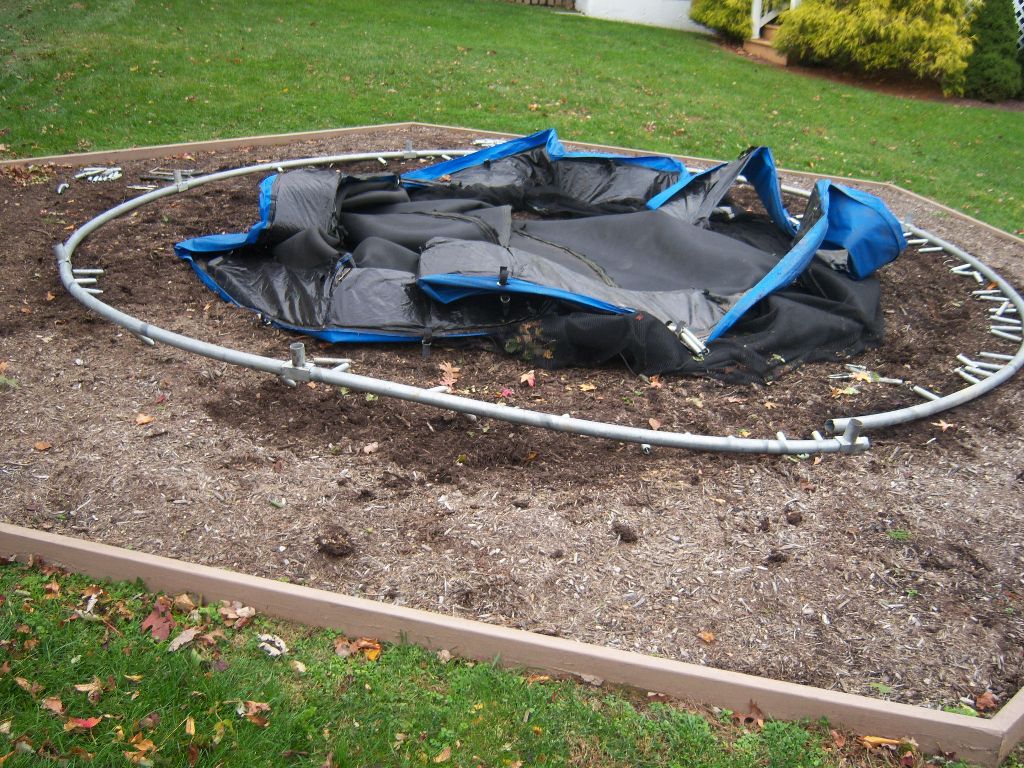
So, in short – we recovered from the storm. And over time, I puzzled over what to do with the now empty hexagon-framed mulch area I had built and was regularly maintaining in my backyard…
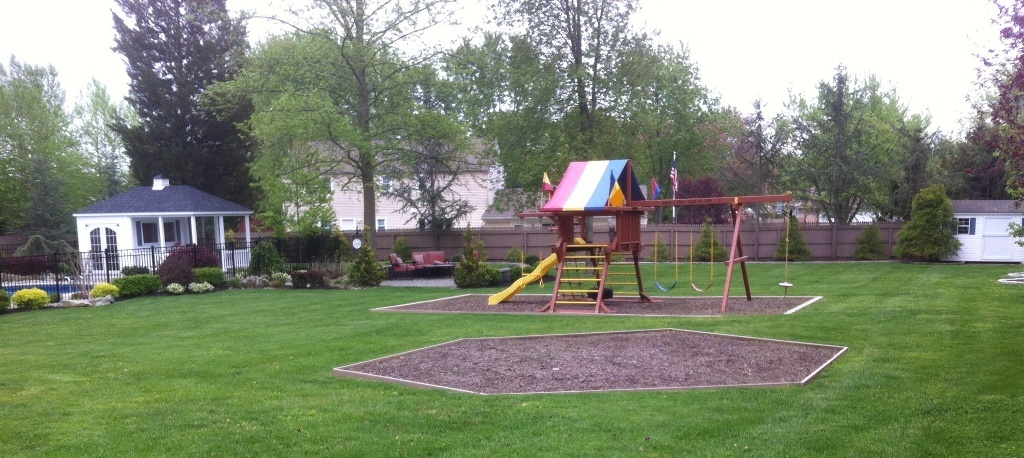
Lawn Patch Repair: From Mulch Back to Grass
I was considering things like a paver patio, a Koi pond, a fountain – how could I use the hexagon-shaped mulch area for something new, short of another trampoline? My wife kept bringing me back to the idea of simple, clean grass. But I really didn’t think I’d be able to get it to match. (And that we would be left with an eternal stop-sign-looking “scar” in our lawn where the trampoline once was!)
So, when I finally succumbed to start down this path – one thing I was sure of was that there would be multiple passes. Multiple seeding iterations. Much like painting a wall or fence, I wasn’t going to try to get it perfect all at once.
Lawn Seeding 1: Too Late in the Fall and Low-Quality Grass Seed
Grass seed germinates most naturally and optimally in the early fall.
At this time of year, there’s less weed competition (as compared to the spring) and falling temperatures give rise to early morning condensation (which is natural watering) – so this all works out beautifully. In New Jersey, this translates to seeding by Labor Day: the very beginning of September. And with my first seeding, I missed this time frame completely!
But rather than wait for the following spring to get started, I figured “what the heck” and picked up a bag of contractor’s mix grass seed (which is generally fast-germinating) to see if I could at least bind the mulch together and start the process of lawn healing.
And sure enough, even with a November seeding (more than 2 months past the peak seeding time), I got some grass. But – remember that lawn “scar” I mentioned…
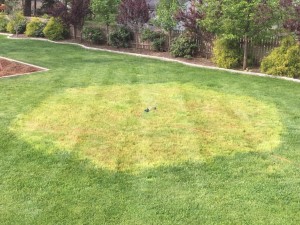
This is EXACTLY what I was talking about. Looks absolutely terrible, of course. The mulch is surely gone – as it makes for a great base in which to grow grass, but this is NOT a good look at all.
Lawn Seeding 2: Spring with High-Quality Kentucky Bluegrass
So, now the spring rolls around [again, sub-optimal for grass germination], but plenty of folks seed in the spring – and as long as you water appropriately and anticipate the weed competition, this can surely be made to work.
So, in mid-April, I picked up some high-end Kentucky bluegrass seed.
Kentucky bluegrass [click there for a reference summary from Pennsylvania State University] is a beautiful dense grass with a dark color. Am I saying this is the best grass seed for everyone in all areas? No. But I personally love it, even though it’s a little harder (and takes longer) to grow than some other grass seed mixes – and I have indeed used it before in my area, for general lawn maintenance (spot seeding).
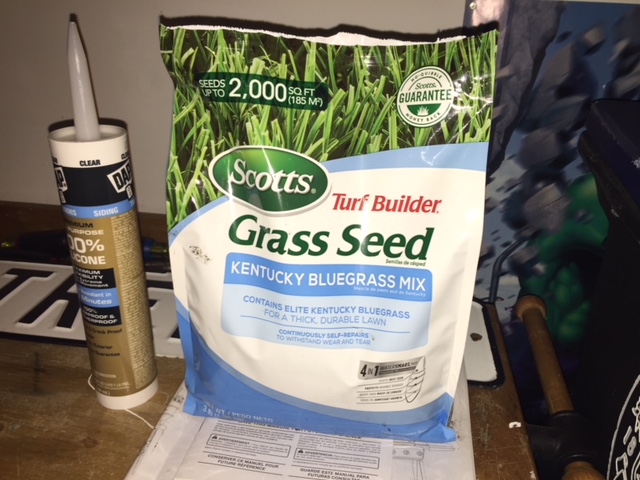
Clearly, the earlier mix was not even close to the color of the remainder of the lawn, so this surely seemed the right direction to go.
I applied/used each the following, and I’ll include the Amazon links so you can click for more detail or buy right through Amazon – but you can pick this stuff up at any local garden supply store:
• Kentucky Bluegrass Seed
• Starter Fertilizer
• Pelletized Lime
• A Hand Spreader
I sprinkled the grass seed by hand (at 2 to 3 times the recommended rate – intentionally over seeding), and I used the hand spreader to apply the fertilizer and lime. Nice and easy!
(It’s definitely useful to have a hand-spreader for the chemicals; you don’t really want to touch those if you can avoid it. Buy one – and it just may last for a decade, if not longer.)
And what was critical now, once the seed, fertilizer and lime were applied: the seed had to remain wet. So, on dry days – I watered this area for 30-40 minutes three times each day: early morning, then at about 1 PM – and then finally once more at dinnertime. (Normally evening watering can promote lawn fungus, so this is not something to do with stable lawns – but for seed germination, those seeds really need to remain hydrated.)
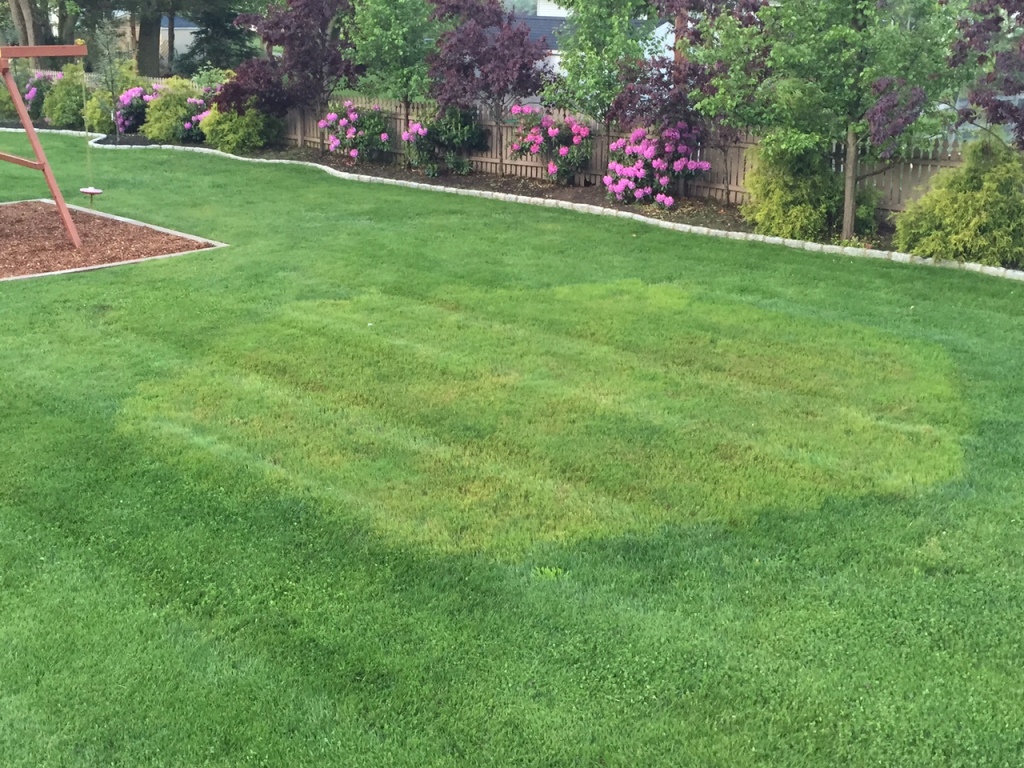
Three weeks after seeding – a clear and huge impact can be seen:
After four weeks – marginally even better:
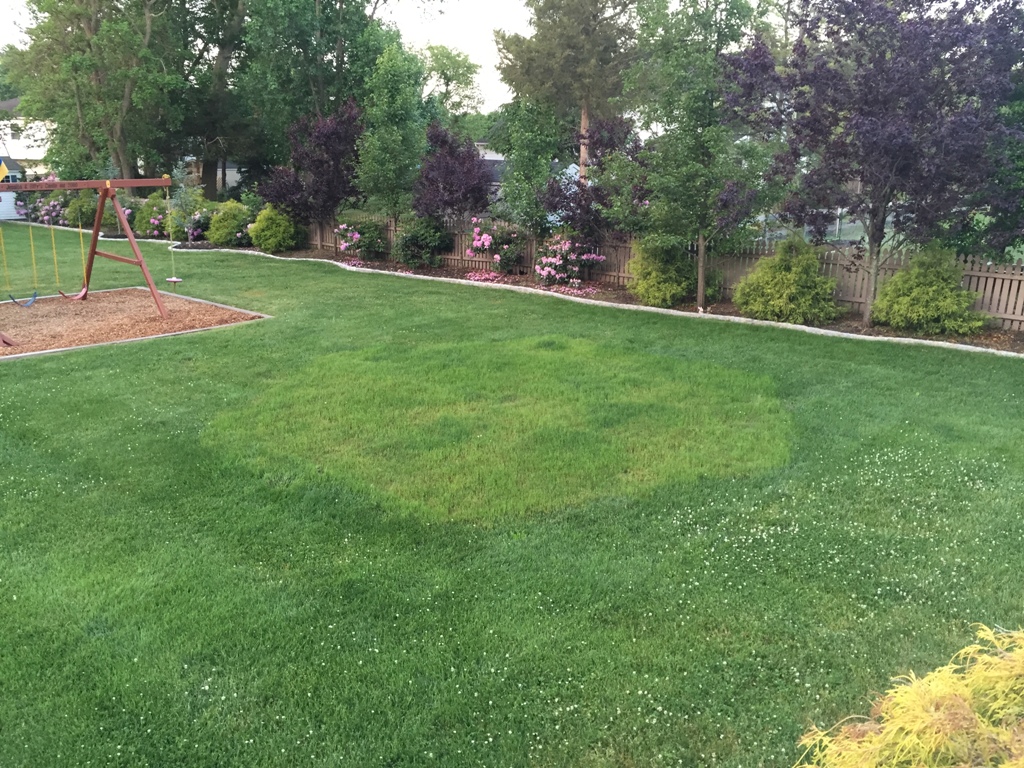
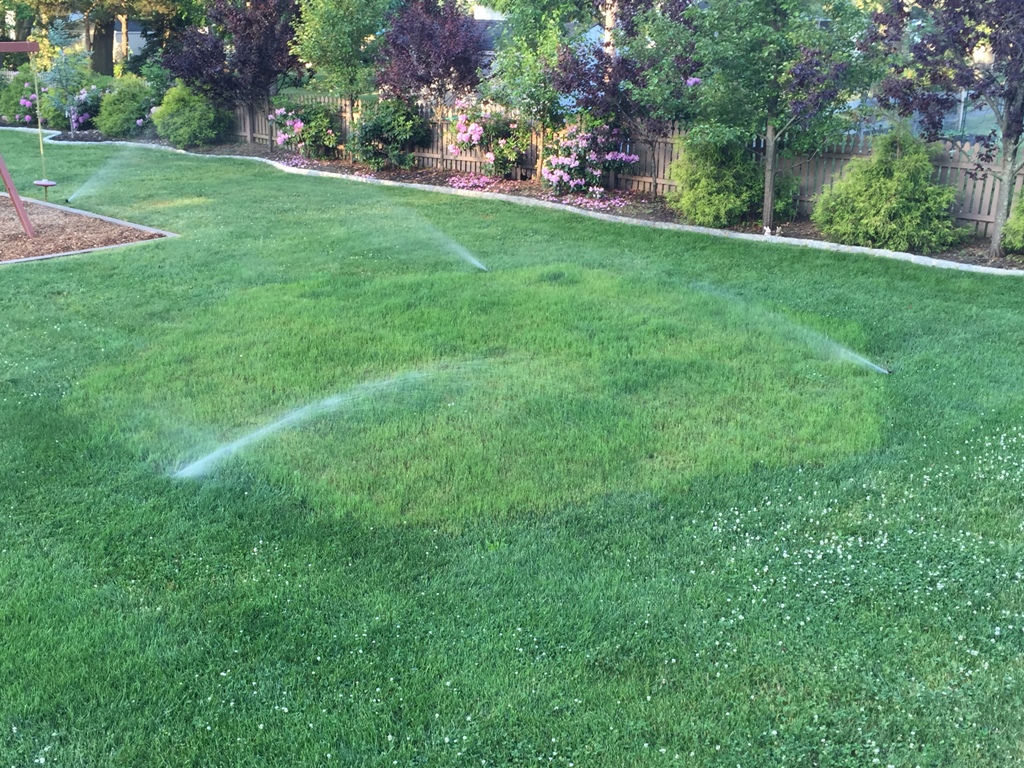
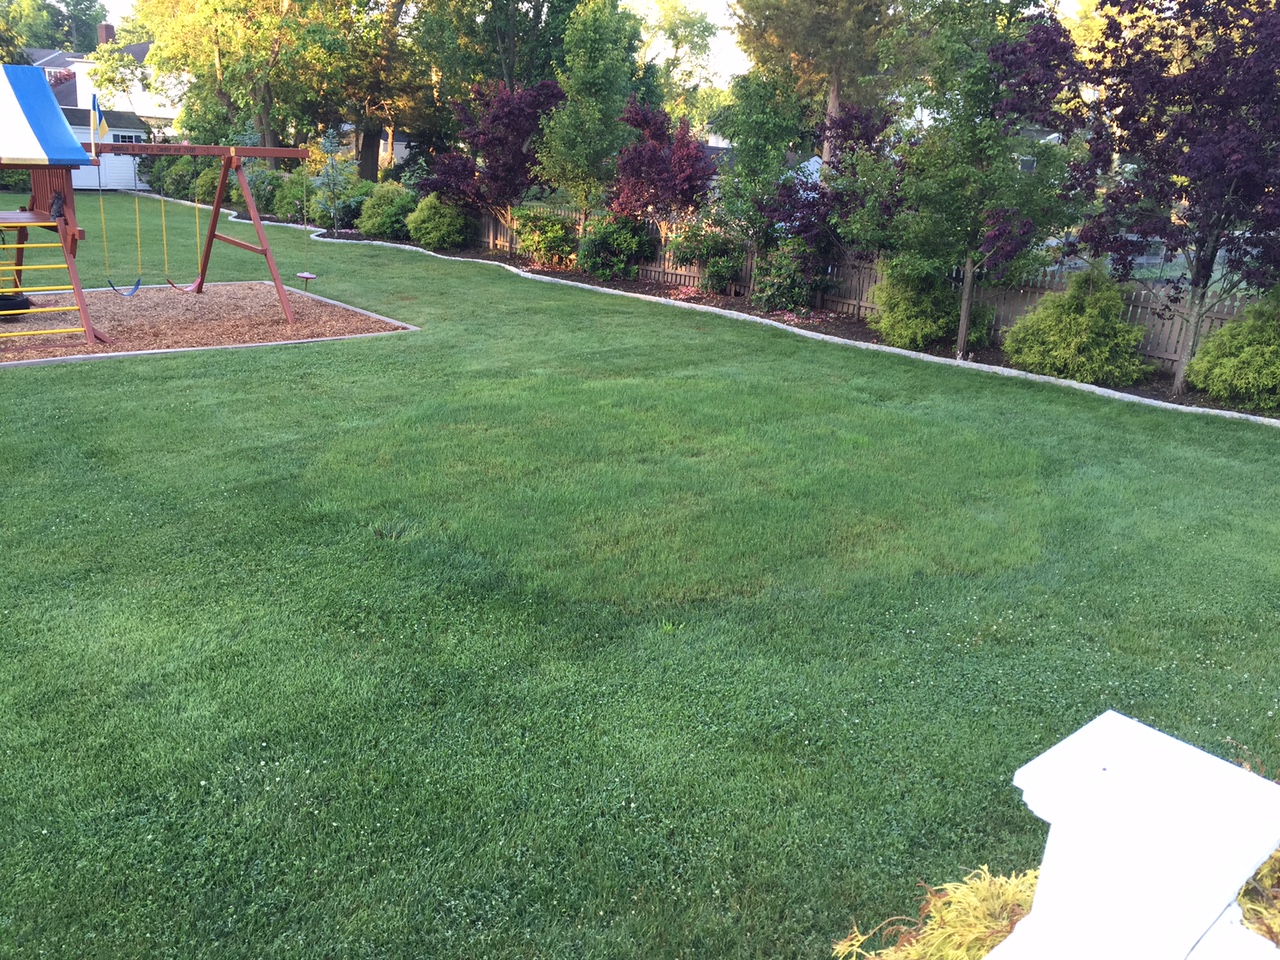
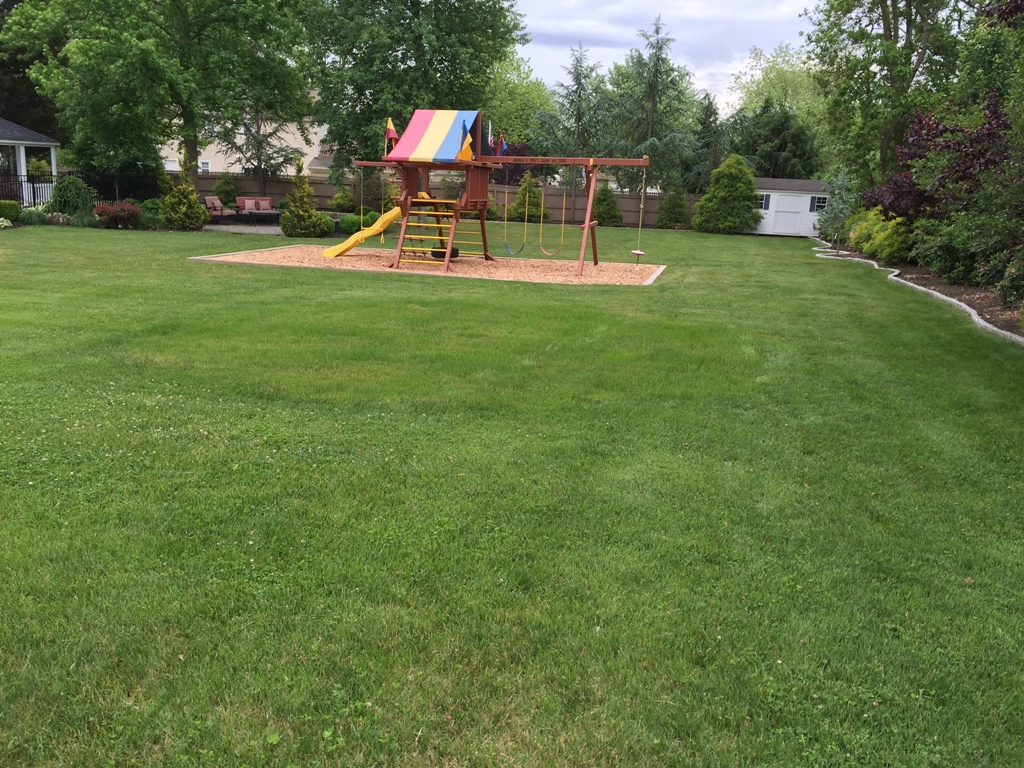
And now, at six weeks – this has frankly surpassed my expectations.
The two shots below are from early June, and frankly this looks *almost* perfect!
Lawn Seeding 3: Fall with High-Quality Kentucky Bluegrass Again
Come this fall (very early September), I’ll repeat exactly what I did with Lawn Seeding 2. I’m not sure it’s really even necessary, but best to take advantage of the optimal conditions [at that time] and further solidify further the great progress of the first two passes.
And What If Afterwards I Can Still See Signs of that Mulch Hexagon Lawn Scar?
Well, to be perfectly frank – nothing is ever really perfect, of course… And that hexagon mulch area was the first thing I built in my backyard for my kids’ “Little Tykes” toys, even before the Trampoline – when they were one and three years old. It was their play area from the first month we moved in. So, while I’m now quite certain (especially based on the results so far) that after “Lawn Seeding 3” nobody will know there was once a hexagon-framed mulch area there other than myself – I won’t really mind at all if I can see it… just a little bit!
Need Professional Help from a Local Contractor?
• Visit Our “Find a Contractor” Page
Additional Related Posts
• Summer Lawn Fungus Disease
• Repairing a Backyard Trampoline
• Switching from Mulch to Ground Cover
• Designing the Perfect Deck
• Refreshing a Swimming Pool Landscape
• 5 Easy Ways to Bring Your Landscape Back to Life

A 2021 Update here, as I just patched an even LARGER area now the same way, and what speaks better than pictures, right?
The sequence below started in March, actually.
Not the optimal time to seed, but still best to leverage if the opportunity presents itself. Which it did. I seeded, then, with a combination of Kentucky bluegrass and a cheaper bag of Contractor’s Blend grass seed. The latter grows fast, holding the soil and mulch together – while the Kentucky bluegrass takes a much longer time to germinate.
And then, about ~2 weeks ago (Labor Day), I gave it “iteration 2′ the exact same way – a bag of Contractor’s Blend seed and half a bag of Kentucky bluegrass.
So what will I do with the remaining half a bag of Kentucky bluegrass, you ask?
I’ll use that for ‘iteration 3’ – in a week or two!
But we’re well on our way here as you can see…