2020 Update – Originally Published March, 2013
So, what does it take to install a hardwood floor? Is it easy? Hard? Expensive??
How much time will it take, and can I do it myself? Will I need special tools that I might not already have? These may be some of the questions you’re considering if you’ve never done something like this yourself, and they’re all good questions.
In this article and in “the Part 2” follow-on that I’ll add soon, I’ll convey my personal experience in the form of a “project journal” covering an entire hardwood floor installation – from carpet removal and preparation of the subfloor, to installing the planks and doing the extremely important (and very easily underestimated) finish work.
Hardwood Floor Installation
Below is my dining room work area…
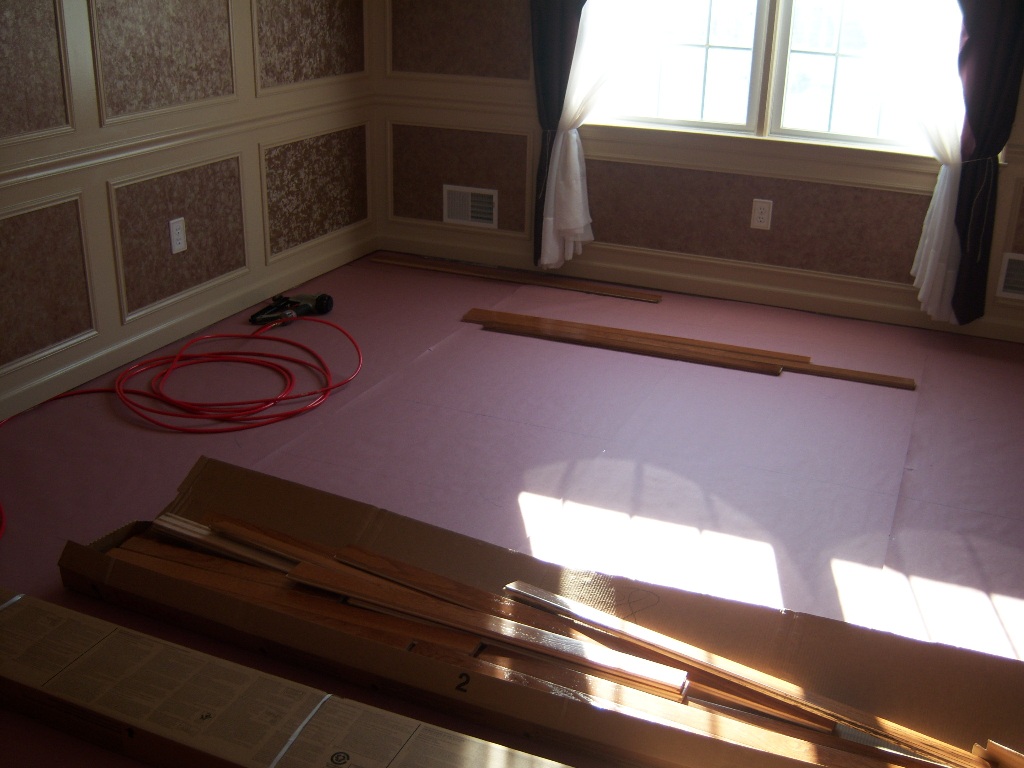
With elaborate projects like this, everyone’s goals and work areas are somewhat different, of course, what I’m planning to achieve between both parts of this project summary:
- I’ll explain everything that I did – the thoughts, tools, preparation and tips.
- I’ll have lots of photos and videos that will show step-by-step progress, striving to make everything as clear as possible.
- I’ll be here to answer any questions and help clarify anything that I did regarding my specific project for those of you considering doing something similar.
I can also assert that if you’ve never done a project like this before that you WILL gain very useful insights to assess whether this is something you want to undertake yourself.
(And I really hope you do, as I personally believe hardwood floors are absolutely stunning additions to any home, plus it’s an incredibly gratifying project to undertake as well!)
Installing Hardwood Flooring – Basic Insights
First off – if you’re handy, this is a very doable project. Is it easy? Not really… but there are no time constraints like there are with certain jobs (like wallpapering, concrete work, etc.), and for me – that’s a relief. This means I can go at my own pace as long as my family can tolerate the mess, and I can let my inner “perfectionist” have a blast. Is it really hard, then? It’s not so hard you should avoid it — definitely not. But as you progress through this project journal, you’ll be able to assess this for yourself.
The Oak Hardwood Flooring Material
Perhaps one thing you might not have expected about this project: it can be quite LOUD.
The first time I installed a hardwood floor – my 4 year-old made his opinion quite clear on this…

In the shot above, I’m installing a pre-finished 3/4″ oak hardwood floor – more than a decade ago. I used Bruce flooring material, and the planks are all fabricated with tongue & grove sides: they’re engineered to fit into each other for a nice snug and precise fit. This is the same material I’ll be using for the floor installation addressed throughout this project summary.
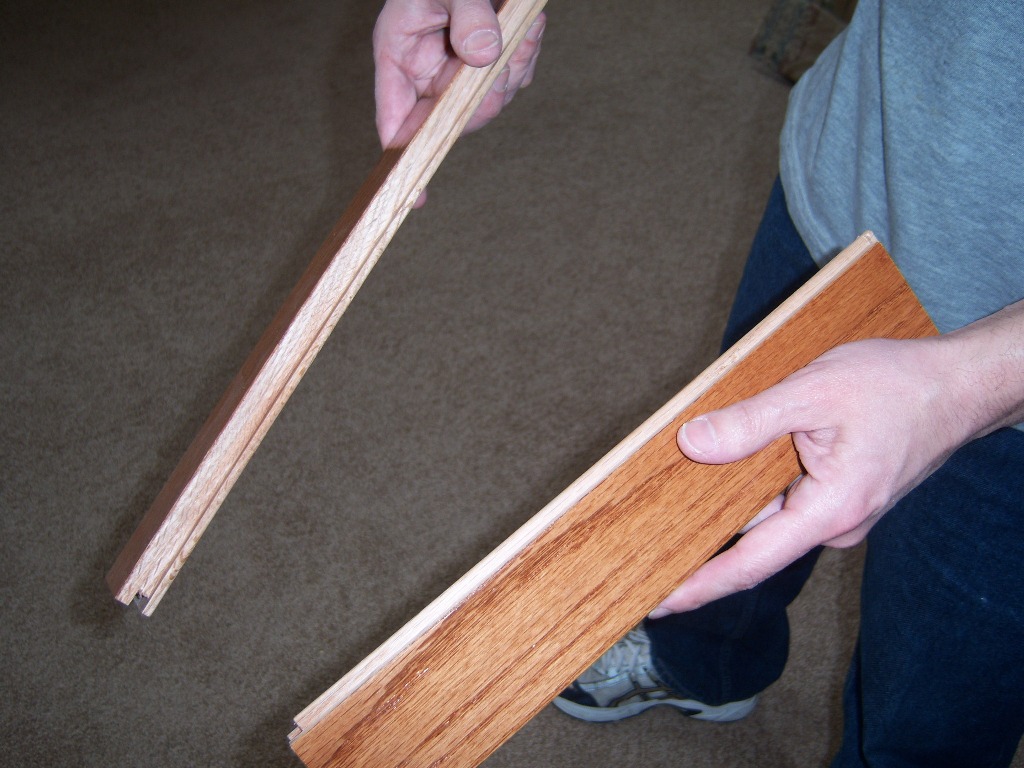
The Flooring Material Expense, Sizing & Transport
Is this an expensive project? One thing for sure – it’s cheaper if you do it yourself than if you contract it out – which is perfectly reasonable, of course. The material I used came in boxes of random length planks covering an overall area of 20 square feet per case, and I paid (retail) about $80/case. You can surely find cheaper material – and maybe you can even pick up material wholesale if you have some connections or if you’re a professional contractor.
So, for the room you’ll see me flooring throughout this effort, the dimensions were about 180 square feet and I used 10 cases of material, allowing for some waste. The total hardwood cost was about $800.
You will need a truck to get this material to your home – or you can have it delivered.

Time to Complete the Hardwood Floor
As for the time required for a project like this, especially if it’s your first time, you should plan for at least 2-3 days. You may find this estimate is conservative – but that’s fine. I just don’t want anyone to think this is something you’re going to knock-out in a couple of hours, as it’s not.
Plus – there are key some items for my project that are worth pointing out right from the get-go to assess for similarity to what you may be planning:
- You’ll see I’ll be installing a fresh hardwood floor in a room that was previously carpeted. This means I didn’t have to remove any existing hardwood flooring.
- My subfloor (under the carpeting) is plywood. Personally, I’ve never installed a hardwood floor onto anything other than a plywood subfloor, and the nail guns you’ll see me use during the installation accommodate this very nicely.
Required Power Tools: Nail Guns and Saws
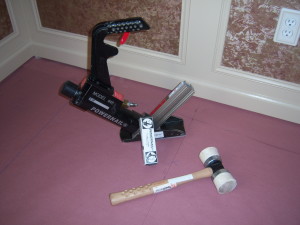
Regarding power tools, you’ll need a finish nailer, a blind nailer and a compressor. These can all surely be rented. You’ll also need a band saw and/or a table saw for some of the finish cuts – there won’t be a lot of these necessarily, but there will certainly be some.
And a quality miter saw (with a sharp or ideally new blade) is essential as well…
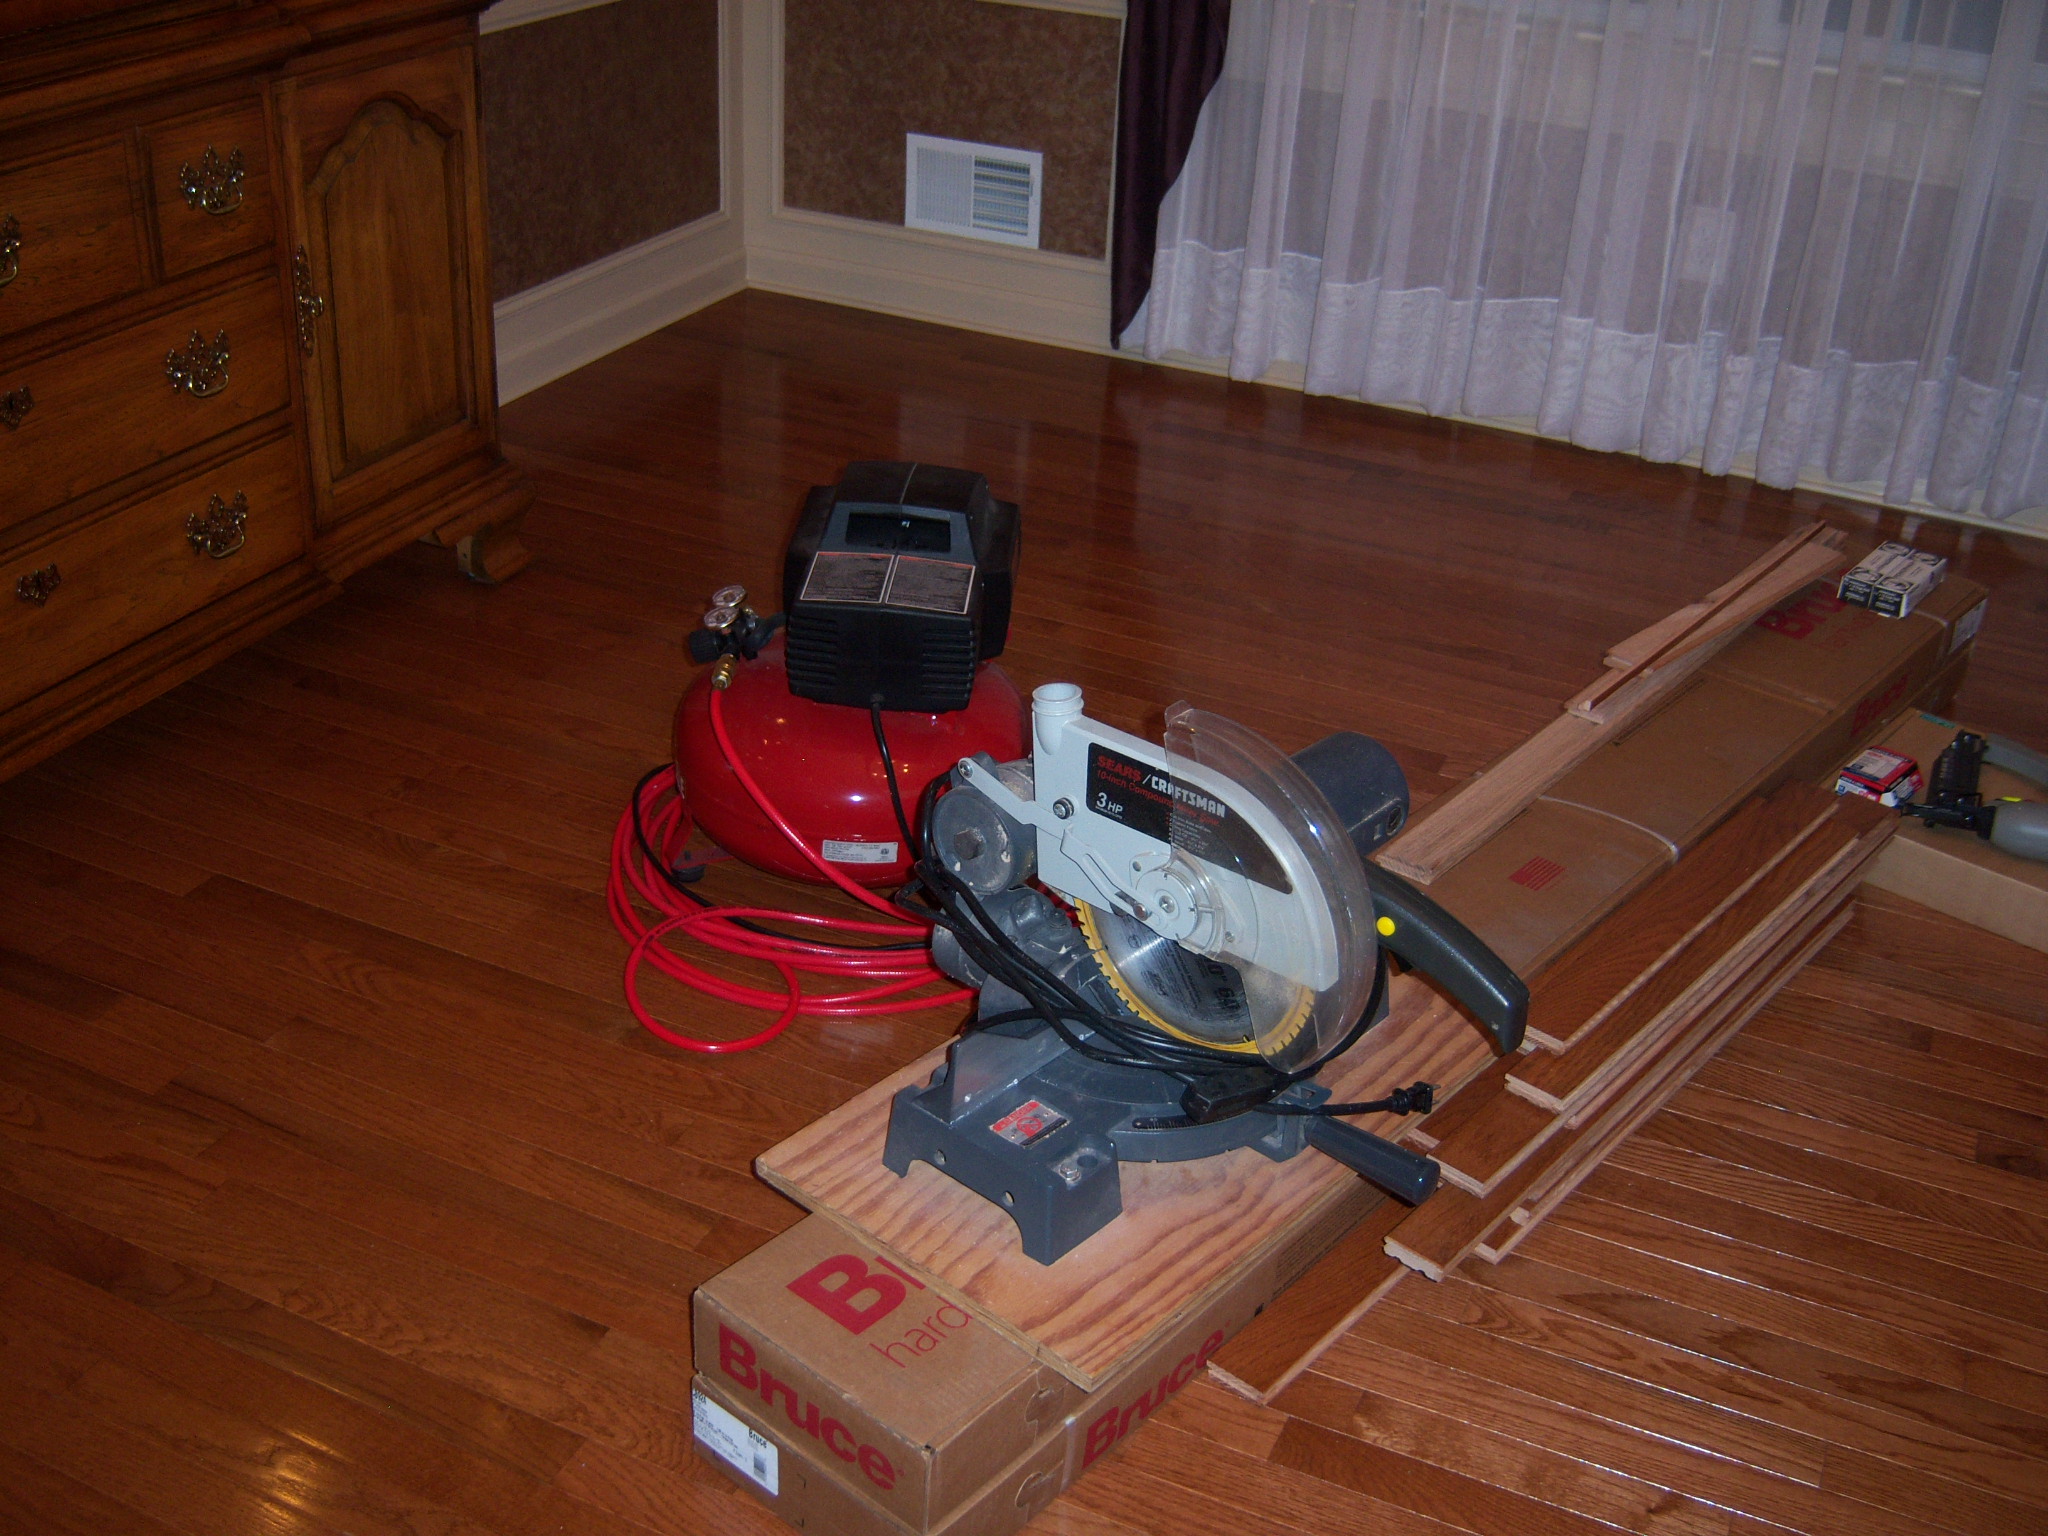
I’ll show more photos (and videos) of each of these in action as the project summary progresses – and I’ll provide Amazon links as well so you can get further insights or purchase for yourself, as necessary.
But for now, this is probably enough information to give you a very basic feel for some of the elements of this project.
So – let’s move to the first key step now, which for me was carpet removal…
Carpet Removal
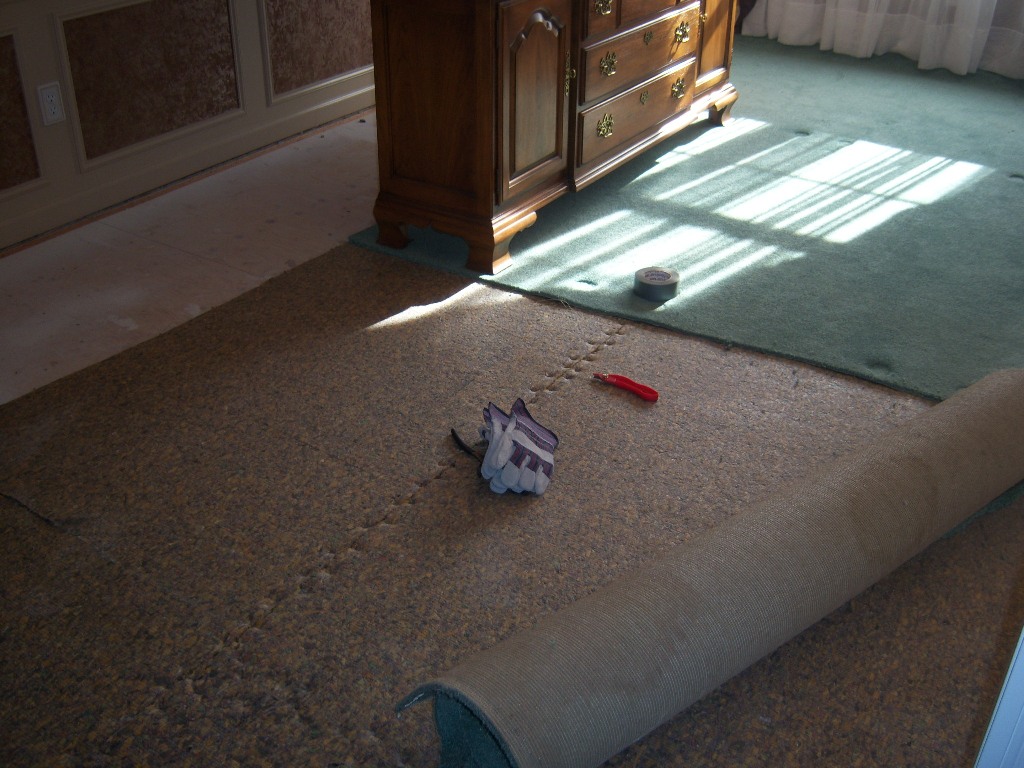
Removing a carpet can be very cumbersome, and it can be very dirty.
The way to go about this is to take it in small, manageable pieces – and I a made a video showing exactly how I did it for my dining room hardwood flooring project. I can say a lot of words here, but the video really just shows it all!
Please check it out, and I’ll elaborate more on additional facets (and more tool details) in the sections just afterward…
Carpet Removal Tools
Just as I showed in that video, there aren’t many elaborate power tools required for this part of the project, but the “small manageable pieces” aspect of removing the carpeting (and padding) will truly make your life so, so much easier. What you’ll need:
- A pliers to pull up the carpet from the corner
- Duct Tape
- A sharp razor knife with extra blades – or a carpet knife
- Work gloves are important to have as well
Removing Carpeting Tack Strips
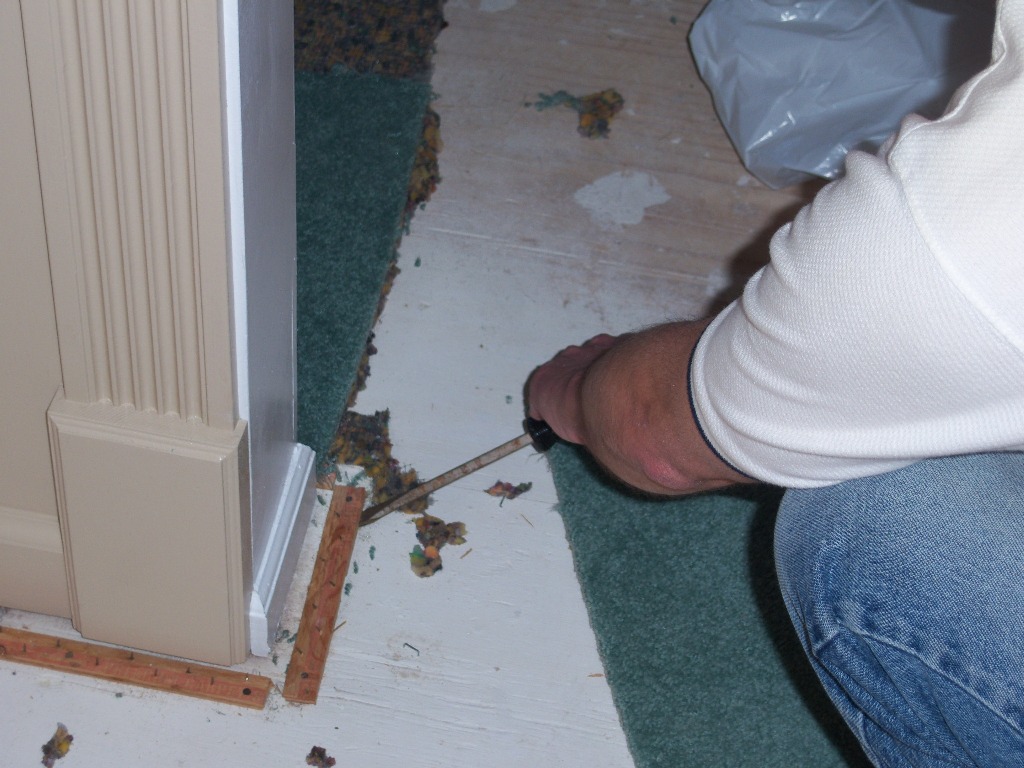
Since we’re installing hardwood flooring, the tack strips (used to secure the carpeting at the room perimeter) have to go as well.
Plywood Subfloor Clean-Up
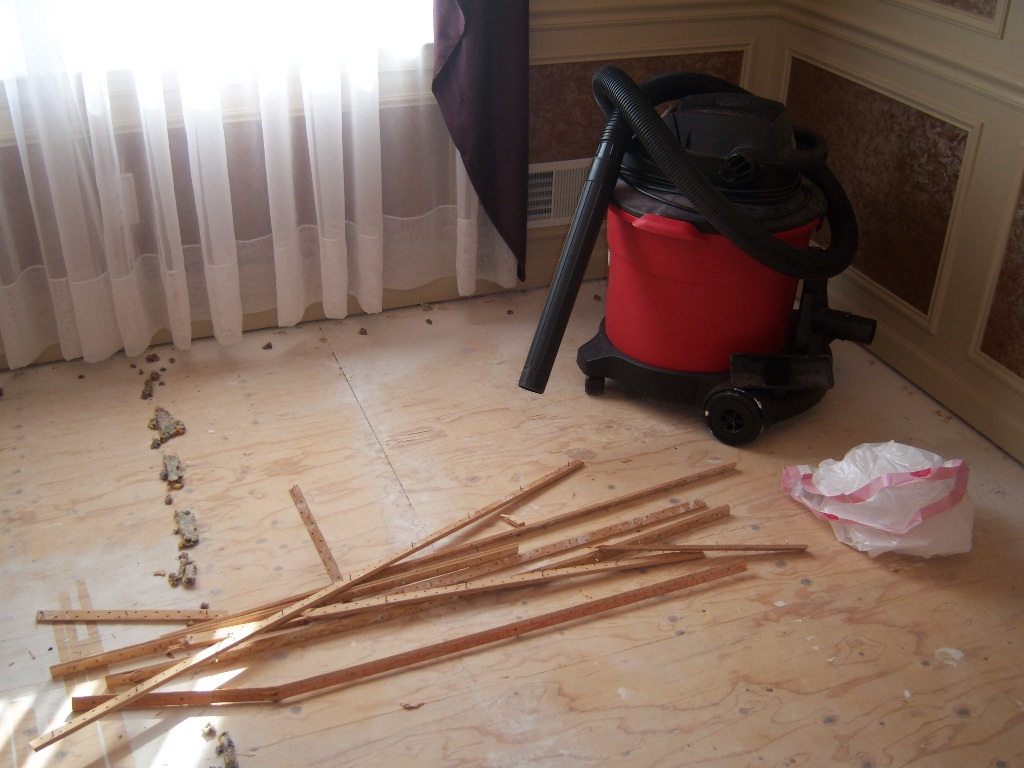
All the staples used to hold the carpet padding in place must also be removed from the subfloor. You can use a pliers for this or you can get a long-handled floor scraping tool which I’ve surely seen carpet installers use. But once the plywood subfloor is “clean” – give it a good once-over: nail down any nail heads that may be protruding and clean everything up nice and neat with a shop vacuum.
Carpeting and Padding Bundles for Disposal
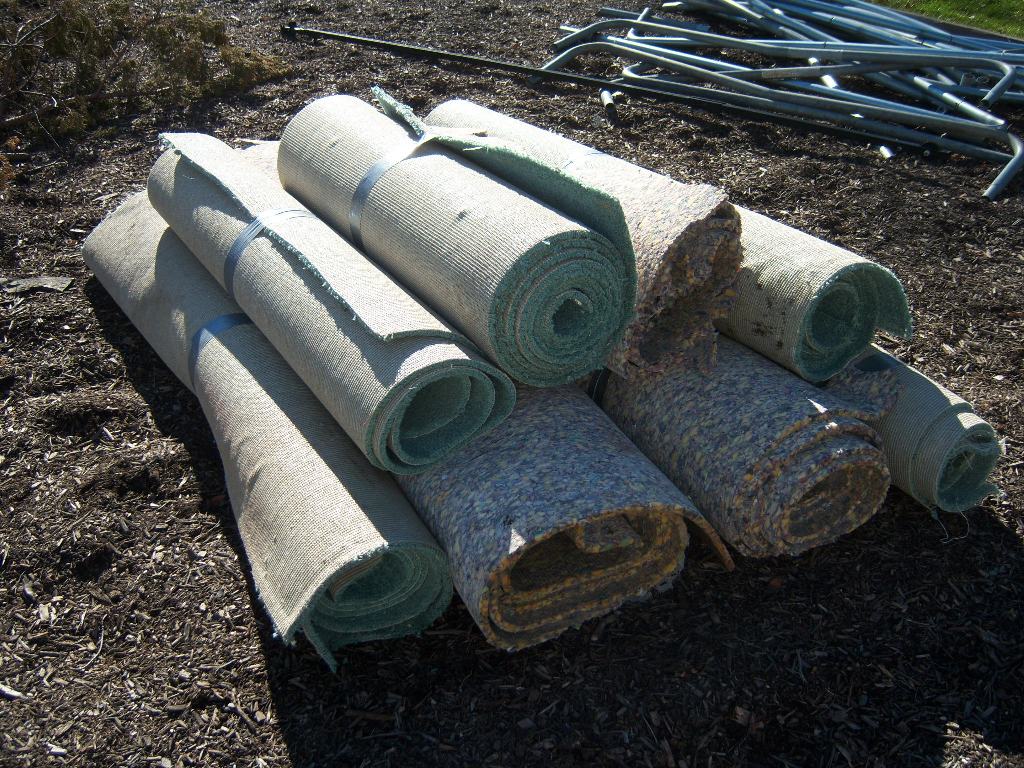
And finally – get all of your carpeting and padding bundles ready for the dump, or hopefully – you can put them out to the curb for township collection.
Plywood Subfloor Preparation
Now that the carpet is gone (and your room will very likely be ‘echoing’ more than it did before), there’s some additional preparation work for the subfloor – and these items will get us on the road for the actual hardwood flooring installation. Let’s start once more with a video, and then following this – I’ll give more detail about materials, tools and some additional photos to call-out some specifics as well.
But please start right here…
Subfloor Preparation Tools and Materials
Now, let’s get to a few more of the details – starting with Red Rosin paper, which as you may have inferred from the video – I really like to use.
Red Rosin Paper
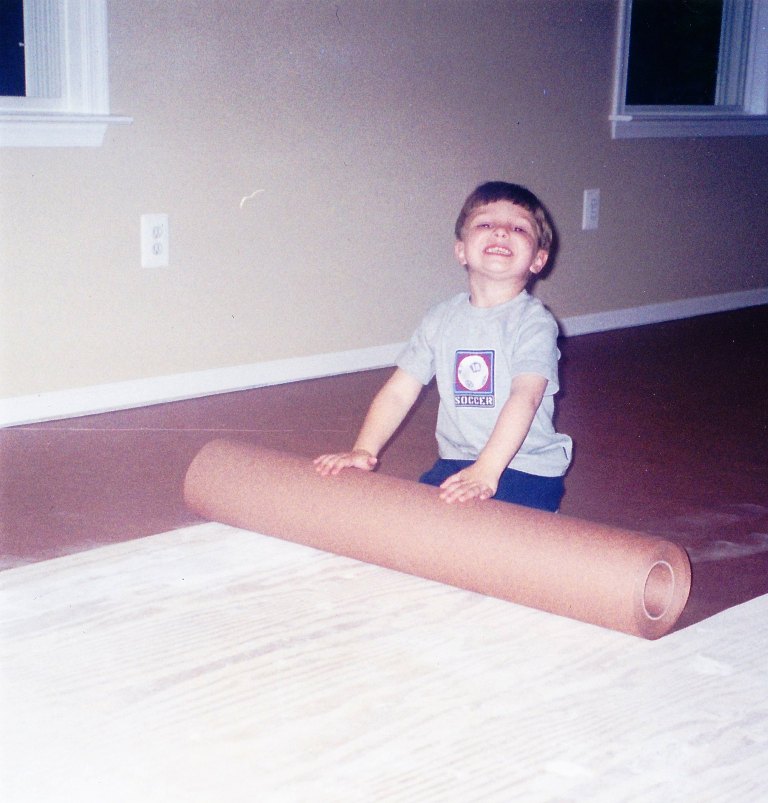
While not an advocate for child labor – I learned an awful lot from my Dad, and so I like to put my kids to work wherever I can…
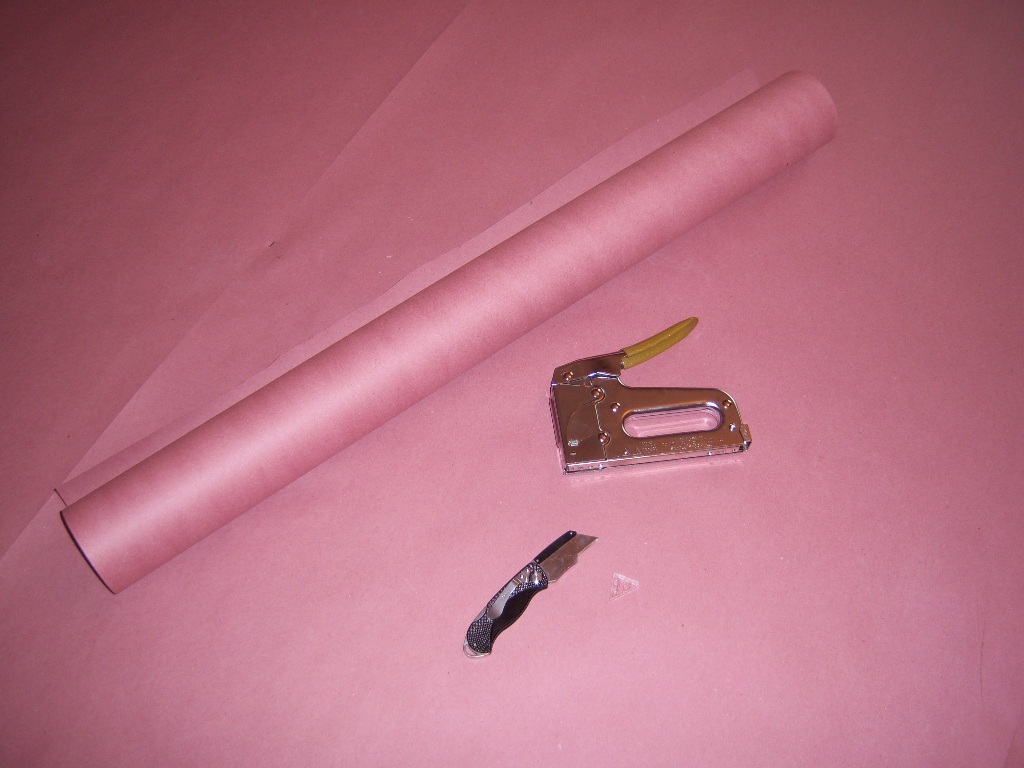
Red rosin paper just makes for a beautifully clean workspace. The plywood is covered neatly, and I use an industrial stapler (an inexpensive and very useful tool) to hold things in place. You can use a basic pair of scissors or a razor knife to trim the paper – nothing complicated about this. The entire effort on this front might take 30 minutes.
In the end, though, your entire room will be neat, clean – and you’ll be ready to start with your hardwood material. Almost…
Basement Preparation
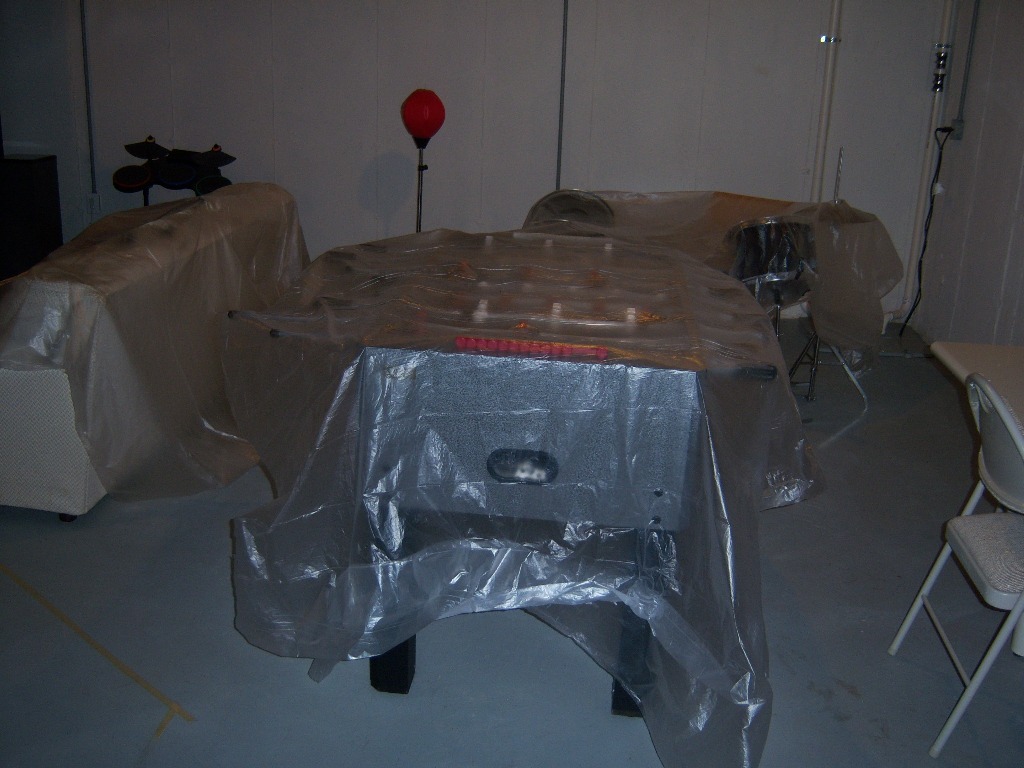
If you have a basement underneath your floor, you should also be sure to cover up anything below. I even covered my ferret cage – you’ll very likely make splinters when nailing into the plywood subfloor.
The covering you see below is painter’s plastic – very economical and quite effective.
Finish Nailer & Laser (or Chalk Line)
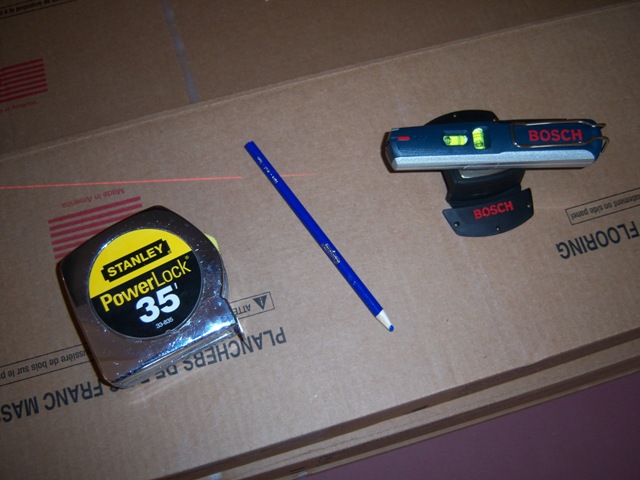
Many people use a chalk line to snap a straight line onto a floor – as a reference line. I’ve personally never been a huge fan of chalk lines – I find them a little imprecise, and on this project in particular – I don’t want to be kneeling on blue chalk either. So, I like using a laser as a straight-line reference.
In the photo below, you can see I’m using a laser level as the basis for my reference. (I’m not actually using the “level” capability at all.) In essence, I want to make sure the wall I’m starting with is truly straight. If it’s not – I have to adjust right from the get-go, and as you saw in the video above… my starting wall (molding) was NOT straight.
A few key tips to keep in mind as you start laying out your starting line:
- You want the hardwood planks to run perpendicular to underlying floor joists to maximize the stability of the floor.
- Your hardwood manufacturer will recommend a spacing gap to keep the flooring away from the walls – this is imperative to allow for expansion and contraction of the floor overall as temperatures change. Read the instructions from your manufacturer carefully to get this key requirement.
- Don’t start installing any hardwood, not even the initial row, unless your material has been in your house and had a chance to adjust to the room temperature and humidity for at least 2-3 days – you’ll very likely see that your manufacturer recommends something like this on the instructions they provide as well.
- And Very Important: Once you draw your first line – which accommodates the width of the first plank row, the expansion spacing and also handles potential “imperfect straightness” with your starting wall… spend the time: be insanely anal retentive. Use your tape measure (and laser) and lay out additional guidelines every couple of feet across the whole room. These additional lines will give you peace of mind as you progress through the hardwood installation – you’ll want to see that you remain parallel to these. You really should… but in case (for some reason) you start to veer off, you’ll know about it before you reach the end of the room and have a problem you cannot correct.
Face Nailing the Initial Hardwood Rows
The most awesome tool for this project, in my opinion, is the blind nailer – but unfortunately, you simply cannot use it for the first 2-3 rows; it just won’t fit. I’ll show you lots more with that nailer as the project progresses.
But, the first couple of rows need to be face-nailed – which means exactly what it sounds like: you’ll see I use my finish nailer (with my compressor) to drive finish nails right into the face of the initial planks…
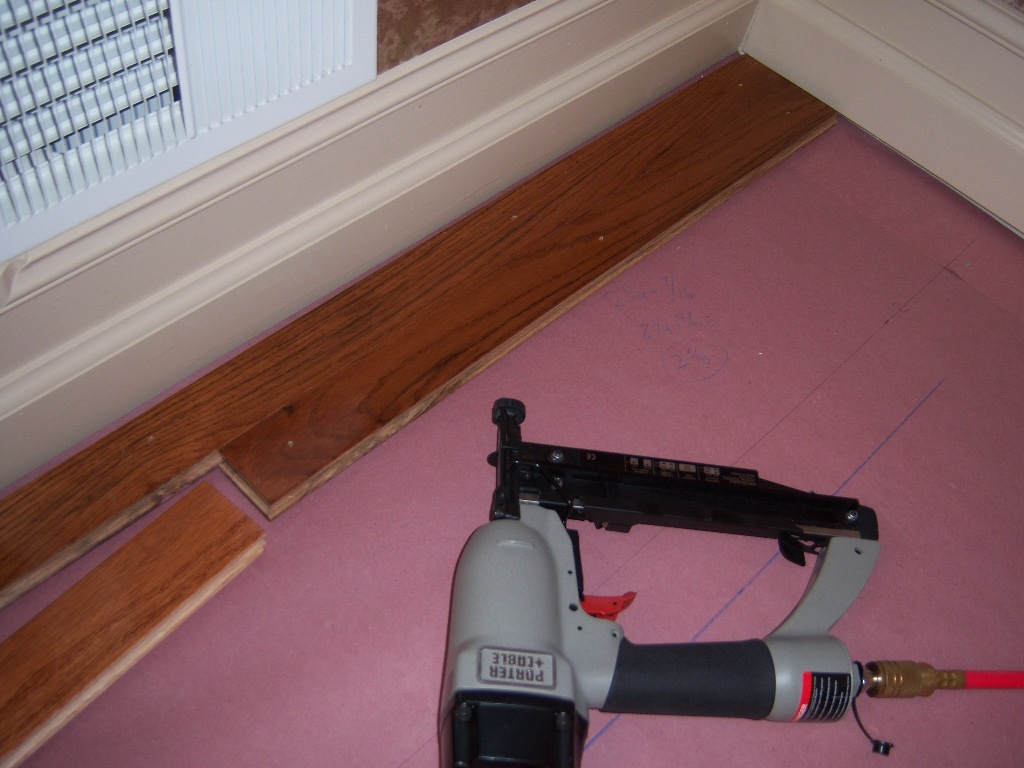
When the project approaches completion, these face imperfections will be filled with a color-matched putty, but for now – this is how we get things started.
And this was shown explicitly in the video above as well – in action!
Installing the Flooring Planks & Detail Work
In the second installation of this project, we’ll address installation of the planks through-out the entire room, and the extremely-important finish work: room transitions (hardwood to carpet & hardwood to tile), installing the cap moldings, dealing with plinth blocks and chamfering where necessary to give a nice finished look.
Once more – everyone’s project is going to be a little bit different. But I’m hoping what I show here can really give you a good feel for what it takes to undertake such an effort.
And if anyone has any additional insight, suggestions or tips to provide (as we all surely have our own techniques and experiences), please do comment below!

Thanks so much for this post–and especially thanks for your honesty. I can’t tell you how many blogs I’ve seen that try and say “No! Installing a hardwood floor is easy! It only takes a few hours!” Yours was honest, realistic and instructive. Bookmarked for later. Thanks again!
Mark,
I noticed you are using Bruce solid hardwood flooring. I to am using the same Brand of flooring in 2 1/4 width gunstock solid flooring. On my boxes it requests a 3/4 inch expansion gap. I would assume your boxes had a similar requirement. I noticed in your video that it did not appear that big of a gap, 3/4 of an inch on the first row you started. My question is this because your wall was not straight? Or is there another reason? Thanks.
Great observation, Brian – you’re absolutely right. I didn’t go to the 3/4 inches as a matter of personal taste, quite frankly. I like the 1/4 inch quarter round with the base molding as opposed to the 3/4 inch. It’s always best to follow the manufacturer’s directions, of course, but I opted to take the personal risk. All, for me, was fine. Speaking somewhat generally – the larger the room, though, the more potential for expansion with increasing temperature.
Mark,
One last question. Have you ever considered or placed a bead of caulk/silicone in the gap under the drywall and the subfloor? This would be in an effort to make the room more energy efficient by preventing air leaking into the room at the drywall subfloor juncture. The hardwood is not able to expand into the gap anyways as the hardwood is thicker than that particular gap. This is not to suggest filling the expansion gap. Merely just the little gap between the bottom edge of the drywall and subfloor. The reason I ask is I am interested in reducing every little bit of air flow from the unconditioned areas on the outside of the conditioned areas. In my case, the room I am finishing is in the upstairs of my home, and the non-conditioned side of the wall represents attic space along the perimeter of the new room. Thanks for the help.
Hi Brian – I’m more than happy to give my opinion/thoughts/experiences on any questions – no problem at all. From what you describe here, I might be more inclined to use a little bit of fiberglass insulation within the stretch of that gap. Caulk (or silicone) won’t necessarily adhere too well to the porous subfloor or sheetrock surfaces – and may not be as resilient (as compared to the fiberglass) over the long-term with expansion & contraction due to the [potentially significant] temperature changes due to that attic space. Perhaps this is another option you can consider.
Since posting this article, a few folks have contacted me in various ways to suggest an alternative to face-nailing in the center of the boards of the first few rows: a) face-nail close to the wall (where molding may cover), and then b) angle-nail into the tongue as well. This could surely provide a better look – and if trying this, I’d only suggest testing first on a “sacrificial” board to be sure it doesn’t crack. Thanks to Toby, Max and Carol for the suggestions!
Hi Mark – On the first hardwood floor video, you talk about using the laser level to mark across the room, but didn’t say how you measured. If the starting wall was crooked and you marked a distance from the window wall on each adjacent wall, and connected them with the laser, the line would be parallel to the window wall, but I’m pretty sure you said you wanted the line to be perpendicular to the walls the boards run between. I’m not sure how you accomplished that. Could you please say a few more words about this?
Hi Holly – I use the laser to assess “straightness” of the starting wall as I get started. In 9 of 10 times there should be no problem. The way my life works – I’m usually the 1 of 10, and I was. (Shocker.) By holding the laser close to the wall and aligning it to be “eyeball-parallel” – I can easily see if the starting wall is, in fact, not straight. The concave section popped right out as you can see in the video above… but it spanned only a few feet: the rest of the wall was essentially straight, as it really should be. (Sometimes it’s just one 2×4 in the framing that’s off, and it pulls the wall in or out a bit.)
So I set my first guideline to the majority parallel section, adjusted for the first board width and expansion spacing as I mention above, and then I take it from there. I also create such guidelines (now via *measurement* from the first) across the whole room hoping to reach the far-end wall still nice and parallel. And in my case – that end-wall interface worked out quite nicely.
Every house and room can be somewhat different, of course – and while this is a lot of prep work, in my opinion, it’s surely necessary. Many contractors installing tile floors or showers will do something comparable: everything is measured and marked out first. This helps to minimize the potential for unexpected “surprises” during the actual installation.