2020 Update — Originally Published May, 2011
Last spring, my wife and I came up with a dream landscape and hardscape design to complement our in ground swimming pool – and we partnered with a number of local contractors to help bring that vision to life. It was a huge undertaking. In the end, though (photo below), we were both so genuinely happy and proud of the outcome!
But if you live anywhere near the Jersey Shore, you know that we then had one of the most brutal summers – followed by an equally harsh winter with huge amounts of snow. The intense heat (and minimal rain) of the summer was great for the beaches and tourists, but just terrible for landscaping. Furthermore, the weight of the multiple feet of snow on top of delicate shrubs for most of the winter was physically damaging as well. Mulch and loose landscape stones made for a multi-colored mess from all the run-off.
Need to hire a local landscaper? Get free estimates online from top pros in your area!
But now that we’re well into the spring and heading toward the summer, it’s time to rejuvenate everything. I want this all to look exactly as it did when it was brand new last year…
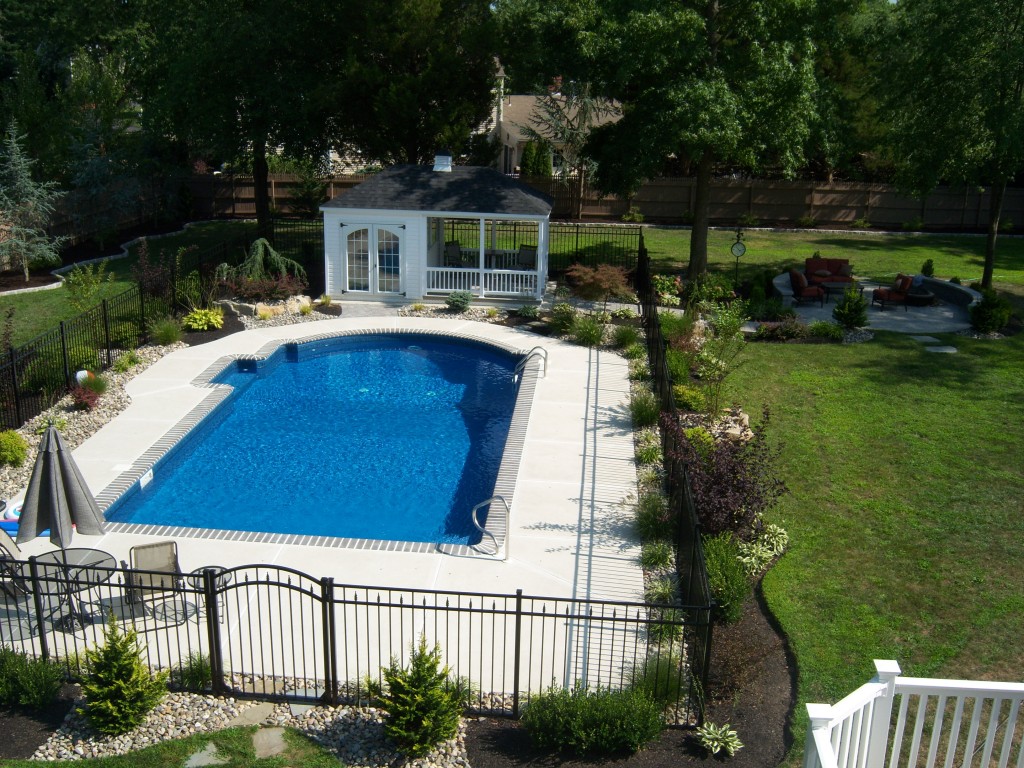
The following summary of “to do” items isn’t really complicated work, but it is time-consuming and it’s definitely a problem if you suffer from allergies. So, read through – and this may give you some insights to help you move forward on your own, or it may motivate you to hire a local contractor to help. Either way, though, the more information you have in advance, the better prepared you’ll be.
And, of course, this will apply to most any landscape at all – though this summary is focused on the areas around my pool.
Pool Landscape Trees, Shrubs and Plants
Before we go any further, I’ve had a number of folks ask about the various plants we used in our pool landscape design via private emails, via comments – and also via questions on Pinterest. (This is very flattering and most appreciated!) That said, I’ll now provide a list below. You’ll see all of these trees, shrubs and plants in the photos throughout this article, and I’ll also provide Amazon links so you can dive deeper if you’re so inclined…
My Pool Landscape Trees (back to front):
- Japanese Maple (back right)
- Weeping Atlas Cedar (back left)
- Weeping Norway Spruce (back right, outside the fence)
- Crepe Myrtles (2) – about halfway back, left and right
- A line of Green Giant Arborvitaes, by the filter on the left
- Hinoki Cypress (2) – at the front by the entrance gate in the shot above
Pool Landscape Shrubs:
- Boxwoods
- Barberry (I assume the plural is “Barberries?”)
- Spireas
- Andromeda
- Hydrangea
- Golden Thread Cypress
- Weigelas (I absolutely LOVE my Weigelas.)
Hostas and Grasses:
- Minuteman Hostas
- Liriope
- Maiden Grass – the beach grasses
I may have missed one or two, but this is the vast majority. And with that all said now, let’s turn back to the efforts to make this all beautiful once more…
Assess the Swimming Pool Landscape Damage
Start off by walking the entire landscape – and noting all the damage. Look for broken branches, shrubs that need to be reshaped, grasses and Hosta varieties that may need to be cut back, mulch areas that may be bare from rain/snow run-off, sloppy edges to lawn areas (if you have no explicit plastic/metal landscape edging in place) and small landscape stones that may need to be re-positioned back to their original positions to make a nice crisp aesthetic presentation once again.
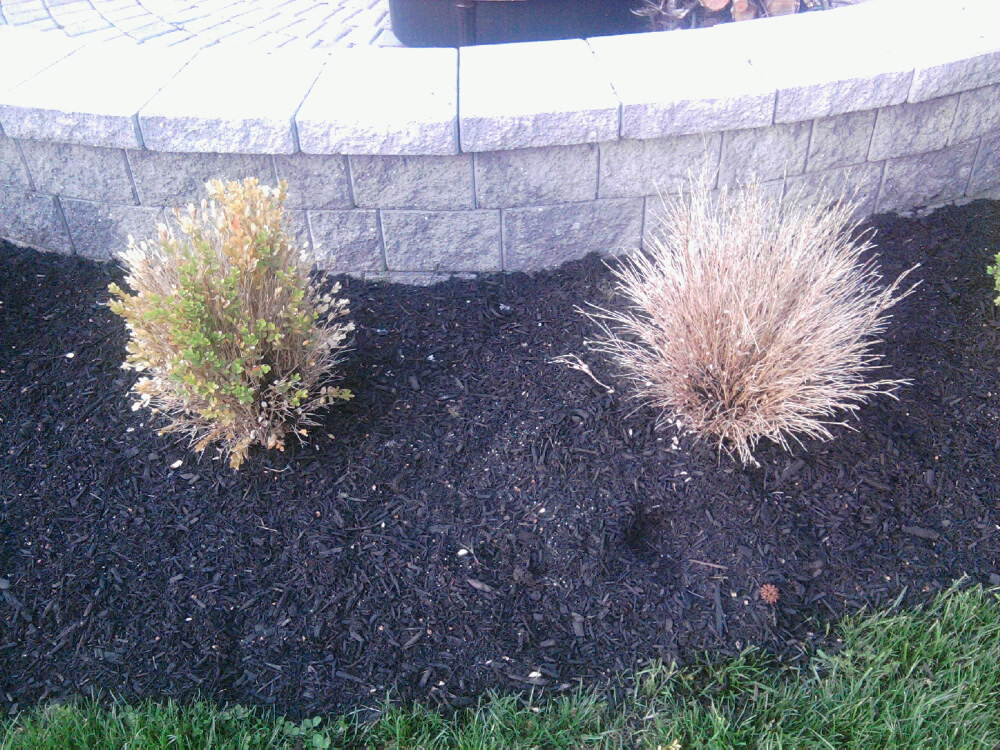
Also look for dead shrubs. Since my landscape was only a year old – I had a few. We lost two Boxwoods (photo below), an Andromeda and a Hydrangea. The Amazon links show “living versions” of the shrubs I lost.
Not bad considering the terrible weather really.
Nursery Materials – The Best Mulch
Since this is going to be a big job, preparation is really important. The fact is, you’re going to get filthy and you don’t want to have to hop in your car while in the middle of all this because you forgot something. Get all your replacement shrubs in advance. Have extra high quality weed felt on hand. Get your mulch delivered. Have all of your tools and extension cords outside with you and organized before your start. I never do a job like this without a radio or an iPod as well – you need to have some fun, after all!
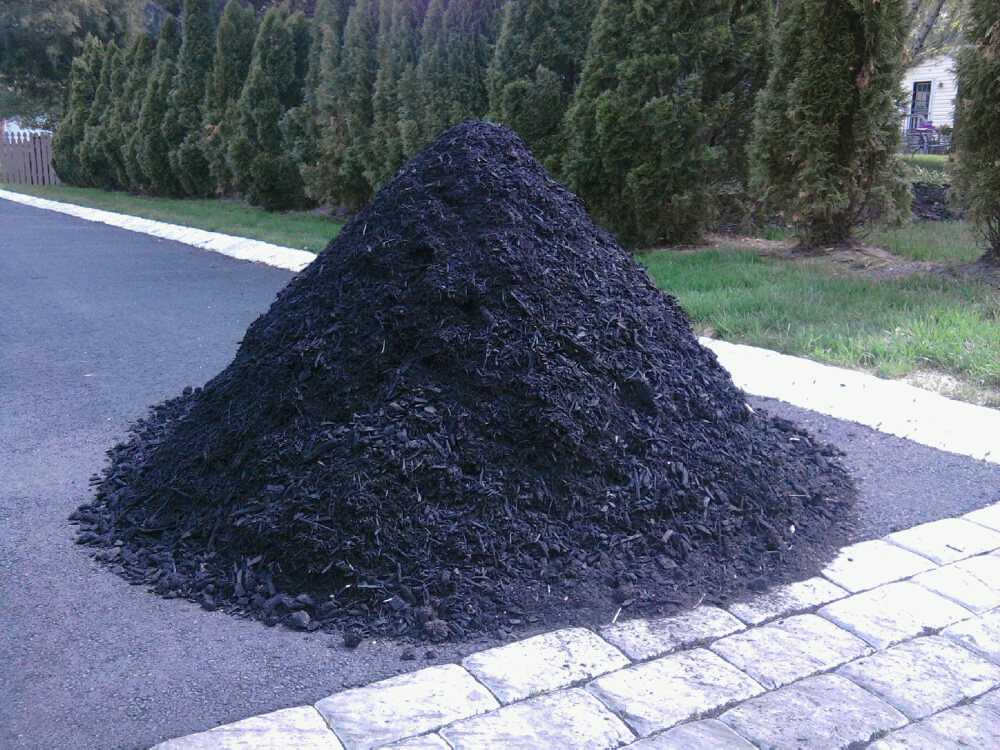
Regarding mulch delivery, this could take a couple of days if you need a lot, and it’s a good idea to be on-site when it’s delivered so you ensure the truck drops it exactly where you want. For me, I needed 5 cubic yards – which is not an amount you’re going to buy in bags at a hardware store. Also consider getting “dyed” mulch for the best aesthetic; the additional color usually lasts for a few months. I got 5 yards of black-dyed mulch. This is, however, much messier to work with – so be sure you have gloves. A small amount of this is shown in the pile below – probably a little less than 1 yard…
Landscape Shrubs and Grasses
Replace the dead shrubs first. Be careful with the weed felt as you remove the dead ones – you don’t want to accidentally rip that out or tear it if you can avoid it. For tips on replacing shrubs/trees, you might want to check out our recent tree-planting article here: Tree Planting 101.
Need to hire a local landscaper? Get free estimates online from top pros in your area!
Now assess the remaining shrubs and landscape trees one-at-a-time. Remove any dead branches and if you want to do any shaping or pruning to achieve a certain look, now is the time. My goal is to keep things looking nice, neat and low – but everyone will have different objectives here. If you’re not sure how to prune a specific shrub or tree: research it.
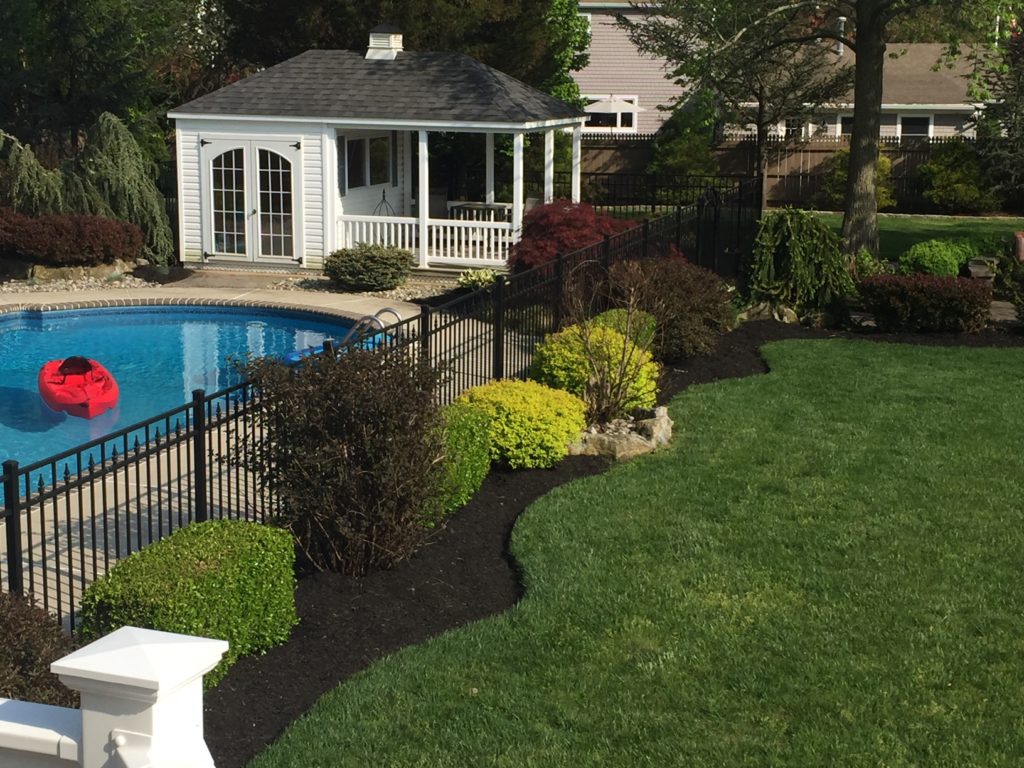
You can do permanent damage if you prune something incorrectly.
If you have grasses or Hostas, these can be cut back to facilitate nice, fresh growth. I have a lot of these, as I think they make the pool area look particularly “beachy.”
The Hostas will naturally die right to the ground in the fall/winter and as they start coming up in the spring – it’s best if all the dead material has been removed. Below are shots of two of my Hosta varieties looking brand new; I had removed the dead material in the fall:
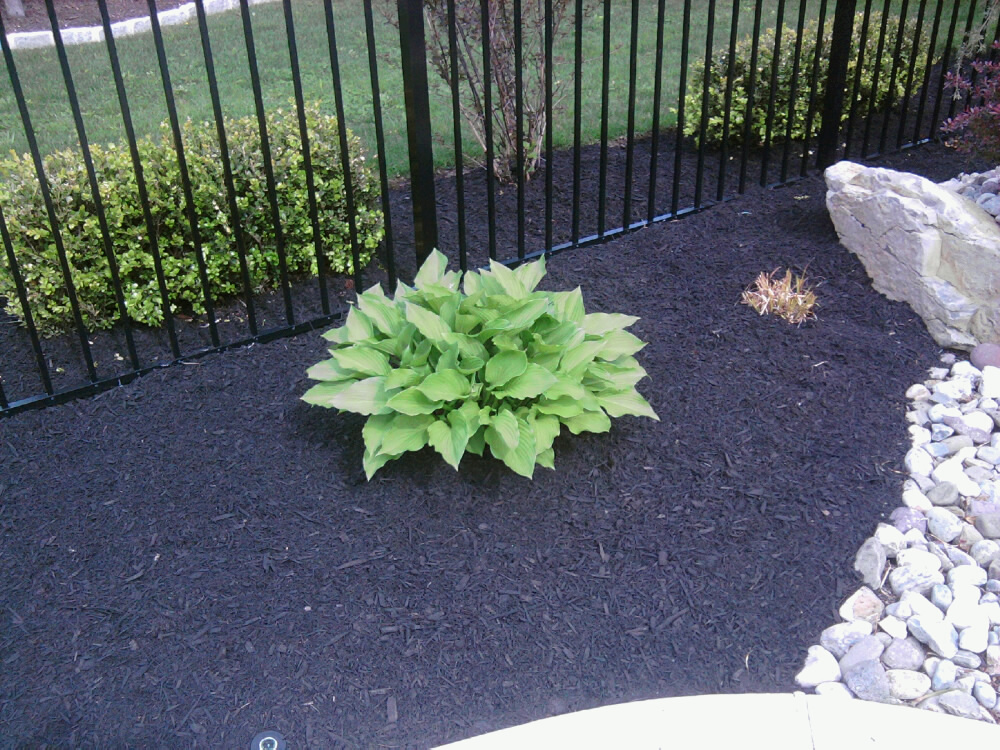
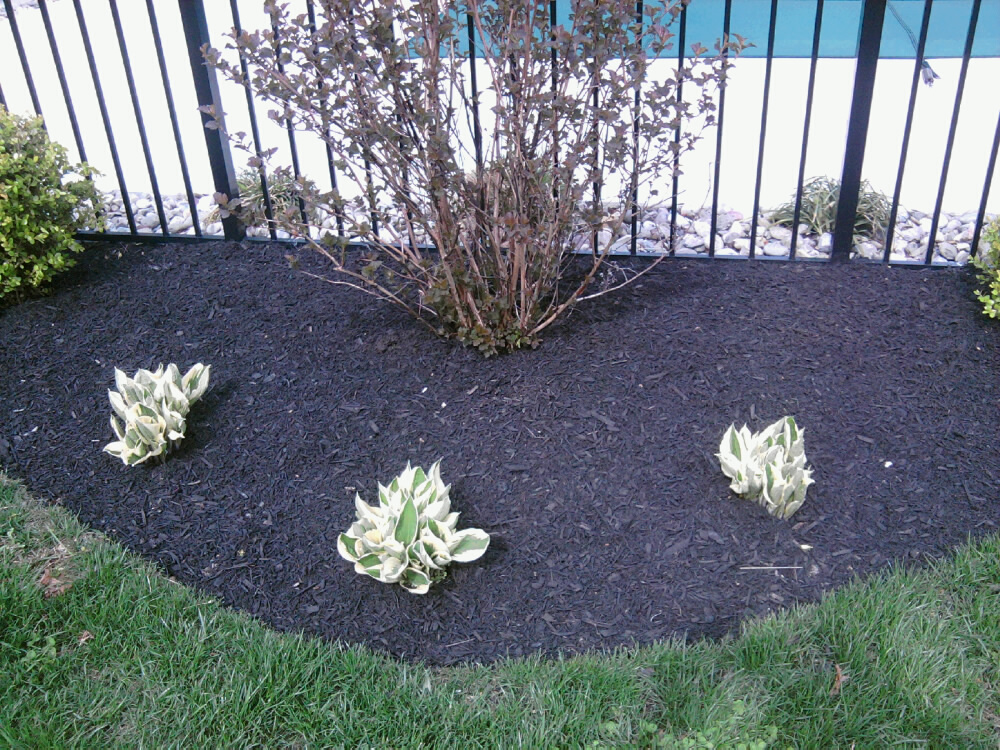
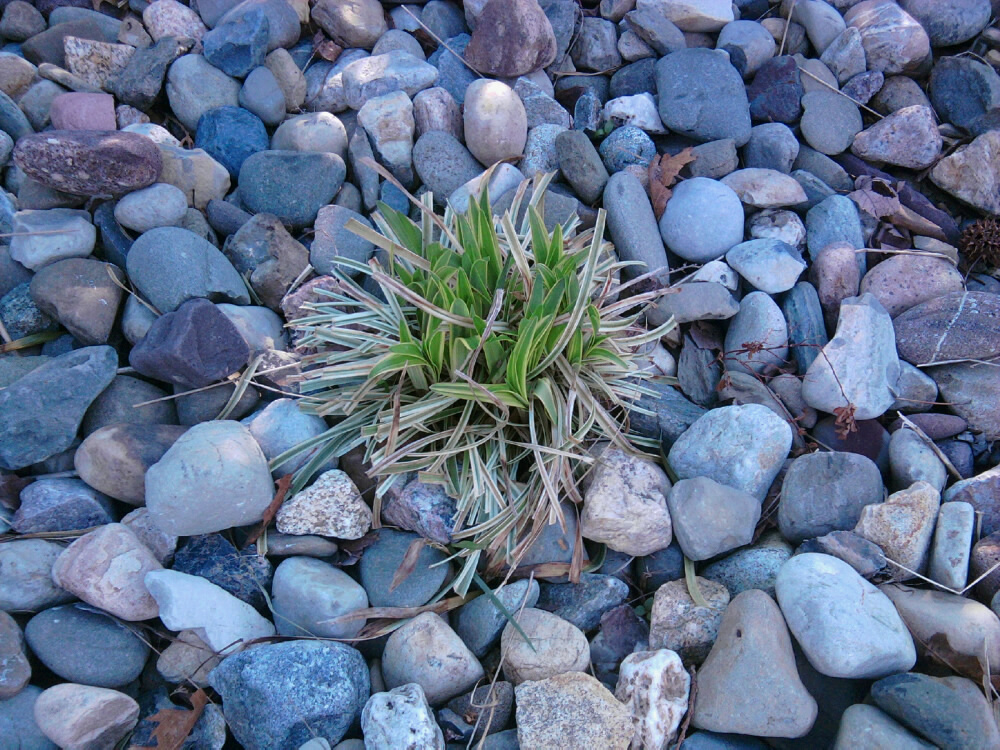
Regarding the grasses, you definitely don’t want to cut these down to the ground, but you can surely cut them back a bit if you want. Two varieties are below – and you should look at these photos closely.
In the first, I cut these about 5 inches up from the ground – and you can see they’re now half green and half brown. These were about 18-20” high before I cut them back.
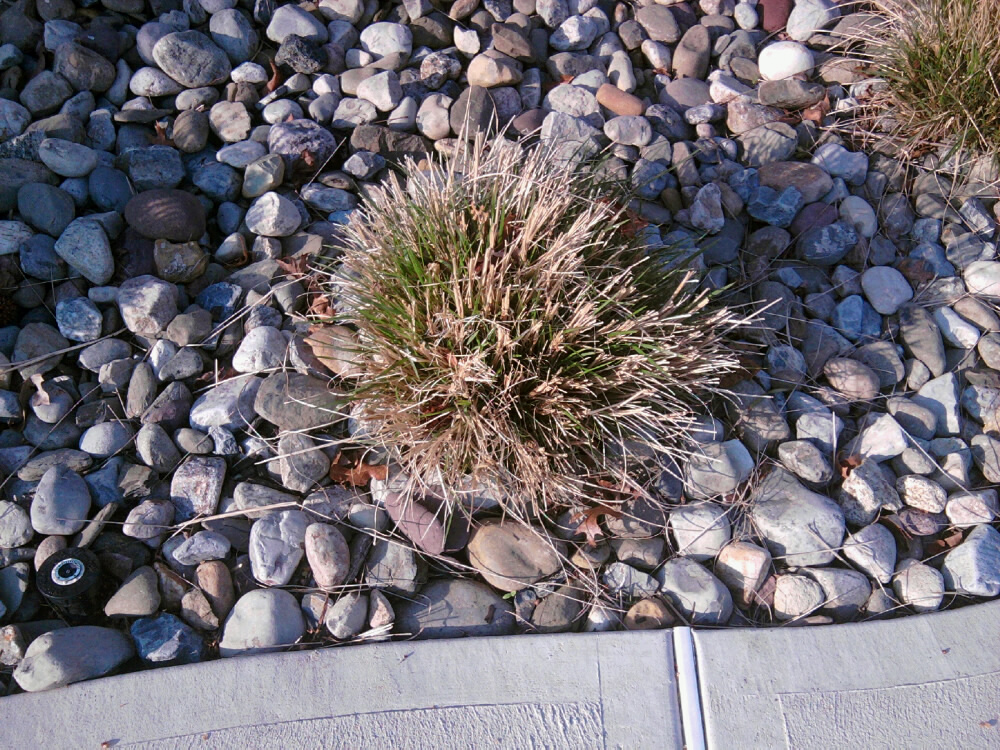
For some of the smaller grass varieties, you may see new growth starting from the middle with the older growth dying around the edges. For these, I carefully trimmed off the dead material simply to facilitate more of the plant’s energy to the new growth – and also to make things look a little nicer. Having a bunch of dead grass blades sprawling all over my landscape stones didn’t look quite as nice as this does now. And in 1-2 weeks, that new growth you can see will take over completely.
Clean Landscape Edges and Weed Felt
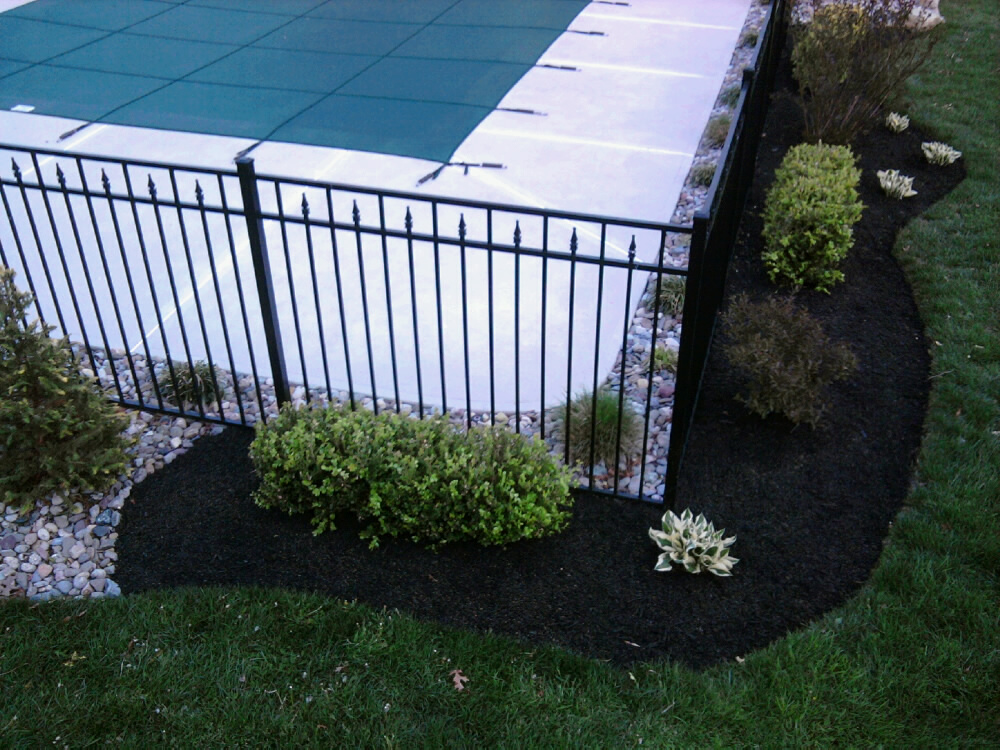
You may find that your mulch areas have had so much run off that you’re staring at bare weed felt in some areas – I sure did. In some areas (near the edges), the weed felt was even sticking up above the ground. Not good. Furthermore, my edging is natural: there’s no plastic or metal retainer of any kind. And while this looks nice (I think), it requires a little more maintenance. You may need to take a straight shovel to some of these areas to clean up that edge. In the following photo (even though I’ve already added nice new mulch here and it looks pretty), it surely didn’t look nice when I started… that whole edge (grass-to-mulch) had to be refined.
I re-positioned the weed felt carefully as well (at the edges) so that when I was ready to dump new mulch on top of it again, it would remain buried. If you want, you can even tack it down a bit – some landscapers do this.
Weeding the Landscape Design
And now for the LEAST fun thing of all… you’re going to have to weed every square foot of your landscape by hand. It’s the beginning of the season, and I can offer you no comfort on this front. I find this is most tedious in the stone areas such as the one shown here:
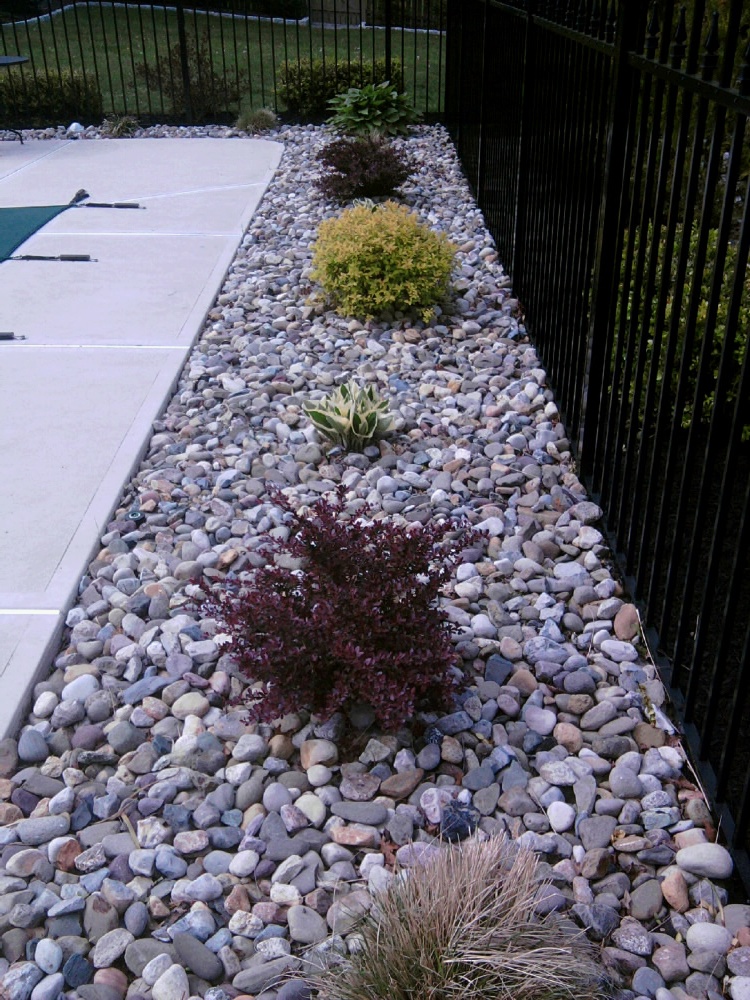
The decorative landscape stones sit on top of weed felt, and if weeds have made it though they’re going to be tough to rip out. Plus, it’s a little clumsy to walk on top of the stones while doing this. Overall, I spent about 2 hours weeding all areas of this entire pool landscape.
Resetting the Landscape Stone Work
Now, finally – something a little more interesting and gratifying than weeding…
You can see throughout my landscape there are areas where the landscape stones meet the mulch. Over the winter these stones shifted in some places. It’s now time to go to each area where the stones meet the mulch (and also the grass) and reposition neatly where needed. You may think this is a little anal-retentive, but I think it’s well-worth the 30-minutes. If you need motivation, think back to how much money you paid for this landscape and how good you want it to look for the first party you’re going to have!
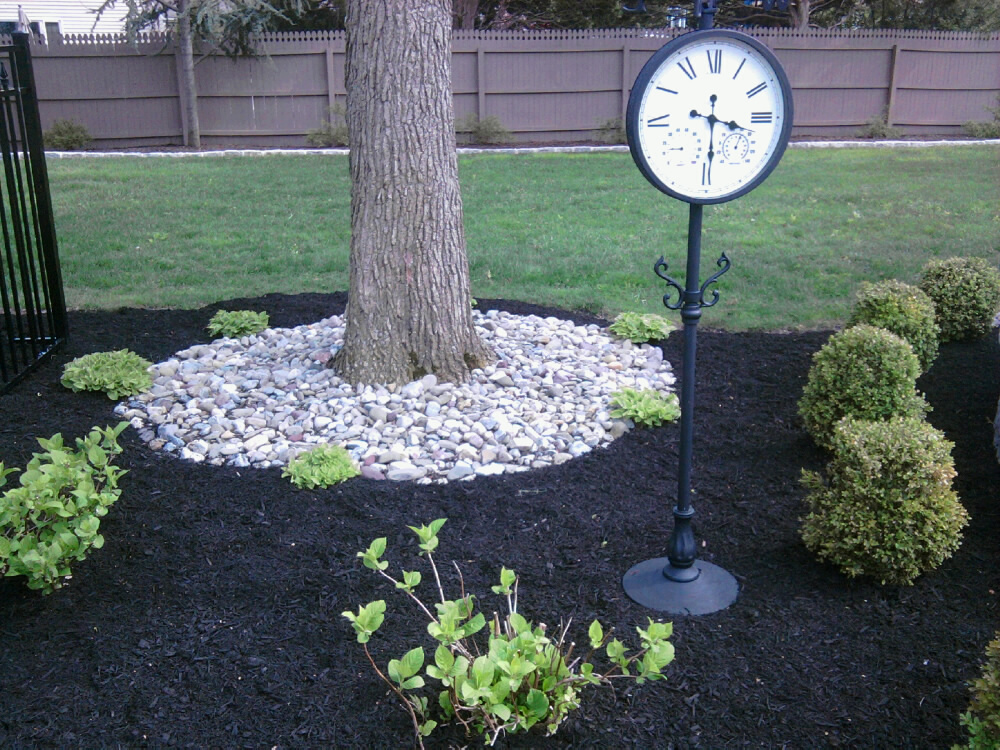
It took only about 10 minutes to make this stone circle look like an actual “circle” again:
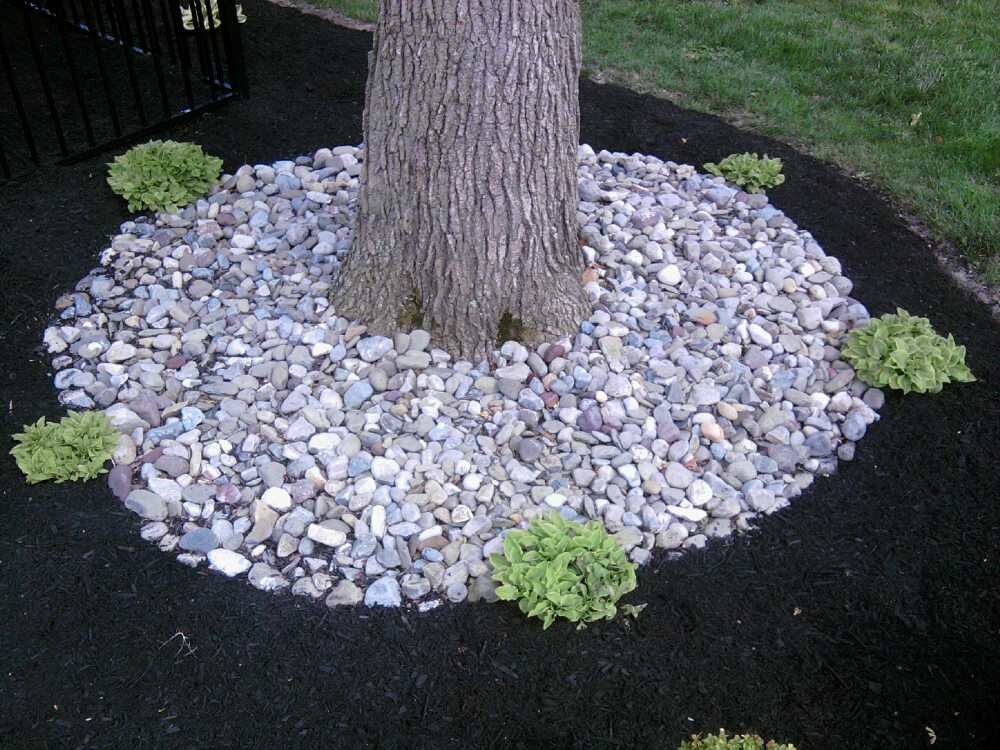
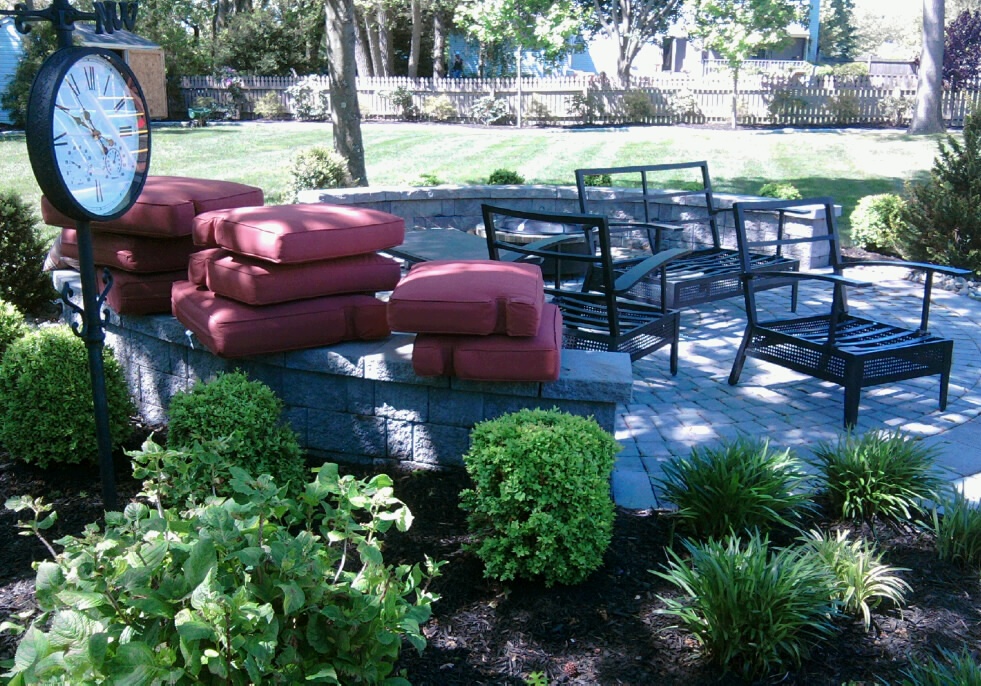
Below is another shot of the Delaware river stone circle from above, but pulled back slightly to show my beautiful outdoor standing landscape clock. We had this for about 4 years before a hurricane, well, decimated it. (I digress, I know… but I loved that clock.) Here are some alternatives available on Amazon – but I could never find exactly the same one.
In less than 5-minutes of effort, this walkway stone line was once again nice and neat:
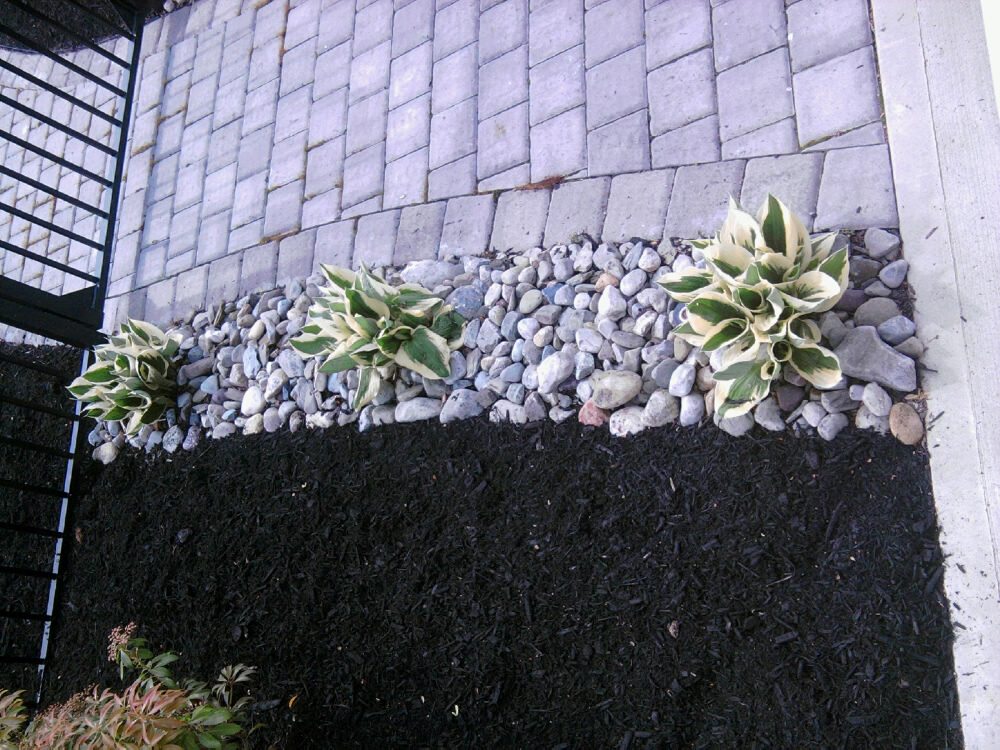
Are the kids going to accidentally kick these stones when using the pool? Are they going to STAND in the stones from time-to-time no matter how many times we ask them not to? You know they are – and we’ll have to grin and bear to a degree. It’s part of being a good parent, right?
Mulching for the Pool Landscaping End-State
Adding the mulch is the “finishing touch,” but it’s not quick – and with the dyed-mulch, it’s particularly messy. Also, it’s really a good idea to wear a mask if you have allergy issues.
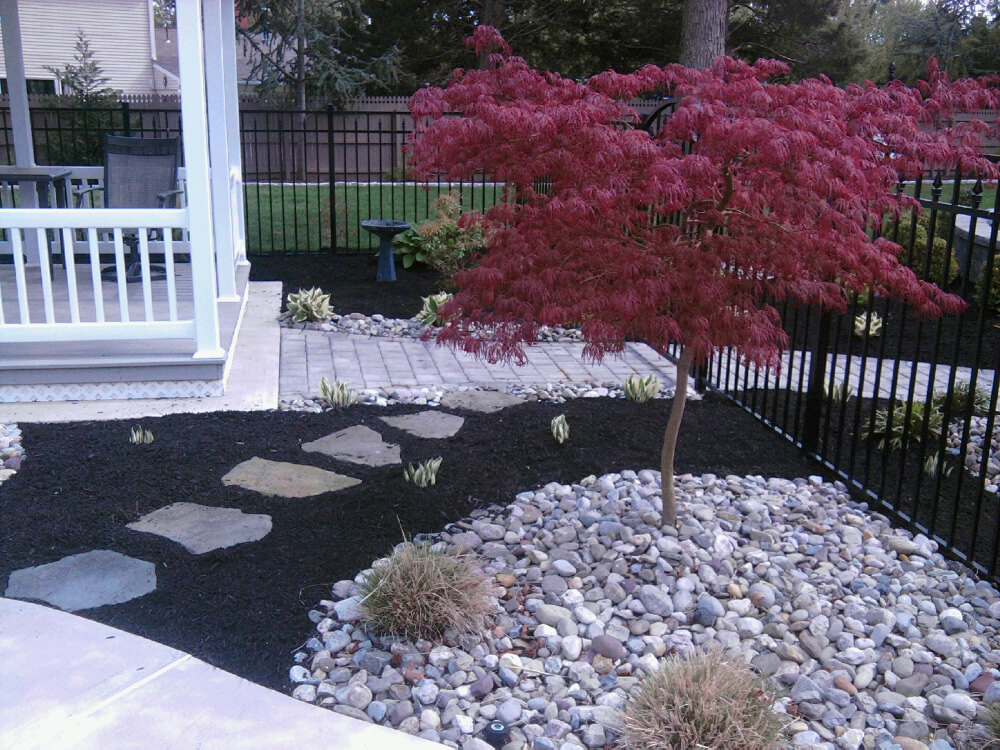
Put it down thick and spread it gently with a heavy metal rake in the large-area sections; I usually try to keep it about 2-3 inches thick. Be careful NOT to bury any sprinkler heads (mark them out in advance with landscape marking flags), and when you get close to those nice, neat stone borders you just straightened-up – get right down on your hands and knees and spread it by hand there so that the interface is beautifully crisp and clean. (If you try to do this with a rake, you’ll get mulch all over the rocks – you have to get down and dirty, here.)
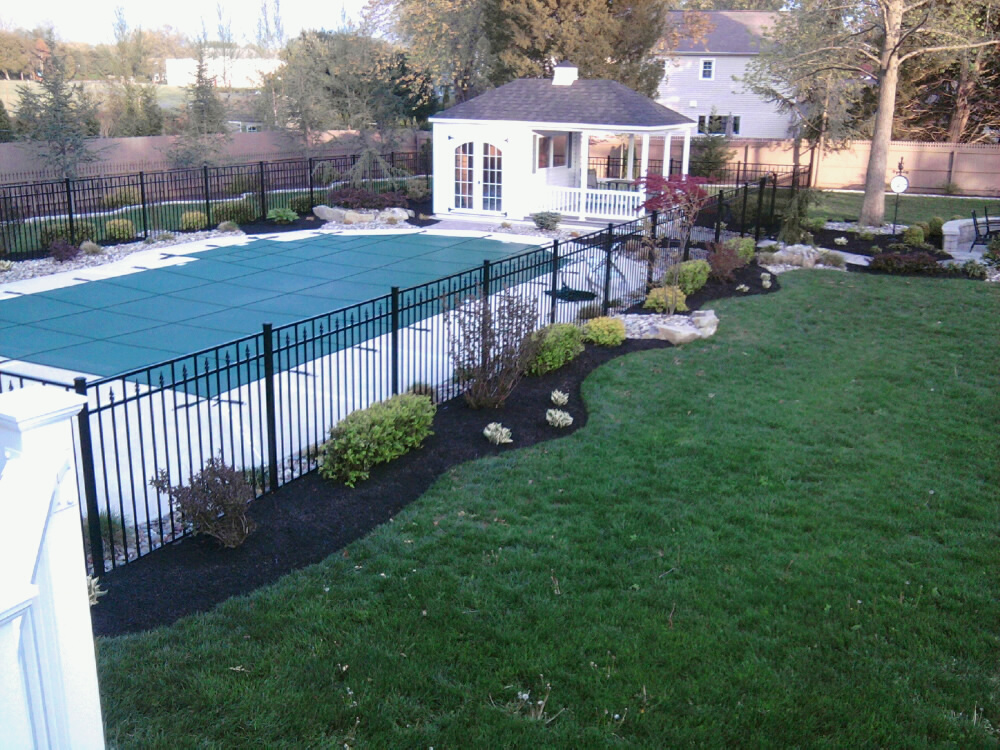
Pool Season: Two Weeks Later…
The pool is finally uncovered and cleaned.
The Minuteman Hostas are much further along, and my personal favorites, the numerous Weigelas, are just starting to flower as well! And we’re ready for another pool season…
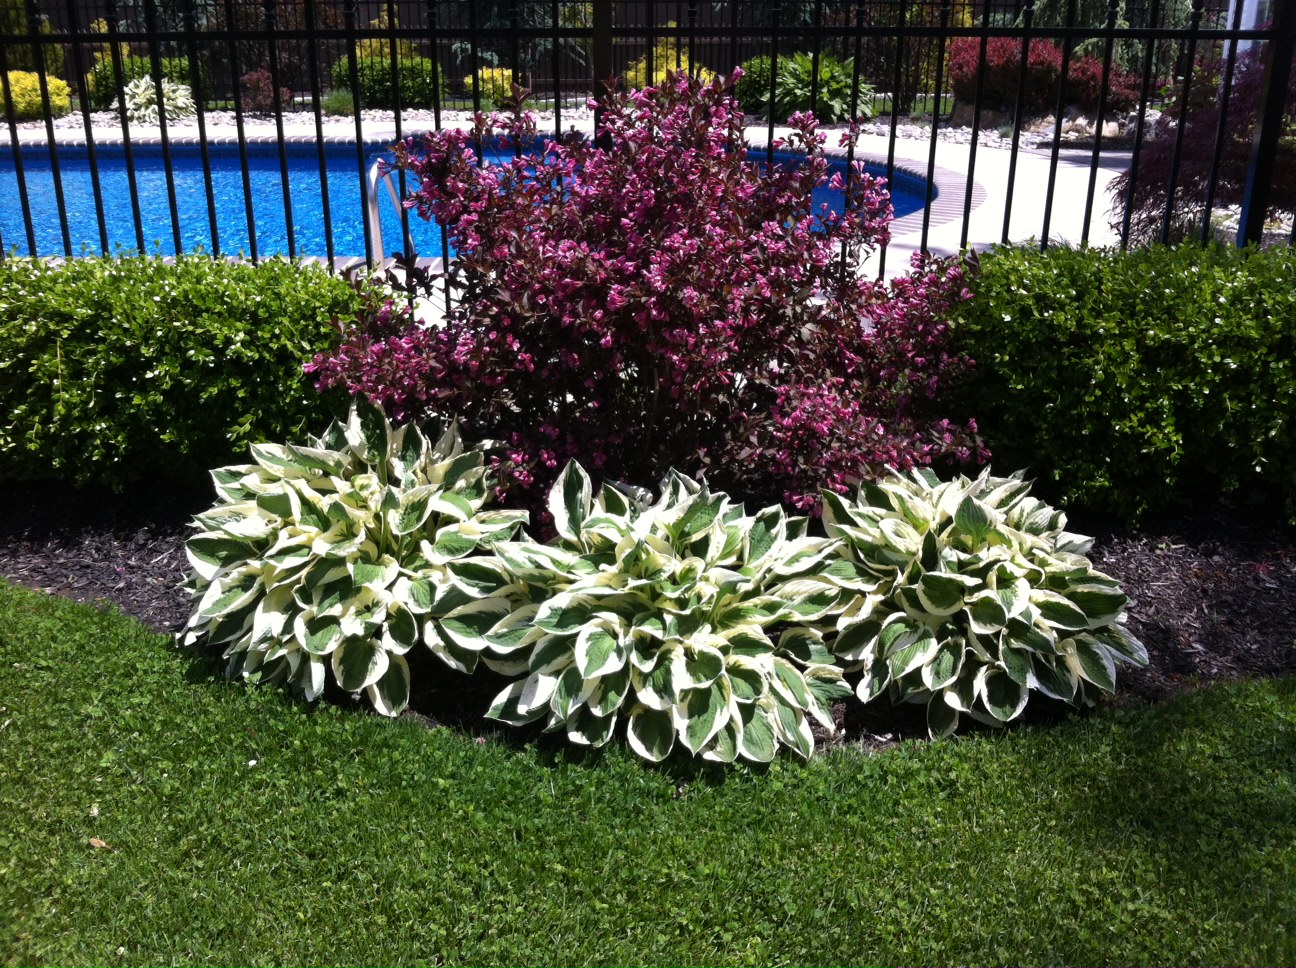
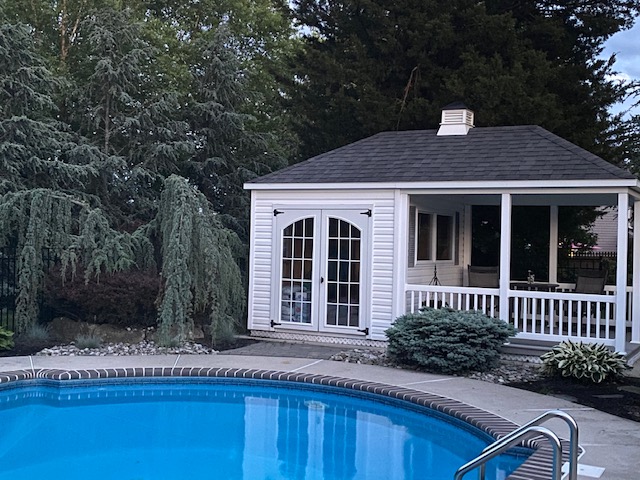
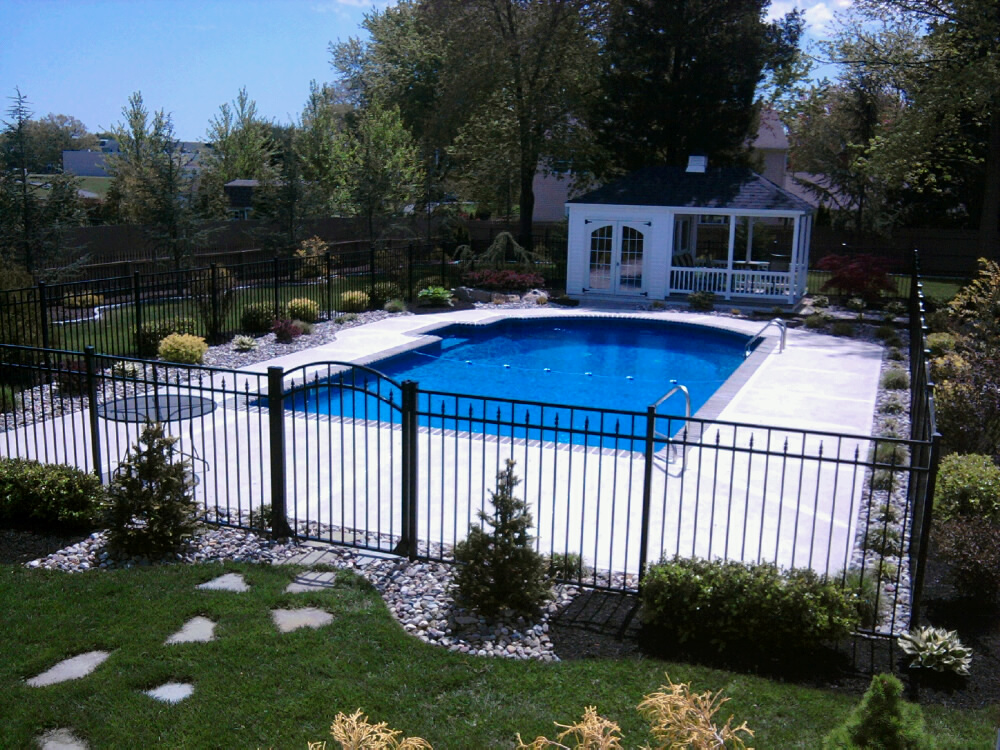
I think this looks pretty much like it did when it was brand new. What do you think?
Would love to hear about (and see photos of) additional landscape designs, tips – and definitely war stories! Please comment below, and if you want to send photos (that I can add to your comments), use our contact page and they’ll come right to me.

How many yards of stone do you think you used for this?
I’m so sorry, Krystal – it would be a total guess, as it was forever ago. But I’d suggest the following: measure the area. The true number of square feet you need to fill… and then take that area measurement to a local contractor or even better, if you have, a local material supplier (the place contractors GO to for the mulch, stone, etc.). And ask a few folks there for their recommendations for the volume of stone you need – probably to fill a depth of about 2-3 inches… but ask this too. Maybe even ask their thoughts for the size, shape and color of the stone as well. I find that experts are generally happy to help like this – and in this way, you’re going right to the source and talking with folks from your area. Heck, you might even find someone willing to help with your job too!
What kind of gravel rocks do you recommend for around the sides of the pool?
I really like Delaware river stone, Ann – that’s what you see above. About 3″ on average with soft edges. Easy on the feet when you need to try to walk across them after spotting a remote weed from the pool!
Thank you so much for sharing! We have a similar pool and landscaping. It has been very helpful!
Thank you for your post. It is very helpful to me as I have a strip on far side of my garden that I want to place rocks in and plants. The plant suggestions great. I might want a little smaller stone, but I loved the descriptions and all pictures.
Your yard is beautiful. What are the measurements of the pool house?
The pool house is 10×18, Marybeth – the majority of which is an outside seating area. Further, it was a shed design from a local manufacturer that I modified before they constructed it. Below is a photo of one of my early designs… you’ll see it’s not exactly what you’ll see in the photos above, as we ended up swapping the window and door positions for the final aesthetic you see above.
And a tip: If you’re going to do something like this – consider starting with a ‘shed’ manufacturer as I did here. It can be much, much cheaper this way. Good luck!
A few more cool photos I wanted to add in this morning, without messing with the body of the article above.
The first is my Weeping Norway Spruce. It’s one of my pool landscape trees that didn’t get much representation above – and that definitely deserves it. As you can see, this part of my landscape was in need of some stone touch-up work and mulch when I took this shot. But this is a gorgeous landscape tree. I have one in front of my house as well…
This second photo isn’t my pool landscaping, but it contains two of the shrubs I use quite a lot: The Barberry and the Golden Thread Cypress (Mop Cypress.) I took this photo while out for a run recently. The beauty, I find, of using these two shrubs in most any landscape is the stunning color contrast you can get with the red/purple of the Barberry – when placed next to the yellow/green of the Mop Cypress. I do this in my deck landscape, specifically, with these two shrubs. And here you can see someone else doing, from my standpoint, a beautiful job with the same in a driveway landscape design…
This, below, is another one we took while out for a walk by the beach this week. It’s an AWESOME landscape that focuses on small plants, beach grasses, flowers and boulders. I have no idea what these plants and flowers are; if anyone does – please chime in below. (I focus on trees and shrubs, mainly.) But do you see what makes this landscape especially awesome??
Zoom in on the boulders. They’re covered with ALIENS!
I mean… how cool is that??
And finally, to round it out, below is the pool landscaping in the dead of winter. I genuinely love this too – the whole serenity vibe.
(And it’s pretty ‘low maintenance’ this time of year too!)
Looks beautiful!! What kind of stone did you use and what size is it?? Thanks for sharing!
Hi Melissa – and thank you! You’re looking at Delaware River stone, 2-3″.
I love your pool landscape! Actually, the whole yard is beautiful! We just had work done around our new pool but didn’t come out like I thought. I am using a lot of your yard as inspiration. I love all the different shrubs you used. Although I know most, would you mind naming them? Thanks so much and enjoy your beautiful pool! Hopefully we will be soon (we are in New York).
Hey Pam – Thanks so much, and I’m so flattered that you’ve found inspiration in our backyard design. This was my wife and I together – and it was a very intense endeavor!! In fact, if you want to see just how intense – check out this article right here and think of the phrase, “always darkest before the dawn!” ;-)
As for the landscape trees, shrubs and grasses – there were clearly a LOT.
Here’s my swag at an enumerated list, starting with the trees, back to front: Japanese Maple, Weeping Atlas Cedar, Crepe Myrtles (2) – and if you can, AVOID WHITE (I wish I had), Green Giant Arborvitaes (by the filter) and Hinoki Cypress (2) – right at the front by the entrance gate. As for shrubs – Boxwoods, Barberry (I assume the plural is “Barberries?”), Spireas, Golden Thread Cypress and Weigelas. (I absolutely LOVE my Weigelas.) For Hostas and Grasses – by far, the majority include Minuteman Hostas, Liriope and Maiden Grass (the beach grass). I may have missed a couple – bit this is the vast majority.
If anyone has any additional pool landscaping suggestions – or even corrections to my list above (including proper spellings or “pluralization” tunes), please don’t hesitate to let us all know!
Oh, and on a side note – our pool is a salt water pool. None of these landscape plants have ever had any issue with the salt water; I was quite worried about that at the beginning.
The landscaping around your pool looks so beautiful! It sure takes a lot of work to maintain the look, but I think it’s worth it. I love the different pathways leading to the pool and the gravel that’s surrounding the plants. Thanks for sharing, and I hope you have a wonderful pool season!