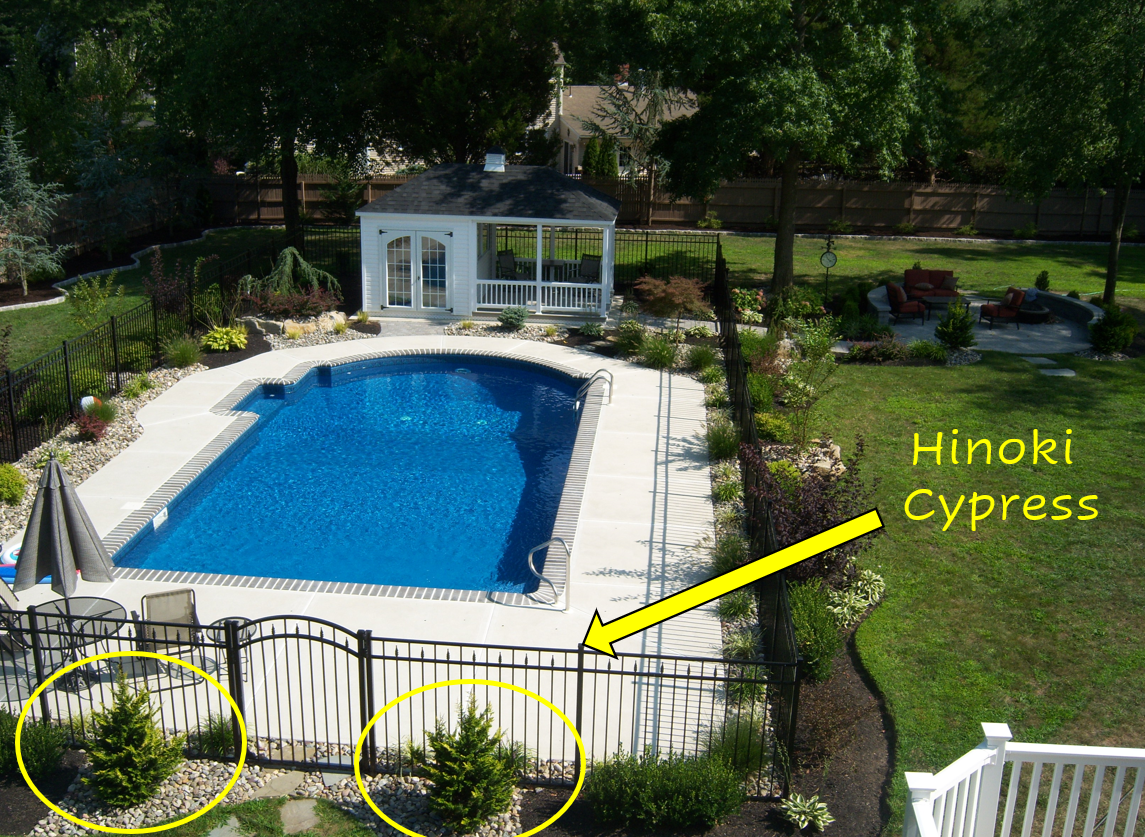
Our pool landscape, now at 11 years old, needed some tuning. We’ve maintained it continuously, but the two Hinoki Cypress right up front (circled in the original landscape photo below) – died together.
This particular area of our backyard, under the heaviest of rains, would sometimes pond a bit. And the last 2 years, we had a LOT of heavy and sustained downpours. One night, it was so bad, the entire pool overflowed… which means at least 5-6 inches of rain.
So, while outside earlier this spring trying to figure out what to do about these two now-dead Hinoki Cypress, my wife suggested we try to pull them out by hand. I laughed. That was funny to me, because I was already brewing plans involving my truck with chains attached – maybe even in low gear! But the laugh was completely hers… because they pulled right out. Even at about 14-feet tall now.
I was stunned!!
And it potentially pointed to root rot, from all of that water. (Potentially.)
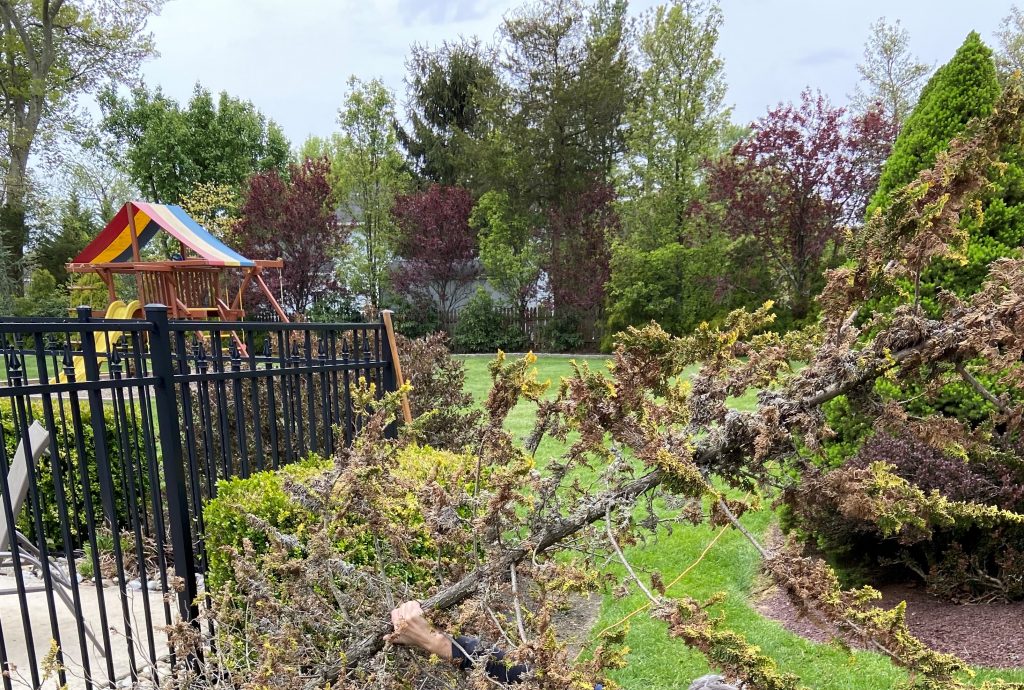
Apologies for the shot above that shows only the top of my arm, but we both were kind of hysterical – and it’s the only picture worth showing here. (Me trying to pull that tree out of the ground with one arm… once we realized the roots were mostly gone.)
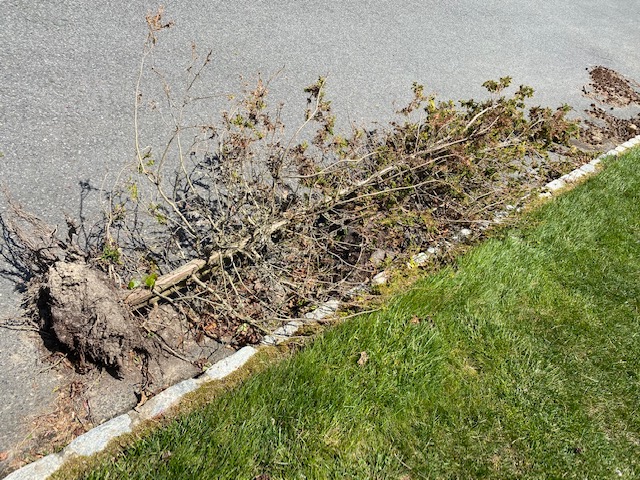
Well, I guess this is another good (but sad) one, below. This tree, both of them in fact, were totally done.
I get very attached to my trees…
Here’s a photo of the current pool landscape in total, now in need of its full 2020 refresh: the usual mulching, pruning, deep weeding, and tree/shrub replacements. And if you look carefully at the far left, you can see the peak of one of the 2 dead Hinoki Cypress – right before we removed them both…
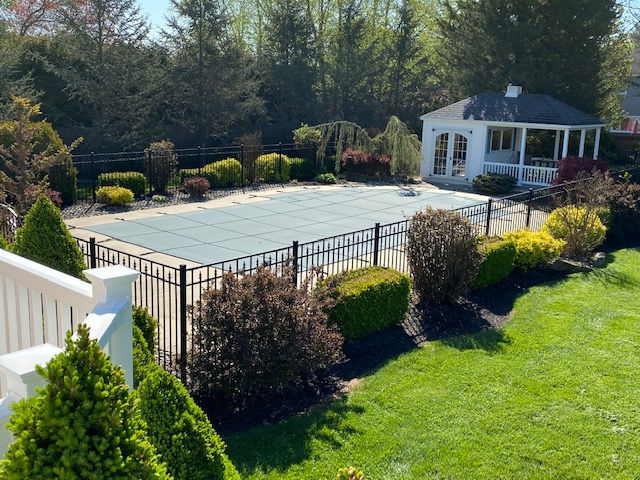
You’ll also note the post-winter pruning looks pretty decent.
I always try to give everything a particularly tight pruning in the fall, so the spring landscape refresh is more manageable. A tight fall pruning, I find, also helps to minimize snow and ice damage – to shrubs. (I’ve found the Boxwoods, in particular, can be helped a lot by this – and the Arborvitaes, too. )
Our Pool Landscape Trees, Shrubs & Plans
Before we go any further, I’ve had a number of folks ask about the various plants we’ve used in our pool landscape – mainly from the first article I wrote on my annual pool landscape maintenance efforts. (This is very flattering and most appreciated!) That said, I’ll provide the list below. You’ll see all of these trees, shrubs, and plants in the photos throughout this article – and I’ll also provide Amazon links so you can dive deeper if you like…
My Pool Landscape Trees
• Japanese Maple (back right)
• Weeping Blue Atlas Cedar (back left)
• Weeping Norway Spruce (back right, outside the fence)
• Hinoki Cypress (2) – flanking the paver patio, and both still wonderfully healthy here
• Crepe Myrtles (2) – about halfway back, on both the left and right
• A line of Green Giant Arborvitaes, by the filter on the left
• Hinoki Cypress (2) – at the front by the entrance gate in the original photo above – now dead!
Pool Landscape Shrubs
• Boxwoods
• Barberry
• Spireas
• Andromeda
• Hydrangea
• Golden Thread Cypress
• Weigelas (Simply gorgeous when they bloom)
Hostas and Grasses:
• Minuteman Hostas
• Liriope
• Maiden Grass – the beach grasses
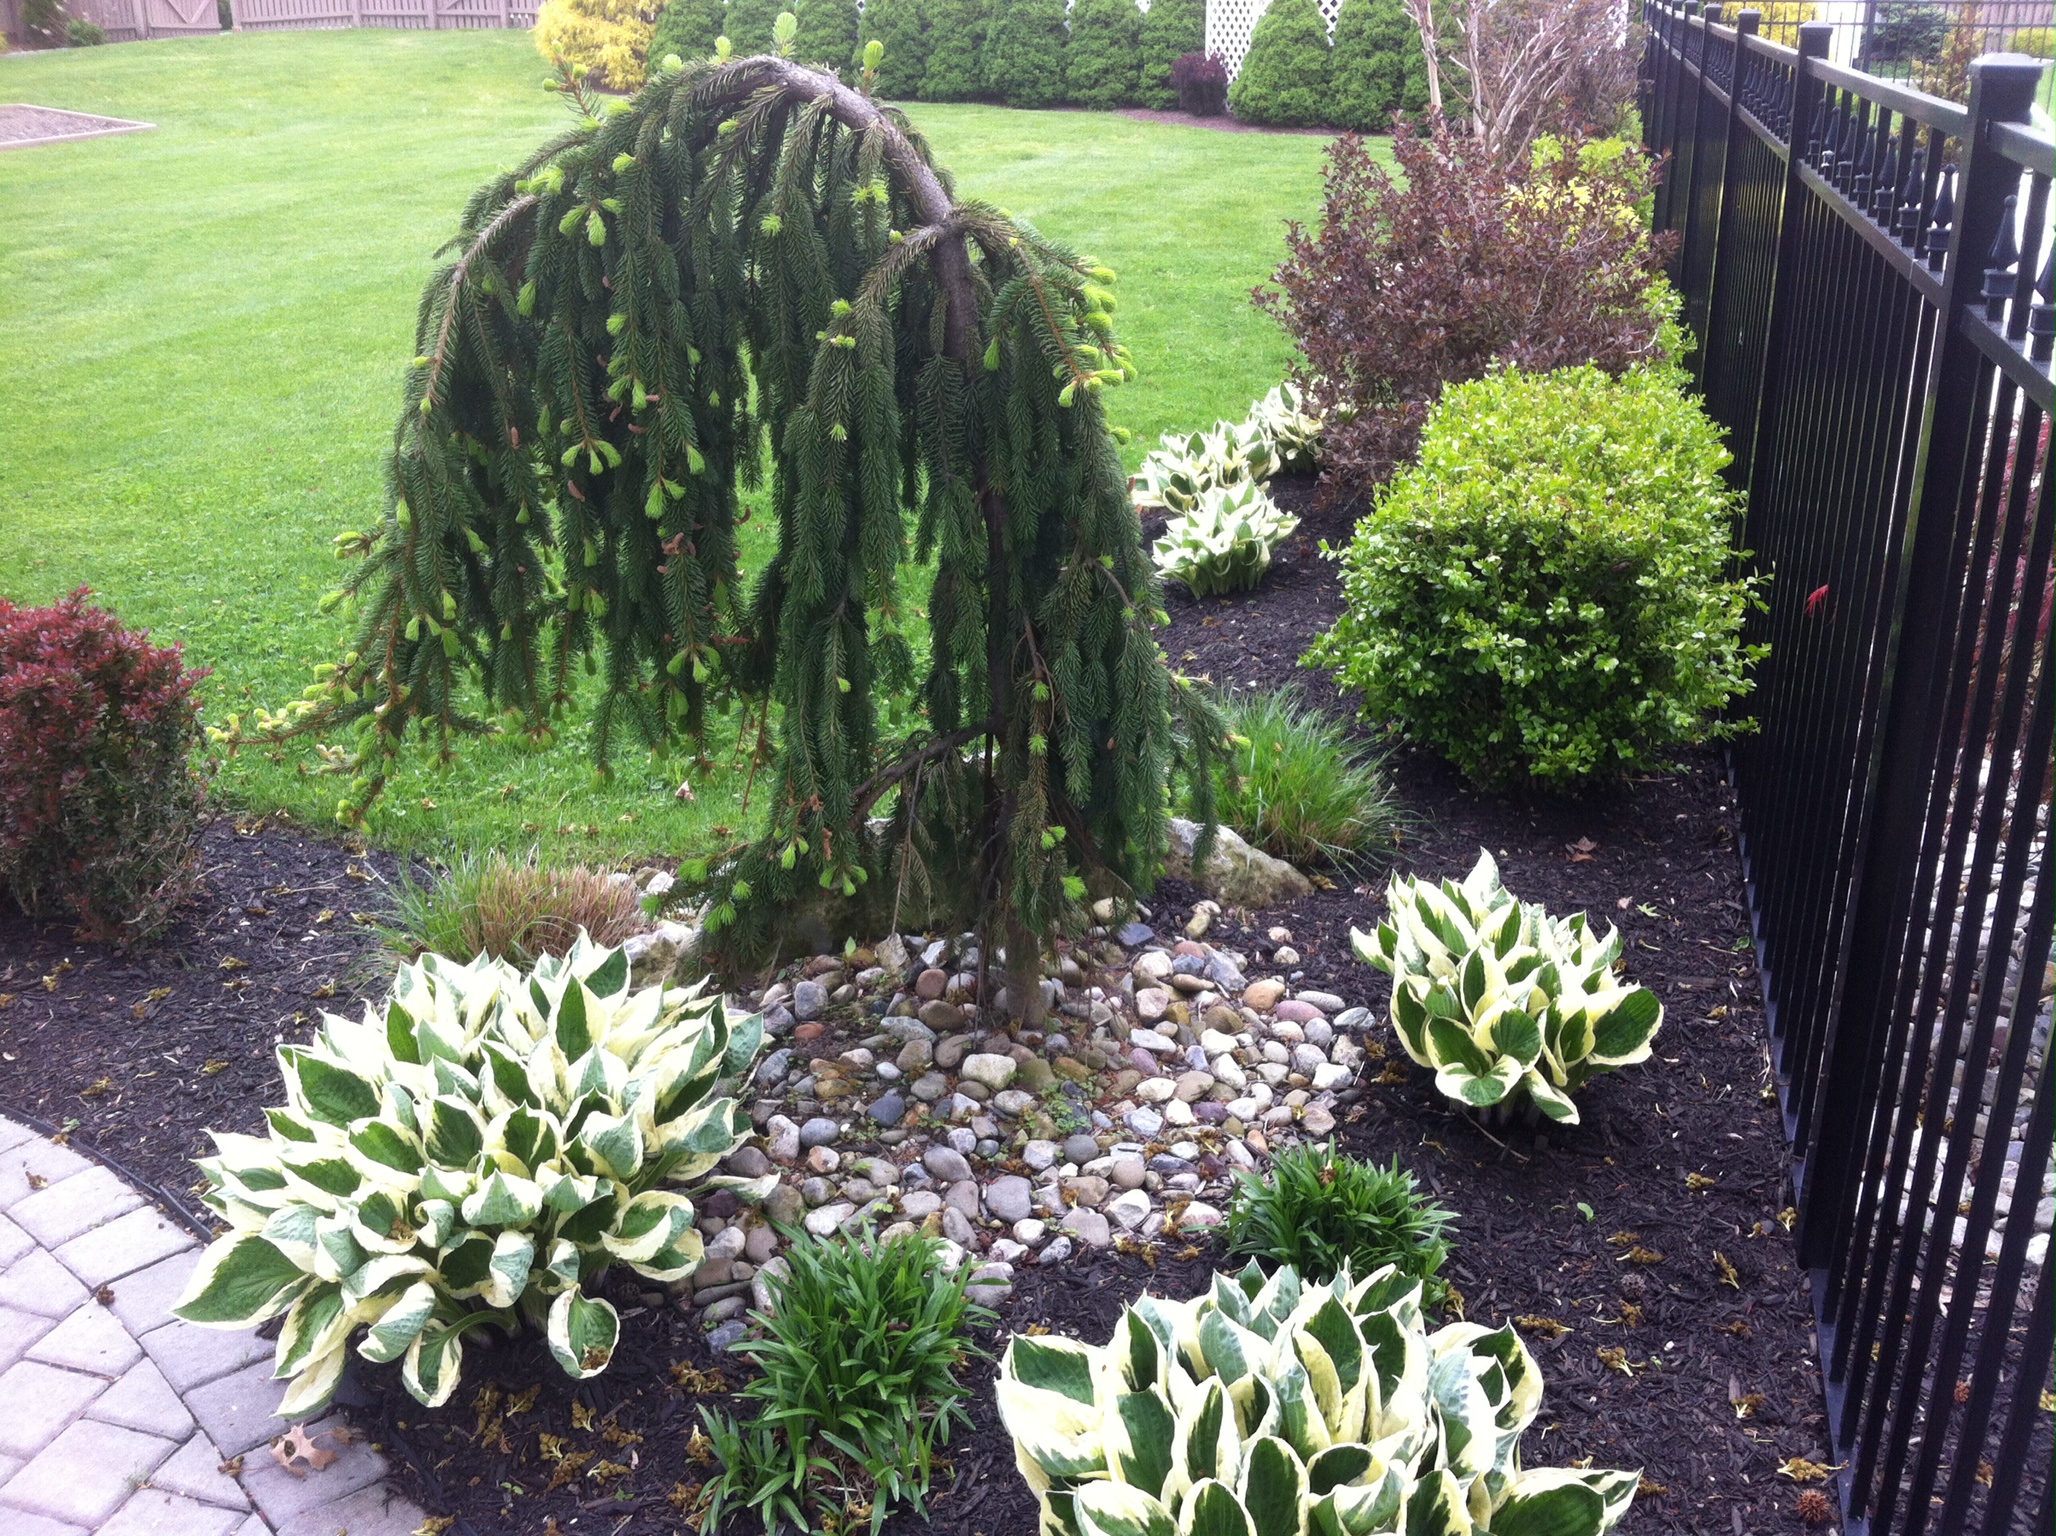
Here’s a particularly nice shot of our Weeping Norway Spruce, as it’s not also so easy to see given where it’s located – toward the back of the landscape and low profile…
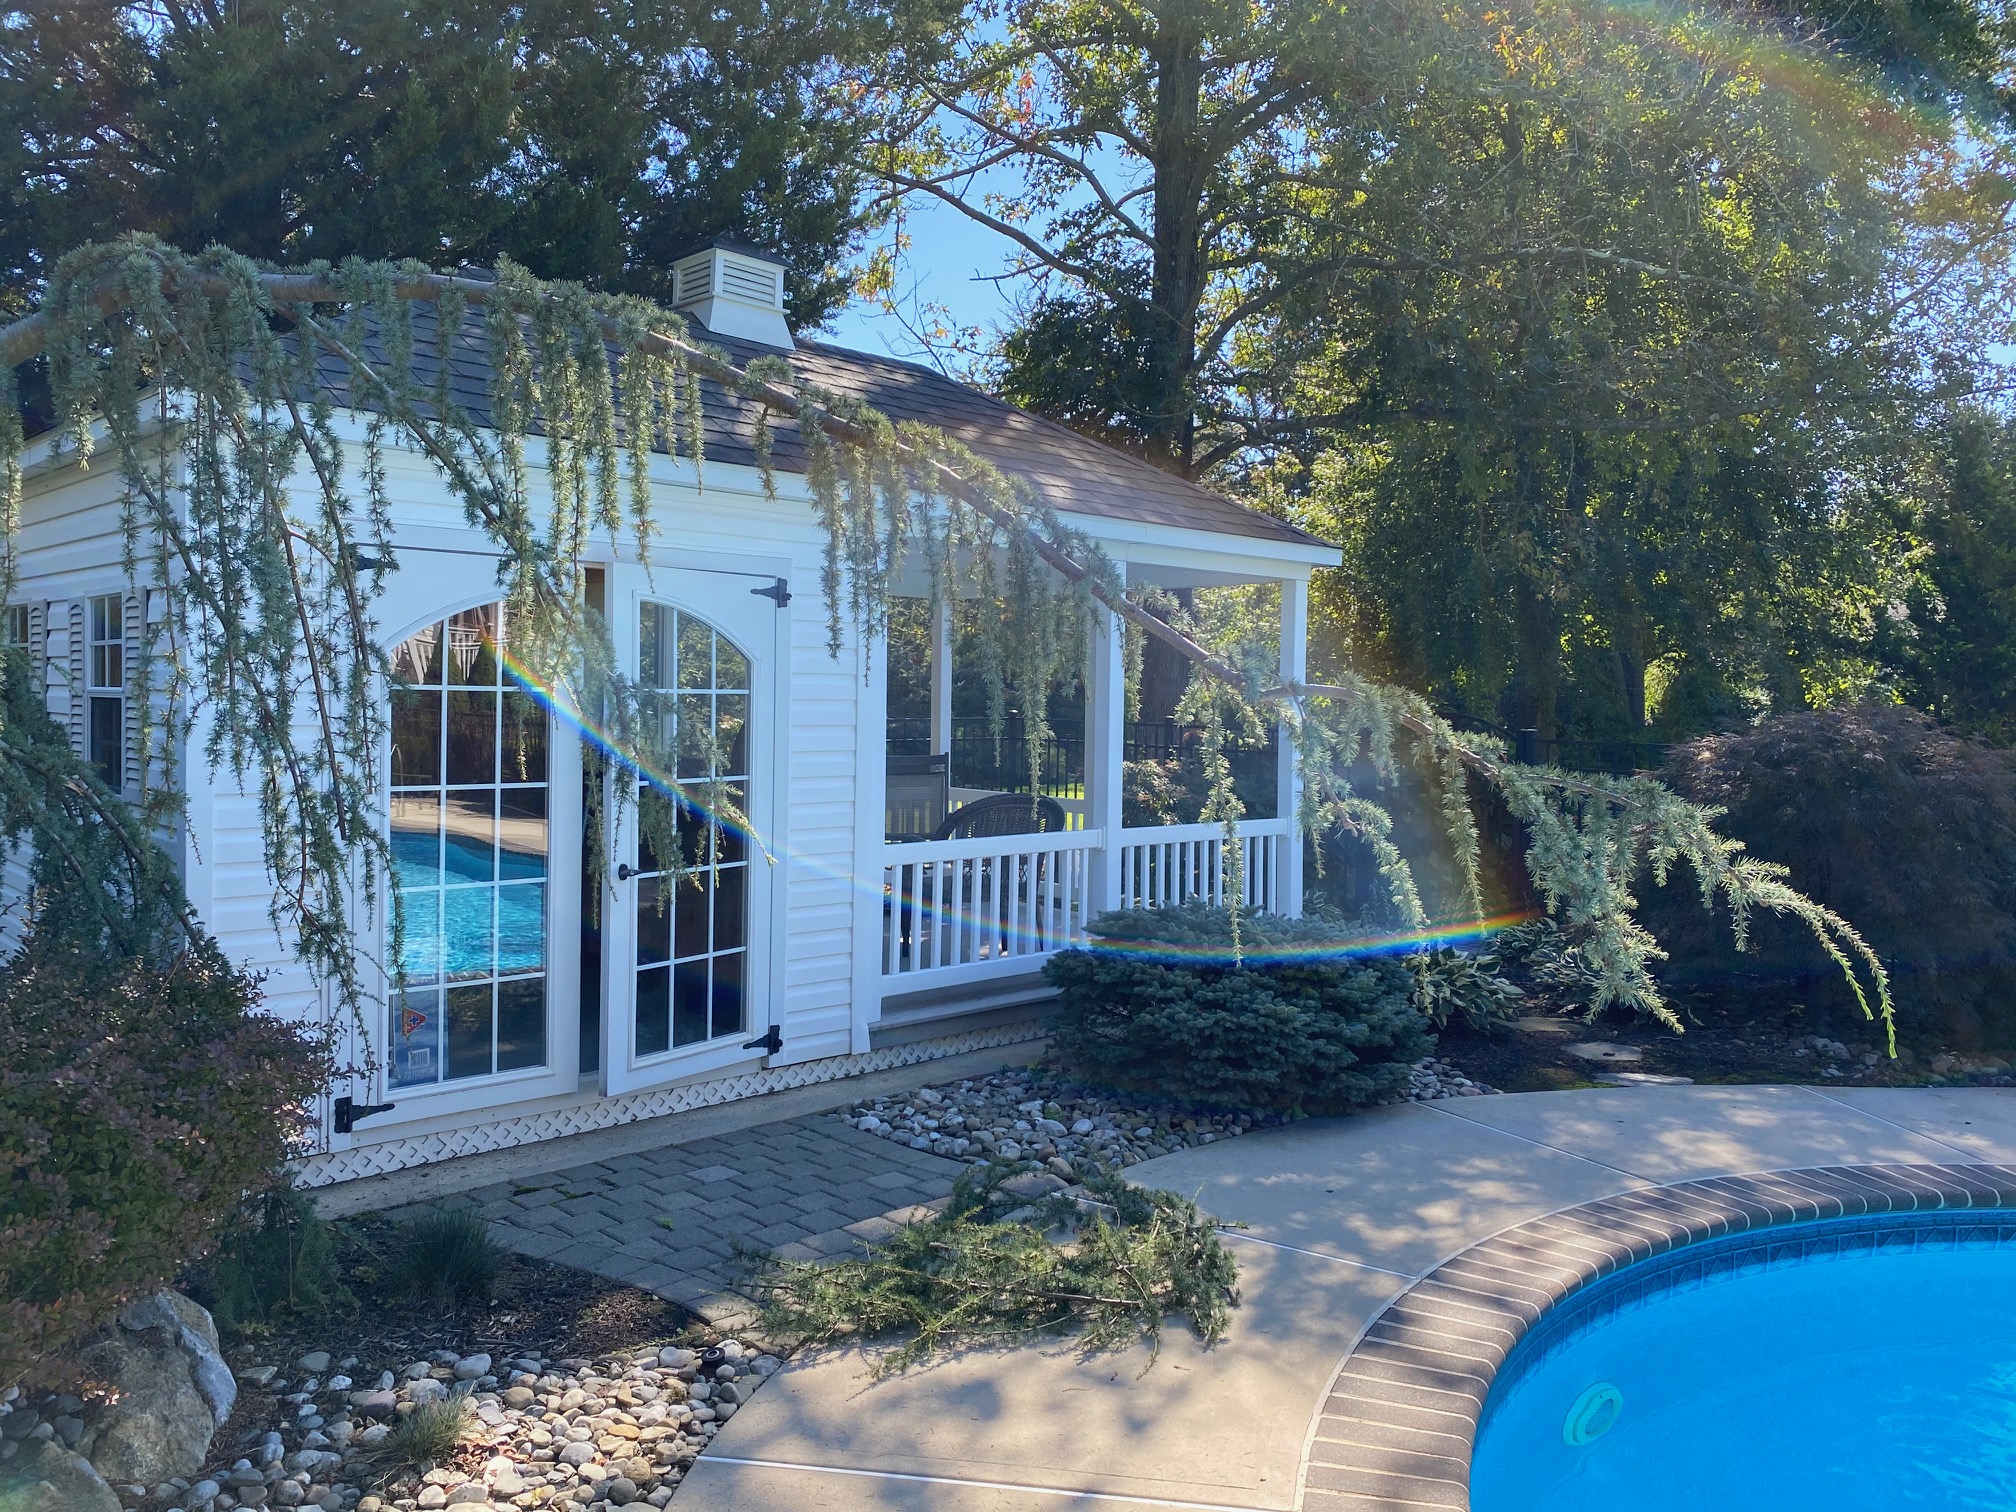
And here’s one of our Weeping Blue Atlas Cedar, while I was pruning it earlier. I’ve been ‘training’ it to arch over the pool – it’s getting there nicely now…
Replacement Shrubs for a Wet Area?
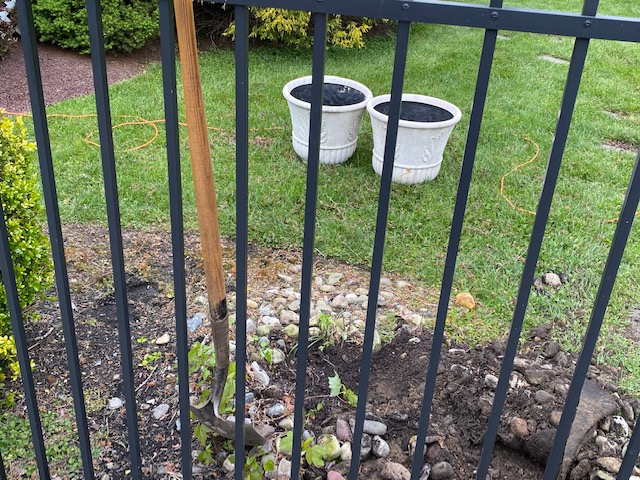
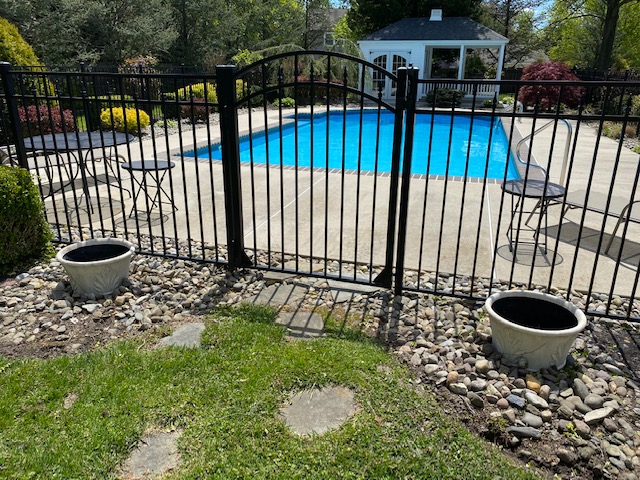
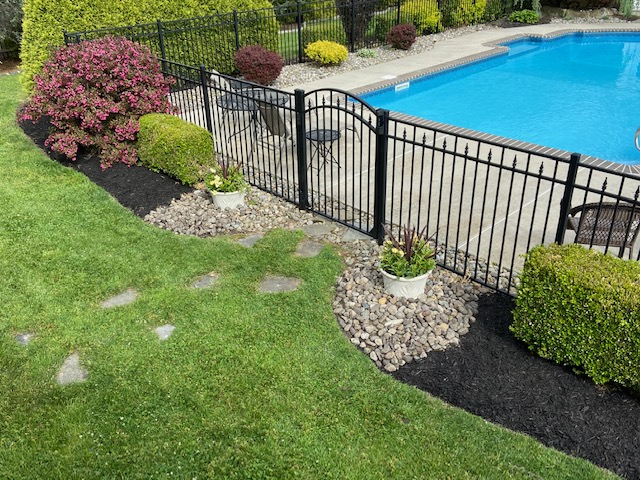
My wife took on this dead-cypress-replacement project as her own, opting to go with two large decorative planters (there are a huge number of options to choose from) and an ornate mix of plants within. In this way, we maintain the focal nature of the “Hinoki Entrance” to the pool area, but the planters would be immune to occasional ponding. And if we did, ever, lose the floral arrangements within – well, those are easier to replace than large trees.
Her planters? Shown below – with the scars from the recently ripped-out Hinoki Cypress…
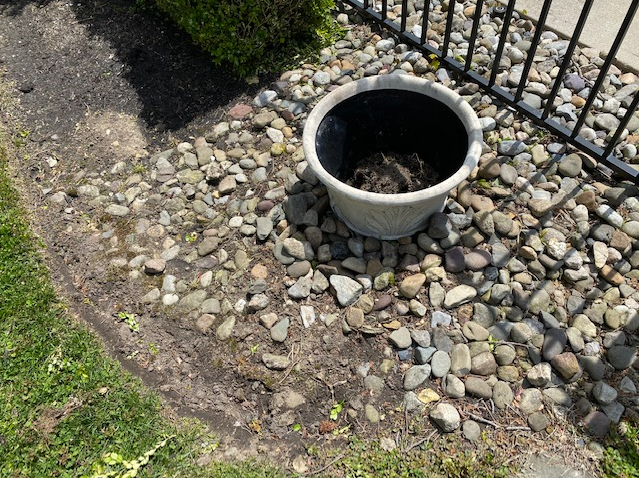
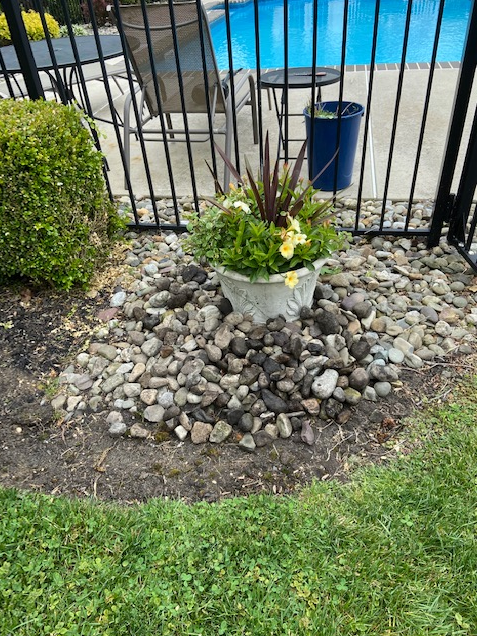
The large ornate planters are inset, leveled off – and measured (distance-wise) so that both would be equidistant from the fence and the gate, as you can see in the two shots below. Also note what a mess the stones, mulch and landscape edge to the grass looks; this is what we have to deal with every year – and we’ll address this as well as you read on…
For the floral arrangement, off to the local nursery. Or, in this case, really, the hardware store. You’ll recognize the tell-tale orange in the background of the shot below…
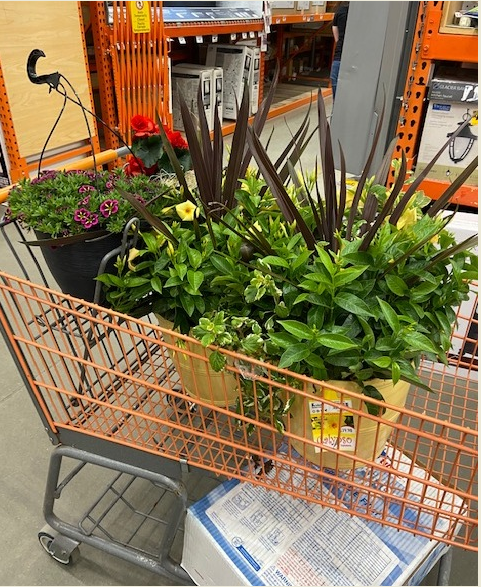
The arrangement she chose was a mix containing yellow Dipladenia – which has been very tolerant of the summer heat thus far, and it looks terrific…
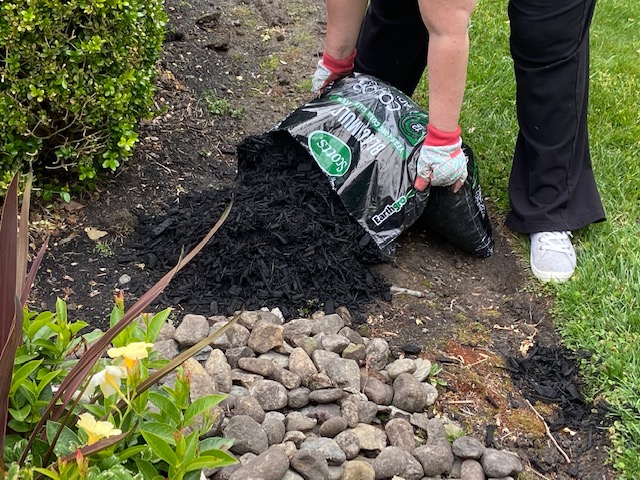
We also picked up 8 bags of black dyed mulch.
I normally have about 5 yards delivered when I re-much the entire property, front and back. Usually every 2 years, give or take. But this was a small tune – so 8 bags would be just fine.
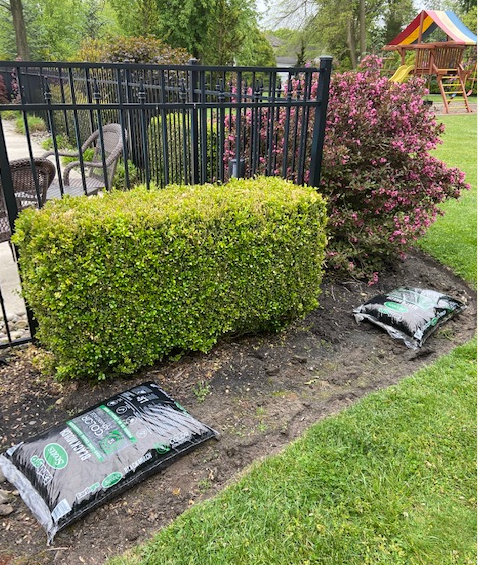
The Landscape Edges and Stone
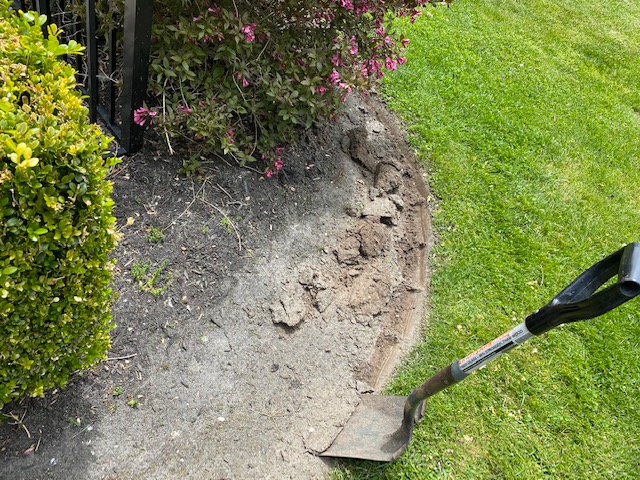
It’s really not a big deal to cut these edges back in as long as you have a nice straight shovel, and ideally some good work boots.
But getting additional matching Delaware River Stone?
That wasn’t going to be easy. It’s crazy heavy and generally-speaking, nurseries will deliver this type of material by the ton. We needed only a small amount – maybe 1-2 wheelbarrow’s worth. So, we opted to ‘repurpose’ small amounts of stone from other areas within our pool landscape.
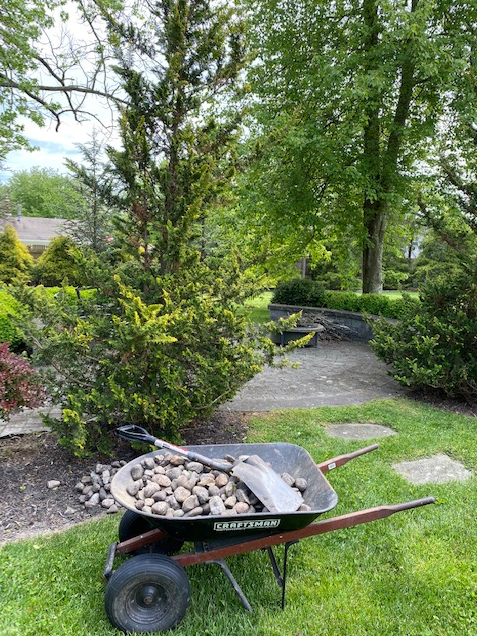
Next, you can see a full wheelbarrow of stone taken from near our 2 remaining (and healthy) Hinoki Cypress. Because it’s far easier and cheaper to create small mulch areas where stone once was – than to have 2-3 tons of stone delivered…
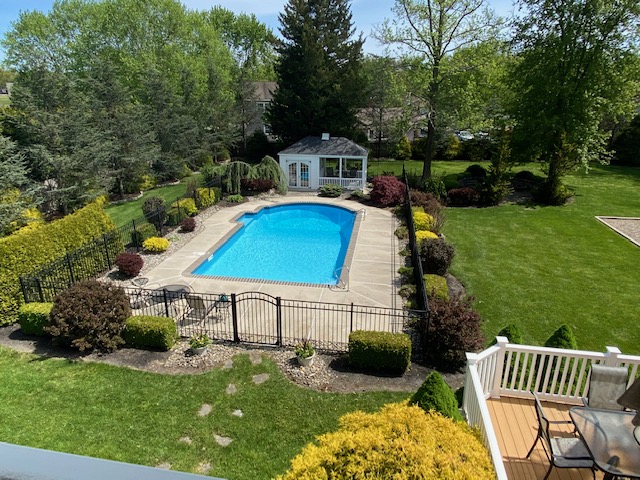
Here’s a bird’s eye view of the work in progress – you can see the pool is now uncovered, and we have it mostly clean as well. The floral planters are in place. The stone and mulch touch-ups remain…
Stone is added to the required areas, with our planters. (I’m not just taking pictures, BTW – I’m helping too. This is somewhat heavy work.)
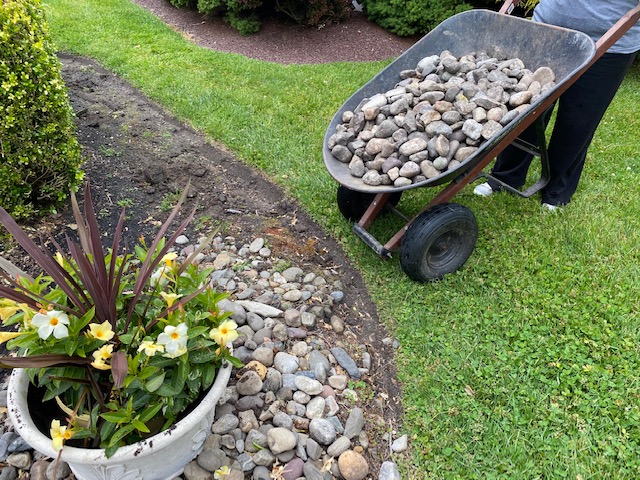
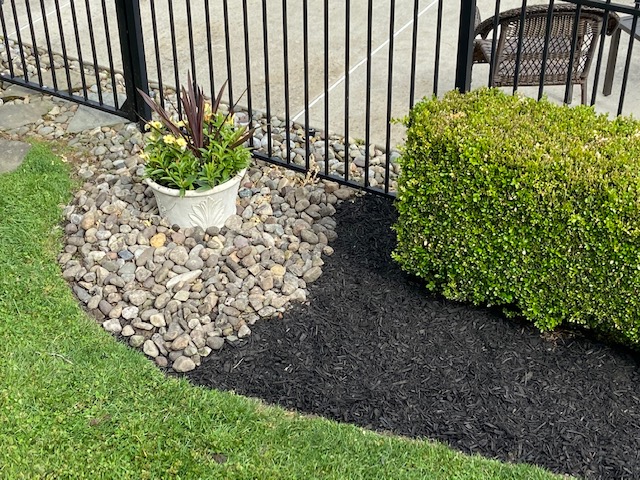
Black dyed mulch is put into place – and it needs to be thick. You cannot short-change this; have at least 3-4 inches right up against a nice clean edge cut to the grass.
You want to see a beautiful, thick mulch to grass border once completed.
Pool Landscape Furniture & Lighting Additions
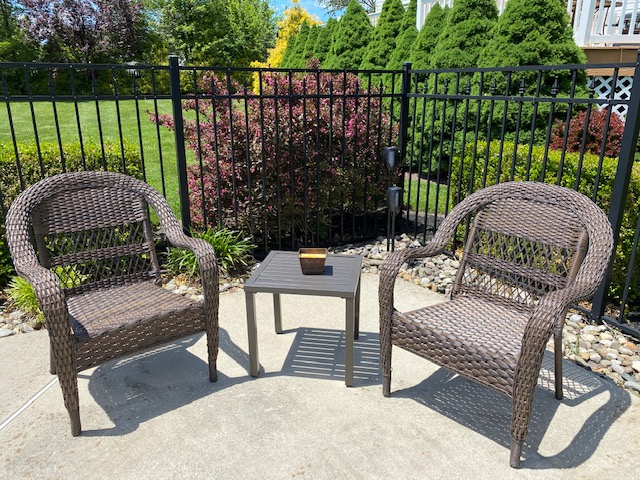
We always try to add a little something extra when doing repairs of any find, so we’re not just “fixing” and getting things back to the way they were. So, with this pool landscape refresh (and Hinoki cypress replacement), we also added a new seating area and some particularly cool solar-powered faux Tiki torches too.
The photos below don’t do the Tiki Torches justice; you need to see the flickering at night. So cool.
Landscape Furniture
We added this additional seating area as well, two faux-wicker (aka; ‘plastic’) outdoor chairs and a small table for drinks or snacks or the like. Not too much to say about it, really – other than it adds a bit more character, and we’re very happy with it…
Solar Powered Tiki Torches
The solar-powered Tiki torches are really just awesome; they were our ‘find’ for this year for sure.
My wife was the one to find them on Amazon. Some photos of our first 4 are below. We bought eight more after this first order, so we have 12 outside now in total. These charge passively during the day, and they flicker all night.
They’re still on every morning when I get up at 5am and have worked flawlessly for several weeks now…
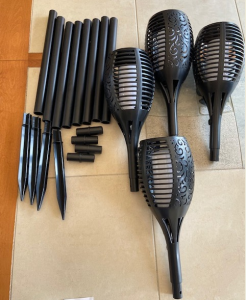
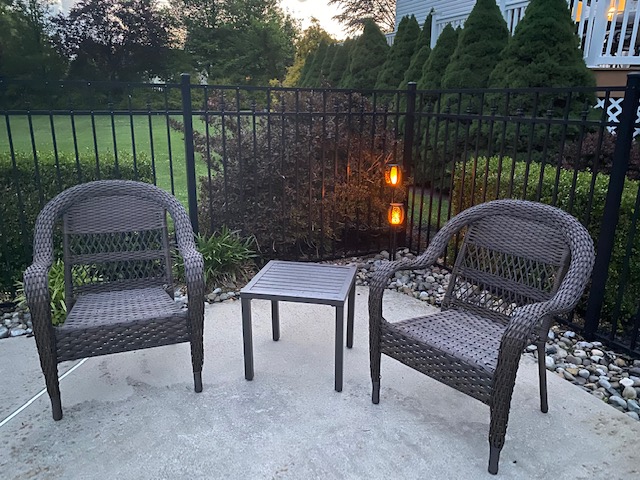
Frankly, if I had to redo my front landscape lighting, I’d definitely consider using these LED Torch options instead of the house-powered LED lighting I have there now. These look great, and they’re much cheaper too. (Unless they’re not good in outside over the winter. I’ll experiment this year – I’ll leave one or two out and watch them.)
Does anyone have any LED Tiki Torch experiences you can share below? Or additional pool side accessories? Or… any really cool planter arrangements??
(If so – send pictures via our contact page and we’ll pop them up inside your comments below!)
Turns out there’s now one more dead tree to deal with – behind the pool landscape. And this next one? Over 60-feet tall. NO WAY I’m pulling that one out by hand. I think that seems a pretty safe bet, right?
Need Professional Help from a Local Landscaper?
• Visit Our Find a Contractor Page
Related Posts
• Refreshing a Swimming Pool Landscape
• Designing and Building your Perfect Deck
• How to use a Submersible Pump to Remove Excess Pool Water
• Paver Walkway Burrowing Pest
• Building a Removable Wood Fence Section and Gate
• Lawn Repair: Patching a Large Area with Kentucky Bluegrass

A 2021 Photo Update…
This year, instead of a floral arrangement in those decorative planters – we went with two striking Hibiscus plants as you can see in the first shot just below; we really like the bright red flowers and knowing they’ll bloom all summer. We also loved the height of these plants as they paired with the 5′ black aluminum pool fencing…
And another new addition?
The outdoor decorative clock you can see us assembling (in our kitchen) and then installing on the pool house deck in the photos here. What you cannot see is that I removed the PVC railing from front of the pool house, and then lagged that clock straight into the decking & joists below. Hurricane season coming? Bring it!
And how might you do even BETTER than backyard Tiki Torches?
Well – this is a close friend’s house below, and I have yet to visit and ‘partake’ of some of the indulgences you’ll see.
But OMG… This right here?
This may be the ultimate in outdoor Polynesian Decor!! :)
(Additional photos anyone wants to appear in this thread? Please send via our contact page, and we can post after reviewing. A competition, you say? It’s on!)
I love the scale of that clock – perfect for outside where I imagine you can see it from in the pool or even across the yard. And that tiki bar looks pretty darn “legit,” like something you’d see at a hotel pool.