2020 Update — Originally Published 2016
Some of the best money I’ve ever spent has been on our backyard trampoline – the kids love it, they get exercise, fresh air and sunshine, and we’ve all had a lot of laughs with it.
I won’t even pretend I don’t jump on it myself, though I do try to make sure none of the neighbors can see when I do. There are always concerns with trampoline safety, of course, and when we bought ours we wouldn’t even consider it without a trampoline safety net.
We were still a little apprehensive at first, but we gave the kids our “strict rules” for using it, and in the end the overall purchase has been a terrific one for our family on many fronts.
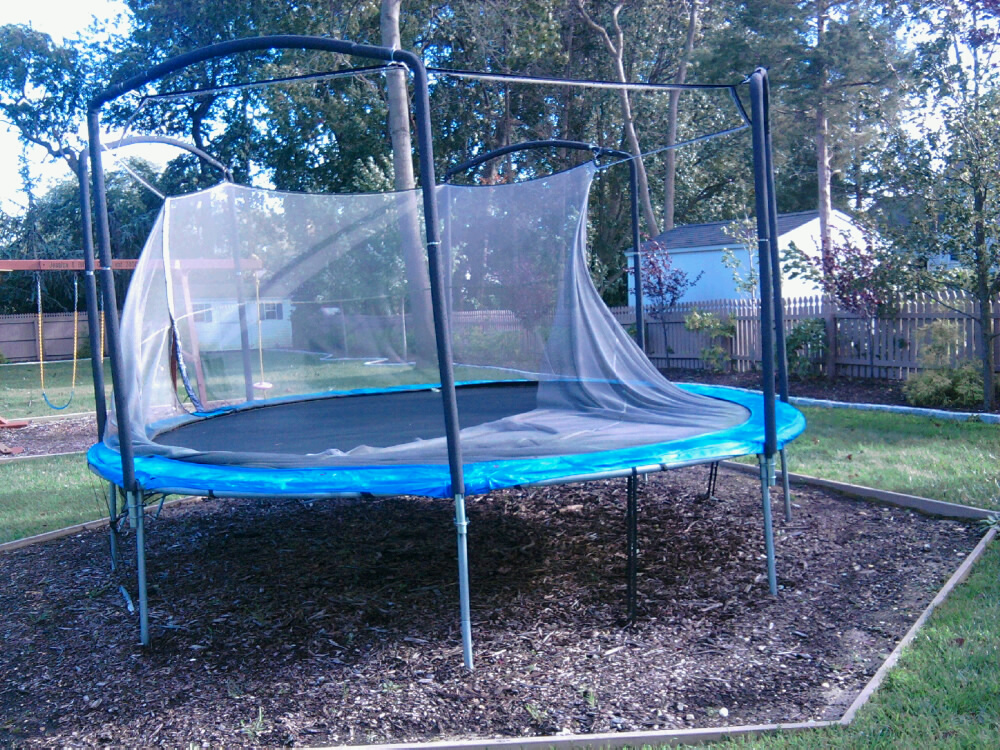
The problem, as with pretty much everything outside, is that weather takes its toll.
There’s not too much routine maintenance you can really do with the trampoline from what I’ve seen over the past five years we’ve had ours – because it’s a pretty simple system, comprised of just a few items. There’s the trampoline surface (the “bed”), the springs, the padding that covers the springs, the metallic trampoline frame and there’s the safety netting. That’s it.
I asked the manufacturer when I was originally shopping, “What were the items that would likely break first?” They said with very little hesitation – the spring padding will fade and crack if in direct sunlight, and the safety netting will eventually tear.
And that’s exactly what happened.
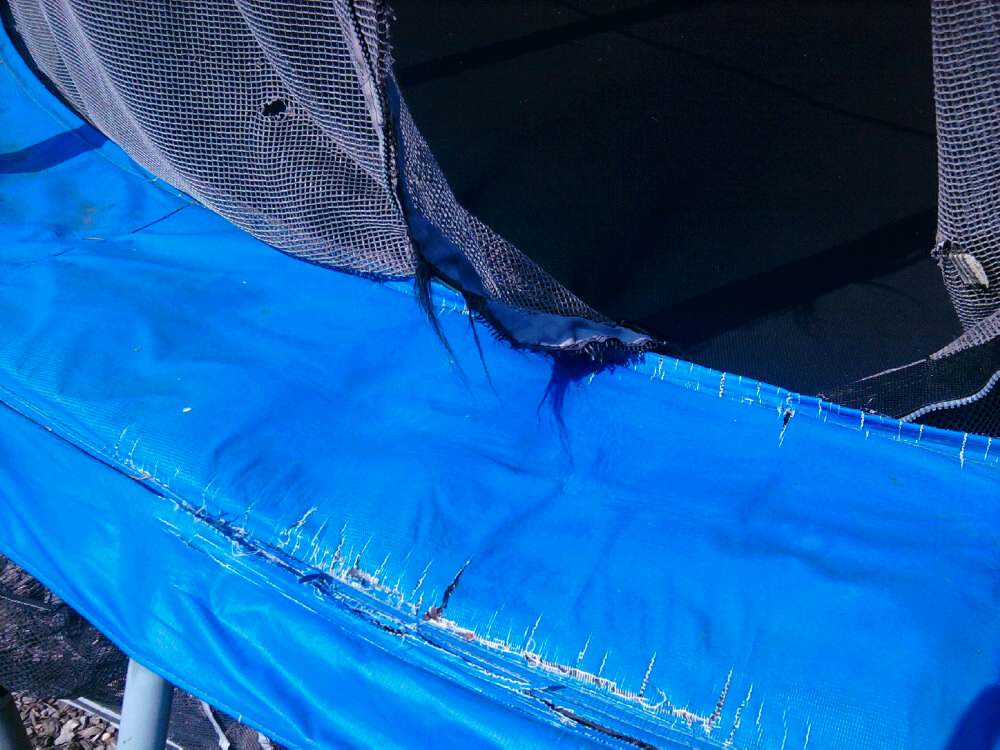
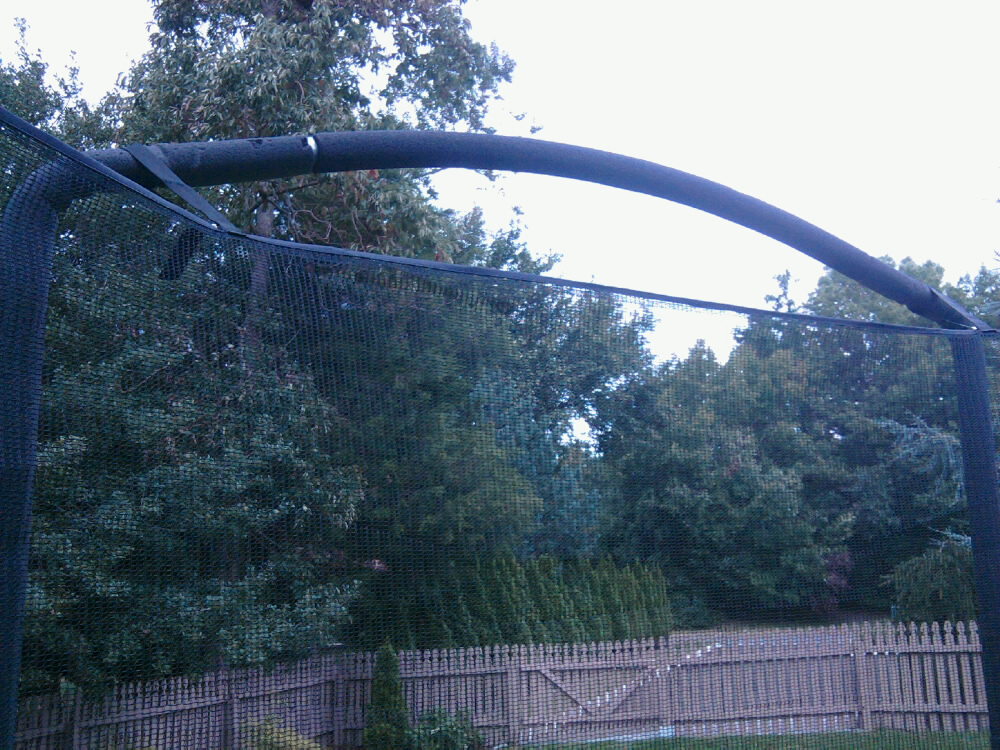
I was okay with a little fading & cracking in the spring padding (just above), but a recent hurricane pretty much shredded the netting which had been *just* starting to tear in one spot, as you can see in the very first picture… that was it.
Ordering Trampoline Replacement Parts
I was concerned that buying the replacement parts (spring padding and safety netting) would cost as much as a new trampoline, as is often the case when you need something very specialized. But I have to say – I was pleasantly surprised to find the combined cost of both items was very reasonable, only a small fraction of what a brand new trampoline would have cost.
This is, however, one of those situations where you have to be sure you get exactly the right replacement parts. If you can call your original manufacturer and you have the original specifications – you’ll be in good shape. If not, though, take the trampoline diameter measurement and a spring length measurement at a minimum. Also be ready to describe the shape of your metallic frame and how the safety netting is attached. I would even offer to send photos if possible. Do whatever it takes to be 100% sure. There are lots of variations in trampoline designs from what I’ve seen.
Once I had ordered my parts, I removed the old netting – which is essentially rope-sewn into the “V-Rings” that hold the springs to the trampoline bed. The old ropes were clearly starting to rot as well; this entire “rehab” effort was imminent. The hurricane just made it come a little bit sooner…
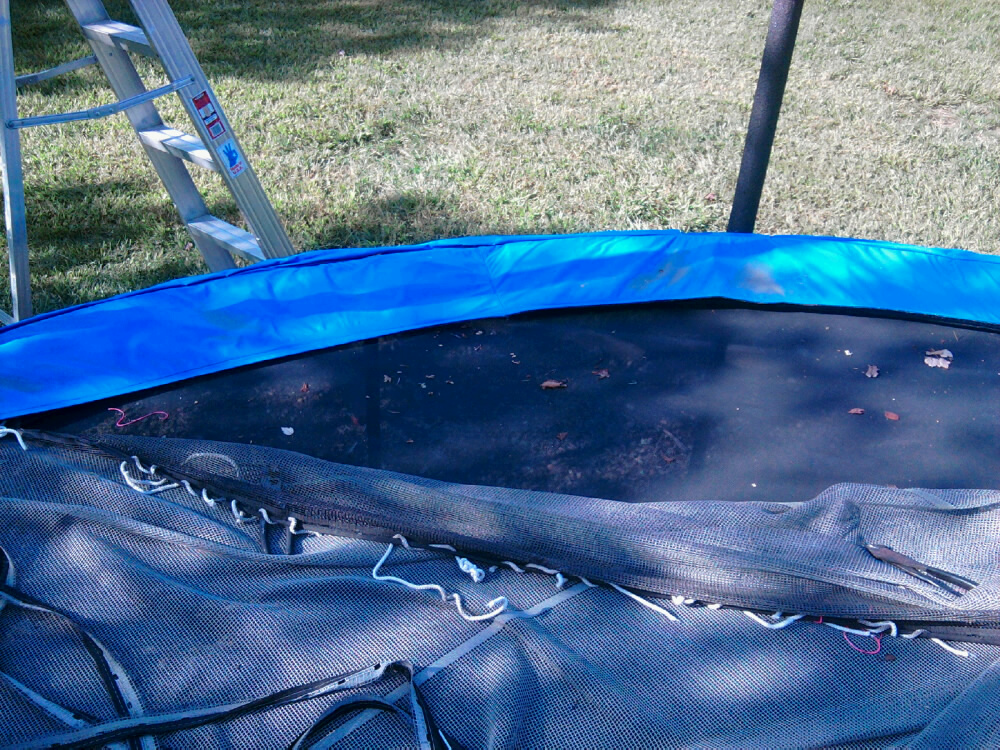
And then, up went the caution tape. (I really do love using caution tape.)
And our new “strict rule” was: Nobody steps on this until it’s fixed!
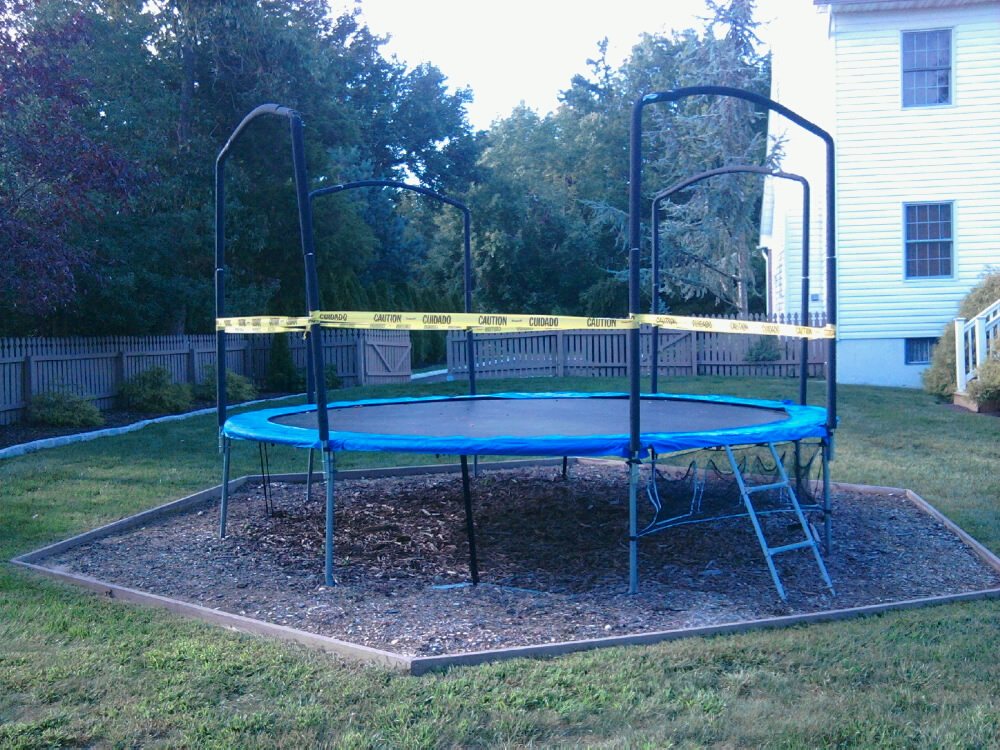
You can see from the shot above that the black foam padding covering the netting frame was starting to decay a bit as well. Especially up at the very top arches, which is where birds like to perch. I decided we could live with the decaying covering; it wasn’t too terribly damaged – and it was particularly expensive.
Replacing the Spring Padding
Removing the old spring padding was quite easy – I just carefully cut and removed the entire ring, along with all the connecting bands below as shown:
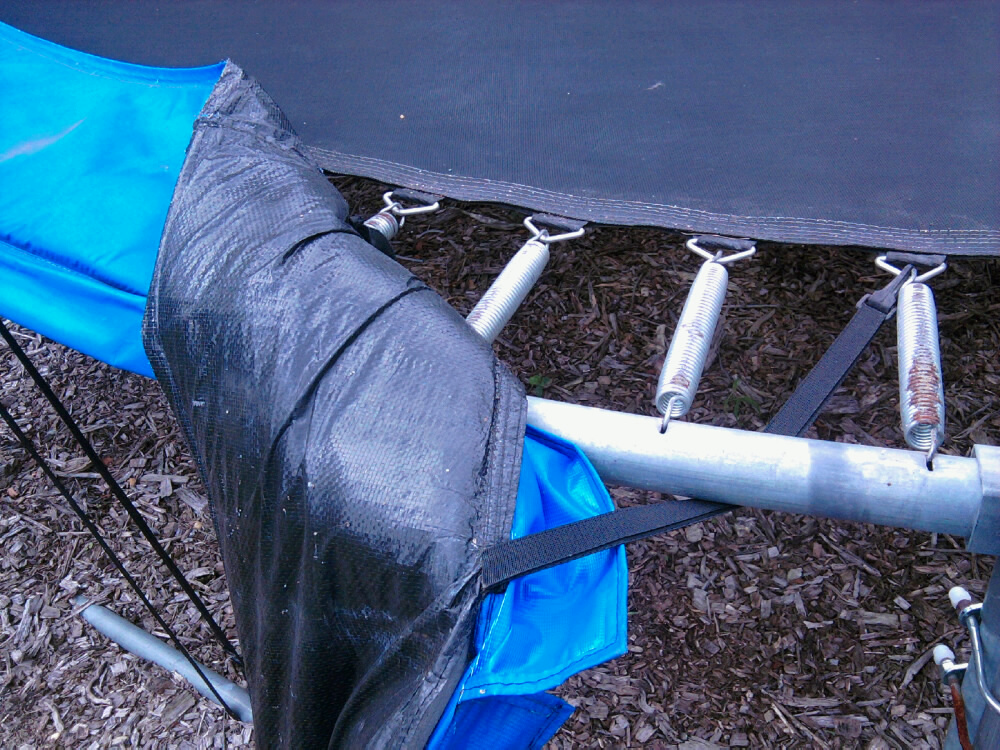
The new padding wasn’t too tricky to install. If I were to complain about one thing, it would be that I did this on a somewhat windy day. A 15-foot diameter ring of padded plastic tends to blow pretty easily, and you really want to lay it out nice and neat and for it to stay where you put it so you can start securing it carefully. If it’s windy out, this would be easier to do if you have two people.
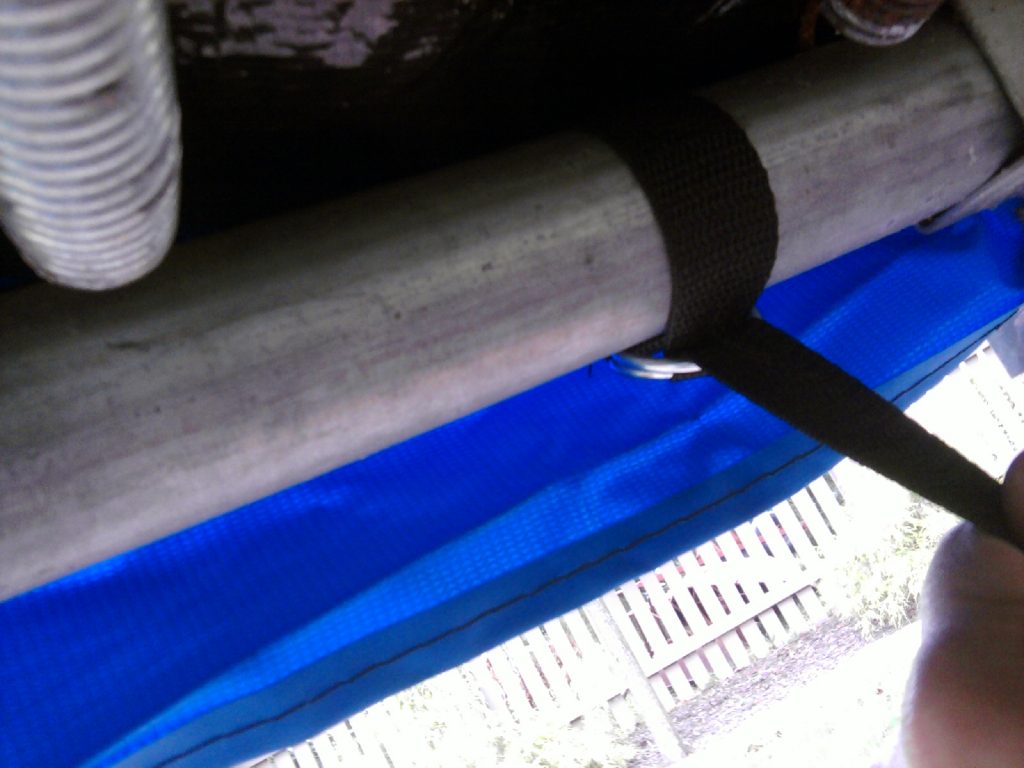
Your padding will have some straps and connectors. I’m sure they’ll all vary somewhat, and this was the case between my original spring padding which had plastic clips – and the new one which had a strap that needed to be woven between to metal loops. Follow your manufacturer’s instructions carefully, and try to distribute the forces uniformly to get a nice even finished look.
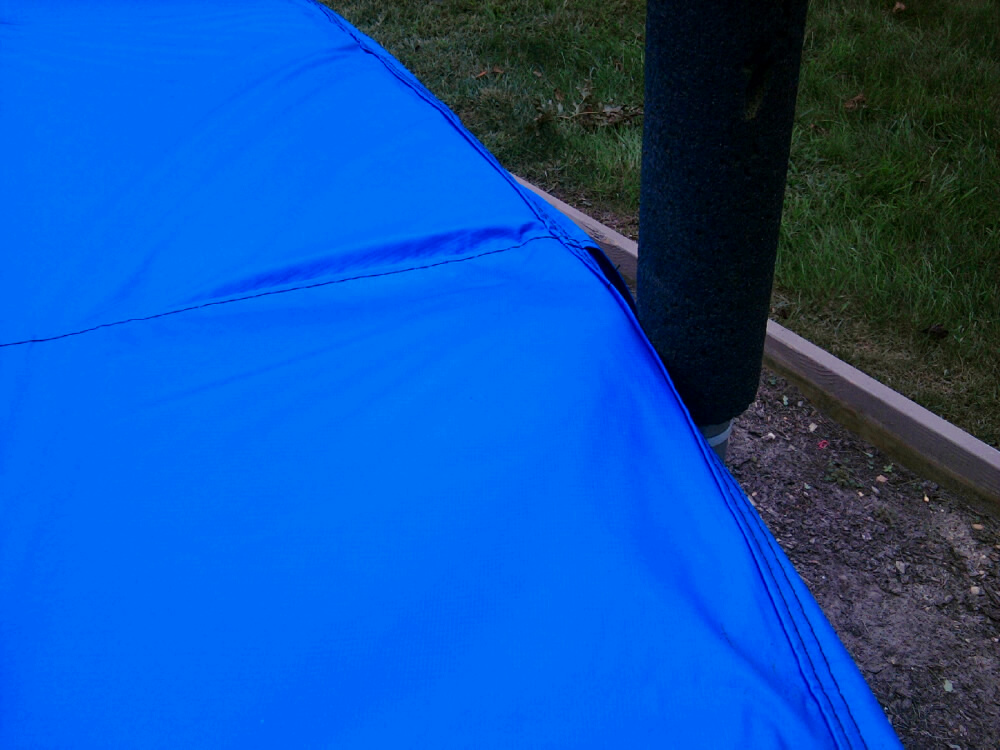
You can see how much nicer this looked once installed from even the small shot just below.
The old spring padding removal and new installation took about 35 minutes in total.
Installing the New Safety Netting
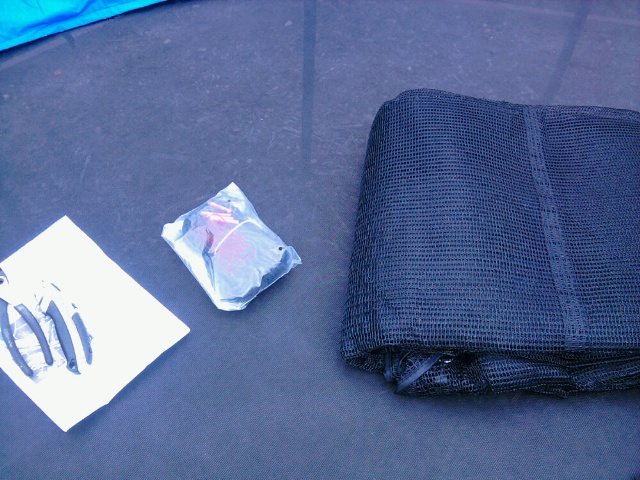
The netting comes with new ropes which you’ll use to sew to those V-Rings I mentioned above, and there are also straps that will connect to your frame up top. When you receive the package, you may be surprised how small it is – my entire netting replacement arrived in a large padded envelope. The contents are shown below.
Here again – you now want to follow your manufacturer’s instructions very carefully. Scan through the following to see how it will probably go, but always defer to your specific instructions. This should give you a good “feel” for what to expect, though…
I attached my straps to the frame at eight equally spaced positions at the top arches, being careful to align the netting “door” with my ladder. What’s imperative is that you DON’T tighten these straps. You connect them so the netting won’t blow off as you’re working with it, but you save the final tightening until after the sewing is done.
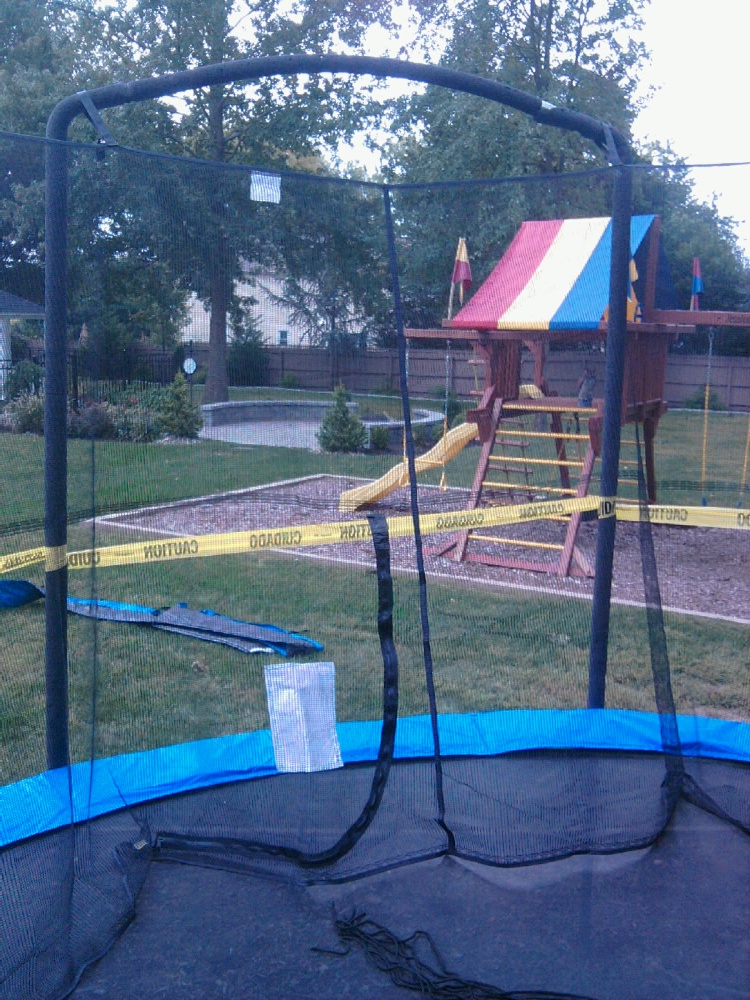
Now, you get your ropes out, and prepare for the sewing.
Sewing, if you ask me, is torture. But at least you’ll be getting some sun.
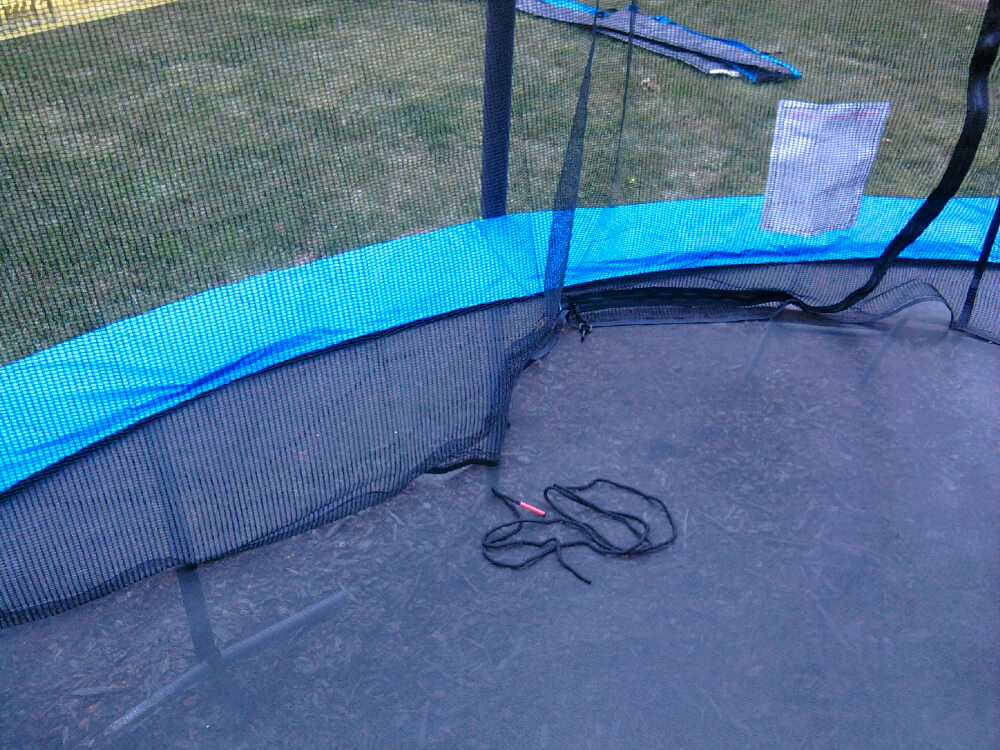
You start by double (or triple) knotting one section of rope to one of those “V-Rings” as you can see below. I used one of my pliers to get it really tight.
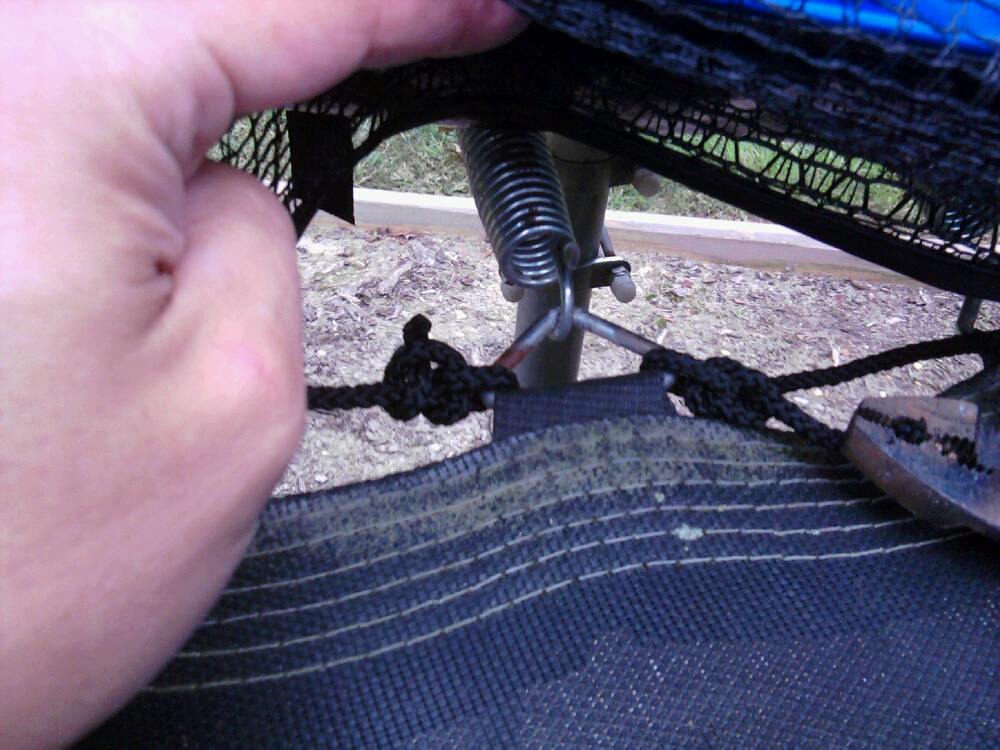
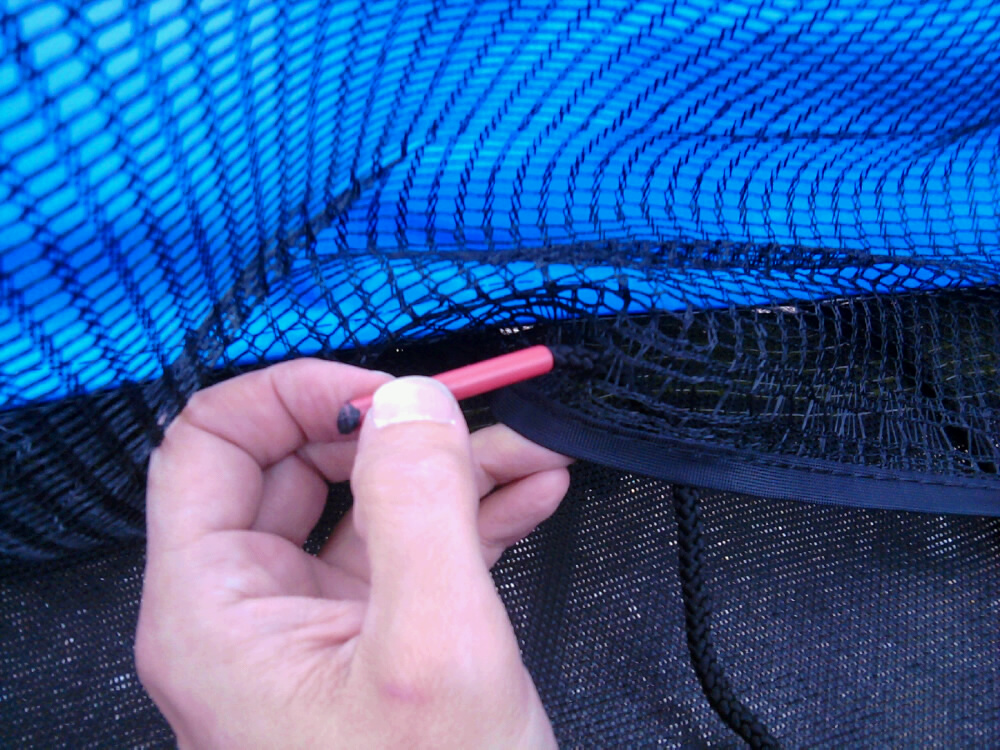
And then? Then you sew. The specifics will be designated by your manufacturer, but for me – it was a “weave” (is that a proper sewing word?) every inch or so and I had eight sections of rope. So, as I finished each section, I tied it off on another V-Ring and started again. One nice thing I had were the red plastic caps you can see below, they kept the ropes from fraying – and I removed them as I finished each section.
Once sewing is complete, I then got my ladder back out – and tightened up those eight bands to the frame arches, giving me back a very nice a nearly brand-new-looking trampoline again.
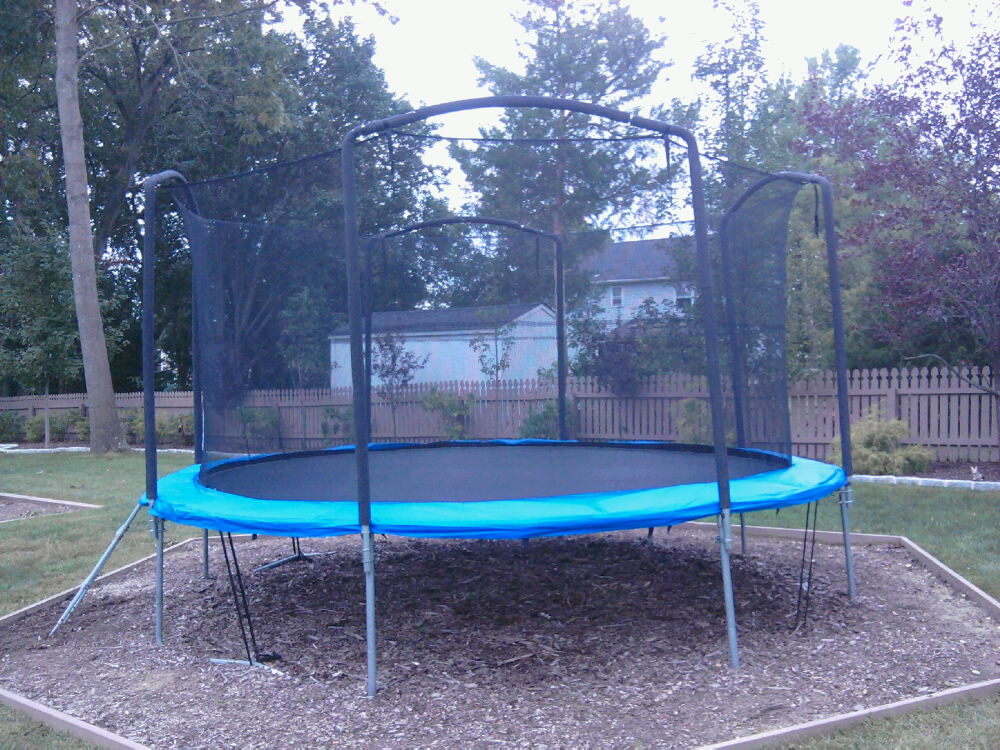
Then, for the final “unveiling” – I got to rip down that caution tape!
The kids are using the trampoline again now, and I’m sure this will be good for at least another 4-5 years. By then, they will have almost surely outgrown it. Then maybe I’ll take this nice hexagon area that I built and put a hot tub in there. At least that’s the current plan. Sounds good, right?

Looks good as new! Ours suffered a lot of tear over the summer but I was able to fix it as well. Isn’t it awesome that we can now get replacement parts for trampolines? :)