It’s 6 AM. My daughter bursts into my bedroom shrieking, “The sink exploded and it’s not my fault!!” I don’t know exactly what’s going on, but I’m pretty sure this could be a bad start to the day.
I run to the bathroom, and sure enough – water is literally shooting up from the bathroom faucet about 4 feet into the air. I’m so taken back, it takes me 4-5 seconds to snap out of it and reach for the turn-offs to kill the geyser. And as I look at the water cascading over the vanity, down an open drawer, onto the floor and right up against the cap moldings (where it can then surely find its way into the walls and down two floors to the basement), I realize I was right…
Not a good day at all so far.
Early Morning Plumbing Problems
After things get back under control and the water is all cleaned up, it’s quite clear that the hot water handle dislodged itself from the bathroom faucet completely – something I think it’s safe to call a catastrophic failure. In fact, this would almost certainly fall into the category of a manufacturer defect.
In my experience, manufacturers tend to be pretty good with replacing defective units like this and even supplying additional parts (washers, screws, etc.) if you merely give them a call or write them a nice email. In this case, though, – I opted to simply replace the whole unit; I bought a new bathroom faucet. The kids’ bathroom gets used A LOT, and this lasted for a number of years, so we got our money’s worth. Fair is fair.
I did, however, get a unit with fewer moving parts as you’ll soon see…
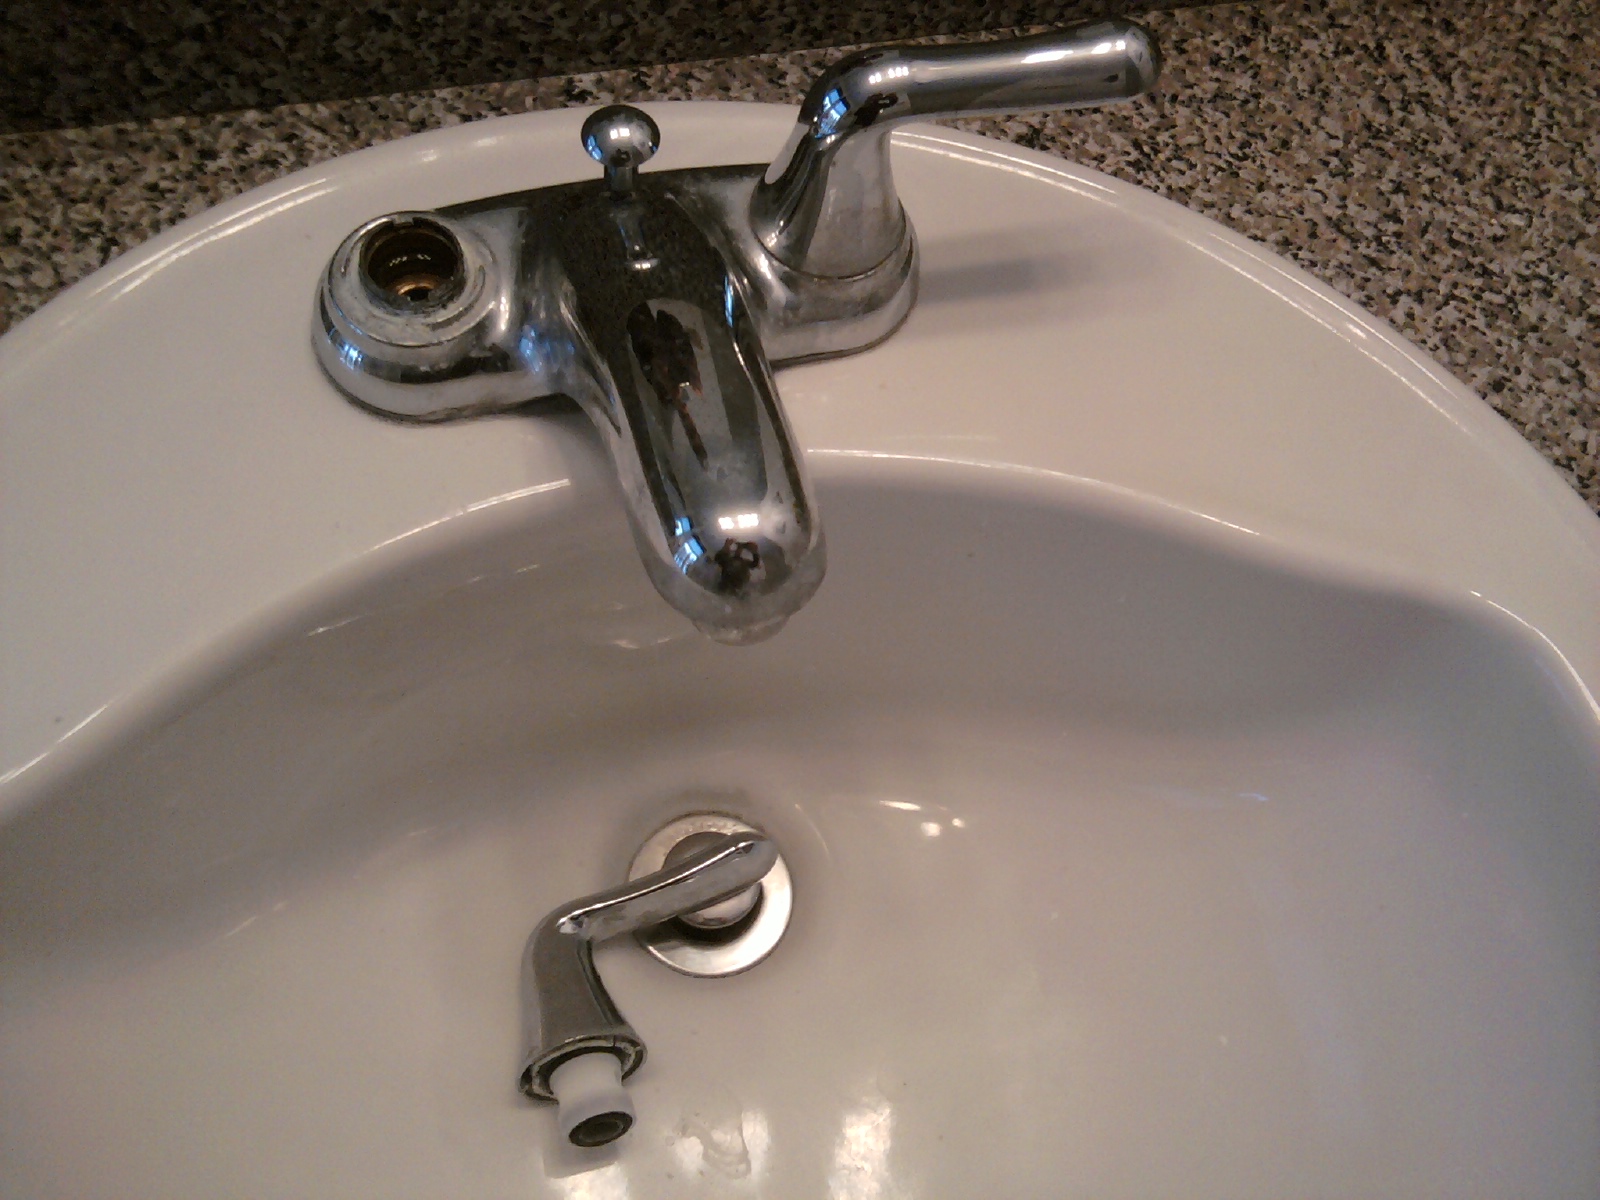
Removing the Original Bathroom Faucet
Removing the old fixture is the first order of business, and this always starts with turning off the water, of course. In my case, the water was already off – but that may not be the case in general if you’re making this change for other, shall we say, “less exciting” reasons.
Careful with the Plumbing Turn Offs
My turn-offs are under the sink in the vanity, and a word of warning here – always be paranoid with these turn-offs. Treat them very gently when turning them on or off, and always know how to shut off the water via a house main as well as an ultimate contingency in case your turn-offs don’t work or simply fail on you. As with everything, you never know what might happen – so always plan a step ahead. If you’re in an old house and the turn-offs look a little decrepit, be all the more paranoid!
With both turn-offs shut down, absolutely nothing should come out of the faucet.
Not even a slow drip… Nothing.
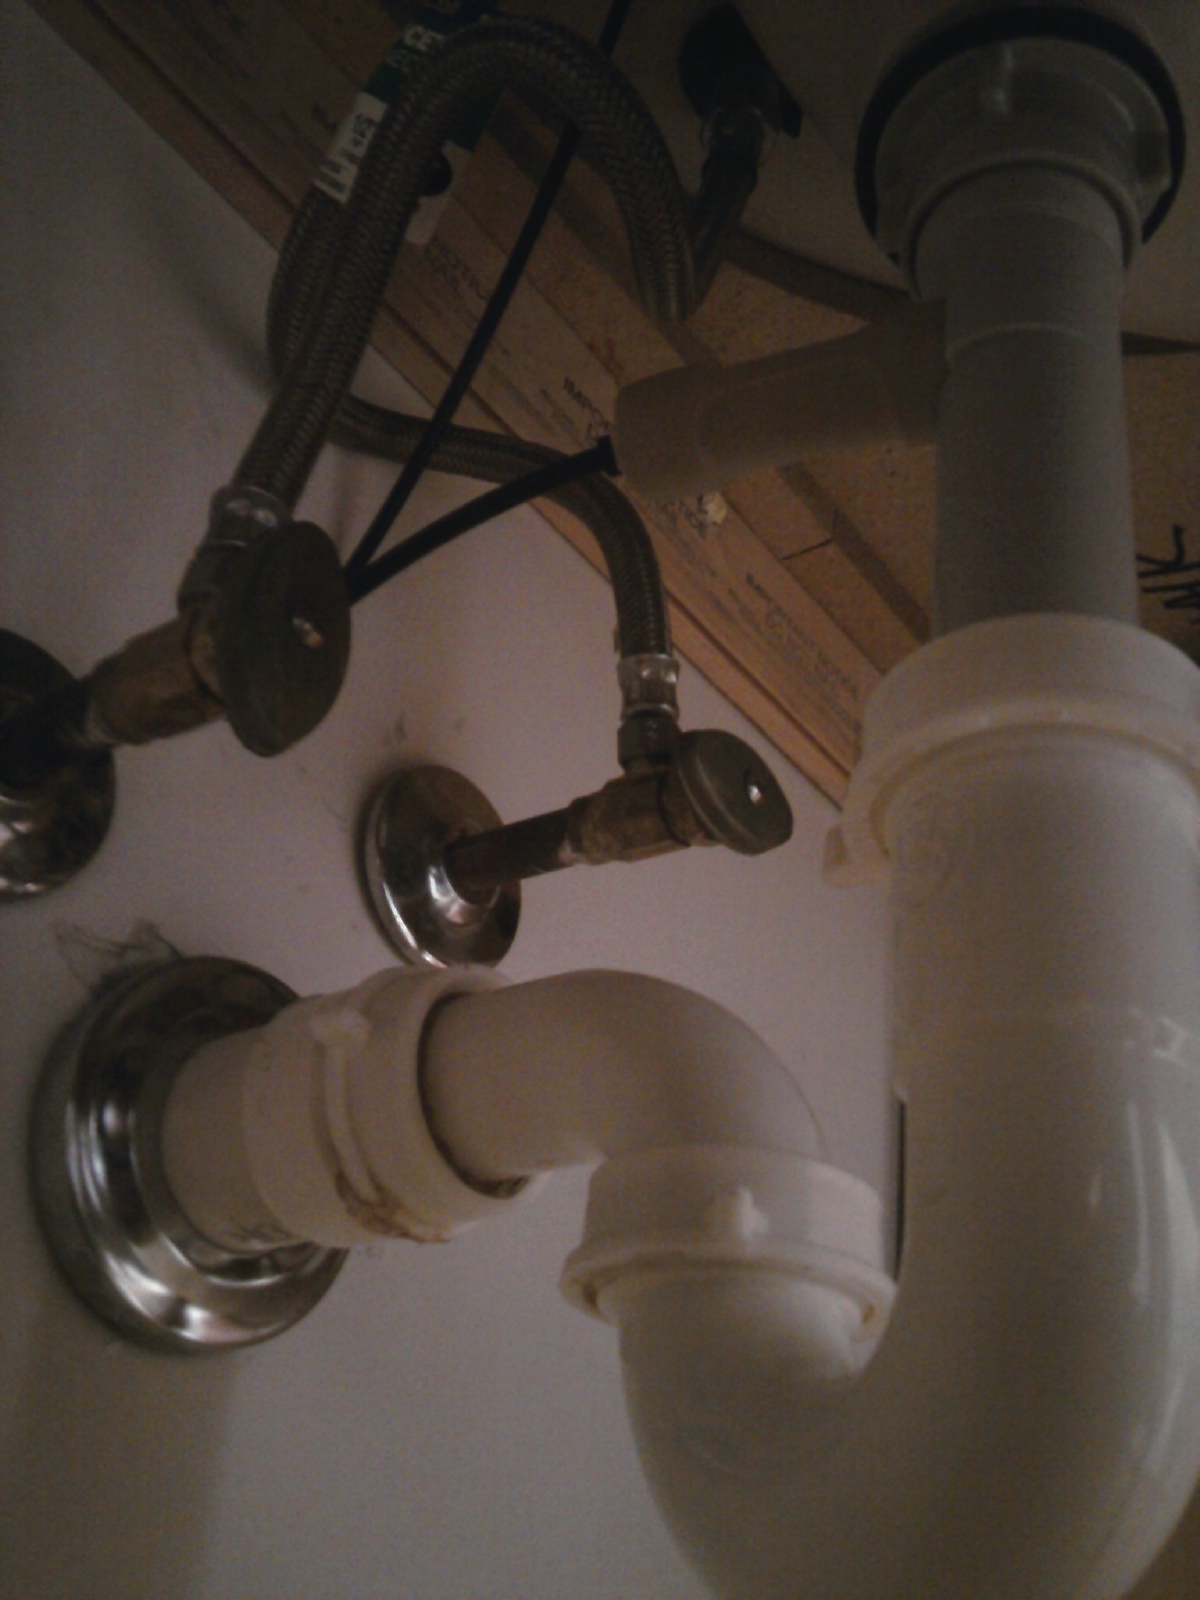
Disconnecting the Water Lines
You can now disconnect the water lines from the bathroom faucet. There’s another thing to be careful of here as well: In general, the left is hot and right is cold. But this may not always hold true. Label your lines if there’s any chance of confusion. For this bathroom vanity sink, for example, the left turn off was for the cold water… and the water lines were crossed over each other up by the faucet to meet the standard convention. Odd? A little bit, yes. But you can come across anything – so if there’s any chance for confusion, label the lines.
Another tip: Have a bucket with you as you’re disconnecting these water lines as they’ll surely have some water in them. My lines were flexible, so as I disconnected them, I let them drain into the bucket. You may get a little wet; it’s just part of the job.
In the following shot, you can see the water lines while still attached to the bathroom faucet. Right above are lock-nuts that hold the faucet physically in place. Once the water lines are disconnected, the next step is to remove these lock nuts.
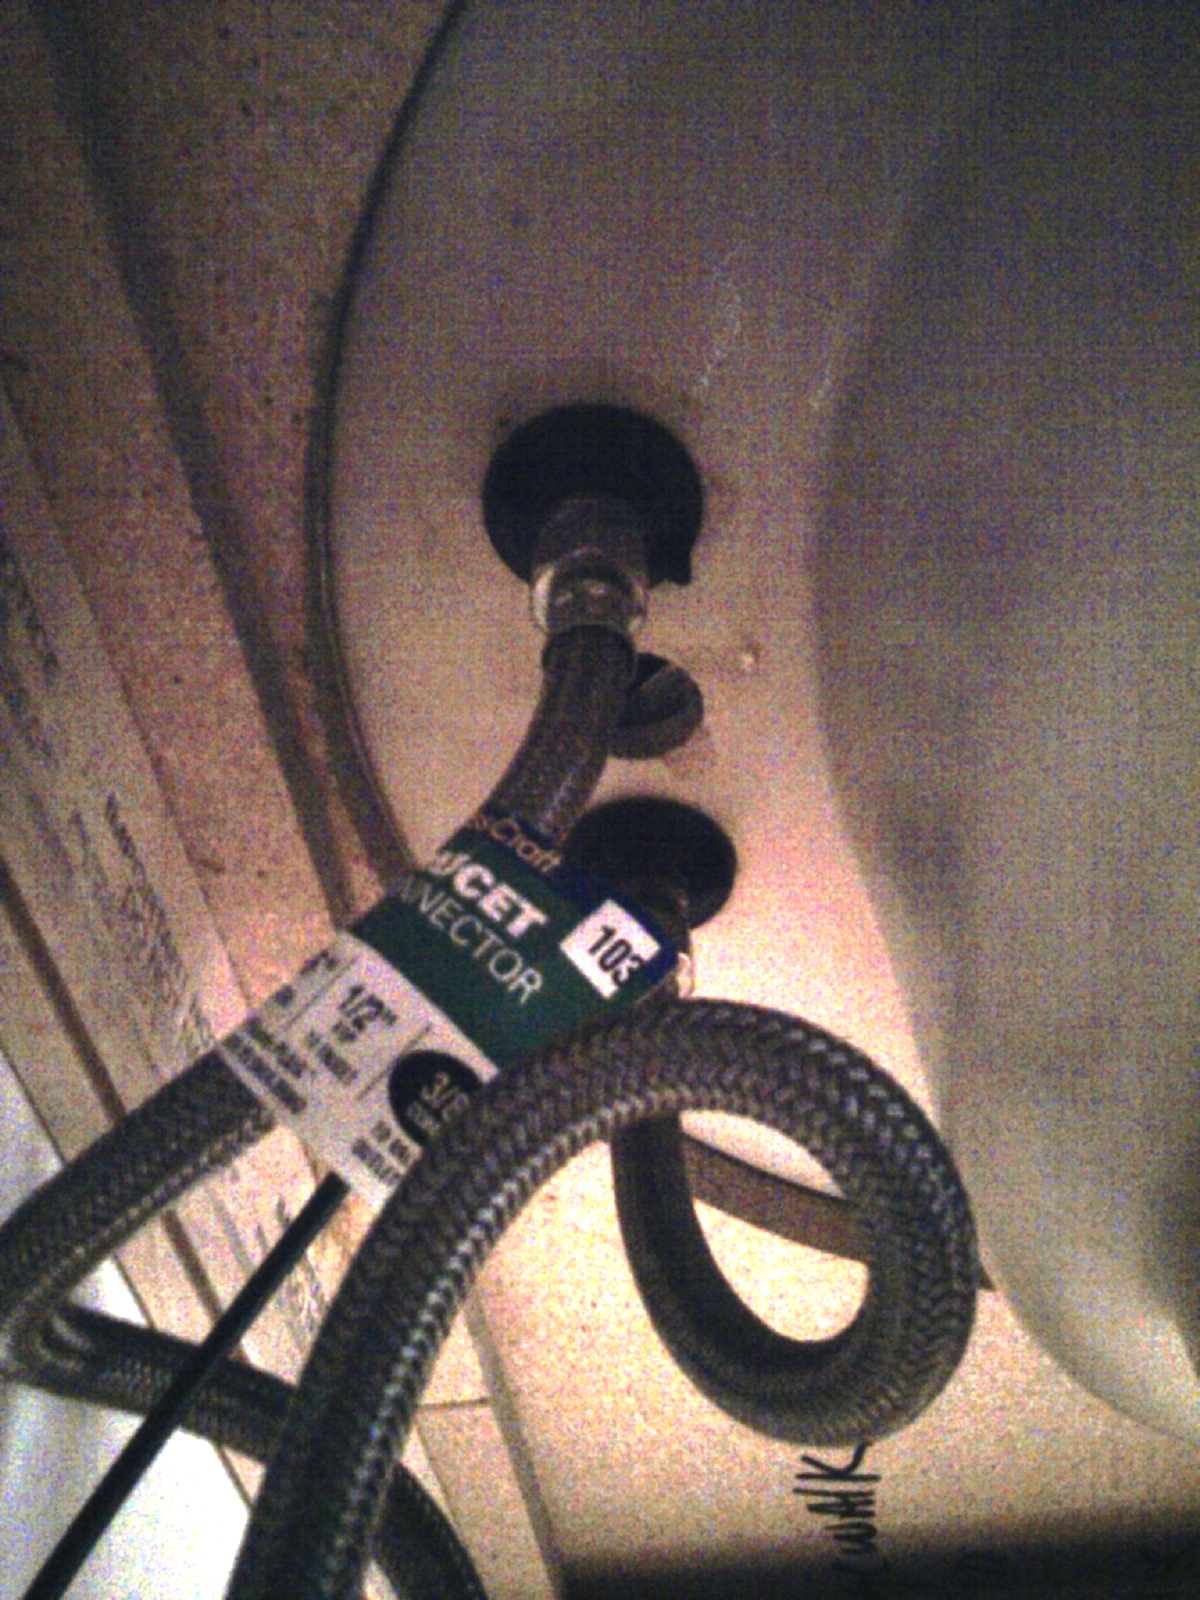
And Finally – Detaching the Bathroom Faucet
The bathroom faucet can then be removed from above – breaking it away from perhaps a bit of plumber’s putty as you can see just below. The one remaining line has nothing to do with water – the original fixture I had in place came with its own special drain, and this line was the control. Since I was planning to replace the faucet and the drain – I simply removed this. It wouldn’t work with the new drain kit I had, which was also customized for the new faucet. This is not uncommon for bathroom fixtures – the bathroom faucet and drain are often mated.
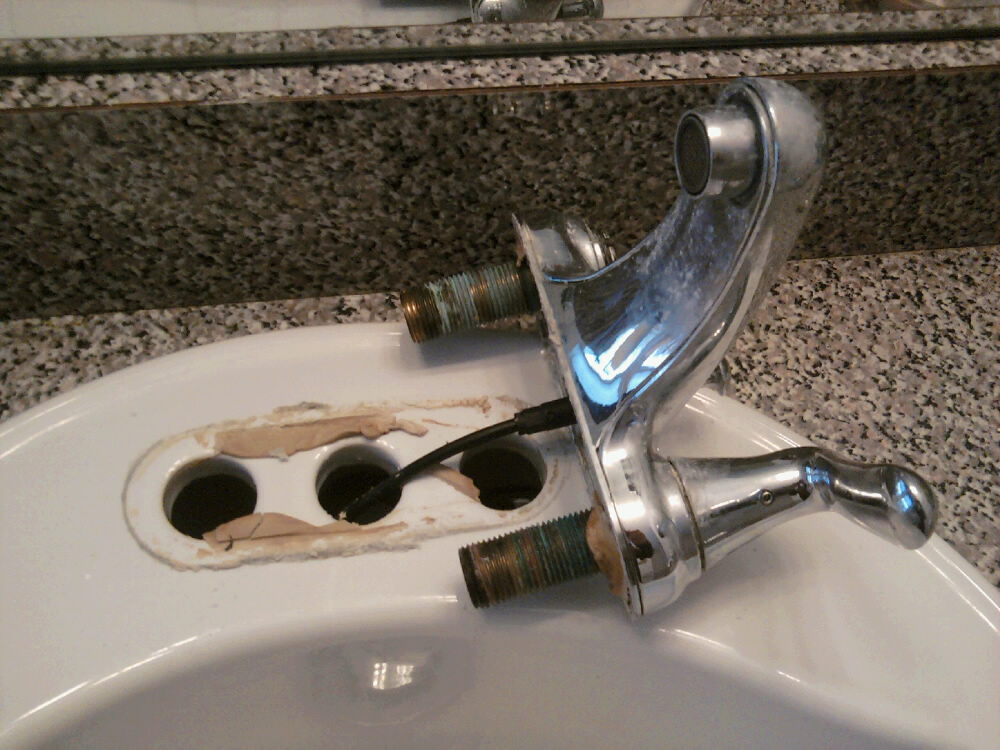
Clean everything up as nicely as you can – and the bathroom faucet removal is completed. Next, we need to remove the old drain.
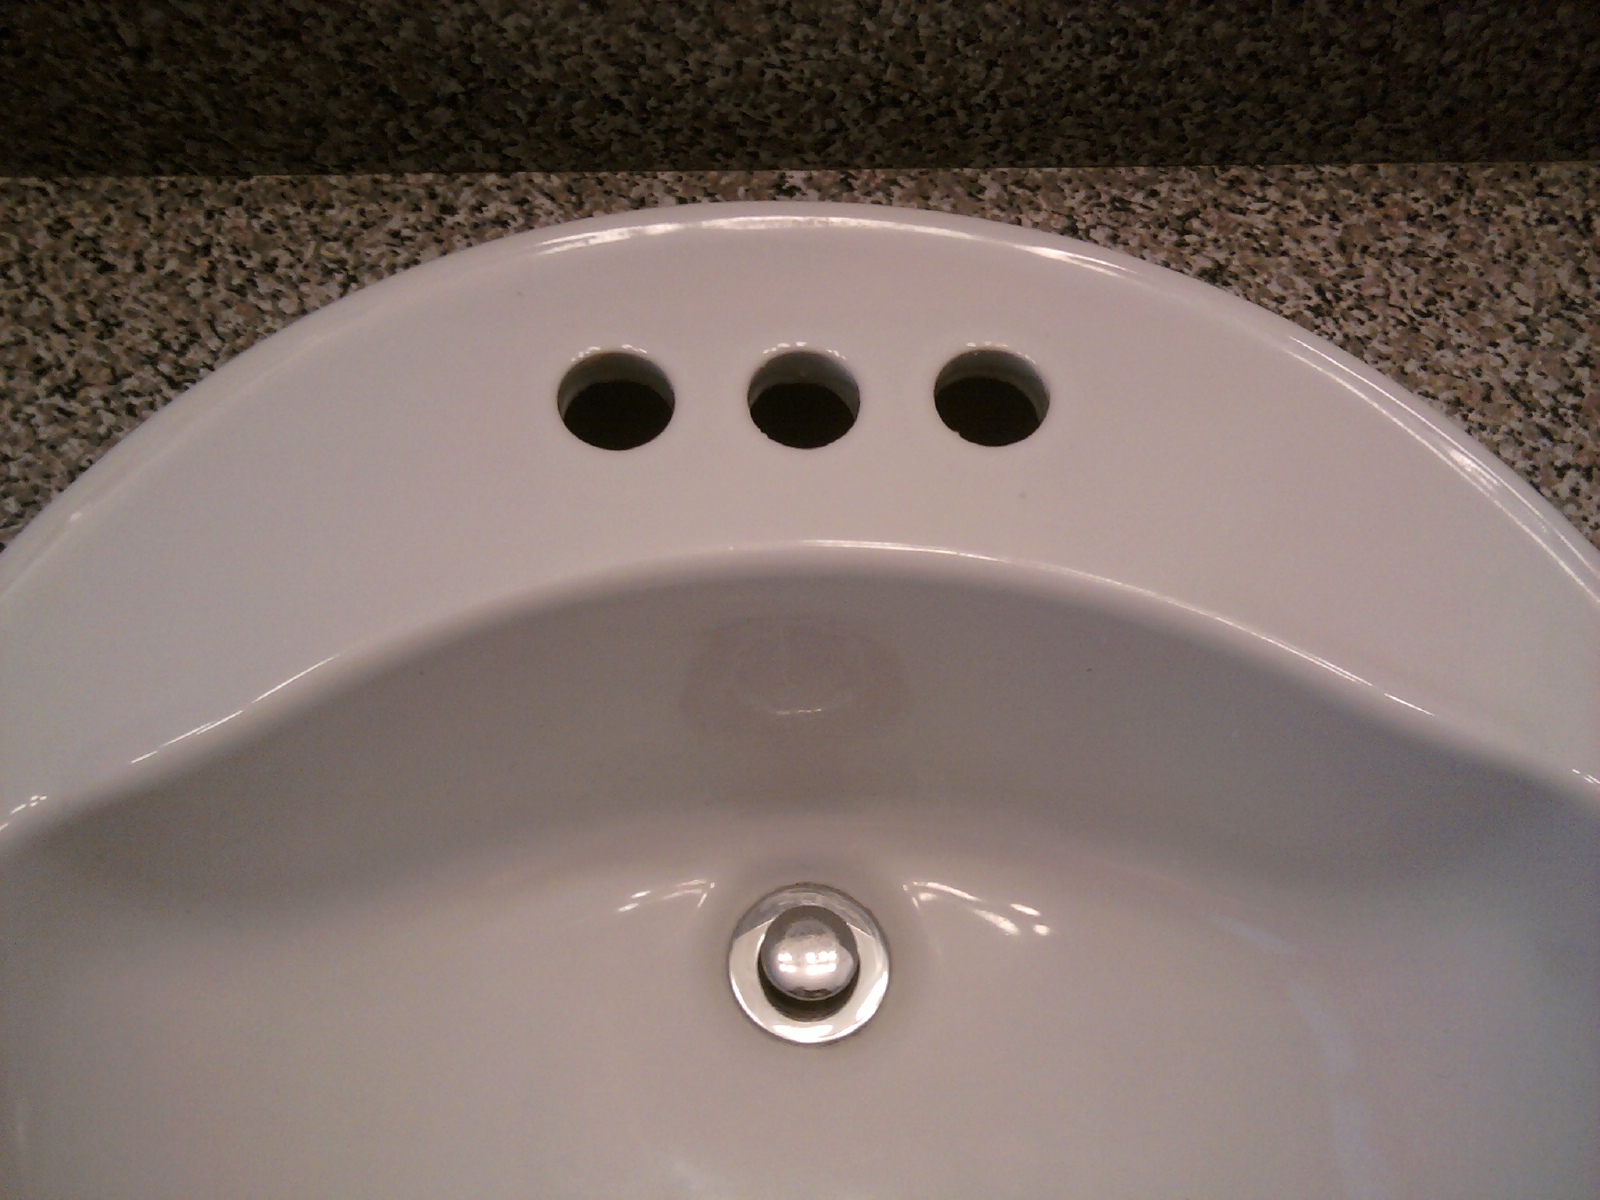
Removing the Original Vanity Sink Drain
Drain removal, I must say right up front, can be nasty!
There’s going to be hair, and for lack of a better phrase… “disgusting muck.” Plus, it’s very likely going to smell as well. Prepare yourself for this.
Removing the Drain Trap
Below is a repeat photo that I used earlier – but note here the “drain trap” (the white U-shaped pipe) and how it connects to the gray drain above (which leads to the sink). To do this right, you need to remove the trap, and it will be filled with water and assorted… “muck.” You can usually unscrew this by hand. Have your bucket close by.

I usually drop the whole drain trap right into the bucket – making sure not to lose any of the pieces. They will all need to be cleaned and reused. The following shot shows the cleaned trap and assorted pieces.
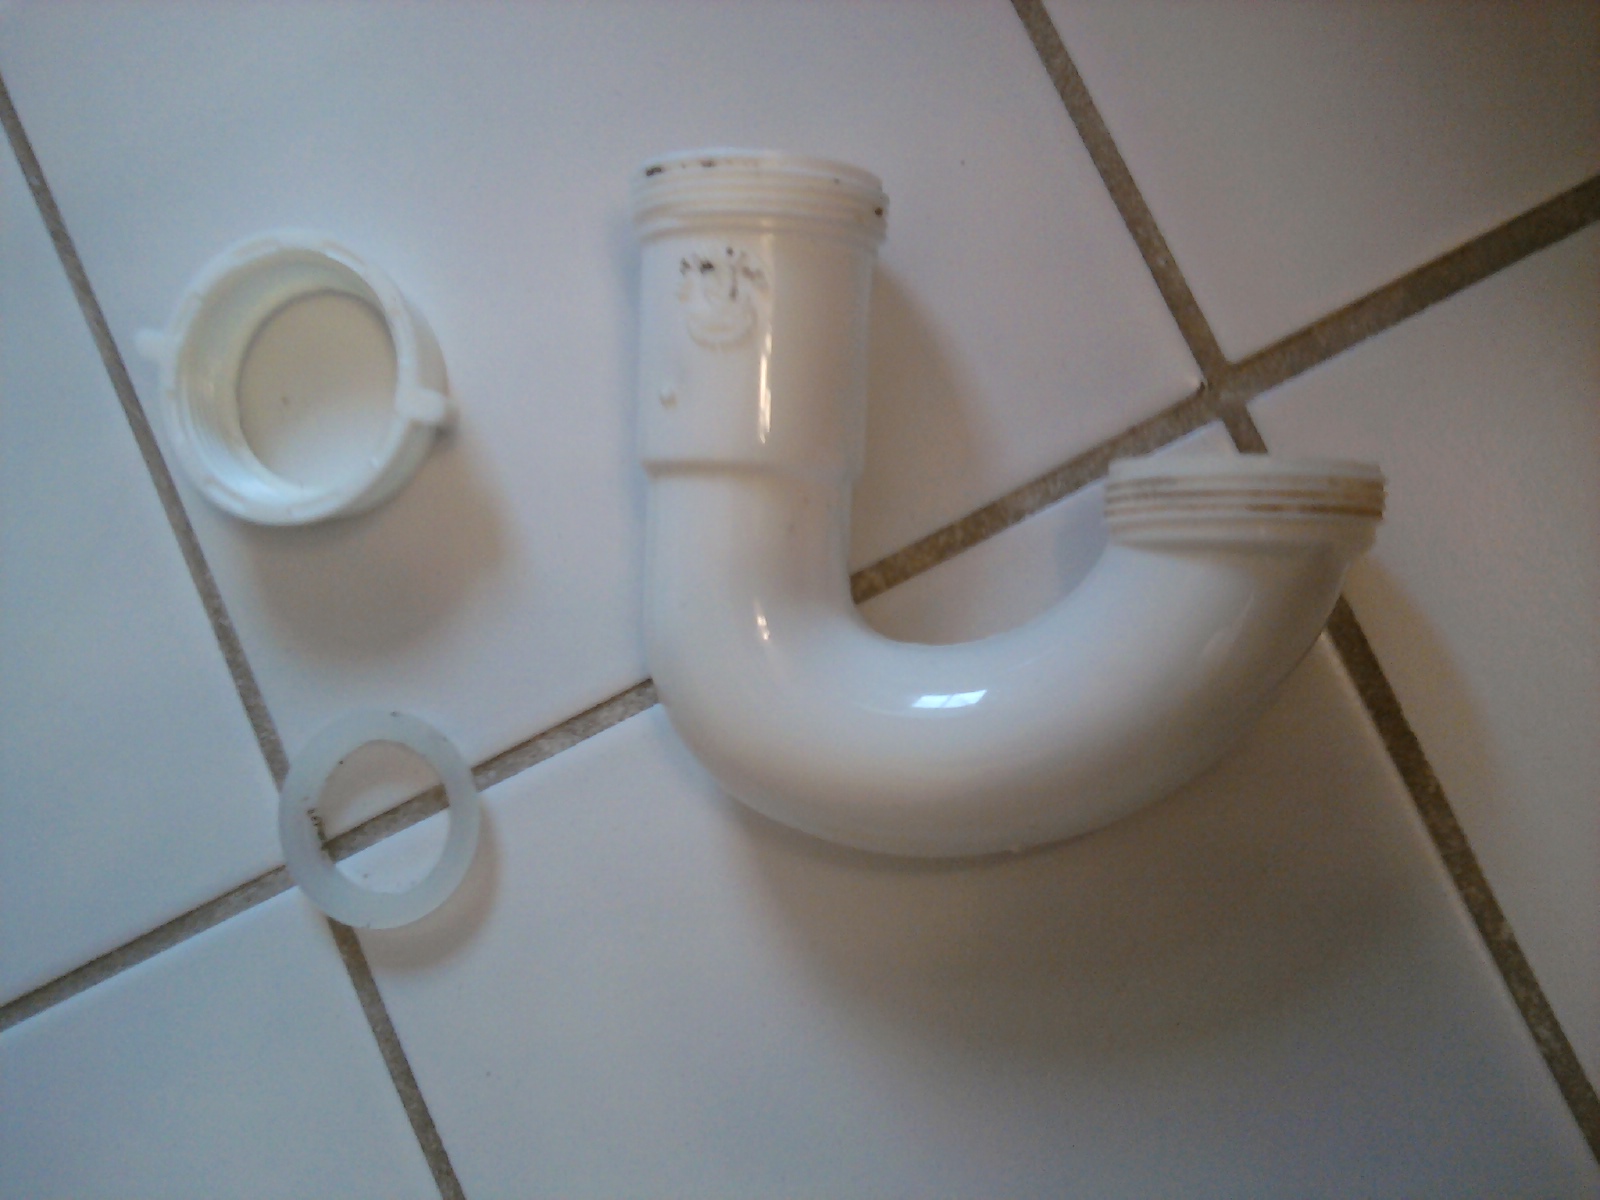
Getting at the Sink Drain Itself
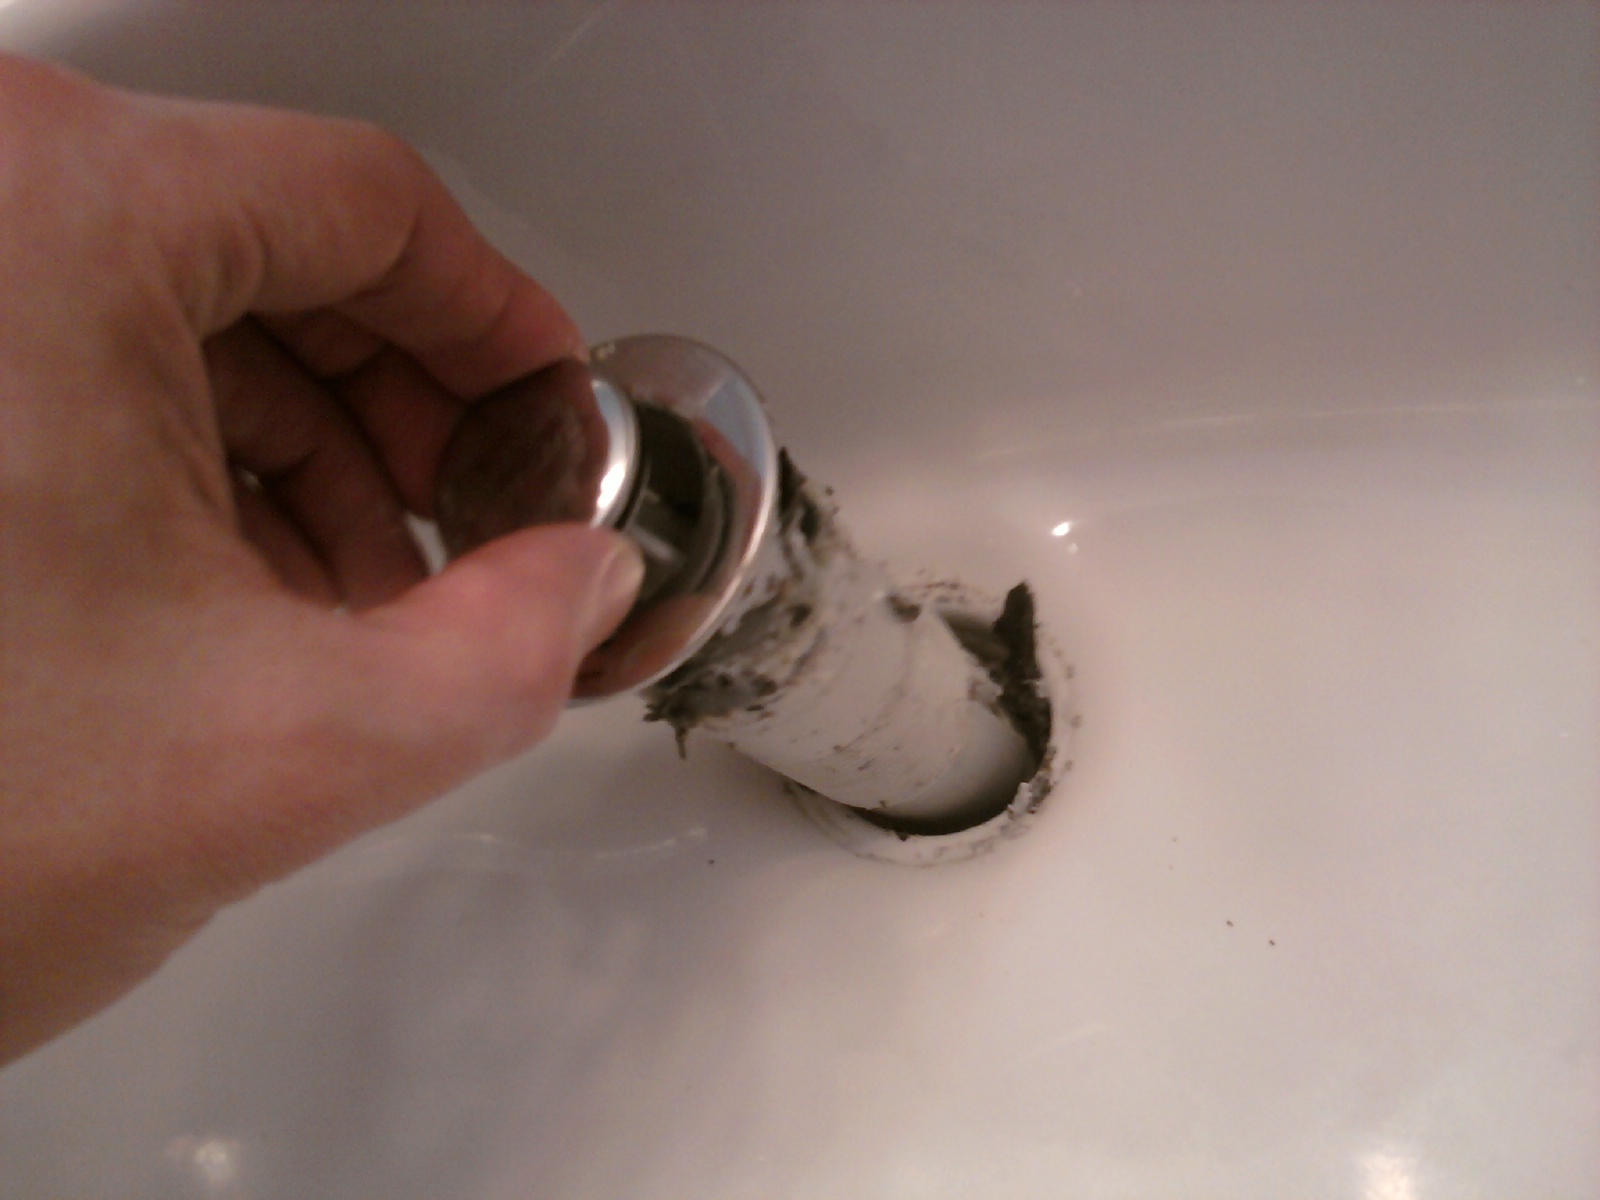
Removal of the sink drain itself, now, can vary a bit – but you can see there will generally be a large nut holding it in place with a rubber washer compressed up against the sink. This needs to be loosened, and the drain can then be removed.
I mentioned this would be nasty, right?
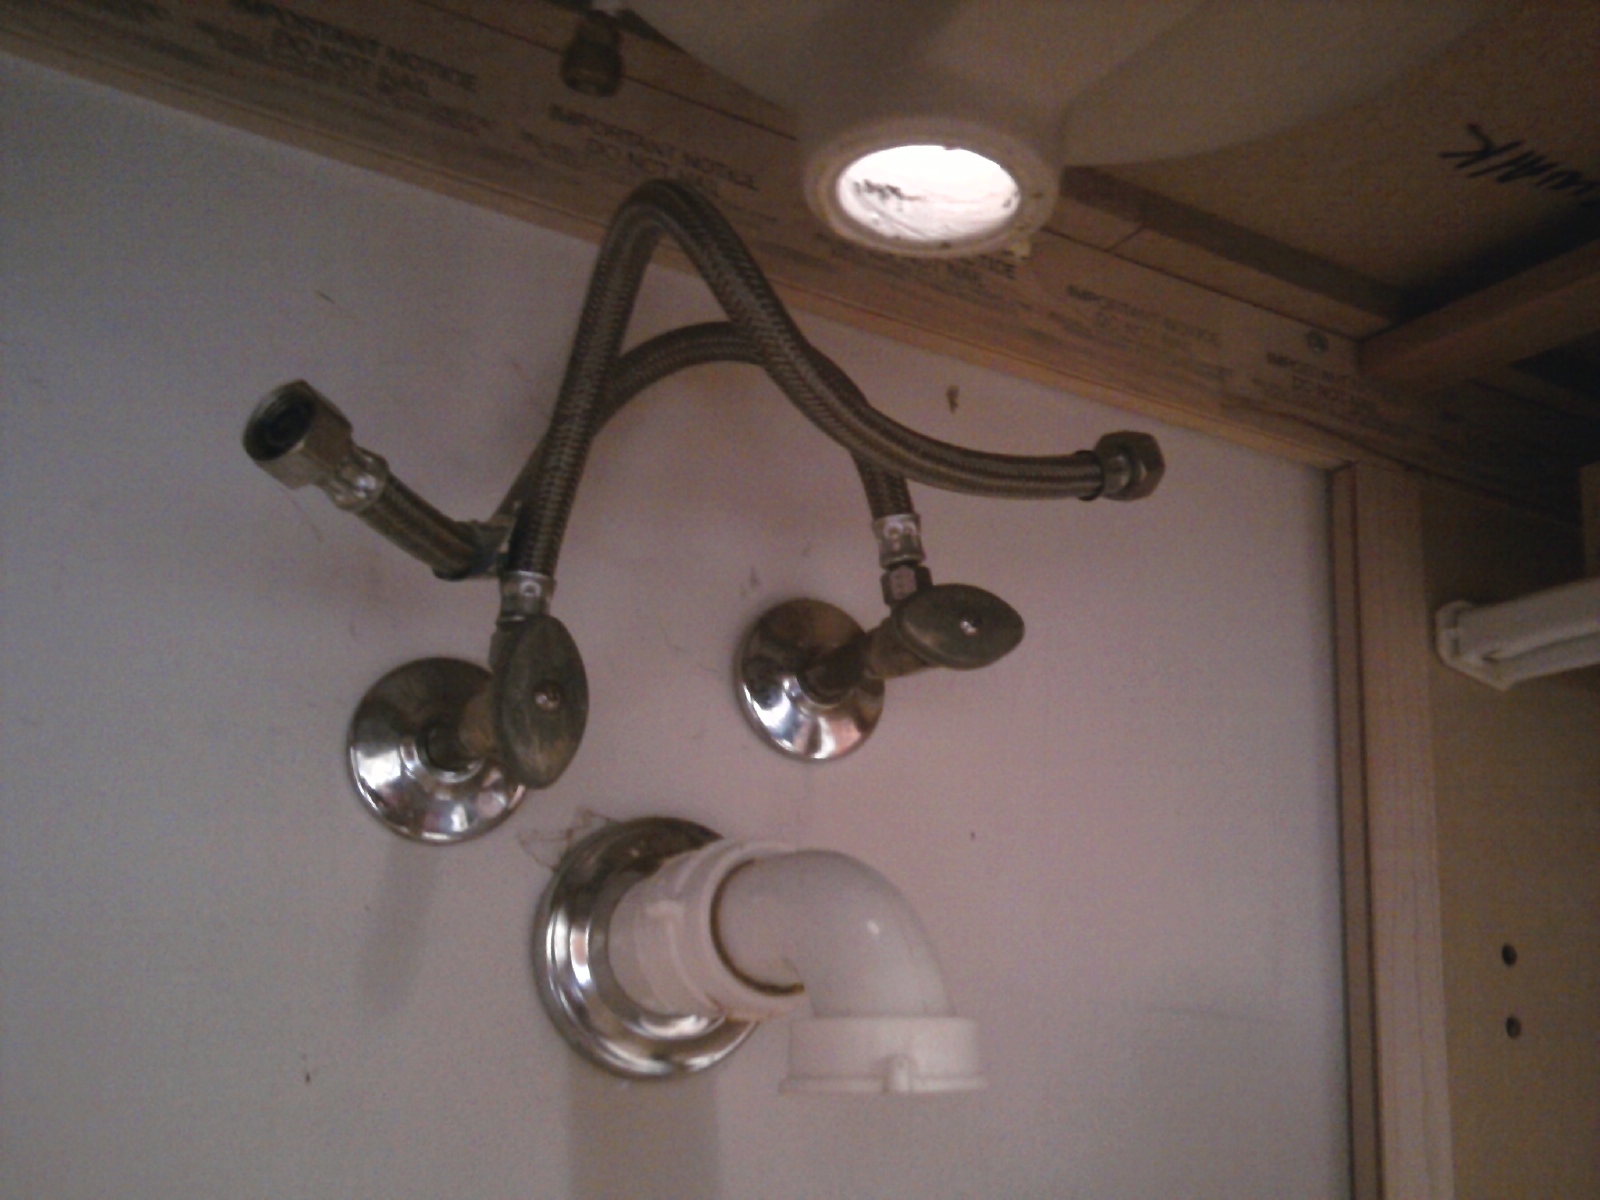
Once again, clean up the entire work area so you’ll be ready to begin the new installation. From underneath the sink, I now have the following – nice and neat:
Installing the New Bathroom Faucet
It’s time to start reassembling now. The fixture I chose had only one control, as opposed to two handles. This was intentional – so as to [hopefully] minimize the chance for further adventures in bathroom faucet repair! This bathroom *really* gets a lot of use, and my thinking was simple: the fewer moving parts – the better.
At this point, follow the manufacturer’s installation notes carefully. You can see below how my assembly went as a point of reference – and it will go pretty much like this, but there surely will be variations.
Bathroom Faucet Base and Plumber’s Putty
This particular bathroom faucet came with a plastic base. This seems to be the case much of the time of late. In the past, using plumber’s putty under the faucet was much more typical – and it’s still quite common for several fixtures. Once again, this will depend on your particular fixture – and it will be specified in the installation instructions.
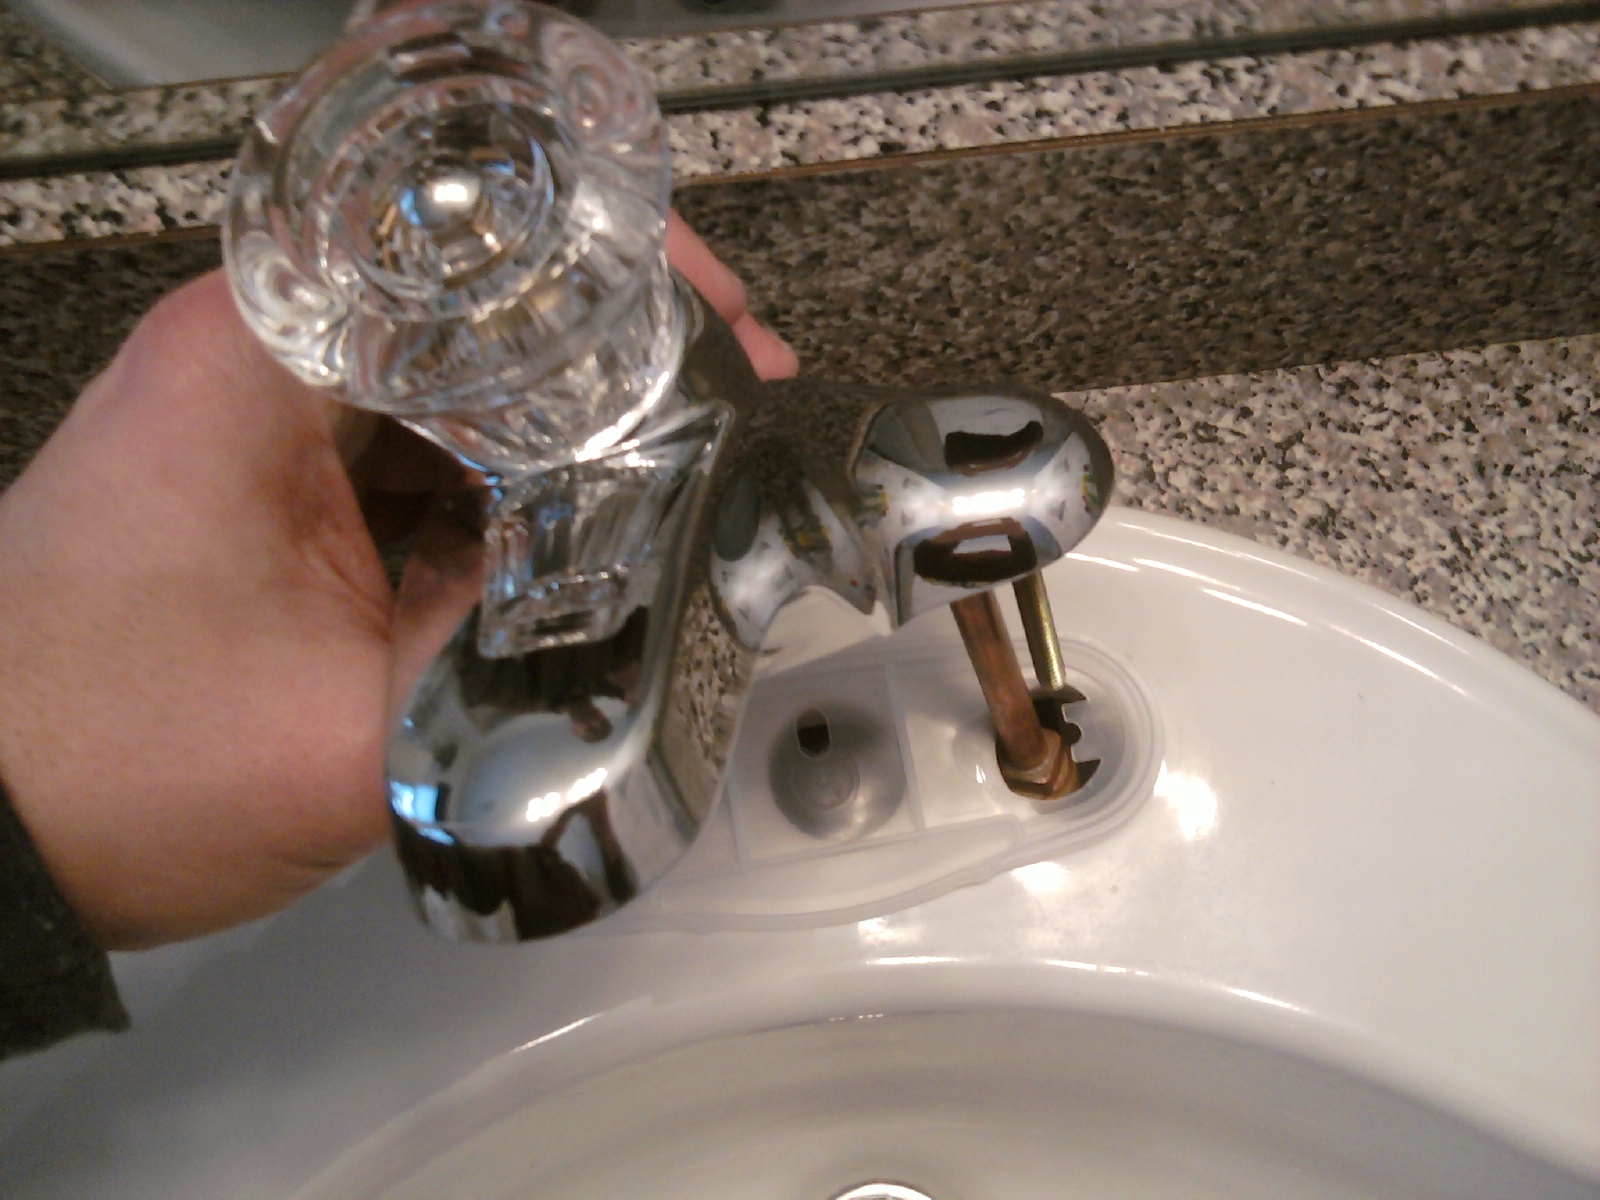
NOTE: Steer away from using plumber’s putty if you’re installing a fixture on granite. The oils in the putty will eventually permeate the porous granite and can discolor the stone. This could take months or years. If you find you’re addressing a granite-based installation, call your granite dealer and ask for their recommendation. In my experience, they typically use clear silicone for such cases.
Securing the Faucet & Connecting Water Lines
Once in place, the fixture will be mechanically secured from the bottom with hardware that the manufacturer supplies. Be very careful not to over tighten. The bathroom faucet should be secure – but the materials you’re compressing can be damaged if taken too far.
Next – connect the water lines, being careful not to apply torque directly to the copper pipe. Use two wrenches: one on the water line, and one on the nut at the base of the fixture pipe.
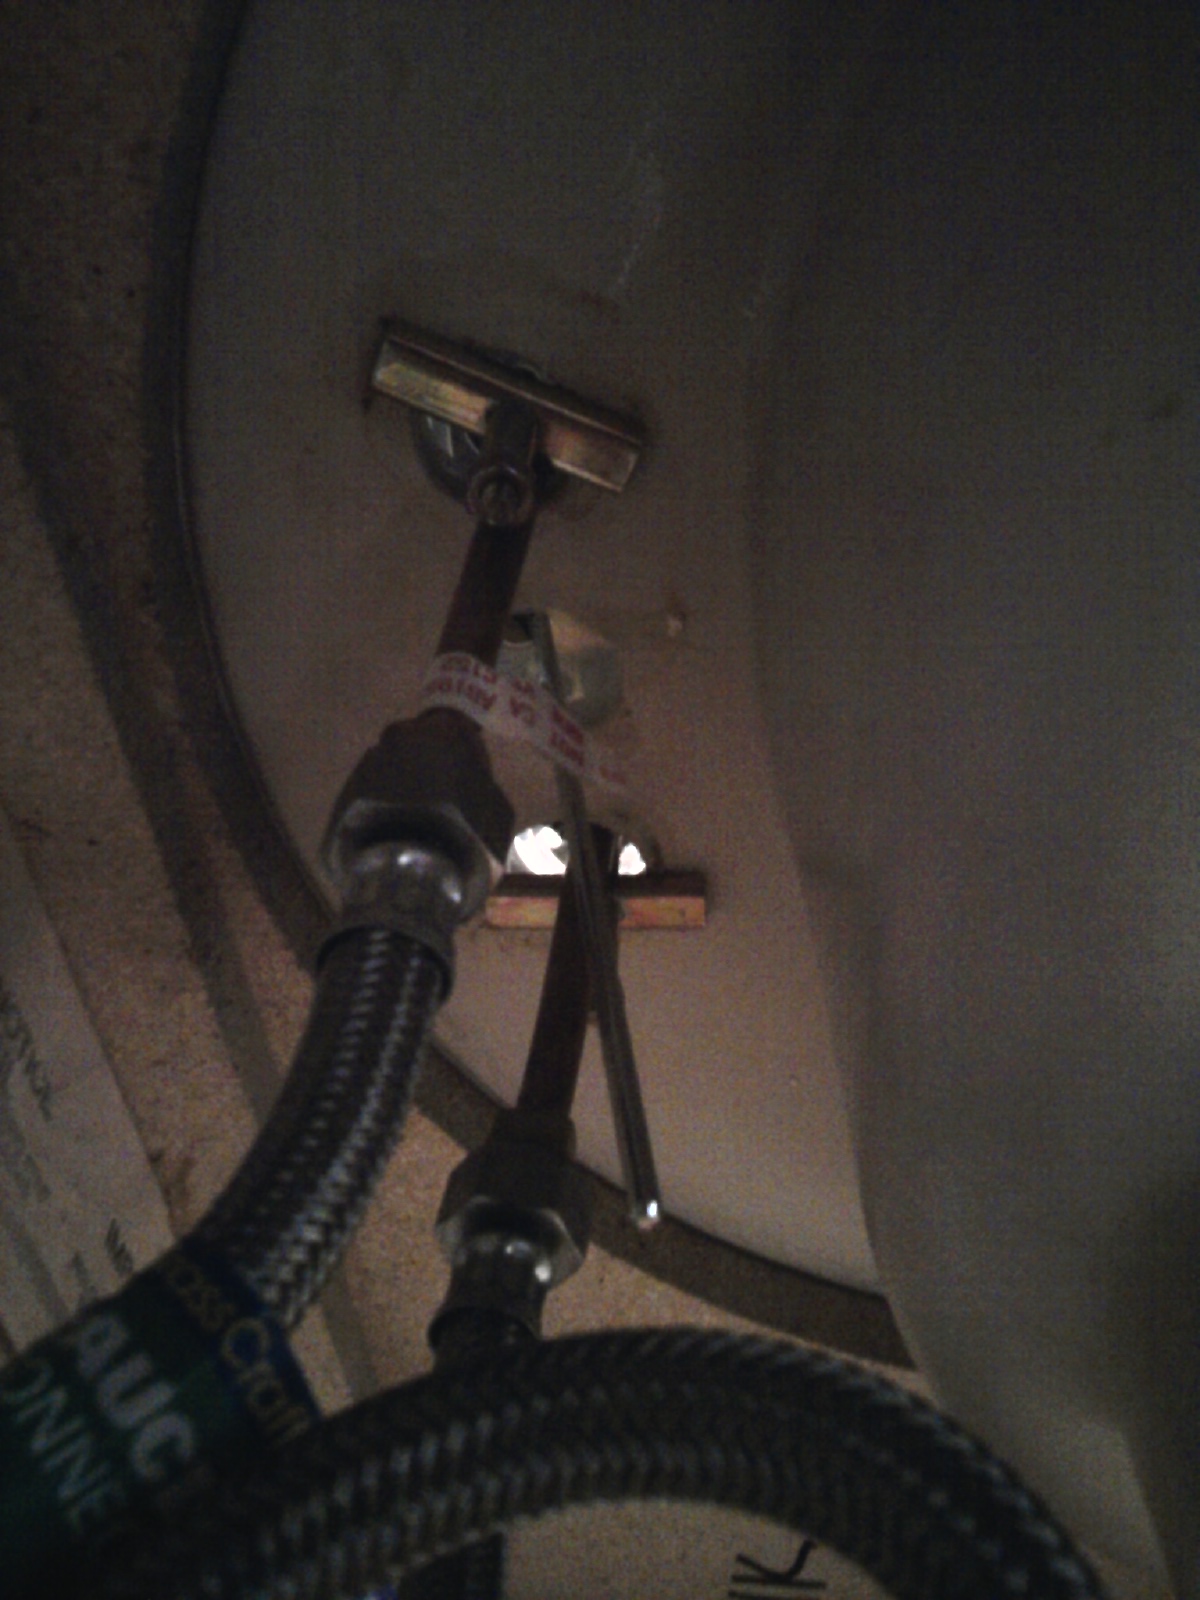
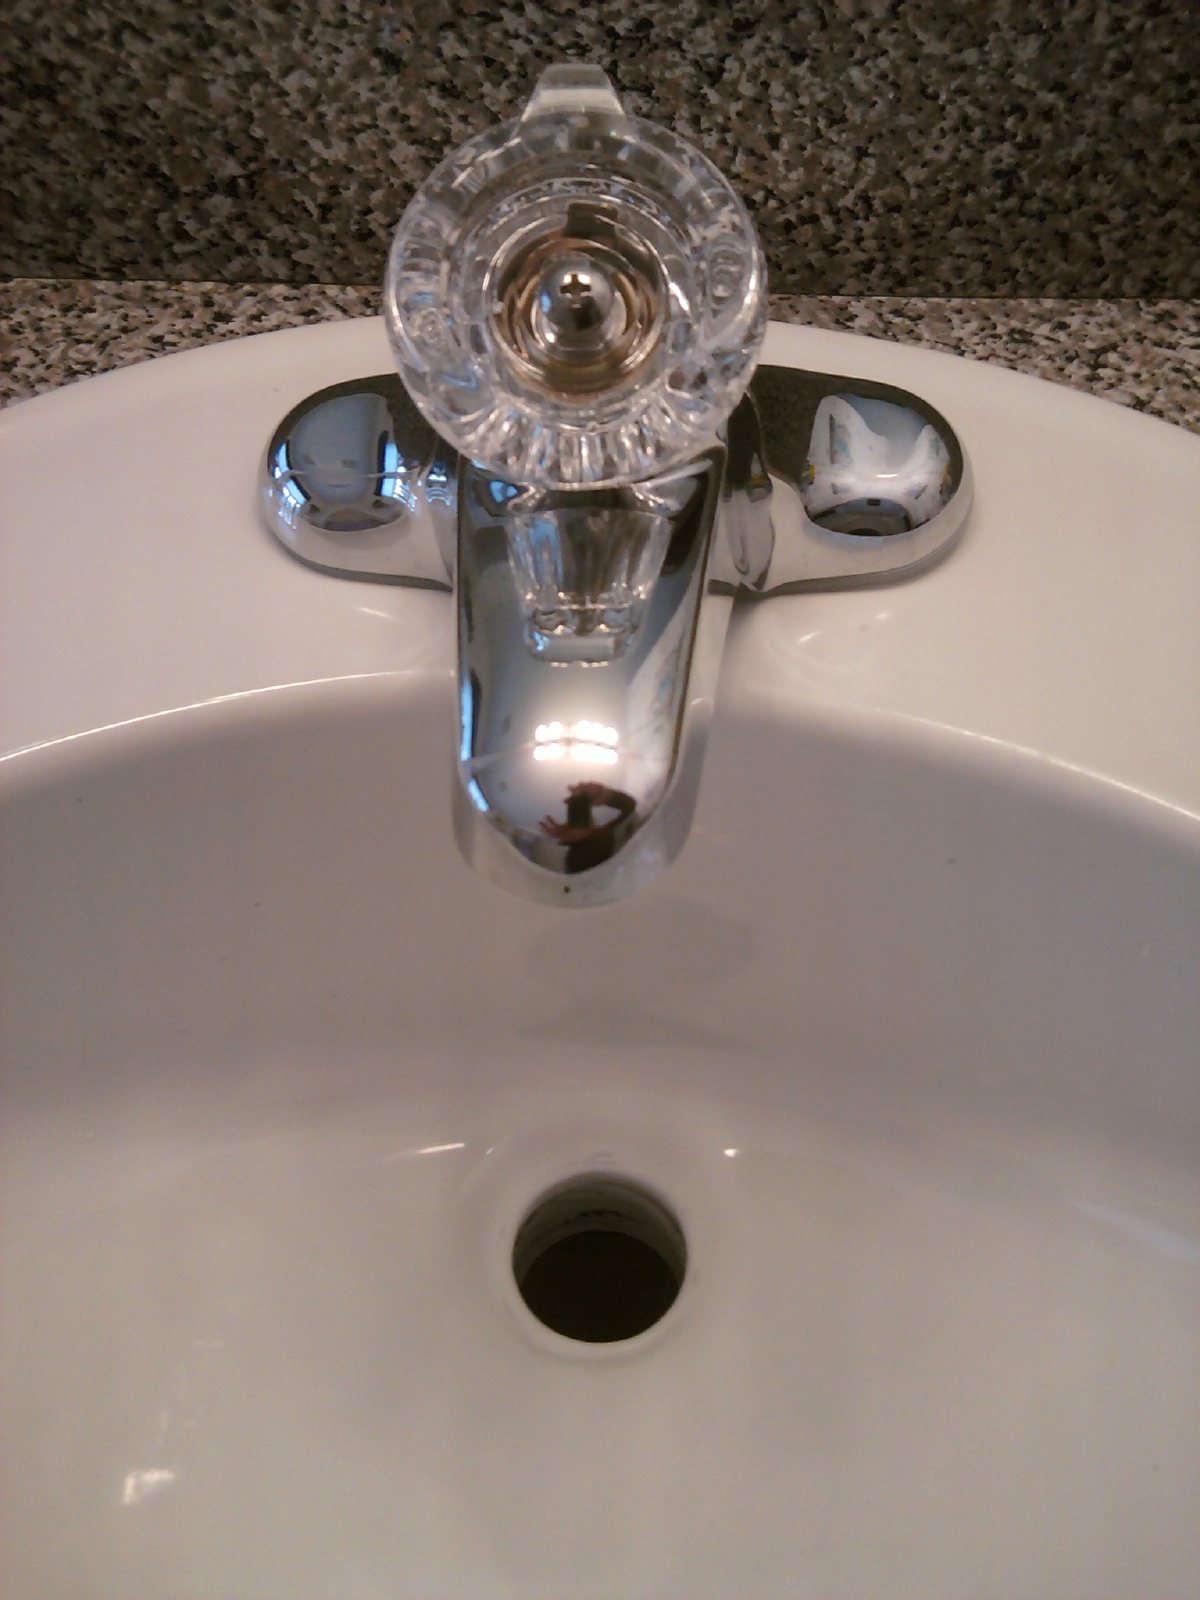
And, the new bathroom faucet is installed…
Installing the Sink Drain
You’ll surely need some plumber’s putty here — at least, that’s always been the case for me, and it will surely instruct you appropriately in the documentation that comes with the drain kit. You can see I’ve added a continuous bead to the top of the drain before inserting into the sink.
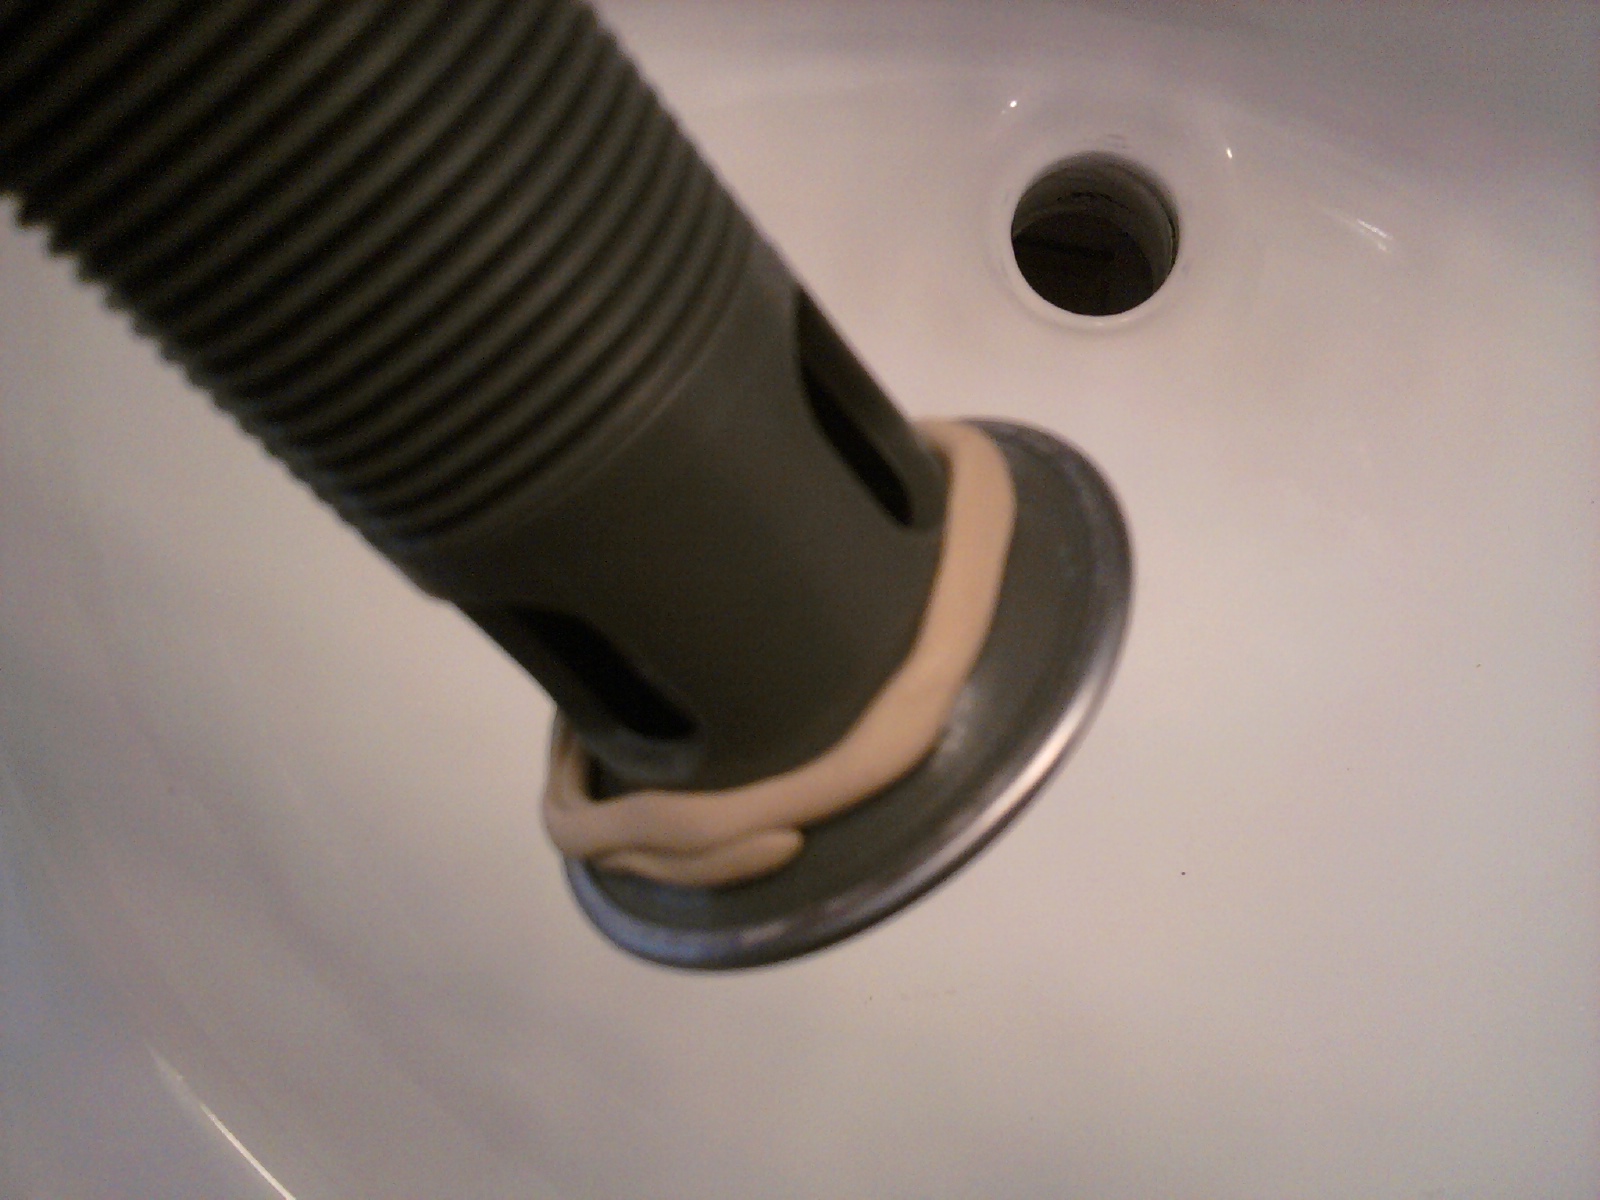
Compress this down until the putty oozes out around the entire circumference. If it’s not coming out everywhere, remove the drain, add fresh putty and do it again.
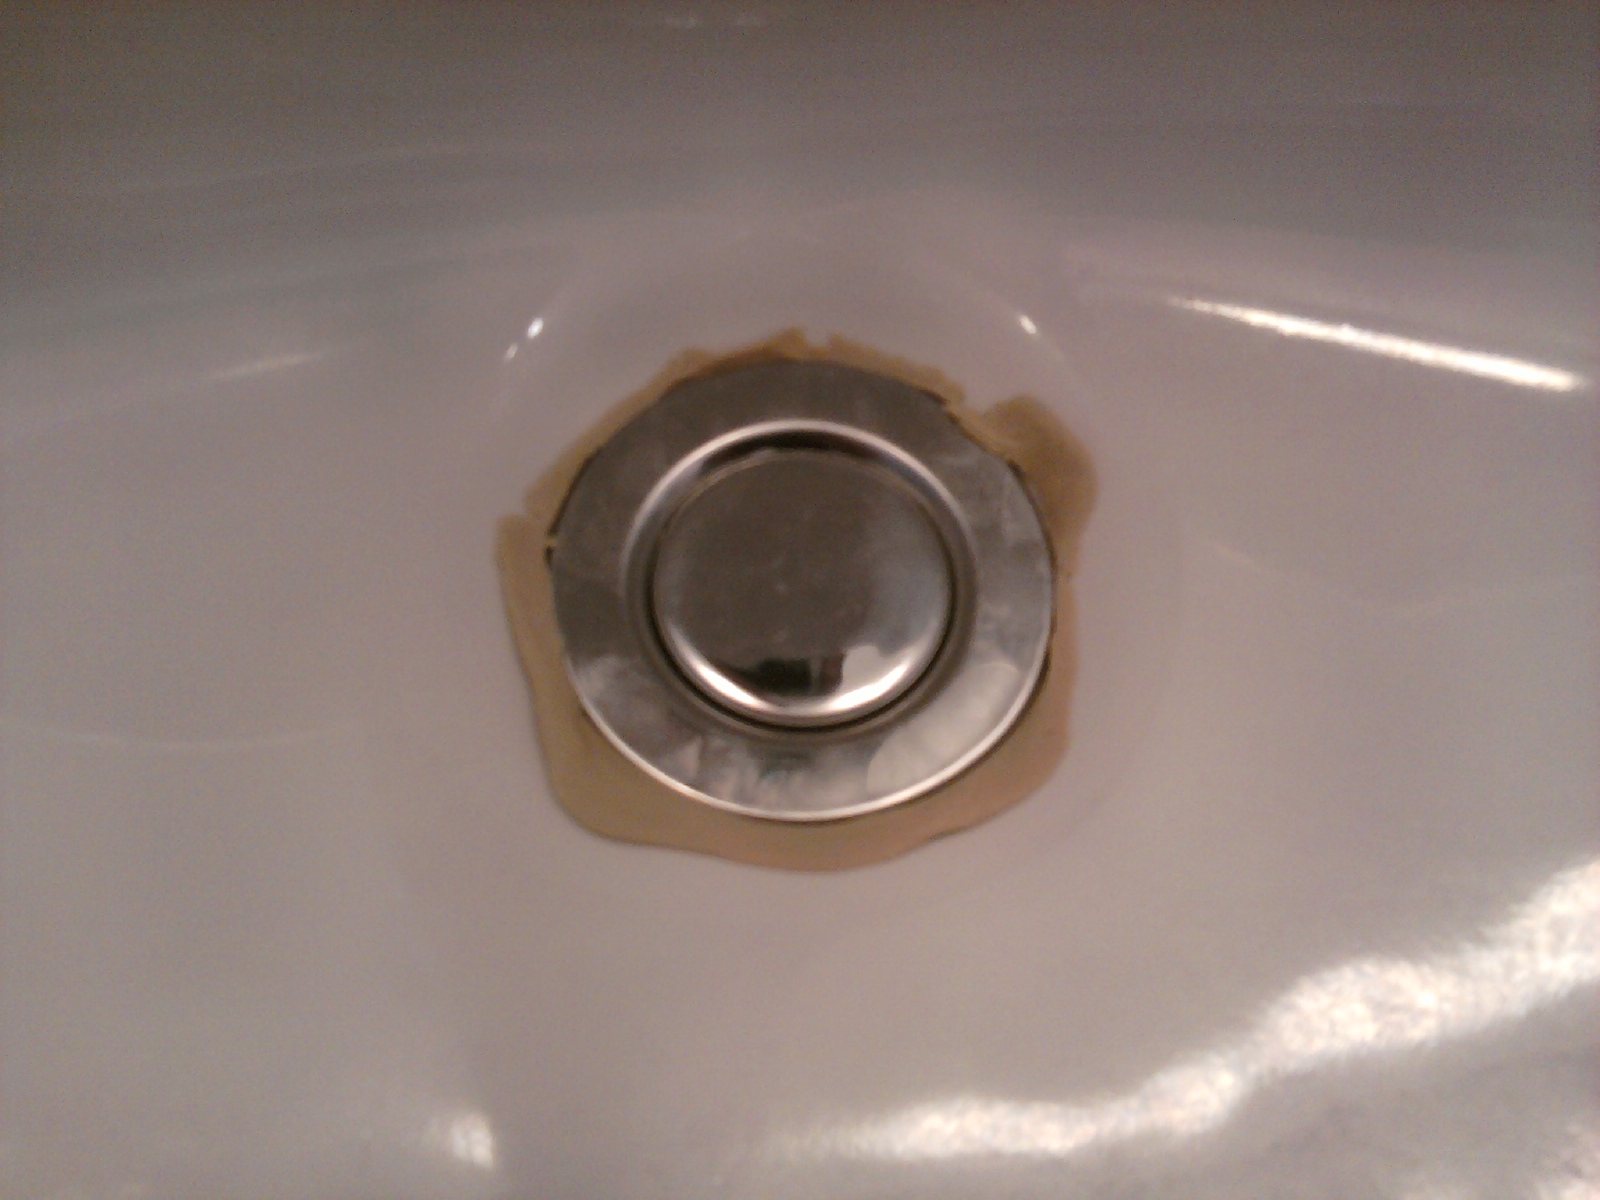
There’s generally some type of lock nut which gets screwed down to compress a heavy rubber washer/gasket and typically a vinyl washer as well. Once you have this all installed (per your specific instructions), the assembly should look something like the following:
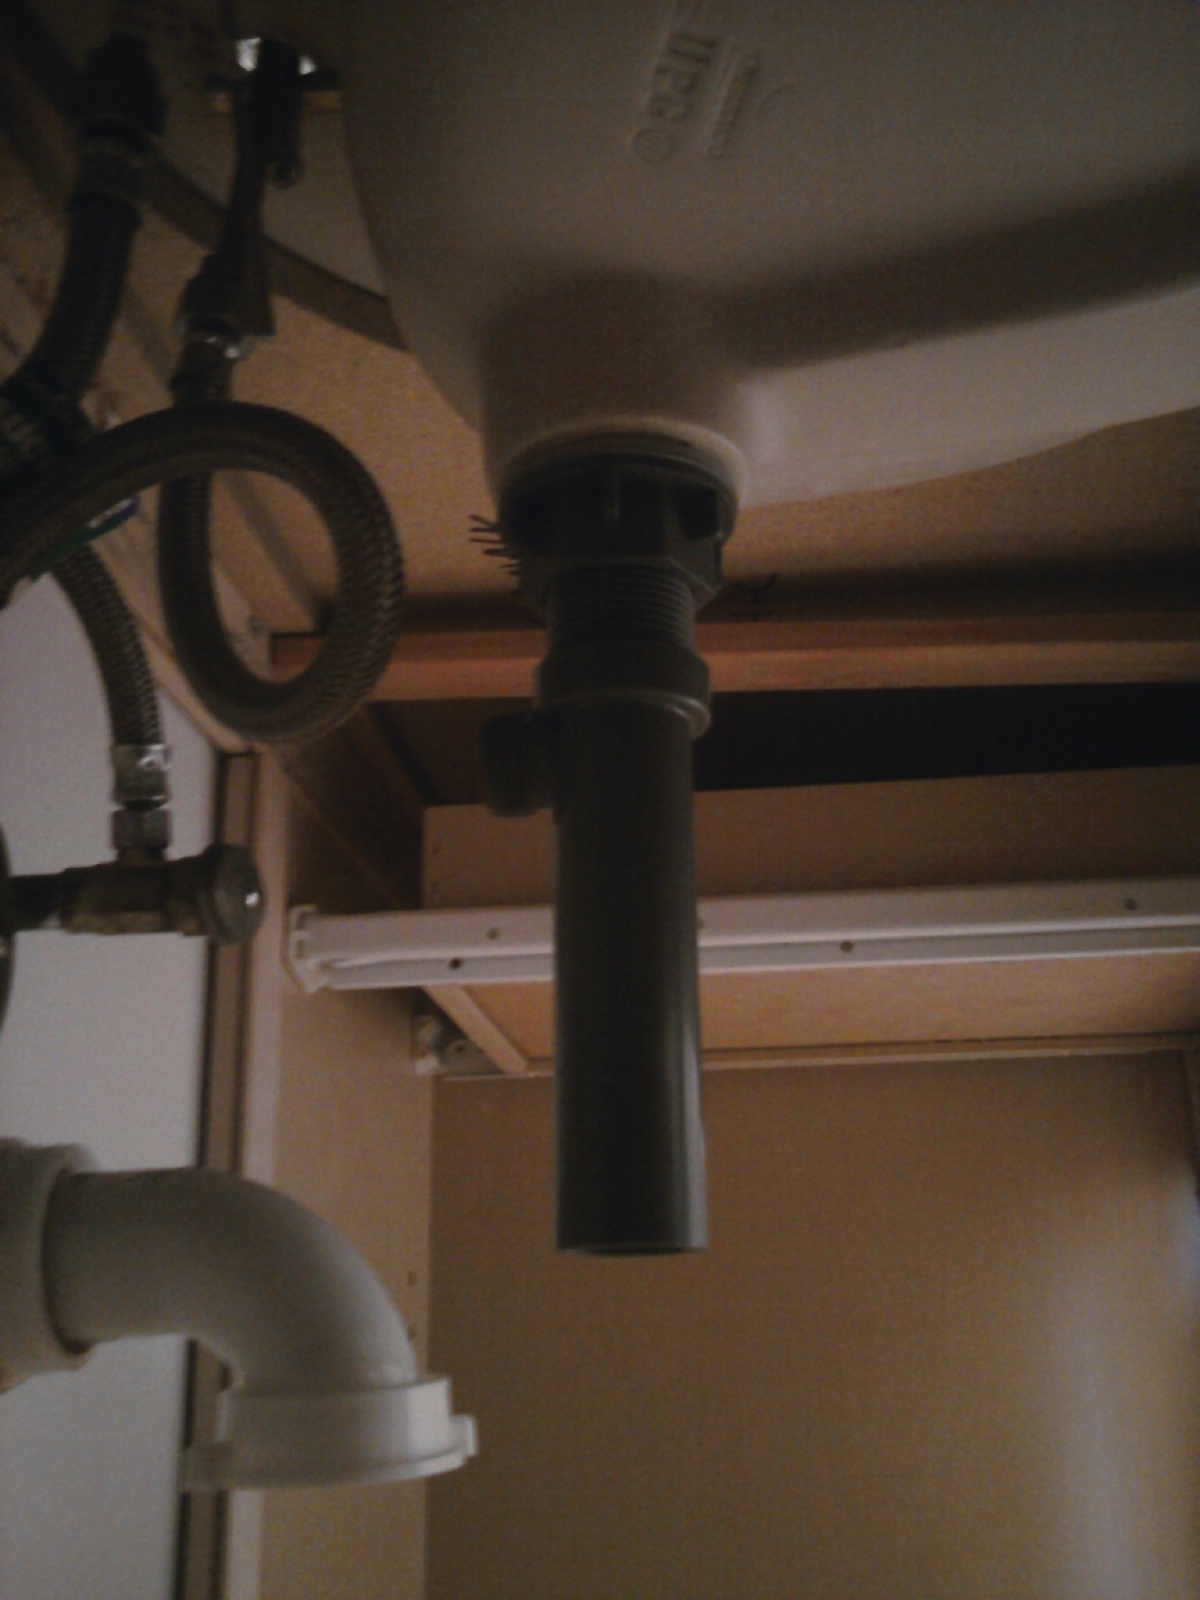
Then, the drain trap gets reinstalled and the vendor-specific plunger lever will be configured.
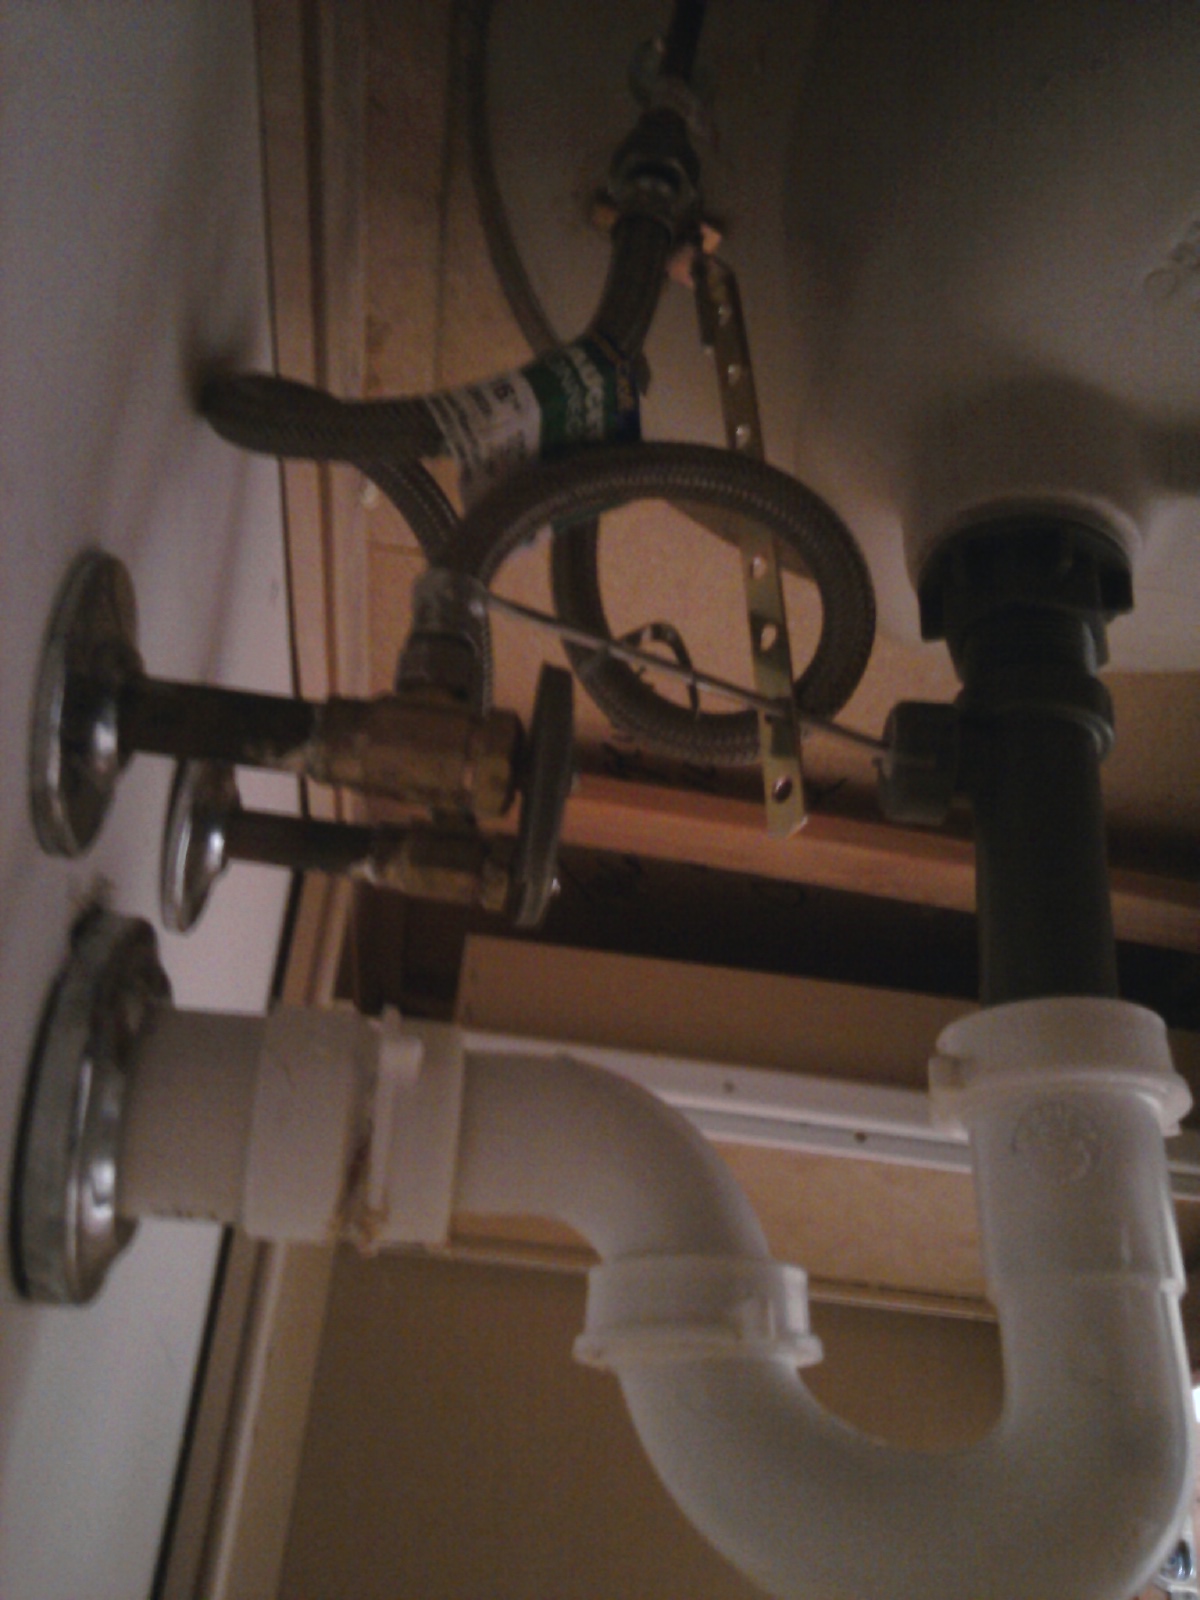
Final Leak Detection Testing & Tuning
We’ve arrived at the point where you cross your fingers, hold your breath and make sure nothing leaks!
I always start by cleaning everything meticulously. This includes making sure there isn’t a drop of water on any of the water lines or drain pipes. I then put some paper towels underneath anything that could potentially leak.
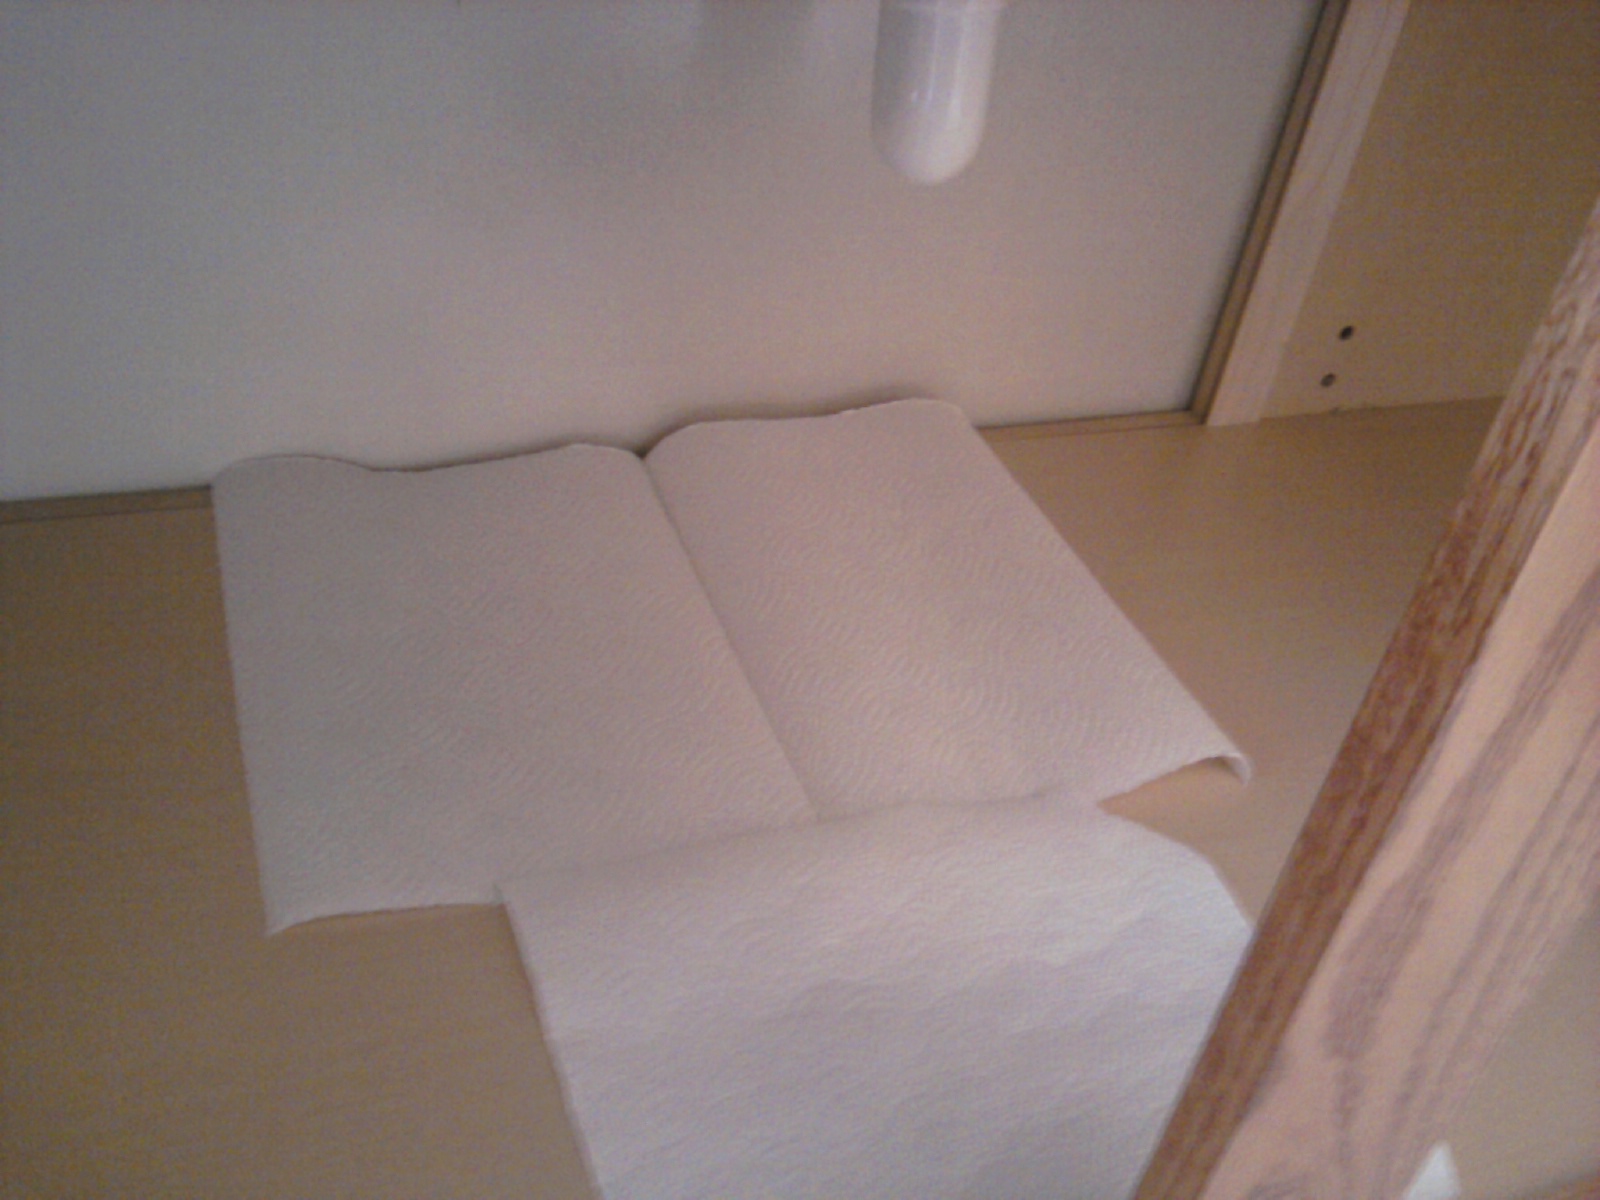
Slowly and carefully turn the water on via the turn-offs. Inspect the water lines closely under the sink. Water isn’t running yet, but the pressure is now in the lines. Make sure nothing is obviously leaking.
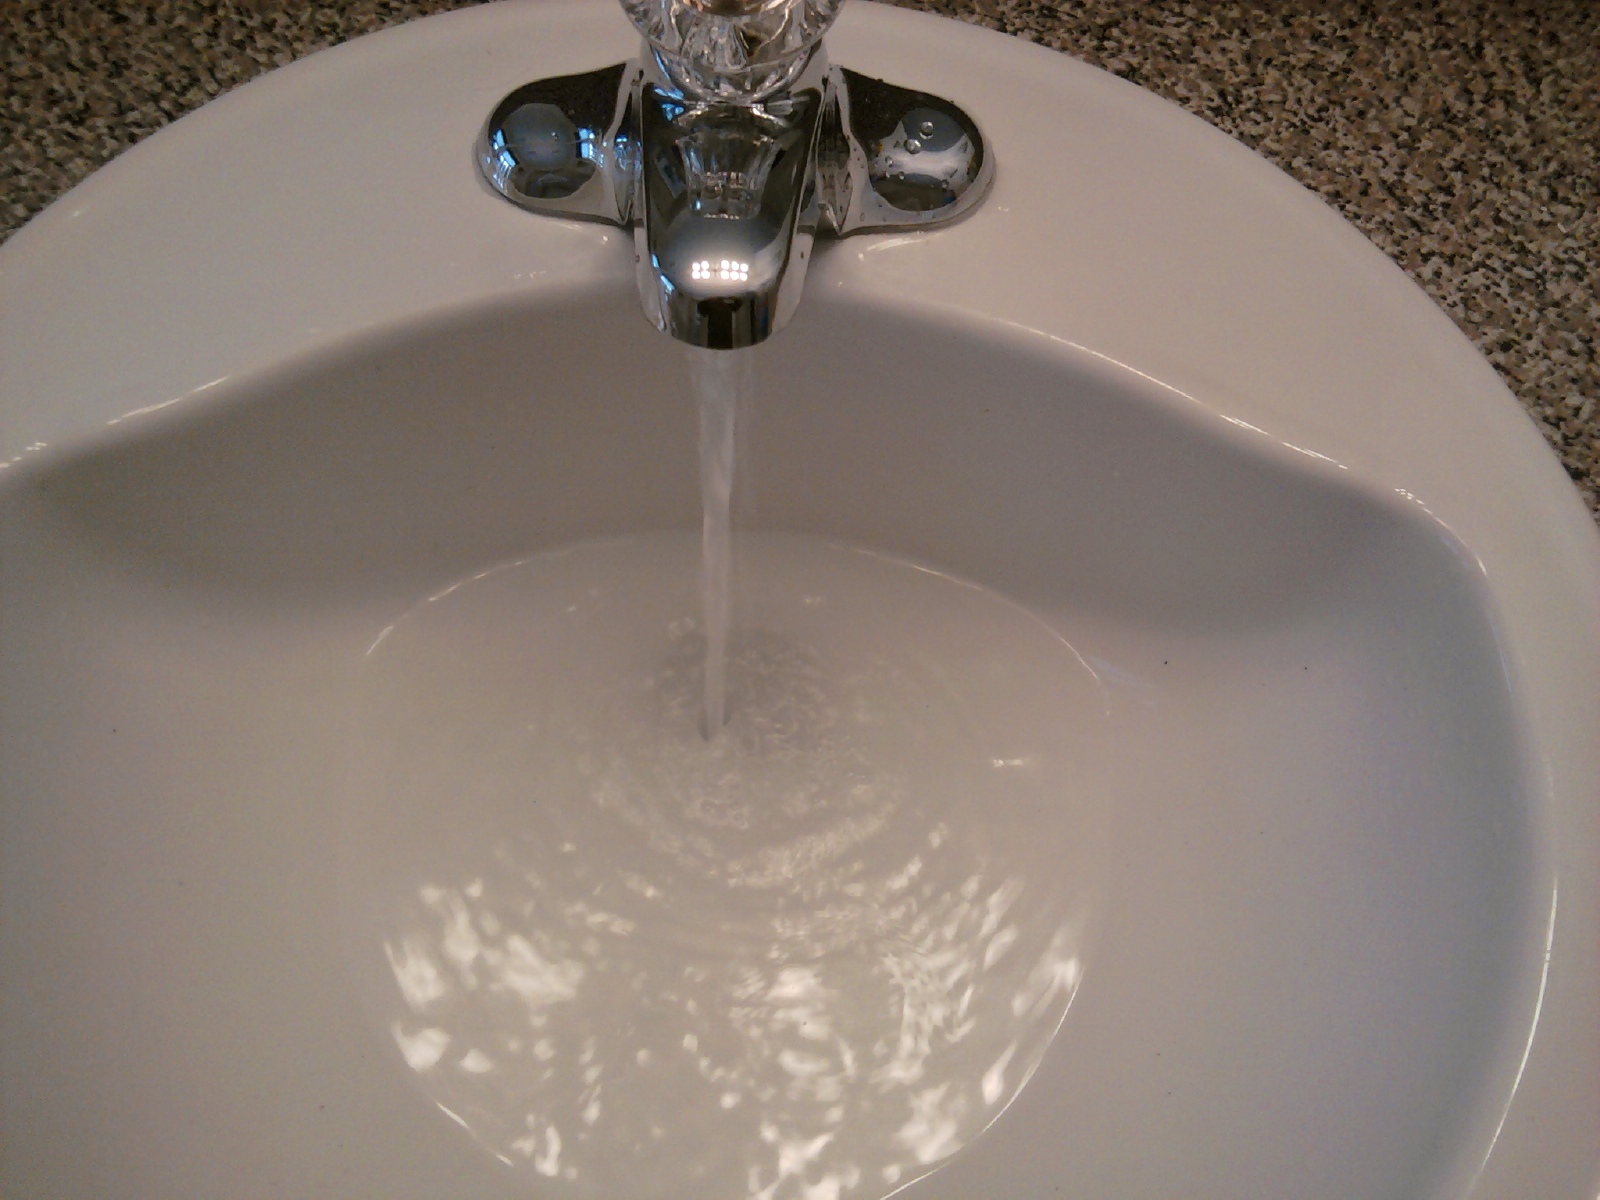
If all looks good, turn the bathroom faucet water on with the plunger closed, preventing anything from going down the drain. Again, watch the water lines closely for leaks as there’s now flow.
Next, I open the drain — and inspect the drain pipes and trap for anything there.
And from experience, what I’ve learned is that it’s prudent to leave these towels in there for a few hours, or maybe even a day. Check on them periodically until you’re convinced everything is truly tight and there’s no sign of any water where it shouldn’t be
If you do come across anything leaking, try tightening — but you shouldn’t need to tighten a lot in most cases. In fact, be *very* careful about over tightening here as well. Many of the pipes are plastic these days – and if you take these too far, you could break something. If your water lines are causing problems, even after tightening a little bit, you can consider adding Teflon tape to the threads.
And frankly, if you don’t have the flexible water supply lines (as shown in many of my previous photos) – you may want to consider buying some. They’re much easier to work with than the more rigid lines that were used everywhere in the past.
And that’s it – you should now be good to go.
Hopefully, I don’t have any more early morning wake-ups like this again for a while.
Don’t need that kind of excitement, especially before I’ve had my coffee…

Here’s another example of something I came across this weekend with another new installation – the need for a PVC extension between the supplied drain and the trap below. The additional part was dirt cheap… but this was a first. There’s always something new to run into, right?
Mark, this is such a nice, comprehensive article. The only other learning point I would add, going to school on your experience, would be to wake up earlier to have the morning coffee in order to be better prepared for these “opportunities.” :-)
This looks like it was a reasonable repair. I can just imagine what you may have run into in a 100+-year-old house with 50- or 60-year-old plumbing. That might necessitate more than coffee. Barley therapy? I’ve often run into endeavors where I’m not exactly mentally prepared correctly. That often finds me floundering, getting frustrated, and generally making a rum job of it. What I try to remember now is to back away from the job, if possible, and come back when I’m calmer/clearer. That may explain all the unfinished jobs around my house, but that’s a different discussion. Thanks for this article.
Thanks, Phil – and I do agree… with a 100+ year old house, you should surely be prepared for ANYTHING, and you should ideally have a plumber friend nearby as well. :-)
Thanks for the warning about the “disgusting muck.” It’s much better to know about it ahead of time than be unpleasantly surprised when you do the job for the first time!