2022 Update: What I needed was a waterproof doorbell. All along.
Repairing the classic mechanical door chime worked for me – carefully troubleshooting with each of the components: the transformer, the door chime unit and the doorbell push button. But after the repair, it was only a year or so before I had a new problem: intermittent “phantom” doorbell ringing. I fixed that too, and all was good for about another year. And then the whole thing died again.
Until I finally realized with a flash of insight (and a simultaneous sense of being “totally lame”), that my problem was more basic… It was never really the doorbell! Not exactly.
The front of my house is completely flat; there’s nothing above the front door – no porch roof or even an awning. It’s just flat brick. So, there’s nothing to keep the pounding rain from drowning the doorbell button and soaking the circuitry. Plus, my house happens to face right into the direction of our famous Nor’easter storms as well – and when we have one of those, it’s always a deluge event.
So, I needed to find a doorbell that would, in essence, work on a submarine.
A waterproof doorbell. If such a thing was even manufactured.
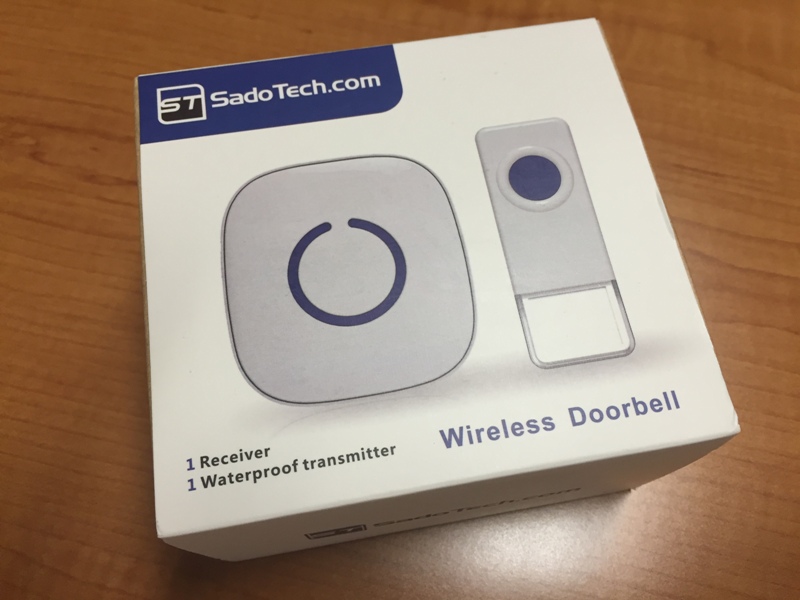
And I found a particularly good prospect on Amazon.
I always advocate for Amazon because I love the reviews, and if a product isn’t rated well – I won’t even waste my time. The doorbell I found was wireless, waterproof – and low cost as well. At this point, after having replaced the doorbell a few times, low cost definitely mattered. The beauty of a wireless doorbell (in addition to the all-important water resistance) is that it would also completely divorce me from the house wiring. It was essentially a separate and independent system.
The unit I found is pictured below, and I’ll step through the installation and my experiences in the remainder of this article. But if you want to skip right to Amazon you can click the link right here and take a look at the unit and the current reviews.
But In short: The doorbell I purchased and installed works beautifully, and it’s been working for many months now. It’s been through some heavy, heavy rains. I had to make one interesting adjustment to the antenna during the installation that was unexpected, but it was really easy to do and didn’t cost a cent. You might even think it’s kind of funny.
Installing My Wireless Waterproof Doorbell
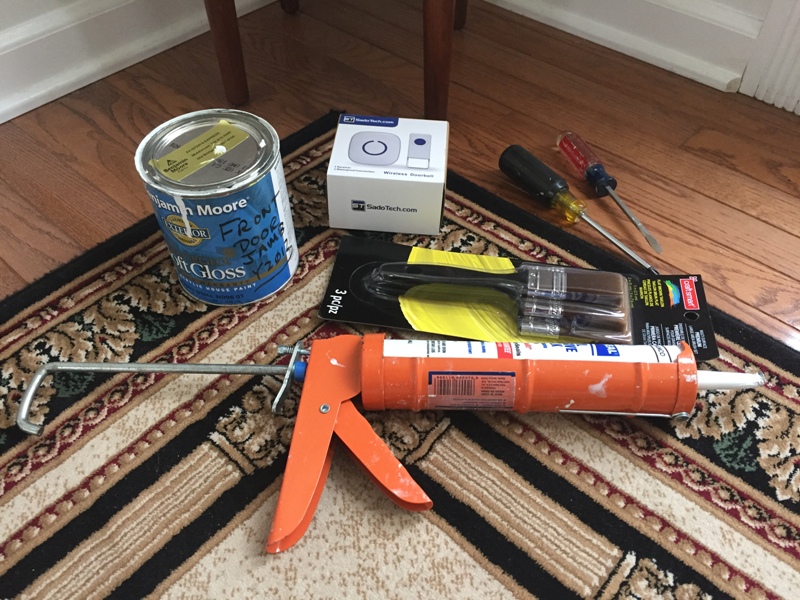
There’s not too much required in terms of set-up for this project; it really doesn’t take a huge amount of time or effort. For me, with the fluted casings under the old doorbell button, I was going to need to do a bit of repair work so you can see the paint, brushes, razor knife and other typical accessories below.
The one thing that’s imperative, though, is removing power to the old doorbell at the breaker driving the transformer. You surely don’t want your old doorbell wires live when you go in to cap them off.
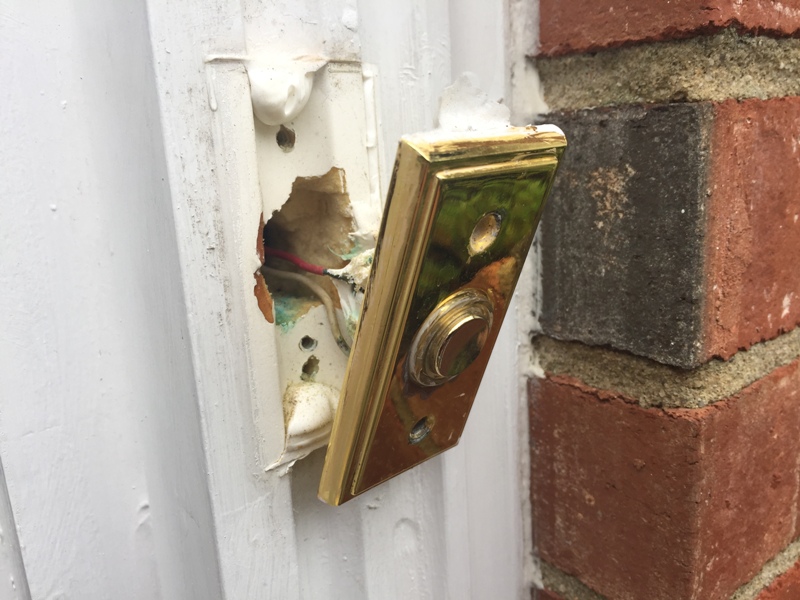
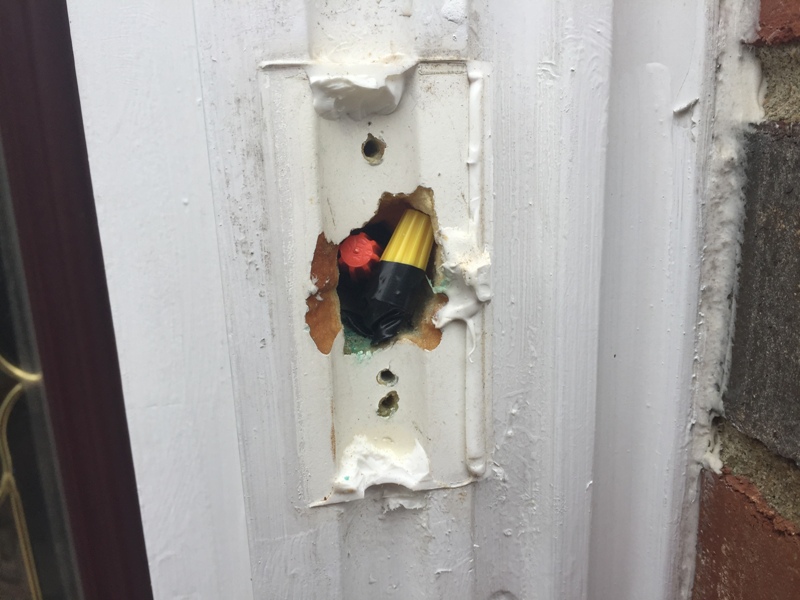
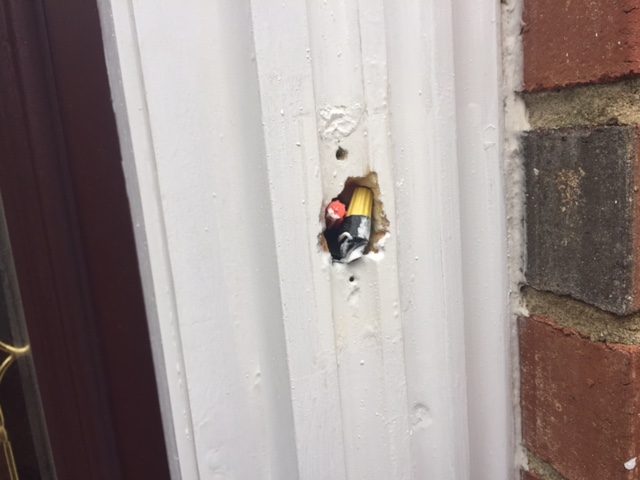
Removing the old doorbell button, this time, was going to be permanent – as I was planning to install the new button over the hole you can see below.
So, here’s where we need to do just a little bit of work…
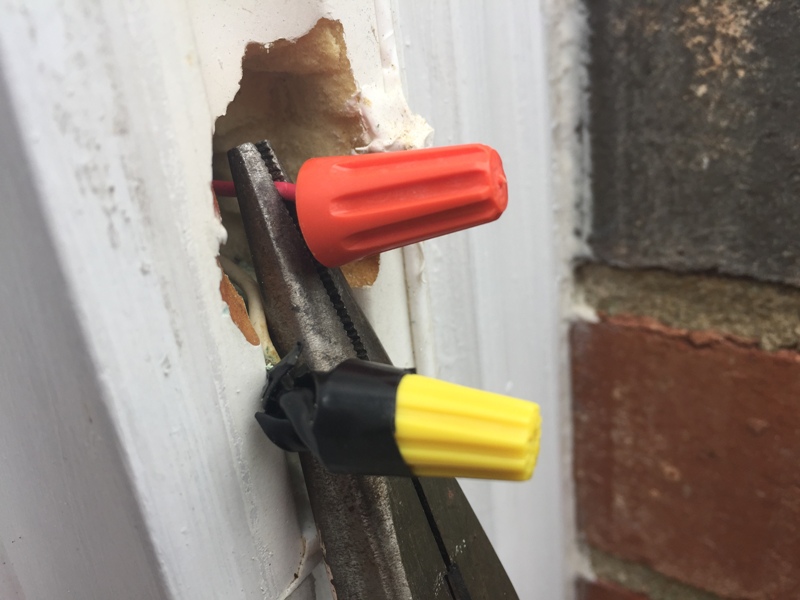
Not only do I remove the button and use a couple of wire nuts (and electrical tape) to insulate the old wires, but I also have to clean up the casing a bit as there was some old silicone caulk on there. Then I repaint the semi gloss a bit as well, leaving me with a nicely dressed hole that I’m going to cover with the new wireless doorbell button.
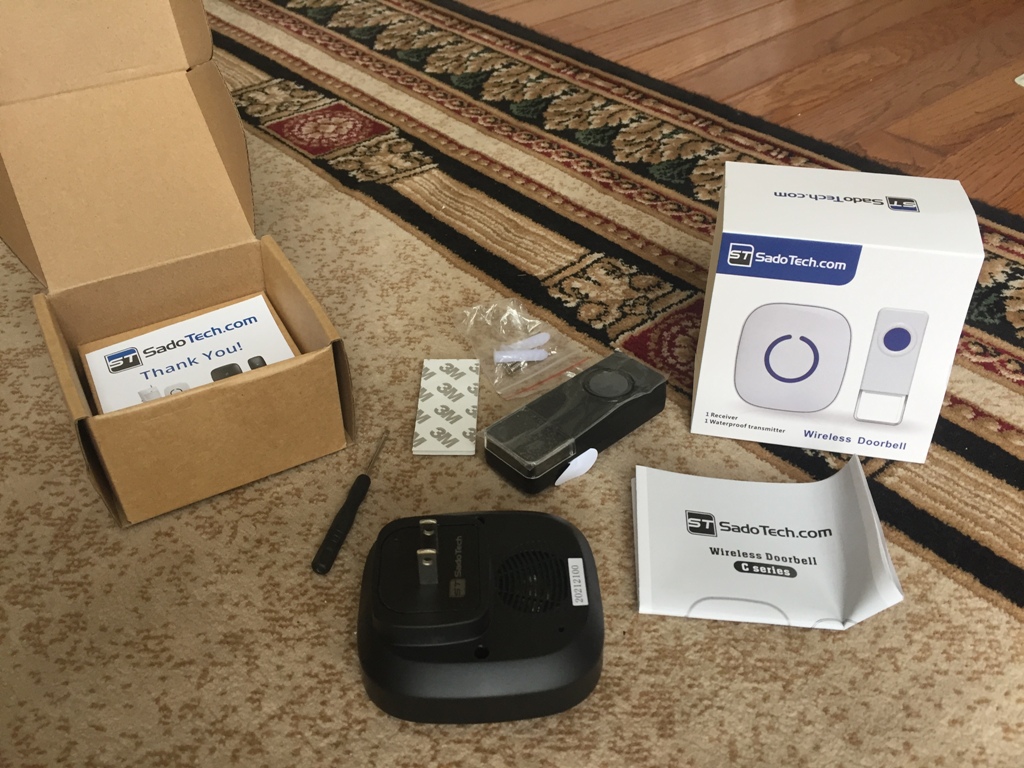
The contents of my wireless waterproof doorbell are illustrated below.
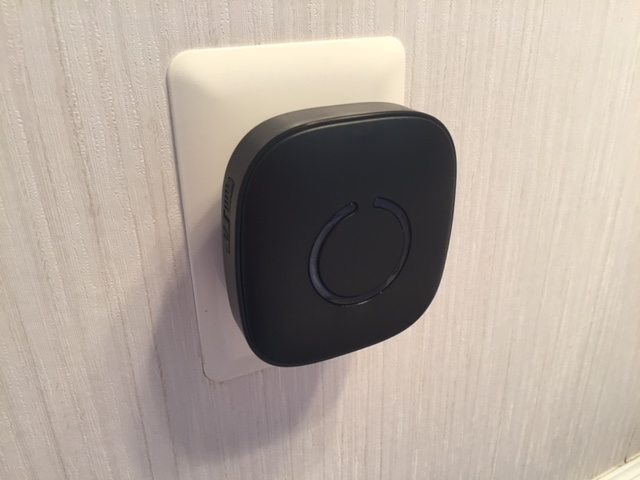
The beauty of this system is that the doorbell itself requires no mounting inside the house. It literally plugs into an available outlet (as close to the doorbell button as you can get it) and this provides the mounting as well as the power. Nice and simple – and I particularly loved this.
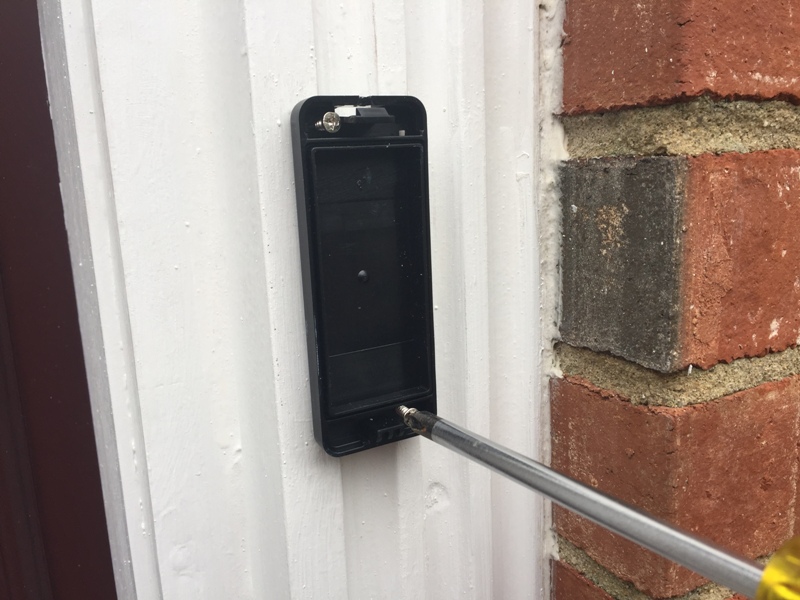
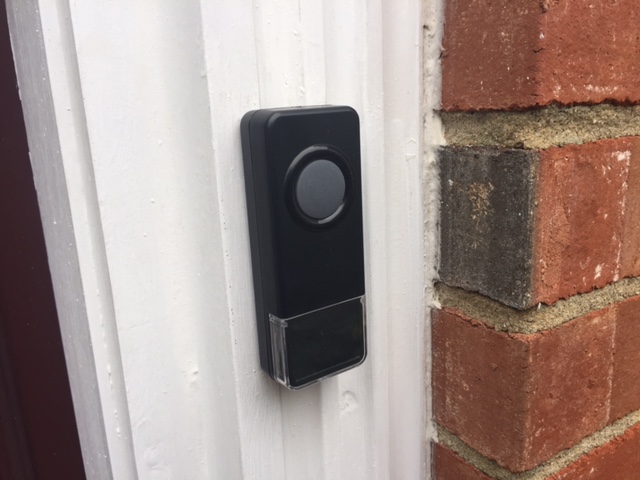
In the photos that follow, you can see the mounting of both the wireless doorbell button outside as well as the ‘outlet-mounting’ inside the house where I plugged-in the electronic door chime unit itself.
Another nice thing about this system is that the doorbell plays a huge number of chime sounds and songs. Kids love these, and several are holiday-themed so you can easily change them. There are also four volume levels you can adjust to your specific needs.
So, did this all work perfectly?
As with most things, at least in my life, things rarely work perfectly at first!
I had to make a few adjustments for my specific installation – and as you read on, you’ll see that they make sense. You may not run into anything like this, but in case you do…
Increasing Wireless Doorbell Transmitter Strength
My main problem was that I couldn’t get the transmitter (the doorbell button) to activate the receiver (the electronic door chime unit plugged into the outlet) based on the locations I had to use for my home. So, I had to boost the transmitter signal strength.
And while I realize that may sound a little bit complicated, there are two very easy ways to make a quick impact on this front…
Install a New Doorbell Transmitter Battery
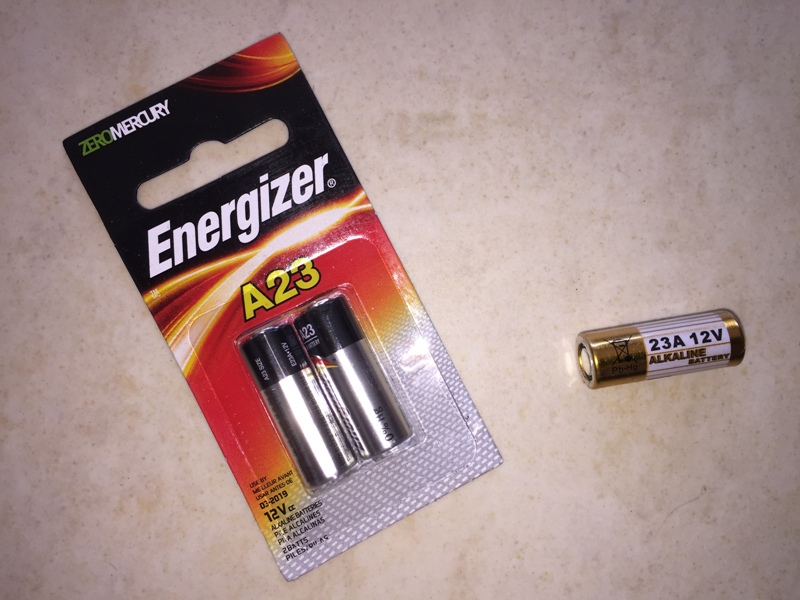
Over time, the battery in your waterproof doorbell button will need to be replaced, so it’s best you know how to change it. For my unit, the manufacturer provided the screwdriver you see in the photos below, and the hardest part of changing the battery was finding the correct replacement.
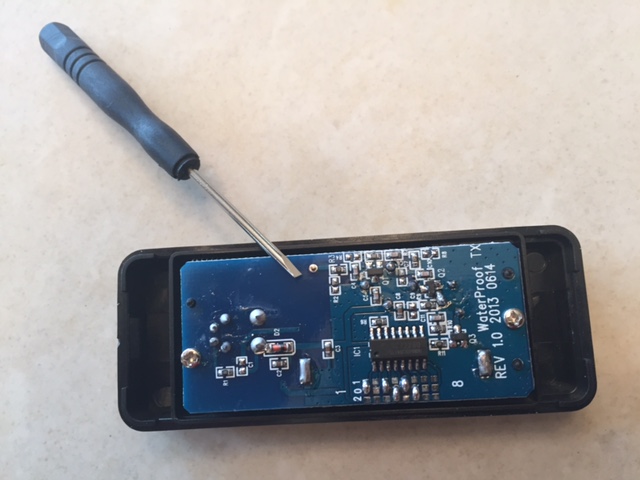
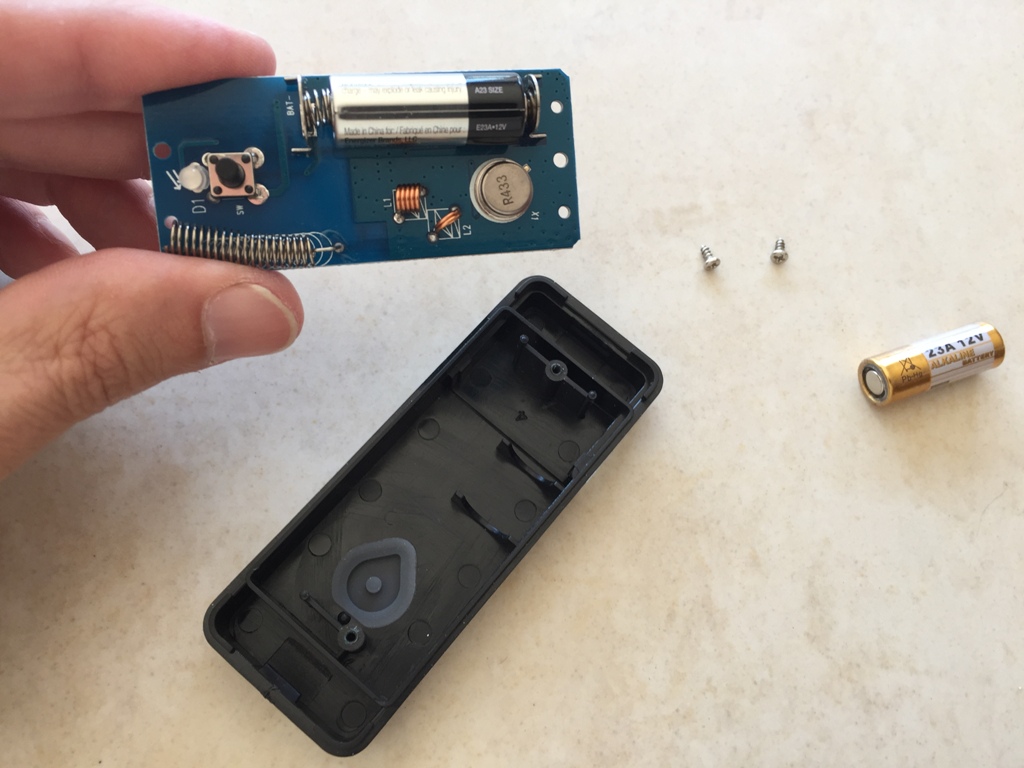
I ended up getting the new battery from a local hardware store, as it wasn’t one of the standard sizes and I wanted to be 100% sure I had the right replacement. But I could have gotten the new A23 battery online as well with no problem, and that’s exactly what I’ll do next time.
The replacement batteries and the original battery are shown in the shot below.
Increase the Size of the Wireless Doorbell Antenna
I extended the antenna as well – made it bigger. Hard to do? Not at all. I simply used some aluminum foil, folded neatly. I pinched it within the coils of the spring used as the circuit board’s antenna (which you can see in one of the shots above – my thumb is resting right on it) and ensured that this extension wasn’t touching any part of the circuit board where it could result in an electrical short.
If you look at the shot below, you can see that after I re-seated the circuit board, the top inch (or so) of my antenna extension protruding to the left. I then folded it over and tucked it into the hollow black plastic cavity you see above the green circuit board where it fit quite nicely, and finally reinstalled the button on the front of my house.
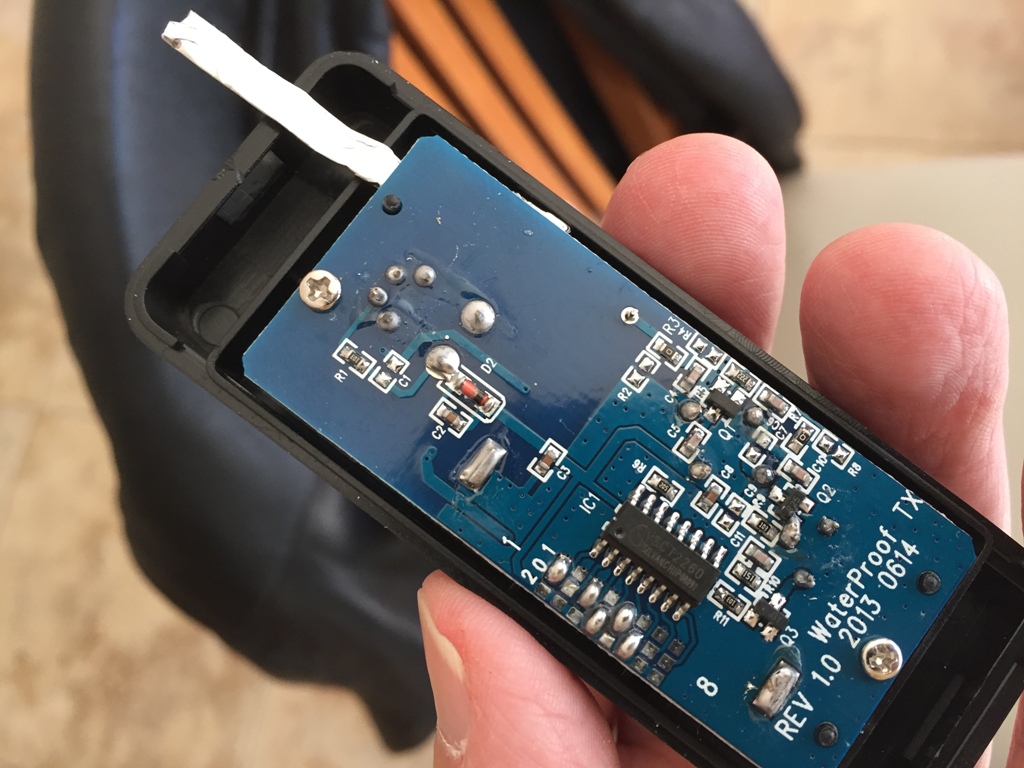
The combination of the new battery and the make-shift antenna extension worked like a charm.
And If The Doorbell Fails Again?
I feel quite confident that I’m now in good shape doorbell-wise, but time will tell – as it always does. I can tell you that if six months from now this doorbell runs into problems, well, then I think people will just have to knock!
In fact – here’s something else I just found on Amazon, complete with reviews and all… ;)

Need Professional Help From a Local Contractor?
• Visit Our “Find a Contractor” Page
Related Posts
• My Battle with Surface Water Runoff
• Troubleshooting and Repairing a Broken Doorbell
• Phantom Dinnertime Doorbell Ringing
• Redwood Swing Set Maintenance Tips
• Replacing a Bathroom Toilet
• Lawn Repair: Patching a Large Area with Kentucky Bluegrass

Leave a Reply